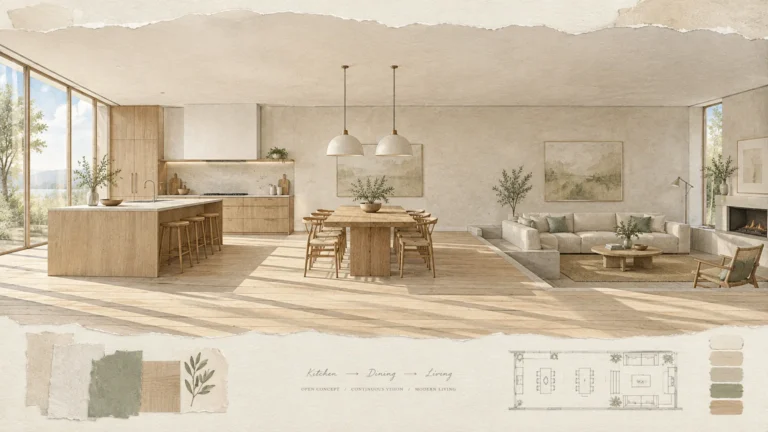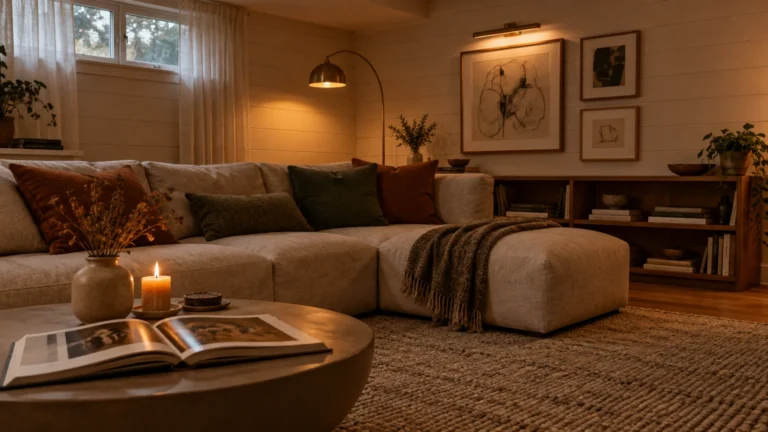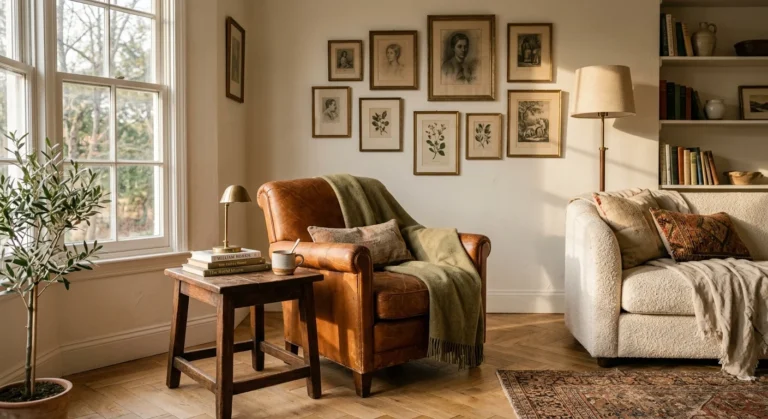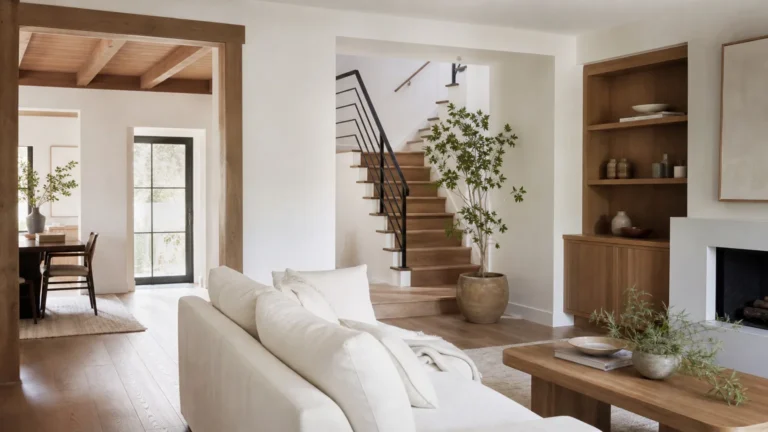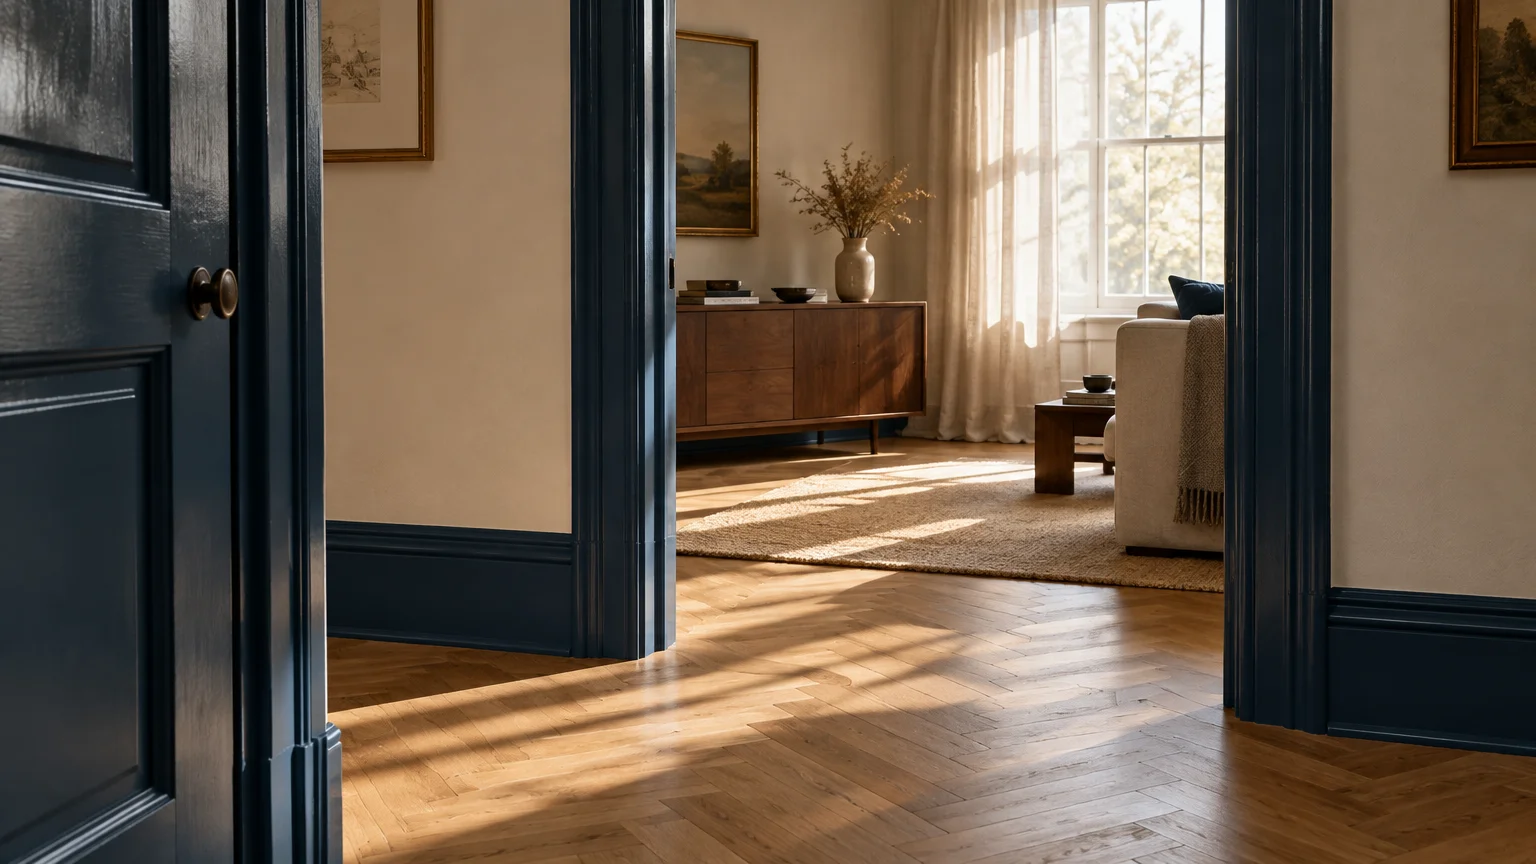
Transforming your woodwork with deliberate paint colors for trim and molding instantly reframes your entire living space. A vibrant coat turns forgotten baseboards and crown molding into intentional, eye-catching design statements.
Instead of defaulting to plain builder white, you can use these contrasting trim paint ideas to direct the eye and elevate humble rooms. This simple weekend upgrade delivers high-impact architectural drama without the expense of a full structural remodel.
Exploring purposeful shades will help you unlock hidden depth across your home. Here is how to select the best trim paint colors and execute a flawless, lasting finish.

Planning Your Trim and Molding Project
Refreshing the trim across an average room requires minimal capital but demands dedicated patience. You can expect to spend between fifty and one hundred fifty dollars on premium paint and essential prep supplies.
A single weekend provides ample time to tackle baseboards, door casings, and window frames in a standard space. Allocate your first day to masking and repairs; reserve your second day for rolling and brushing.
This project suits beginners who want to master brush control without taking on overwhelming demolition work. Steady hands and disciplined surface preparation matter far more than previous carpentry experience.
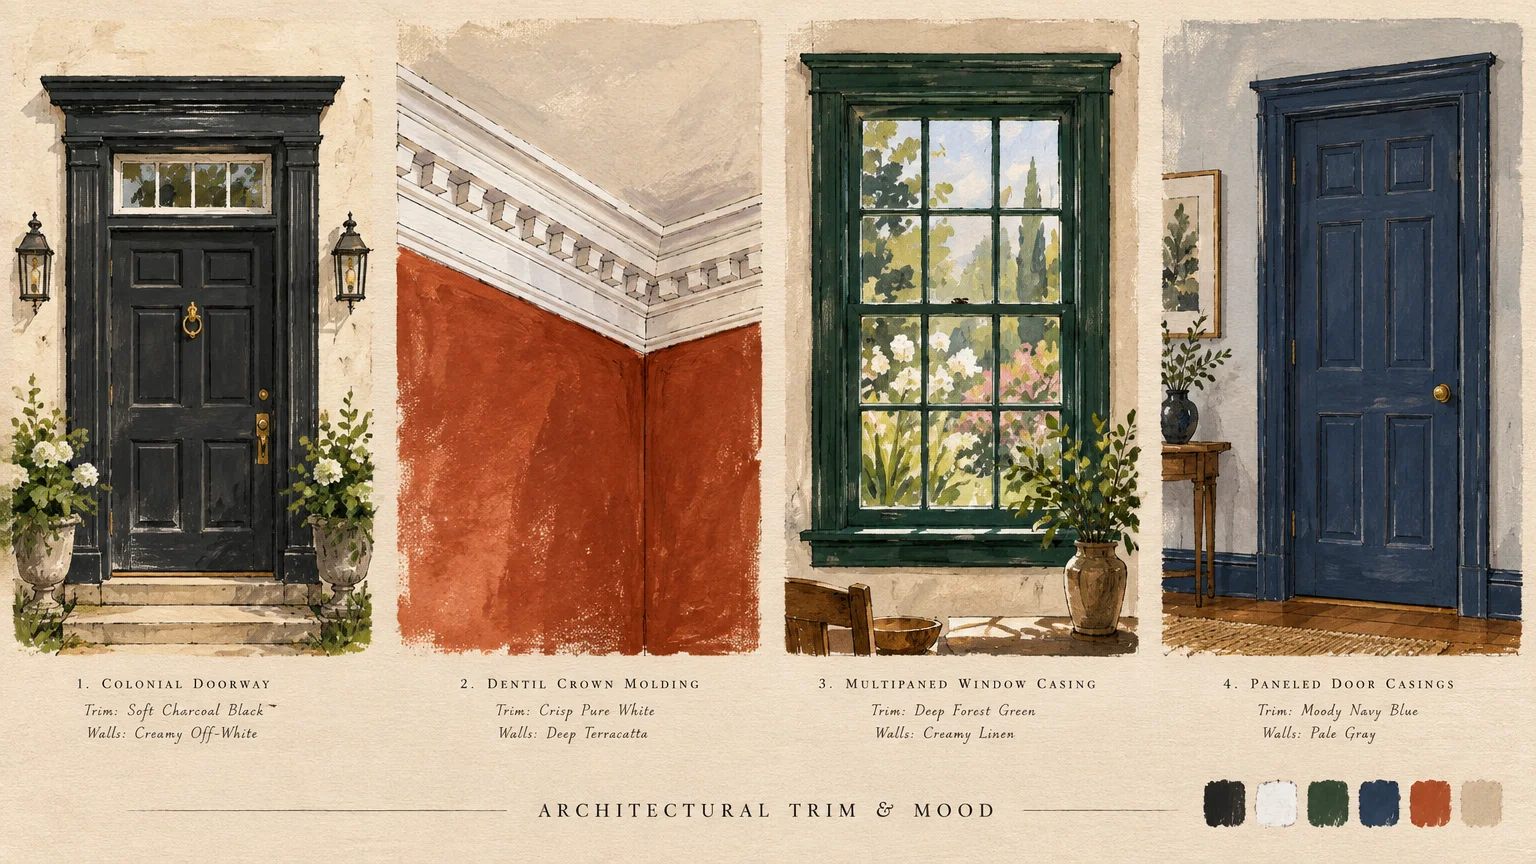
7 Paint Colors That Make Trim and Molding Pop
Finding paint colors that highlight architectural details requires understanding how natural light interacts with wood contours. These seven dynamic shades offer proven ways to create striking visual boundaries in any home.
1. Soft Charcoal Black
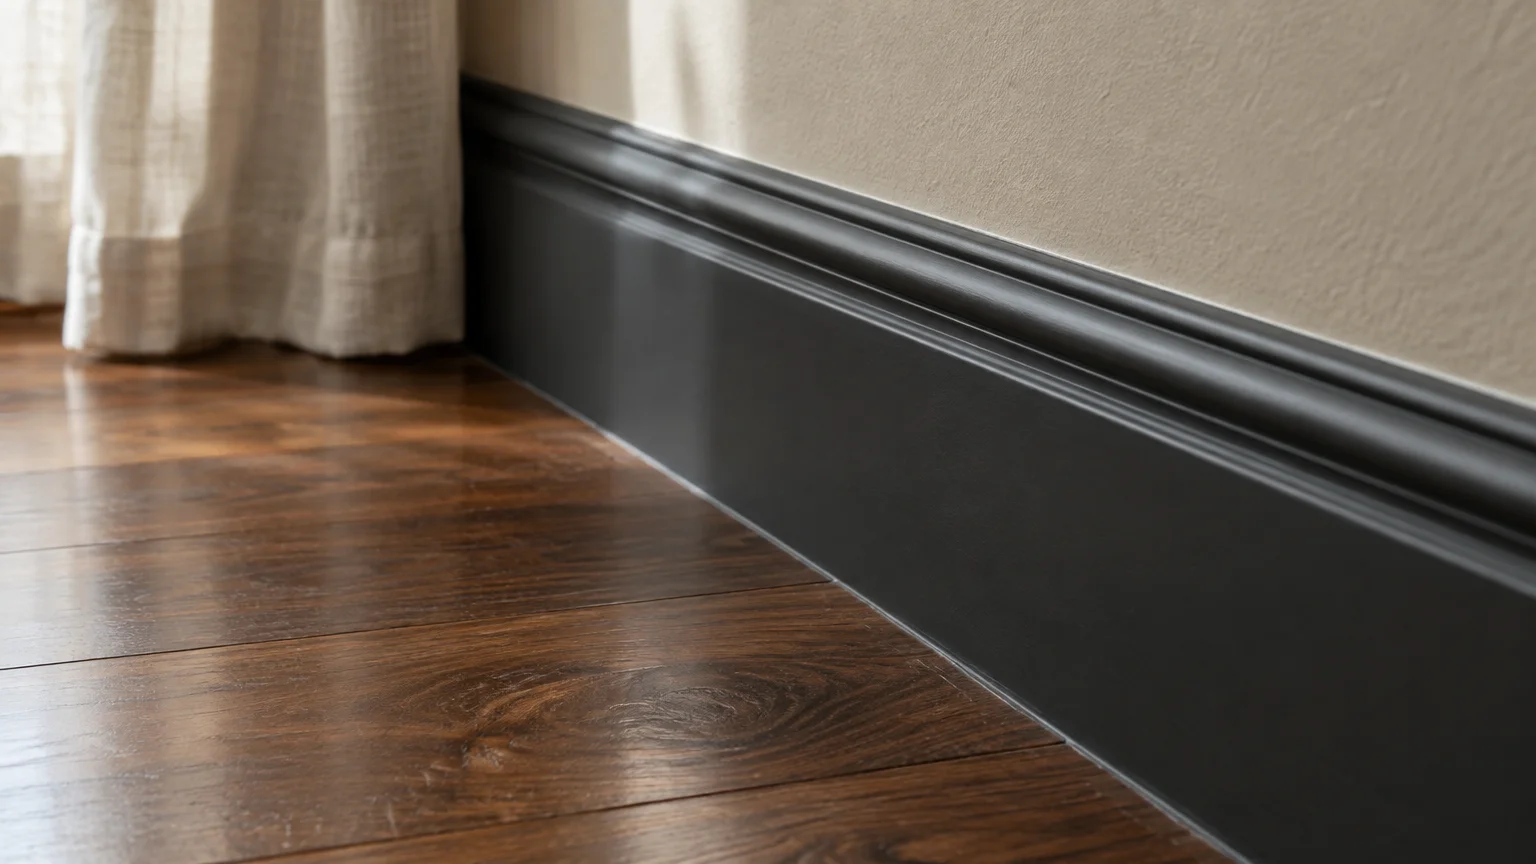
A muted black shade like off-black creates an immediate graphic outline around doors and windows. It grounds open-concept floor plans by framing bright walls with tailored, razor-sharp definition.
Design authorities at Architectural Digest frequently highlight dark trim paired with creamy walls to establish modern sophistication. This high-contrast pairing makes soaring ceilings feel anchored and architectural.
Use a satin or semi-gloss finish to reflect subtle light without creating glaring reflections. This approach works exceptionally well along wide colonial baseboards and multi-piece casings.
2. Crisp Pure White
When your walls feature saturated or moody hues, blindingly clean white trim provides striking, classic contrast. The sharp edge highlights intricate profiles in historic dentil molding and ornate picture rails.
Choose an untinted base with cool undertones to avoid yellow cast against deep blues or earthy terracottas. The luminous border makes adjacent wall colors appear richer and more vibrant.
High-durability enamels resist scuffs from vacuum cleaners along low-lying floorboards. A wipeable surface keeps that pristine gallery aesthetic intact through heavy foot traffic.
3. Deep Forest Green
Rich pine and botanical greens introduce organic warmth while drawing the eye toward exterior views. When framed around windows, dark green trim visually connects your interior to the outdoor landscape.
Color specialists at HGTV recommend pairing botanical greens with warm linen wall shades for a cozy English cottage feel. The combination softens formal dining rooms and home libraries alike.
Deep green also flatters natural hardwood flooring by harmonizing with warm oak and walnut undertones. It creates a historic, layered personality without feeling stark.
4. Moody Navy Blue
Navy blue functions as a versatile neutral that delivers dependable depth across varied lighting conditions. It pairs seamlessly with crisp gray walls, warm white drywall, or patterned botanical wallpaper.
Painting interior door panels and casings in midnight navy turns mundane entry points into focal features. The shade masks dirt and smudges near doorknobs with impressive efficiency.
You can balance this regal tone with brushed brass or polished chrome hardware. The metallic sheen stands out gorgeously against dark maritime blue base coats.
5. Warm Earthy Greige
If stark contrasts feel too jarring, a medium-tone greige offers gentle, elegant definition. This balanced mix of gray and beige warms up sterile white walls without overwhelming smaller rooms.
Applying darker greige trim against slightly lighter walls produces an upscale tone-on-tone effect. European interiors frequently use this subtle shift to make modest spaces feel expansive and tailored.
Greige also bridges conflicting undertones between warm wood floors and cool stone tiles. It effortlessly harmonizes transitions between adjoining rooms.
6. Saturated Terracotta
Sunbaked clay and cinnamon tones infuse historic charm into utilitarian spaces like mudrooms, hallways, and pantries. Terracotta trim draws attention to beadboard wainscoting and custom built-in cabinetry.
The earthy pigment radiates comfort in rooms that receive limited natural sunlight. Rather than fighting cold shadows, terracotta embraces warmth and enlivens dull corners.
Pair clay hues with creamy off-white or muted sage walls to keep the room balanced. The look feels artistic, grounded, and undeniably custom.
7. Dramatic Slate Gray
Slate gray with subtle blue-violet undertones brings modern industrial flair to contemporary homes. It accents minimalist flat-stock trim and crisp window mullions with sleek, architectural authority.
Unlike pure black, slate reflects ambient daylight softly, preventing shadowy rooms from feeling cavernous. It pairs beautifully with cool marble accents and textured plaster walls.
Use slate along tall baseboards in high-traffic hallways to hide pet scuffs. It delivers reliable durability alongside high-end urban aesthetic appeal.
Step-by-Step Framework for Flawless Trim Painting
Applying trim paint requires methodical discipline to achieve clean edges and a glassy finish. Following a structured three-phase system ensures your woodwork looks professionally sprayed rather than hand-brushed.
Phase 1: Surface Preparation and Cleaning
Flawless results rely entirely on thorough prep work before you ever pop open a paint can. Dirt, household oils, and pet dander prevent proper adhesion and cause premature peeling.
Scrub all baseboards, door frames, and molding using a heavy-duty degreaser or diluted trisodium phosphate. Rinse the surfaces with clear water and allow them to dry completely.
Fill gouges, cracks, and nail depressions with sandable wood filler rather than flexible caulk. Sand the cured patches flush using 120-grit sandpaper; then smooth the entire length with 220-grit.
If you live in a home built before 1978, test existing coats before disturbing them. The Environmental Protection Agency provides essential lead-safe containment protocols to protect your household during paint removal.
Run an acrylic latex caulk along every joint where the trim meets the drywall. Caulking seals drafty gaps, which the Department of Energy notes helps reduce air leakage while delivering seamless paint lines.
Phase 2: Priming and Masking
Apply high-adhesion bonding primer over raw wood, patched areas, or previously glossy trim. Primer blocks tannin bleed-through from knots and guarantees consistent color absorption across different materials.
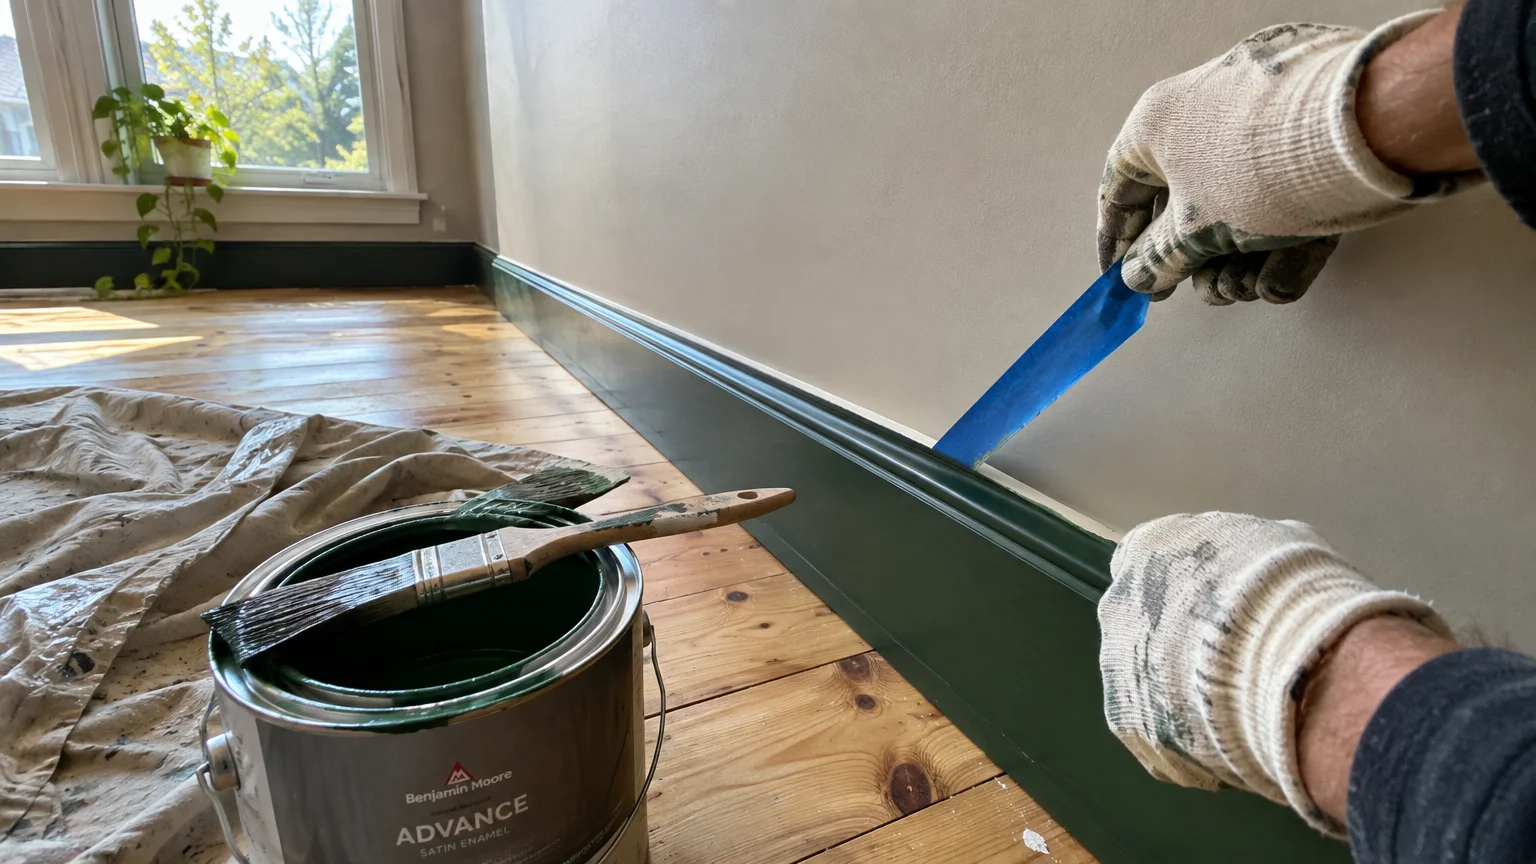
Protect your adjoining flooring and wall surfaces with premium delicate-surface painter tape. Press the edges down firmly using a clean putty knife to stop paint from bleeding underneath.
Lay heavy canvas drop cloths across the floor directly beneath your workspace. Unlike flimsy plastic sheeting, canvas absorbs accidental drips and will not slide dangerously under your feet.
Phase 3: Paint Application and Finishing
Invest in a two-inch angled sash brush equipped with synthetic filaments for precise, razor-sharp edging. Synthetic bristles maintain their stiffness and release acrylic enamel smoothly without leaving heavy brush marks.
Dip your brush into the paint only one-third of the bristle length to prevent messy overloading. Work in long, continuous strokes from dry areas back into your wet edge for seamless blending.
Apply two thin coats instead of one thick layer to avoid unsightly runs and drips. Allow four hours between coats so the underlying film can cure properly.
Score the edge of your painter tape lightly with a sharp utility knife before peeling it away. This crucial technique prevents the dried paint film from tearing off the wood surface.
Styling and Sheen Selection for Custom Trim
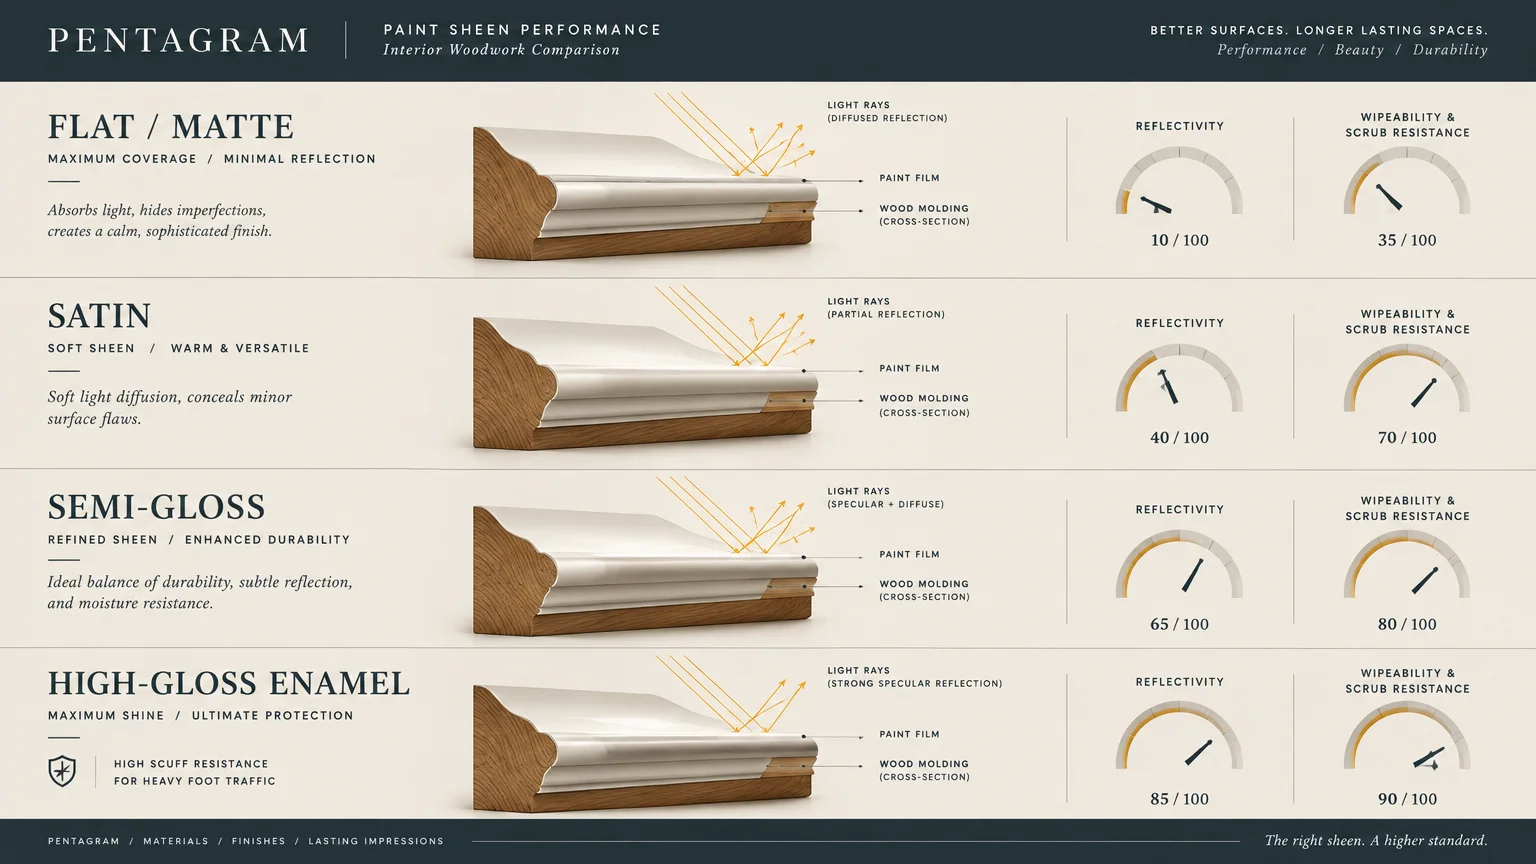
Learning how to make molding stand out involves balancing color with sheen and proportion. Semi-gloss enamel remains the traditional favorite because it resists scuffing and highlights carved wood details beautifully.
For modern spaces with minor surface imperfections, consider a durable satin finish instead. Satin provides enough sheen to define decorative profiles without exaggerating dents or uneven wood grain.
You can also experiment with color-drenching by painting both walls and trim the same hue in different sheens. Pair matte wall paint with semi-gloss molding to create subtle, tactile luxury.
Consider your room dimensions before settling on contrasting trim colors. High-contrast dark baseboards lower perceived ceiling height slightly, while lighter trim draws the gaze upward toward the ceiling.
If your home features low ceilings, painting crown molding the exact color of the ceiling creates an illusion of vertical height. The eye travels upward without hitting an abrupt horizontal visual barrier.
Conversely, painting window trim in a dark accent pulls outdoor views inside by mimicking a picture frame. This technique turns ordinary picture windows into stunning architectural focal points.
Troubleshooting Common Trim Pitfalls and Long-Term Maintenance
Visible brush marks often plague DIY trim projects when paint dries too quickly during application. Add a paint conditioner like Floetrol to extend open working time and help the enamel self-level.
If paint peels away in sheets, residual oils or inadequate scuff sanding caused bonding failure. Scrape off loose material, sand down to bare wood, and apply an oil-based bonding primer.
For proper safety and chemical handling guidance, review regional university resources such as the Penn State Extension before using chemical strippers. Proper ventilation protects your lungs during intensive prep stages.
Address accidental paint drips on hardware or glass immediately with a damp rag before they cure. Once dry, soften stubborn splatters using rubbing alcohol before gently scraping with a plastic razor.
Maintain painted trim by wiping away scuffs with a damp microfiber cloth and mild dish soap. Keep a small, airtight jar of leftover paint handy for swift seasonal touch-ups.
Frequently Asked Questions About Trim and Molding Paint
Should trim paint always be lighter or darker than the wall?
Trim paint does not need to follow strict traditional rules regarding light or dark values. Lighter trim creates classic separation, whereas darker trim establishes dramatic, tailored framing throughout modern spaces.
Choose the approach that complements your ceiling height and personal aesthetic goals. Darker trim anchors expansive rooms; lighter trim maximizes openness in compact floor plans.
What is the most durable paint type for high-traffic baseboards?
Water-based urethane alkyd enamels deliver the ultimate combination of toughness, scrub resistance, and easy cleanup. They cure to a hard, furniture-grade finish that resists vacuum dings and pet claws.
These advanced formulas offer the smooth leveling properties of traditional oil paints without noxious fumes or yellowing. They dry rapidly and clean up effortlessly with ordinary soap and water.
Do I need to sand previously painted trim before applying new color?
Light scuff sanding is essential to give the new coat a mechanical profile to grip. Without sanding, fresh paint will slide off glossy surfaces and chip under light contact.
Run a medium 180-grit sanding sponge along all curves and flat edges to dull existing sheen. Wipe away all residual dust thoroughly with a damp microfiber cloth before priming.
How do I paint trim without removing it from the wall?
Leaving trim attached to the wall saves substantial labor and prevents costly damage to surrounding drywall. High-quality painter tape and careful brush technique yield professional lines in place.
Insert a wide metal putty knife against baseboards when brushing against carpet to block stray bristles. Work methodically in manageable three-foot sections to keep steady control over your paint line.
Elevate Your Architectural Details Today
Painting your trim offers one of the highest returns on investment for any hands-on home project. A single can of paint unlocks stunning architectural definition and revitalizes stale interior spaces.
Gather your supplies, pick a standout color that matches your vision, and begin with one small room. You will be amazed at how quickly custom trim elevates your entire home.