
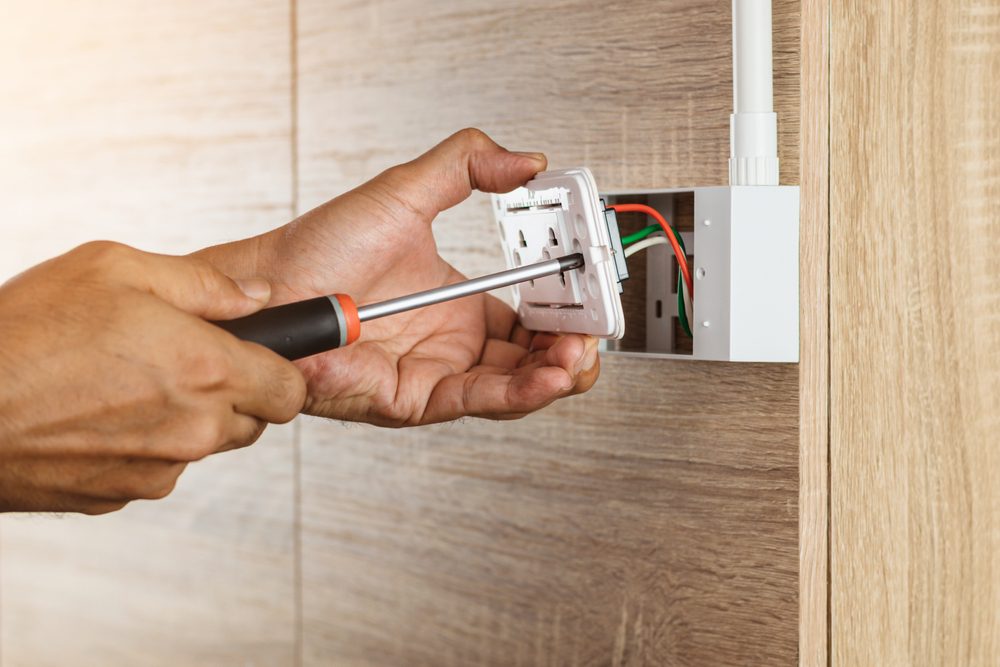
Do you know how to install an electrical box?
One of the 1st steps in electrical rough-in is the installation of electrical boxes. It’s not something complicated, but you still need to be careful, otherwise, you’ll risk wasting time and calling a professional to do it for you (and that will cost you money).
So why not save some cash and do everything right the 1st time? We’ve talked to a few experts about this and know we know exactly what you need to do for excellent results. Speaking of that, putting in an electrical box is seen as a simple, straightforward job that is more akin to carpentry than electrical wiring.
However, there are certain regular mistakes made by DIYers. Follow these SIMPLE and quick steps, you can ensure that an electrical box looks great and is up to code. Let’s see them!
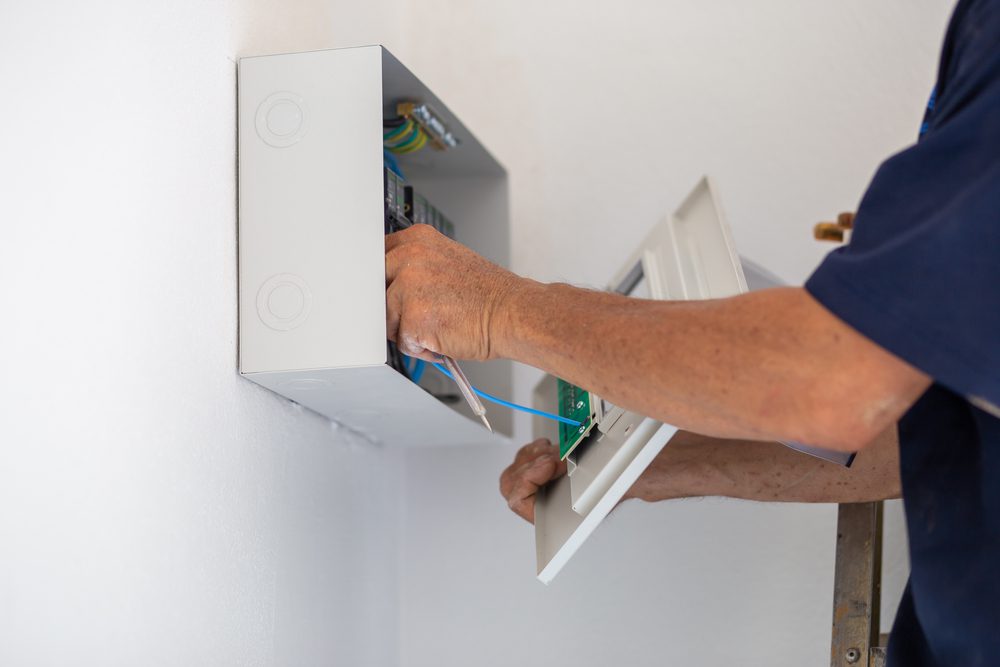
1. Install your wall boxes at a systematic height
There are no important specifications on how high switch plates and electrical junction boxes must be mounted on walls, but there are a few things you need to keep in mind for everything to be exactly as you wish. DON’T worry, there’s nothing too complicated and we’ll explain to you everything step by step.
Try to ensure that all electrical boxes stand by the same standard so that you won’t have any problems later. Unprofessional electrical work can easily be identified by taking a look at the uneven box heights across a house. Believe us, something like this doesn’t look good at all. But now that you have us to guide you through the process, you won’t have any issues.
- Connector plates installed in floors – in most cases, electrical outlet boxes are set up so that their lowest edges are between 12 and 16 inches from the ground. However, this separation can simply be modified to suit unique scenarios, so choose a number that works for your home;
- Lighting controls – according to experts, installing light switches on walls at a height of 48 inches above the ground is the norm, but it’s not a rule that you should respect no matter that. Speaking of that, this distance is flexible and might be adjusted from 43 inches up to 53 inches, depending on your needs and preferences. Lower switch heights, for example, might be useful in areas that are typically frequented by people who use a wheelchair;
- Kitchen countertop power strips – put the bottoms of switches and outlets above cabinets, approximately 4 inches from the countertop.
2. Make use of the box’s ruler
In certain cases, the plastic nail-in electrical boxes feature measurement tabs along the edges at 3/8 of an inch and these can be used to mark the distance from the studs’ outside faces to the location of the electrical box.
You should start your project by slowly extending the box’s nails by hand so that when you press the box against a stud, the nails’ tips just barely go inside the wood.
Don’t forget that the initial few hammer blows that drive the mounting pins into the stud are the most important, and this simple step helps keep the box in position for them.
3. Install an electrical box in the wall studs (if necessary)
In order to ensure the safety of wiring, electrical boxes are usually attached to the wall studs. Boxes mounted on studs, either by nails or with adjustable brackets, are very sturdy, which is exactly what you need when you perform this type of DIY project.
However, a good mounting location between the studs isn’t always easy to locate, but we’re here to help you out. So what do you think about the space between the studs? According to professionals, hovering the boxes between studs is a common practice, and 1 option is to use vintage electrical boxes.
What’s great is that the studs aren’t necessary for the installation of older-style boxes and we love it when things don’t come with a lot of complicated steps.
If you want to put the electrical box in, you’ll need to cut a rectangular hole in the drywall. When you’re done with that, you can turn the screws clockwise, either by hand with a screwdriver or using a cordless drill or driver.
When you move the screws, they also turn the 2 plastic wings beneath the drywall, which presses the box up against the wall. Keep in mind that the wings might break off, and it’s not as sturdy as a stud-mounted box, but it’s often your only choice when you need the box to fit in a tight spot between studs.
4. Use drywall reference strips
When it comes to new construction, a guide for installing wall boxes can be created by nailing a strip of drywall to the exposed studs. We know that it might be difficult to install the boxes with the correct offset without a guide, which means that the front edges of the electrical boxes won’t be flat with the final drywall surface.
Now you want to know that the electrical boxes are at the correct depth after the walls are done, so make sure that they are installed flush with the surface of this drywall strip.
Wallboard strips of the standard thickness of 1/2 or 3/8 inches are helpful for installing electrical boxes in the wall and should be kept on hand (you might need them later, so don’t skip this step). Make sure the reference strips are the same thickness as the walls if you want to use a different wall thickness (such as 5/8 inch thick, which is typically needed for certain firewalls), so everything looks well when you’re done.
5. Carefully hammer the box nails
Unfortunately, there’s a risk of breakage with plastic electrical boxes, but there’s also good news about this. To prevent that from happening, all you have to do is to nail the box together with delicate, deliberate strokes rather than big, sweeping swings. Make sure your punches are landing perpendicular to the stud at all times, so you don’t cause any damage.
Striking too forcefully might cause the box to be pushed back along the stud’s face. Experts say that you should be extra careful in the winter since a direct blow to the box might cause it to shatter or break.
6. Hammer each nail one at a time
To avoid damaging the wood, it’s recommended that you hammer in each nail approximately 1/4 of an inch at a time, alternating between nails rather than driving them all the way in at once. If you do this, the box won’t sway or deflect when you fasten it.
When installing outlets, some electrical experts don’t drive the mounting nails all the way into the studs. If the room’s configuration must be corrected before the NM cables are installed, you might take the box out without any trouble.
7. Reduce cord stress with metal boxes
According to professionals, in the average American home, lightweight wires for lights, appliances, laptops, and phone chargers are often housed in only 1 or 2 outlets in a standard electrical box. These lightweight wires put little stress on the wall plug and electrical box, so any standard plastic box should be good enough.
However, some cables are much heavier and bulkier than others, which might put undue stress on the wall socket and its housing. Moreover, even though dryers are rarely moved, the 240 V dryer lines that connect to the outlets are always putting a lot of stress on the electrical junction box.
A NEMA 14-50 outlet is often used to connect a Level 2 charging station for electric vehicles, which provides 240 V and 40 A. Instead of the more expensive Level 3 EV chargers, Level 2 chargers just plug into a wall outlet.
The outlet is constantly the subject of additional stress due to this type of motion. For 240 V outlets that are bigger, it is best to use a metal box, especially if the cables that go into it will be taken out and changed often. Pay attention to all these steps and you’ll install your electrical box in no time and in the right way.
…If you need further help with your home projects, we recommend checking out this article: 9 Cleaning Mistakes That Are Costing You Time And Money!






Leave a Reply