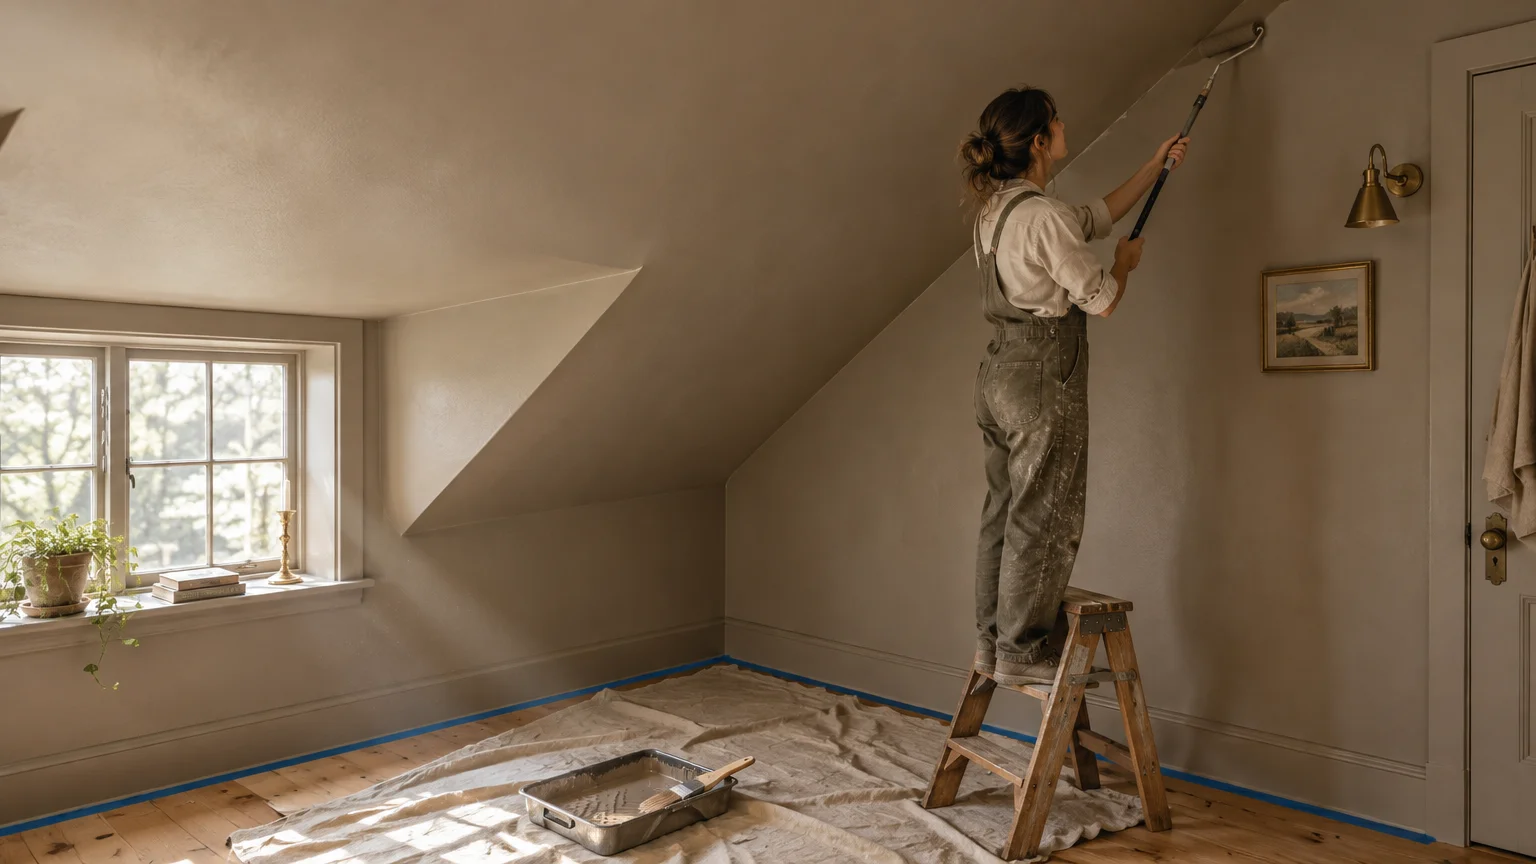
A fresh coat of paint instantly transforms a cramped room into an airy sanctuary when you avoid common visual traps. You can trick the eye, expand physical boundaries, and brighten dark corners with simple techniques.
Many DIY painters unintentionally shrink their compact rooms by choosing the wrong sheens, contrast levels, and lighting setups. Recognizing these pitfalls before opening a paint can protects both your budget and your weekend.
Proper preparation and smart color placement will turn your coziest spaces into expansive, functional retreats.
Planning Snapshot: Setting Up Your Small-Room Project
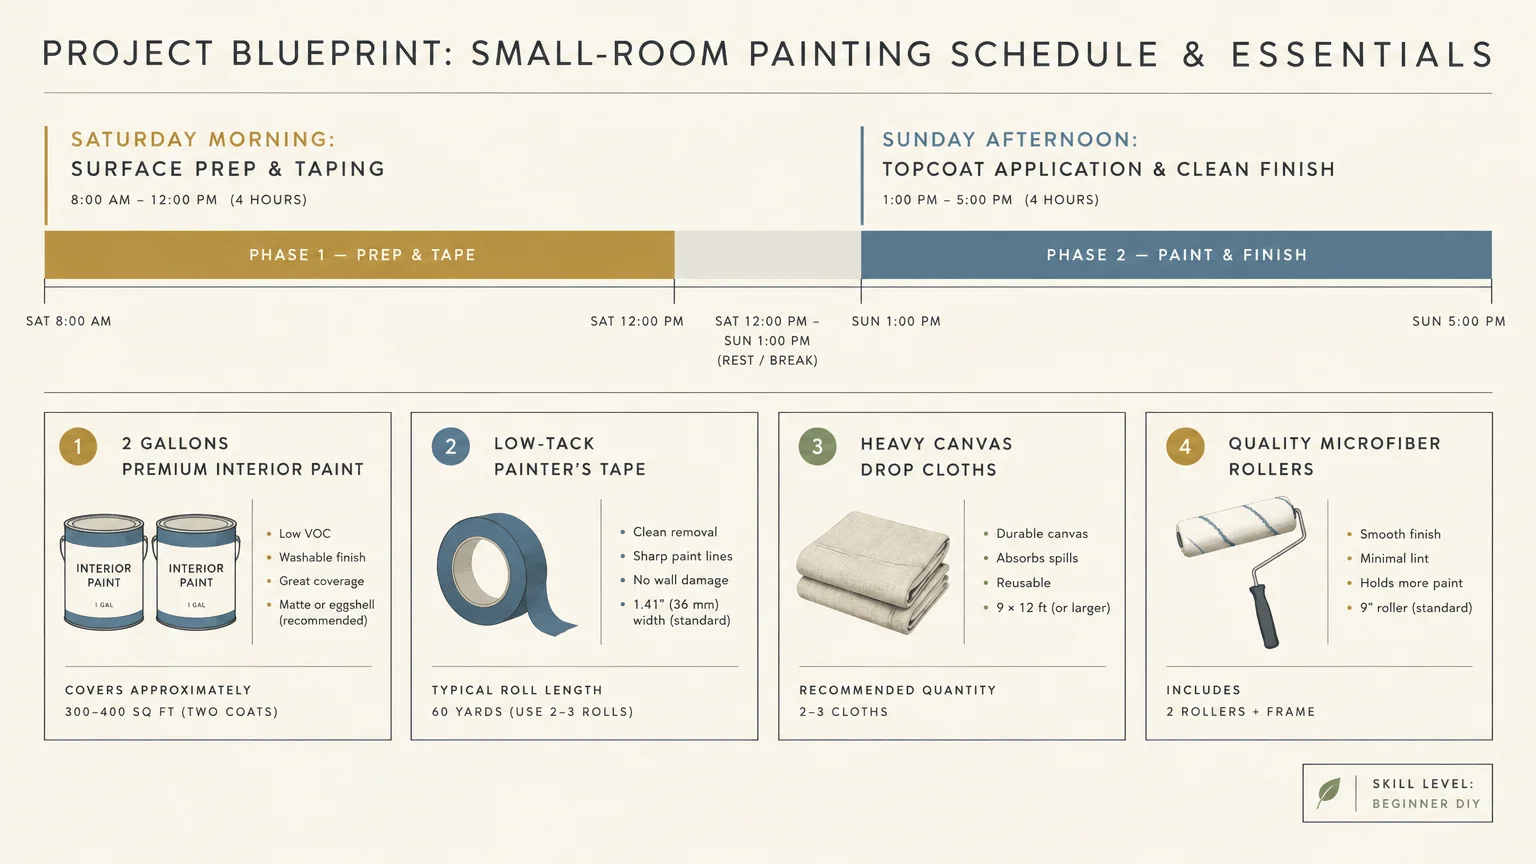
Painting a compact room typically requires one weekend of focused effort. You can finish surface prep on Saturday morning and apply topcoats by Sunday afternoon.
A standard budget covers two gallons of premium interior paint, painter’s tape, drop cloths, and quality rollers. Investing in reliable supplies prevents lap marks, patchy coverage, and frustrating touchup cycles.
Renters and homeowners with beginner DIY skills can easily tackle this project. You only need patient brushwork and consistent roller pressure to produce professional results.
Focus on quality rather than speed during every stage of the job. Careful execution delivers a smooth finish that makes tight spaces feel thoughtfully designed.
The 7 Costly Mistakes DIYers Make in Small Rooms
1. Defaulting to Stark White Paint
Many homeowners assume stark white paint automatically makes a tight room feel expansive. In practice, pure white requires abundant natural light to bounce around and create an open atmosphere.
Without direct sunlight, white walls often look flat, dingy, or cold. According to interior designers at Architectural Digest, paint requires tonal depth to interact successfully with limited ambient light.
Choose soft neutrals, warm off-whites, or creamy taupes instead of blinding white. These subtle pigments absorb artificial illumination gracefully and generate a cozy, welcoming glow.
If your compact room faces north, select an off-white that carries yellow or warm beige undertones. This warmth counters cool natural light and prevents walls from turning an uninviting gray.
Test your swatches against existing furniture and flooring to verify balance. Harmonious undertones keep tight perimeters cohesive rather than visibly fragmented.
2. Choosing the Wrong Paint Sheen
Paint finish fundamentally alters how human eyes perceive room dimensions. Flat or matte sheens absorb illumination, which can cause room borders to feel heavy and restrictive.
On the other hand, high-gloss paint magnifies every drywall bump, patch ridge, and roller stipple. The intense reflection creates harsh glare that calls direct attention to confined walls.
Satin and eggshell finishes strike the perfect balance for small bedrooms and sitting rooms. They reflect gentle light without exaggerating drywall imperfections.
For compact bathrooms and laundry rooms, satin provides excellent moisture barrier protection. You receive a durable, wipeable surface that disperses soft light across tight perimeters.
Reserve semi-gloss finishes exclusively for high-touch doors and trim. This targeted shine creates subtle depth without overwhelming the rest of the space.
3. Chopping Up the Room with High-Contrast Trim
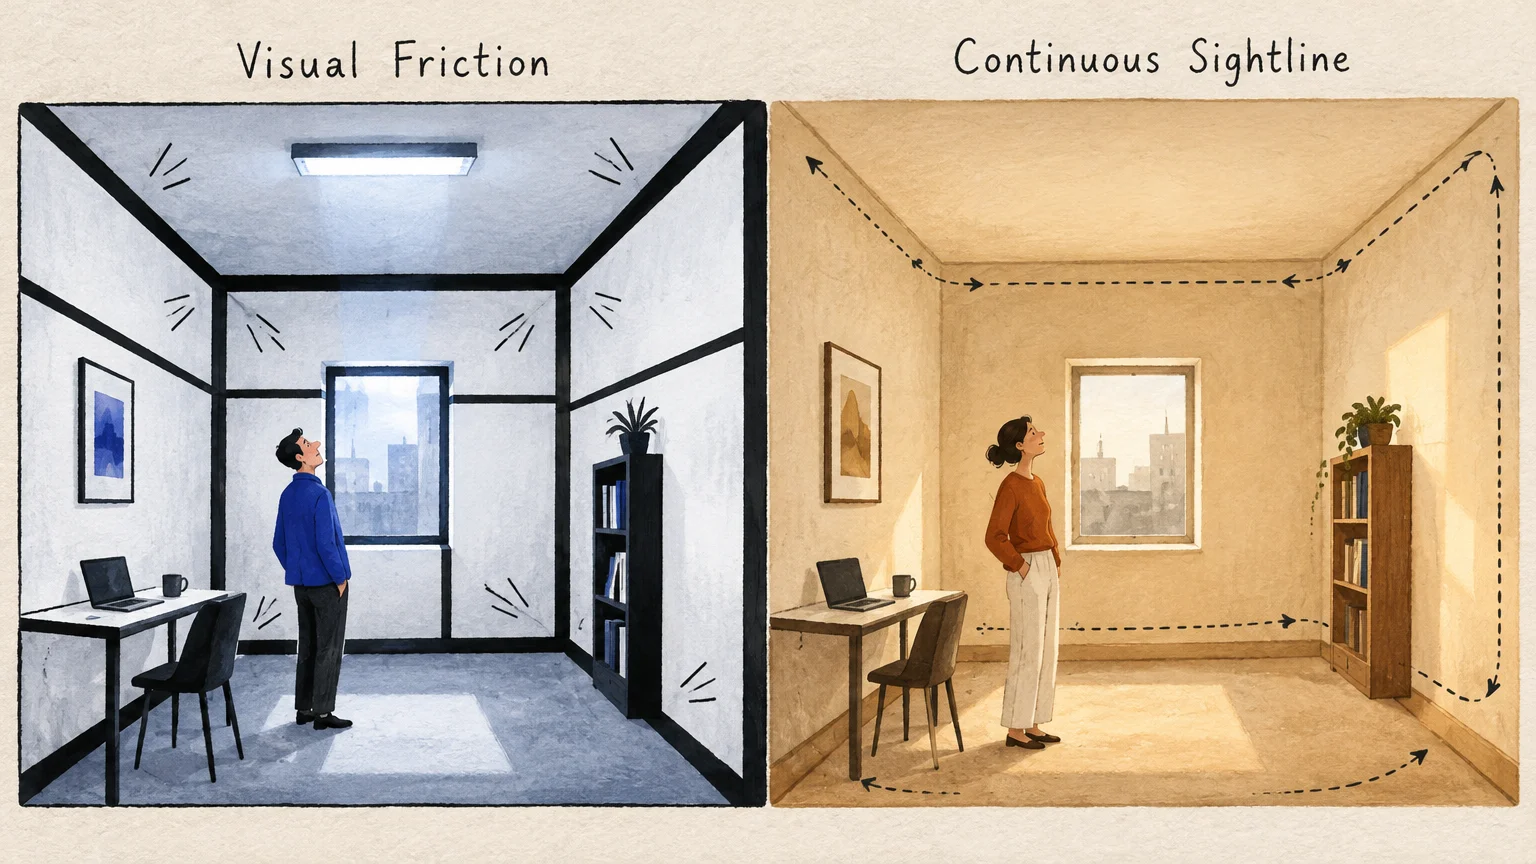
Pairing bright white trim with deep wall colors establishes rigid geometric boundaries. Your eyes instantly pause at every corner, baseboard, and window frame, reinforcing the room’s modest scale.
High contrast chops your walls into segmented boxes that restrict horizontal sightlines. This visual friction prevents eyes from sweeping smoothly across the interior envelope.
Paint your baseboards and window casings the exact same hue as your primary walls. Design features showcased on HGTV highlight how seamless trim colors visually expand tight footprints.
If you desire slight visual variation, use satin paint on the trim and eggshell paint on the drywall. The subtle shift in luster creates architectural definition without breaking sightlines.
This uniform color application blurs sharp perimeters and creates an illusion of boundless vertical space. Your room instantly feels taller, calmer, and more cohesive.
4. Leaving the Ceiling as an Afterthought
Most DIYers automatically coat ceilings with standard flat ceiling white. A stark horizontal dividing line where colored walls meet a bright ceiling makes low ceilings feel lower.
Bring your main wall color directly up onto the ceiling to eliminate harsh borders. Erasing the perimeter line makes overhead surfaces visually recede into the distance.
If you prefer lighter ceilings, tint white ceiling paint with twenty percent of your wall color formula. This softened contrast maintains an open feel overhead while preserving visual harmony.
For spaces with sloped roofs, dormers, or awkward duct bulkheads, paint every surface uniformly. Removing disjointed ceiling angles prevents the architecture from crowding your living space.
A unified overhead plane smooths out awkward angles and lends your cozy room an intentional, designer-quality finish.
5. Skipping Wall Preparation and Spot Priming
Surface blemishes become obvious when people stand close to your walls in compact rooms. Small spaces place drywall flaws under direct scrutiny, exposing every unpatched nail hole.
Skipping thorough cleaning compromises paint adhesion and traps dust beneath fresh layers. Oils from fingerprints prevent your topcoat from bonding, causing bubbling, peeling, or uneven sheen patches.
Wash your walls with warm water and mild detergent before touching a paintbrush. Patch surface depressions with quality spackling paste and feather the edges with fine sandpaper.
Coat all patched areas with a stain-blocking primer before applying your wall color. Unsealed spackle draws moisture out of fresh paint, leaving noticeable dull spots across finished walls.
Primer creates a uniform substrate that ensures your finish coats dry with consistent luster and saturated color.
6. Overlooking Lighting Temperatures and Undertones
Color swatches that look stunning under store lighting often look totally different inside your home. Small rooms frequently depend on artificial light fixtures, which heavily influence paint appearance.
Cool bulbs cast bluish rays that deaden warm hues, while warm bulbs turn cool grays muddy yellow. The Department of Energy shares guidance on how bulb color temperature influences interior rendering.
Mount large paint samples on several walls and watch them through different hours of the day. Turn on table lamps and overhead fixtures to observe how shifts in illumination alter wall color.
Install neutral LED bulbs rated between twenty-seven hundred and three thousand Kelvin for balanced indoor warmth. This balanced spectrum keeps your chosen paint hues accurate and comfortable on the eyes.
Proper lighting calibration prevents unexpected undertones from making your compact room feel dingy or claustrophobic.
7. Using Undersized Rollers and Rushing Recoats
Many painters assume small rooms require mini-rollers across large wall sections. Mini-rollers hold very little paint, forcing you to make countless passes that leave visible roller ridges.
Use a full nine-inch roller with a high-grade microfiber cover for smooth interior drywall. This tool covers wall planes quickly and preserves a consistent wet edge from corner to corner.
Applying a second coat before the base coat dries pulls half-cured paint right off the drywall. This impatience leaves rough clumping textures that require aggressive sanding to repair.
Consult the dry-time instructions on your paint can and adhere strictly to the waiting period. Allowing each layer to cure guarantees uniform color depth and dependable surface durability.
Maintaining proper ventilation with open windows or small box fans accelerates drying safely without causing surface flashing.
Strategic Execution: A Phase-by-Phase Painting Framework
Phase 1: Room Preparation and Surface Safety
Move all small furniture into an adjacent room to maximize your physical workspace. Group large furniture in the center of the room and drape it with heavy plastic sheets.
Unscrew switch plates, outlet covers, and window hardware instead of taping over them. Painting behind removed hardware produces crisp, clean margins and saves tedious masking time.
Spread thick canvas drop cloths over your flooring to trap paint splatters. Unlike slippery plastic coverings, heavy canvas absorbs paint drops immediately and stays securely flat under ladders.
Wipe down baseboards and vacuum perimeter edges to remove settled pet dander and dust. Airborne debris easily transfers onto wet rollers and ruins your fresh finish.
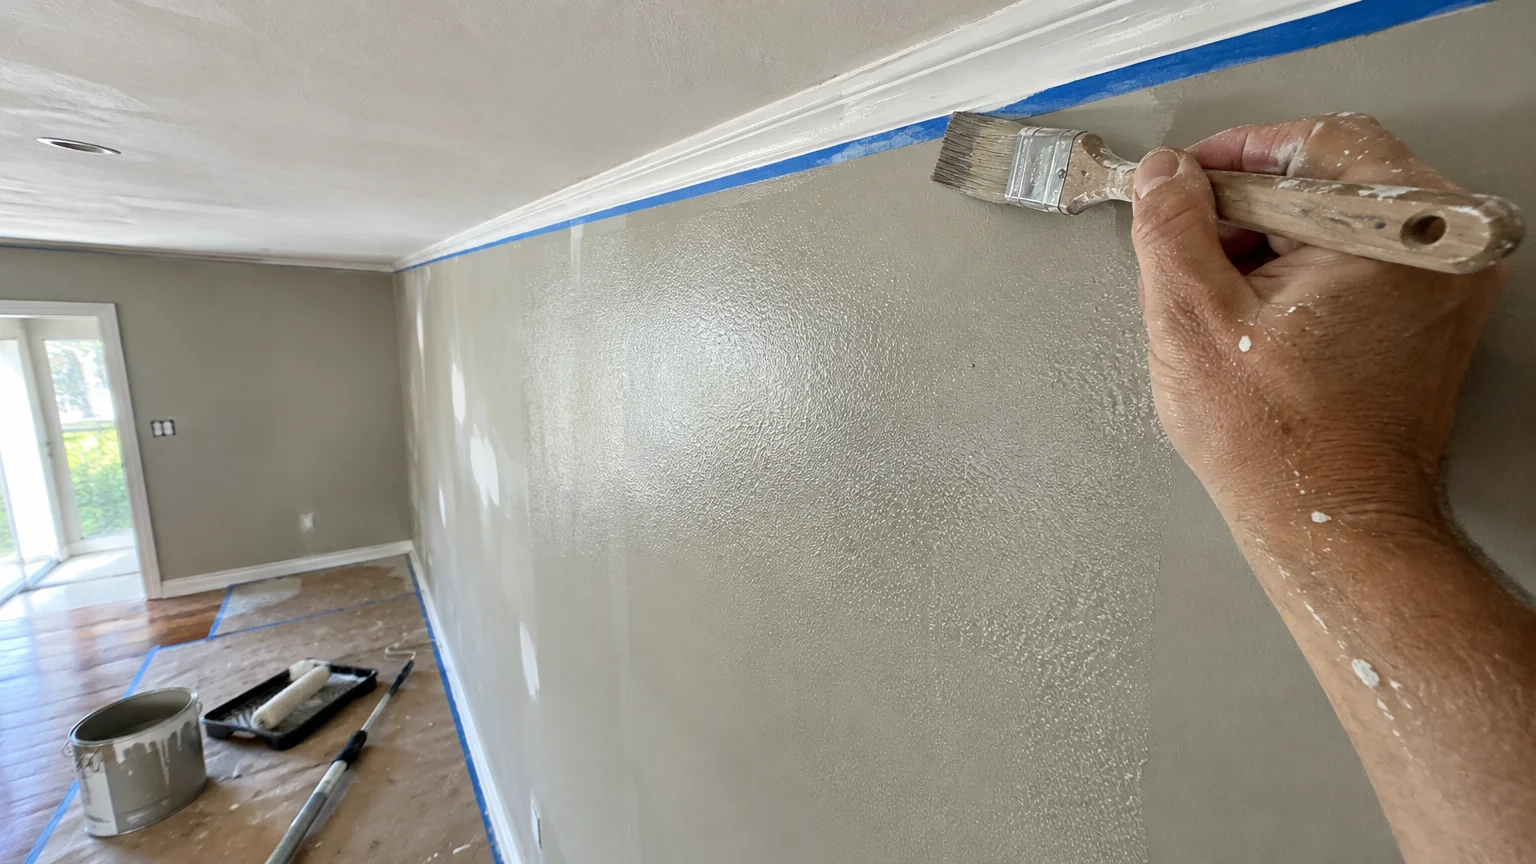
Apply blue painter’s tape along baseboards and ceiling lines, pressing the tape edge down firmly with a putty knife. A tight seal prevents liquid paint from bleeding under tape edges.
Phase 2: Precision Cutting and Wall Rolling
Begin by cutting in around ceiling borders and corners with an angled two-inch sash brush. Work along one wall at a time so your cut-in strip blends seamlessly with roller passes.
Pour paint into a sturdy tray and load your roller thoroughly on the textured ramp. Even saturation prevents dry roller dragging and splattering across surrounding surfaces.
Roll paint onto the wall using smooth, continuous vertical motions from bottom to top. Avoid erratic diagonal passes that distribute paint unevenly and leave noticeable overlap lines.
Step back periodically to inspect your wet edge under bright work lights. Catching heavy drips or roller marks while paint remains fluid allows for effortless smoothing.
Let the initial coat dry completely according to manufacturer instructions before starting your final application.
Phase 3: Inspection, Touchups, and Curing Care
Strip away your painter’s tape while the second coat is still slightly moist. Peeling tape back smoothly at a forty-five-degree angle preserves razor-sharp edges and avoids paint tears.
Hold a flashlight flush against the wall to spot thin spots or uneven roller coverage. Dab small amounts of paint with a foam brush to feather in any light patches.
Wash your synthetic paintbrushes immediately with lukewarm water and dish soap. Combing through damp bristles keeps the ferrule clean and maintains your brush shape for future projects.
Wait at least twenty-four hours before remounting wall decor or pushing furniture against freshly painted drywall. Full curing takes several weeks, so handle surfaces gently during the initial month.
Styling and Customizing Your Compact Palette
Thoughtful decorating choices amplify the spacious feel achieved by your fresh paint job. Explore DIY project tutorials and tool recommendations on Family Handyman to elevate your room layout.
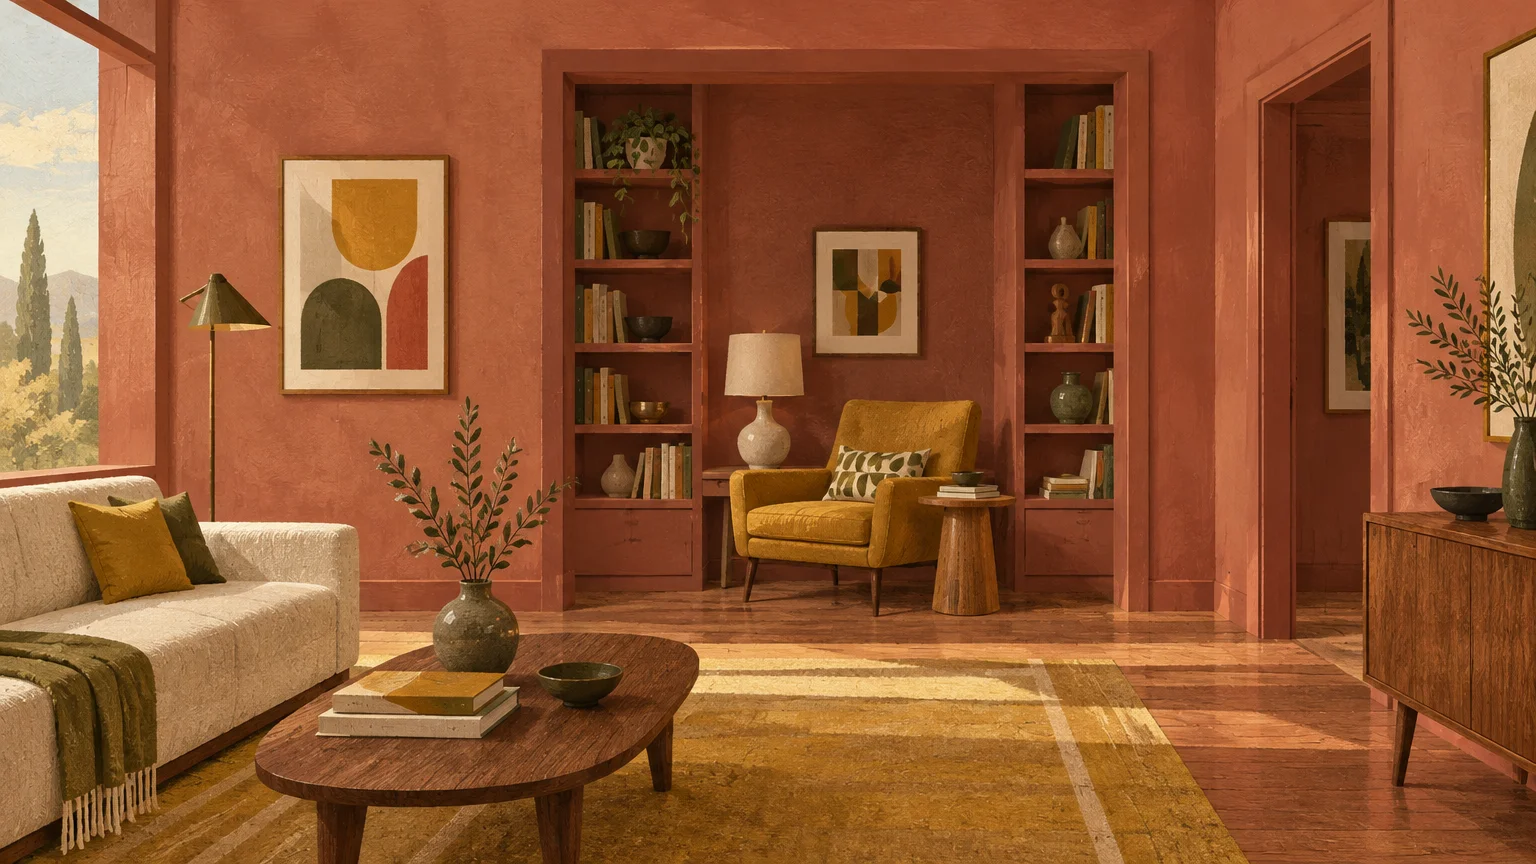
Embrace color drenching across doors, baseboards, walls, and built-in shelving. Wrapping every architectural feature in one unified shade smooths out distracting visual interruptions.
Don’t fear deep, saturated paint colors like forest green, rich navy, or charcoal. Deep hues absorb light in cozy dens and powder rooms, creating an illusion of infinite depth.
Position a large hanging mirror directly across from your main window or dominant light source. Mirrors reflect your new wall color and bounce natural illumination across dark corners.
Select drapery that closely matches your wall paint hue rather than contrasting textiles. Uniform drapery prevents sightline breaks, making window walls feel expansive and uncluttered.
Incorporate vertical wall battens or subtle shiplap painted in your wall color to draw eyes upward. Vertical lines emphasize room height, making tight spaces feel grand and airy.
Troubleshooting and Long-Term Wall Care
Small spaces experience frequent contact from elbows, furniture corners, and bags. Store leftover paint in a sealed glass mason jar for fast touchups whenever minor scuffs appear.
If you see shiny flashing over patched spots, your spackle absorbed the topcoat unevenly. Apply another full, uniform coat over the entire wall section to equalize the surface luster.
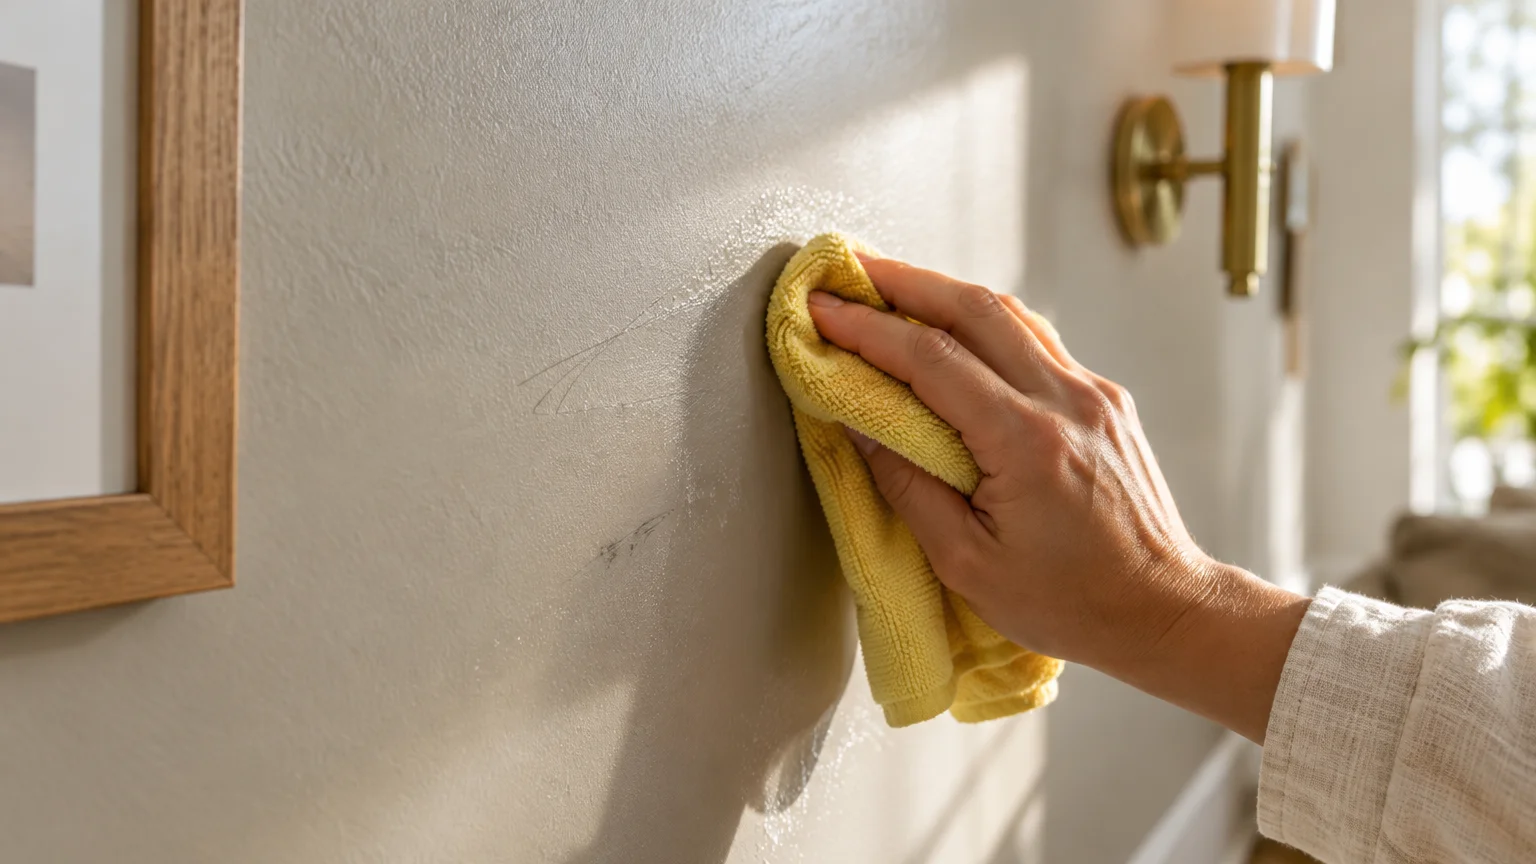
Clean stained walls gently using a soft sponge dampened with warm water and mild soap. Avoid aggressive scrubbing pads that burnish paint films and leave permanent shiny spots.
In small windowless bathrooms, run an exhaust fan for half an hour after every shower. Good airflow prevents humidity from drawing surfactants out of uncured paint layers.
Regular ventilation also keeps moisture from settling into drywall corners, protecting your paint investment from mildew and premature flaking.
Frequently Asked Questions
What paint finish works best in small bathrooms?
Satin finishes perform exceptionally well in compact bathrooms because they balance water resistance with gentle light dispersion. The low sheen resists mildew while wiping clean easily after steamy showers.
Avoid flat paint in wet environments because porous surfaces absorb humidity rapidly. Semi-gloss is another viable choice, though its higher sheen highlights drywall flaws.
Does color drenching really make a small space look larger?
Yes, painting walls, trim, and ceilings the same color eliminates hard visual divisions. Your eyes move freely across uninterrupted planes, which tricks your brain into perceiving expanded boundaries.
This technique works wonders in awkward spaces with low ceilings or irregular alcoves. Monochromatic color schemes disguise architectural quirks and produce a sophisticated, tailored environment.
How many gallons of paint do you need for a small bedroom?
Most small bedrooms require two gallons of paint for complete two-coat coverage. Calculate your wall area by multiplying total perimeter by ceiling height, then deduct windows and doors.
One gallon typically covers roughly three hundred fifty to four hundred square feet of smooth drywall. Purchasing two gallons ensures you have sufficient surplus for future maintenance touchups.
Can you use dark paint colors without shrinking the room?
Absolutely, because dark, saturated hues blur wall corners and create a perception of endless depth. The lack of distinct corner shadows makes it difficult for eyes to gauge room limits.
Pair deep wall colors with warm lamps, reflective brass hardware, and light-toned textiles. Layered lighting highlights rich pigment depth without turning your cozy retreat into a gloomy cave.
Transform Your Space Today
A small room provides the perfect canvas for honing your DIY painting techniques without feeling overwhelmed. You can complete the entire transformation in a single weekend with modest supplies.
Pick up paint samples, evaluate your room’s natural lighting, and prepare your surfaces with care. By sidestepping these seven common mistakes, you will unlock a brighter, more expansive home environment.
Grab your roller frame, tape your edges, and bring your vision to life today.