
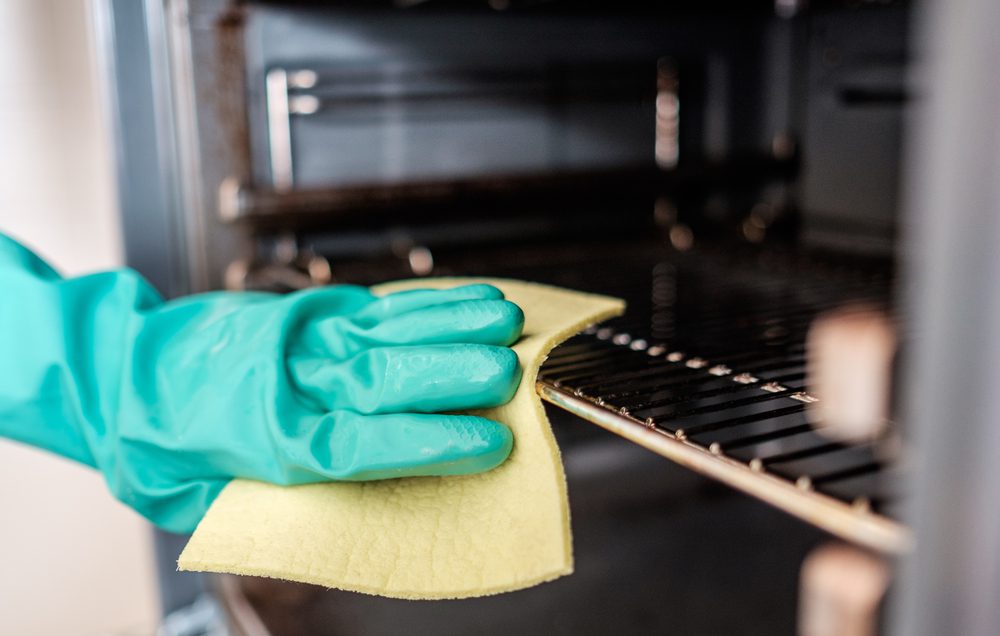
Ovens are probably that item in the kitchen that’s most likely to create a whole culinary crime scene very fast. There, you’ll find steak drippings that have gathered in a sludgy pool at the bottom, a rogue french fry that slipped through the rack and has slowly turned into pure carbon, but also the slick filk of grease on the glass that didn’t let you have a peak for way too long.
If you aren’t sure how you’re supposed to clean it, then this article will really come in handy. It might seem a bit overwhelming, but the reward that will later show off in a sparkly clean oven will make everything worth the effort.
Fortunately, deep cleaning shouldn’t be as scary as you thought. From the simple press of a button to various formulas that will instantly melt the grease away, here’s everything you need to know about a thorough cleaning session:
First, how often should I clean it?
According to Paul Bristow, the executive director of built-in cooking at GE Appliances, it’s best if you’d clean your oven at least every three to six months, or even more if that’s the case. It’s also very wise to spot-clean whenever you finish cooking. The more you take care of the oven, the easier the cleanup process will get. Besides making this chore more bearable, a clean one will also enhance the taste of food and will assure a clean environment, which means fewer germs.
How to clean the inside of the oven: use the self-cleaning function
Even if it sounds way too good to be true, lots of modern ovens have a self-cleaning feature. This self-cleaning cycle is a wonderful and time-saving convenience feature, as we found out from Bristow. He also added that during its cleaning cycle, the oven is usually heated up to 880 degrees Fahrenheit.
At this particular temperature, the food inside the oven starts to incinerate, leaving behind a little bit of ash. The leftover ash can be wiped out pretty easily with nothing but a damp cloth. Bristow added that self-cleaning is definitely the easiest way to clean your oven, but it’s also highly efficient if you want to clean it without all that mess that comes along with chemical cleaners or even DIY cleaners. The most important drawback is the oven will be locked up for three to five hours, and it will let off a lot of heat, which isn’t very pleasant in the warmer months.
It might also produce a very unpleasant smell, and you have to hide away from the kitchen for a couple of hours. If you have one of those self-cleaning types, there’s something else you might want to remember: you shouldn’t use a commercial oven cleaner or an oven liner if you have a self-clean one, as it will instantly damage the enamel coating. It’s also worth mentioning that the pans and racks might have to be removed, depending on which oven model you’ve got.
Use a cleaner you bought from a store
Even if the self-clean cycle might be pretty effective when it comes to removing baked-on grease and any other types of grime from your oven, you still have many alternatives. One option would be to use a chemical store-bought cleaner, like Easy-Off Professional Fume Free Max Oven Cleaner.
After you finish removing the bigger chunks of loose food, make sure you spray a good cleaner inside the oven and let it sit for a minimum of 30 minutes. The cleaner will lift the grime and grease, allowing you to carefully wipe it away. Given that these chemicals are so strong, it would be advised to open the windows and wear gloves and a face mask while you’re cleaning the oven.
Then apply a DIY cleaner
If you tried to find ways to clean your oven without using an oven cleaner, you could easily DIY a natural cleaner, by mixing soda, vinegar, and water together. You could skip all the chemical oven cleaner fuss and simply use a safe solution that will still bring awesome results.
A proper handmade oven cleaner can be made with baking soda and water. The baking soda then gets the features of an abrasive material, and the water softens the baked-on crud and loosens the undesired food particles.
You could easily make a paste and apply it everywhere inside the oven, and then let it sit a minimum of 20 minutes, to make sure it properly breaks down all the burned food. Or, you could add a little bit of vinegar to that baking soda mixture, if you want to have additional cleaning power.
All you have to do is spray the vinegar on top, and then let it bubble and rest for 20 minutes. The next thing would be using a non-abrasive pad and gently scrubbing all surfaces.
Remove and soak all the racks
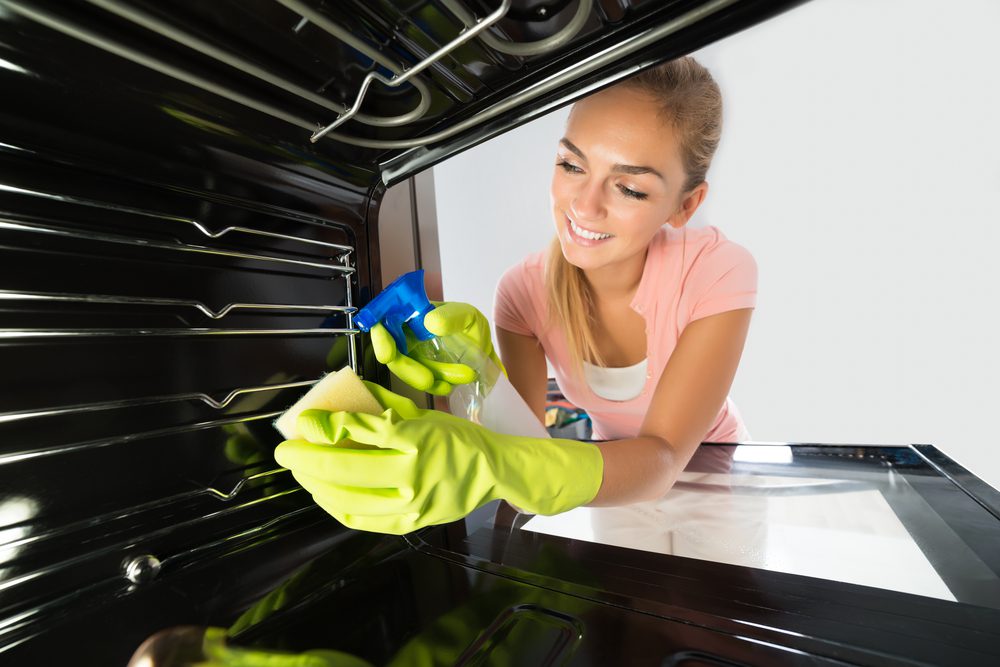
No matter which type of oven you have, probably the best way to clean those metal racks is to completely remove them from the oven, and thoroughly soak them in boiling water, with a tiny bit of dishwasher detergent.
If you’re wondering where to do that, you could easily do it in the bathtub! It’s actually a very good place to soak oven racks, even if you might want to consider cleaning the tub afterward. After soaking for a couple of hours, scrub the racks with a harsh brush, rinse, and carefully dry them before putting them back in the oven.
Add some baking soda to remove all the impossible spots
Instead of boiling the water, you could also use baking soda and the water mixed with some vinegar spray. The secret is to let it sit long enough. This way, the ingredients will start to work, and the scrubbing will be reduced to zero.
Use the self-clean function for the oven’s porcelain racks
If your oven has porcelain racks, instead of metal ones, Bristow advised you to leave them in the oven if you’re using a self-clean cycle. He also noted that if you’re lucky, your oven might even have a steam-clean option that rapidly takes care of all the small food spills that are hiding on your racks.
The cycle will require less heat than traditional self-cleaning. “Steam cleaning doesn’t involve chemicals, so all the standard pans and racks could easily stay in the oven during cleaning. Also, it should be used way more often than self-clean, in order to avoid stubborn stains from becoming baked on.” as Bristow advised.
How to clean the knobs: take a microfiber rag and wipe the knobs down
The simplest damp microfiber rag could be used on and around the knobs extremely efficiently. If your job requires it, you could use a rag with a little bit of soap or just a disposable wipe.
Try not to spray directly on the knobs
We would advise you not to spray the oven knobs with a household cleaner. The liquid might get behind the knobs and switches, and easily short out the control panel. But there’s something you could do: just spray a rag with some liquid cleaner, then rub the controls to prevent unwanted shorting.
How to clean the glass its doors: mix the baking soda into a paste, then apply
The glass door might need a gentler approach than the racks, as glass is way more susceptible to scratches. This basically means that you need to skip abrasive products and use a less aggressive scrubbing technique.
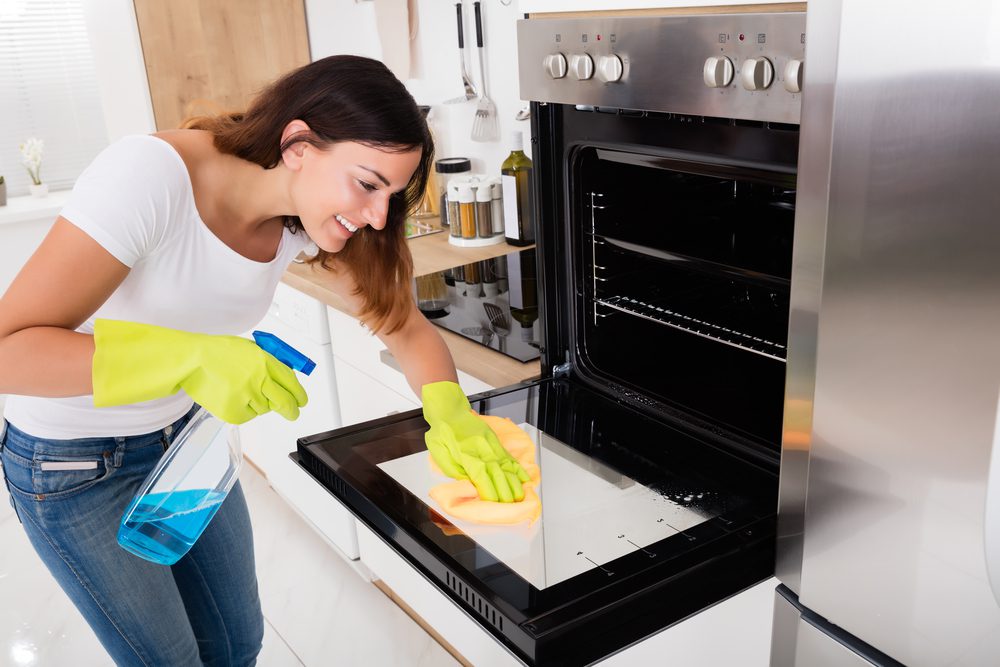
If you want to be careful with the oven’s glass door, mix some baking soda and water to make a thick paste. Then, gently spread the paste on the glass, and let it sit for a while (minimum 20 minutes). After, carefully wipe up the paste with a clean microfiber cloth, rinse with water, then buff it dry for that amazing sparkly shine.
Wipe down the glass with some glass cleaner
At the same time, you could also spritz on some soapy water or even an oven cleaner. If you want to get the job done right, just use a standard glass cleaner or a little bit of diluted vinegar and a cloth.
Remove the dust and debris from all hidden areas
Some oven glass doors are made out of two pieces of glass, which might lead to blocked crumbs, dust, or even grease streaks in time. This is something you could easily clean, even if it requires a little more effort.
First things first, open the door and let it rest on your leg for some support, then carefully unscrew along the top of the door. Once you successfully unscrewed it, you will have easier access to the in-between layers of the oven. To properly clean the dust and crumbs, get a vacuum hose in the process. If you want to take care of the grease as well, take a damp sponge with a long handle.
If you enjoyed reading this piece, you might also want to try: Want a Kitchen Reno? 8 Best Tips To Fake One






Leave a Reply