Conquer stubborn bathroom grime and dark wall spots with a high-performance DIY mold and mildew remover that actually eliminates fungi at the root. You do not need harsh chlorine fumes or expensive commercial chemical sprays to restore clean, healthy surfaces across your home. By combining affordable household ingredients with proper mechanical scrubbing techniques, you can effectively treat surface spores while keeping your indoor air quality safe. This guide walks you through mixing proven formulations, managing indoor humidity levels, and safely restoring painted drywall, tile grout, and caulking before microscopic colonies take over your living space.
Planning Your Project: Scope, Budget, and Essential Safety Protocols
Tackling fungal growth early protects your family’s health and preserves your home’s structural materials. While professional remediation services average between $1,223 and $3,757—with preliminary mold testing costing anywhere from $250 to $800—a homemade cleaning system costs less than $15 using basic pantry supplies. Expect to spend approximately one to three hours executing a deep cleaning, depending on the surface texture and severity of the discoloration.
Before mixing ingredients, evaluate the scale of your infestation. Guidelines established by the U.S. Environmental Protection Agency state that DIY removal is appropriate only for localized areas covering less than 10 square feet—roughly equivalent to a three-foot by three-foot patch. If fungal growth spans larger areas, stems from contaminated sewage, or lives inside your central HVAC ductwork, hire a licensed professional remediator immediately to prevent widespread contamination.
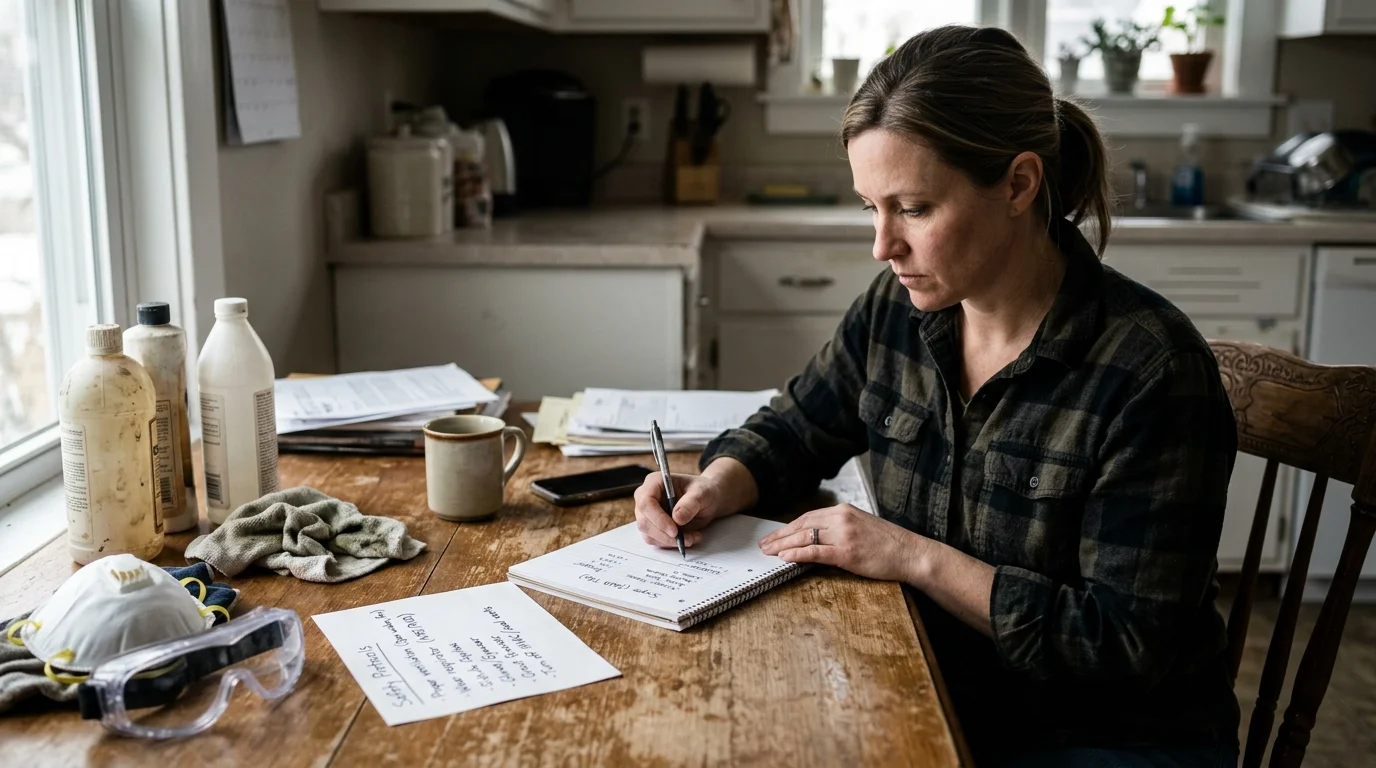
Safety remains paramount whenever you disturb microscopic fungal colonies. Mechanical scrubbing agitates inactive spores, launching thousands of particles into the air where you can easily inhale them. Equip yourself with essential Personal Protective Equipment (PPE) before starting: a well-fitted N95 respirator mask, non-porous rubber gloves, and unvented protective safety goggles. Isolate the room by closing interior doors and opening windows to direct airborne particles outside.
The Science of Non-Toxic Cleaners: Why Bleach Fails on Porous Surfaces
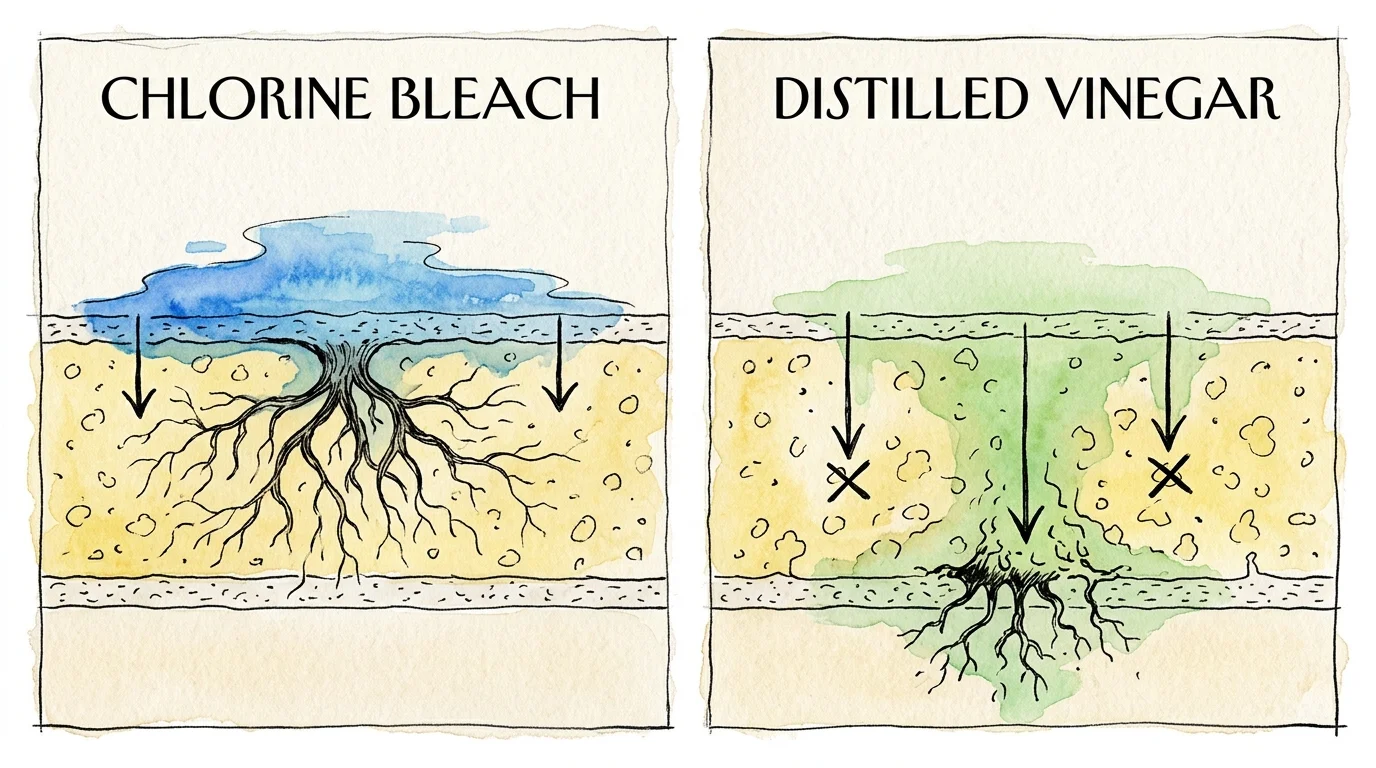
Homeowners often reach for household chlorine bleach at the first sign of mildew, assuming its strong chemical scent guarantees total eradication. Chlorine bleach instantly oxidizes surface pigments, stripping dark colors and giving the visual illusion of a clean surface. However, bleach possesses high surface tension and a chemical structure that prevents it from penetrating porous materials such as painted drywall, unsealed tile grout, and raw lumber.
Both the EPA and professional restoration standards advise against chlorine bleach for routine mold cleanup on porous substrates. Bleach wipes out surface growth but leaves underlying root structures—known as fungal hyphae—completely intact beneath the surface. Because commercial bleach contains up to 90 percent water, the porous material absorbs the liquid component, feeding the lingering roots and triggering aggressive regrowth within days.
Distilled white vinegar offers a superior, non-toxic alternative that attacks fungi at a structural level. Containing approximately 5 percent acetic acid, white vinegar penetrates porous substrates to destroy deep root systems. Penn State Extension research confirms that mild acetic acid effectively kills roughly 82 percent of mold species, including common household varieties. Pairing vinegar with 3 percent hydrogen peroxide—a strong natural antifungal agent—and sodium bicarbonate (baking soda) creates a multi-stage cleaning system that cleans, deodorizes, and brightens surfaces without releasing toxic volatile organic compounds into your living space.
The Three-Phase DIY Mold Removal Process
Phase 1: Workspace Containment and Surface Preparation
Begin by turning off your central heating and air conditioning unit to prevent fan systems from circulating dislodged spores into adjacent rooms. Open exterior windows to promote fresh airflow and turn on localized bathroom exhaust fans. Put on your N95 respirator, non-porous rubber gloves, and protective goggles. If you are cleaning vertical walls or ceilings, lay plastic drop cloths across flooring and vanity counters to capture dripping cleaning solution and falling debris.
Phase 2: Spray Application and Chemical Dwell Time
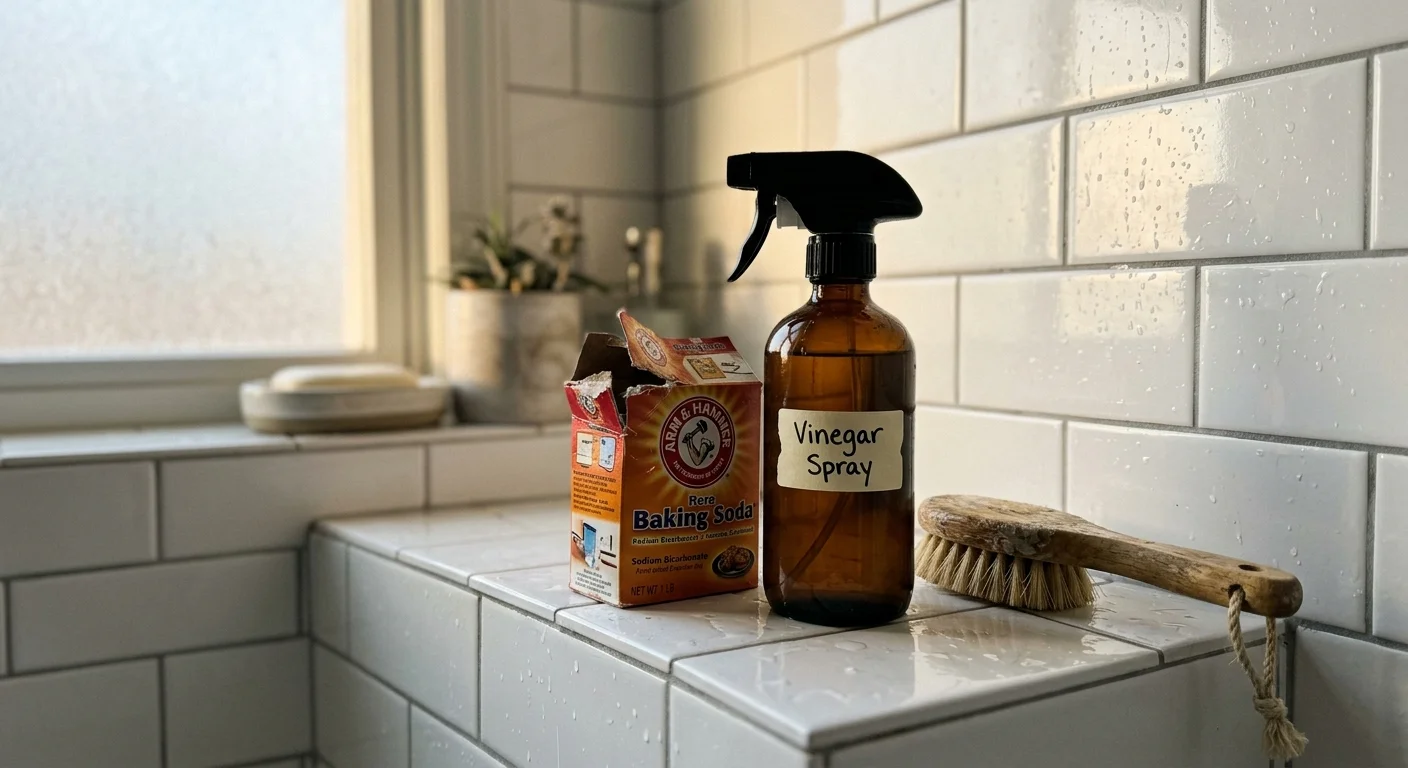
Pour undiluted 5 percent distilled white vinegar into a clean spray bottle. Spray the vinegar directly onto the affected tile, grout, or wall surface until the material is thoroughly saturated. Allow the solution to sit undisturbed for at least 60 minutes. This critical dwell time allows the acetic acid to break down stubborn cell walls and reach deep hyphae roots embedded in grout lines or drywall paper.
Exercise strict chemical safety during this phase: never mix white vinegar and hydrogen peroxide together in the same liquid container. Combining these two liquids creates peracetic acid, a corrosive chemical that irritates eyes, skin, and respiratory passages. Instead, utilize them sequentially or pair your vinegar treatment with a neutral baking soda scrub.
Phase 3: Mechanical Agitation, Rinsing, and Rapid Drying
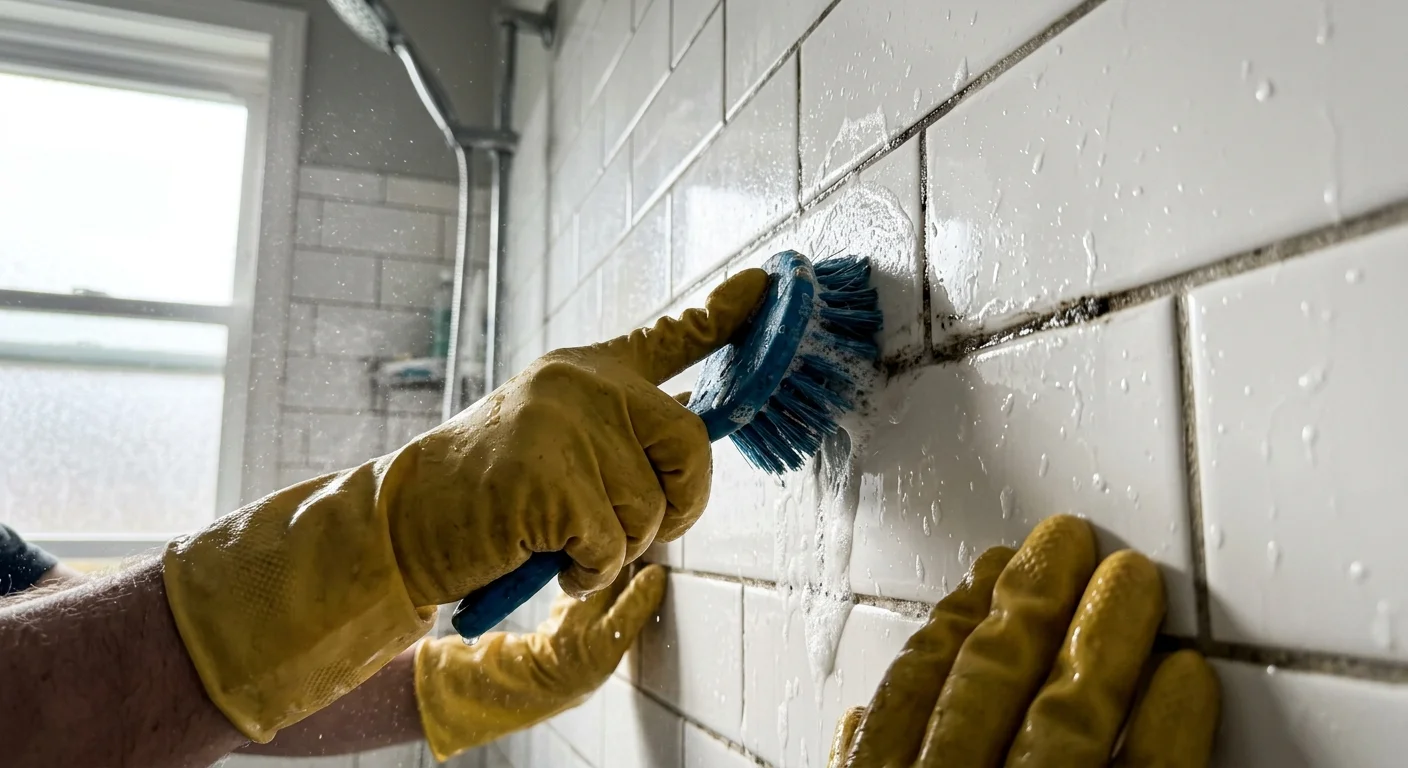
After the vinegar sits for one hour, mix a thick scrub paste using one-half cup of baking soda, one tablespoon of liquid dish soap, and two tablespoons of water. Apply this paste over the saturated area. Grab a stiff-bristle nylon brush—avoid wire brushes that scratch tile glazes—and scrub in firm circular motions to dislodge dead fungal mass and surface grime. Wipe away the slurry using a damp microfiber cloth, rinsing the cloth frequently in clean warm water.
To brighten lingering surface stains and destroy residual spores, spritz undiluted 3 percent hydrogen peroxide directly onto grout lines and allow it to fizz for 10 minutes before giving a final wipe. Mold spores colonize damp materials within 24 to 48 hours of exposure to moisture, making thorough drying essential. Set up high-velocity floor fans or run a portable dehumidifier in the room until all surfaces feel completely dry to the touch within two hours.
Preventative Design, Materials, and Moisture Management
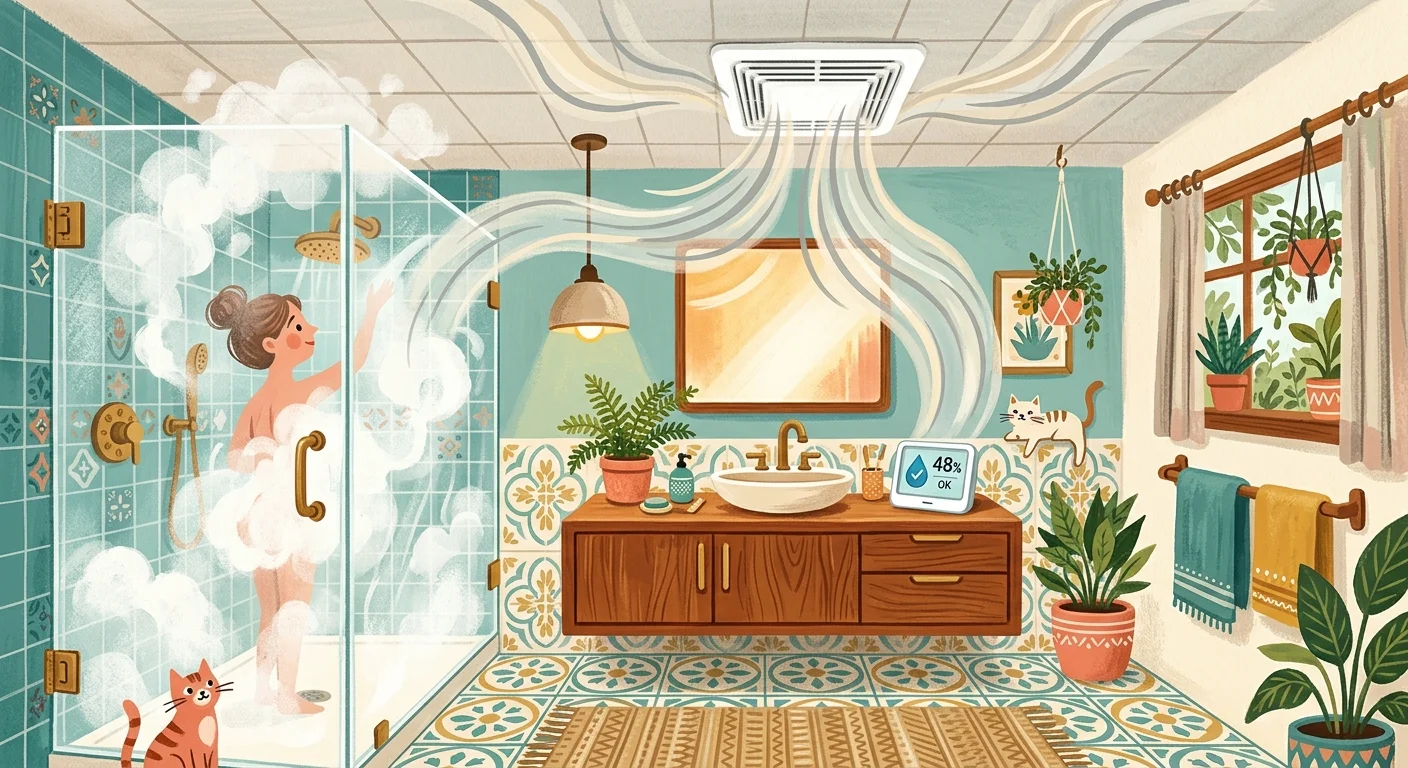
Eliminating existing fungal growth solves only half the equation; long-term success requires controlling indoor humidity levels. According to guidelines from the Centers for Disease Control and Prevention, keeping indoor relative humidity consistently below 50 percent stops spores from germinating. Purchase a digital hygrometer to monitor room moisture levels, particularly in humid zones like basements, kitchens, and master bathrooms.
Elevate your space by choosing functional, moisture-resistant design materials during home updates. Swap standard interior latex paint for semi-gloss or satin finishes formulated with built-in mildewcides, especially on bathroom ceilings and vanity walls. Useful tips from HGTV design guides suggest installing high-CFM (cubic feet per minute) ultra-quiet exhaust fans wired to automatic humidity sensors that run until excess ambient moisture dissipates post-shower.
Rethink your furniture layout and room styling to encourage continuous airflow. Positioning heavy wooden dressers, upholstered sofas, or thick drapery directly against cold exterior walls creates stagnant air pockets where condensation accumulates. Maintain a two-inch gap between furniture frames and exterior walls to promote air circulation. Incorporate breathable natural linen textiles, non-porous quartz or ceramic countertops, and sleek open shelving to create a polished aesthetic that naturally repels fungal growth. Explore Architectural Digest moisture management tips for creative ways to blend industrial dehumidifiers into chic cabinetry.
Troubleshooting Common Pitfalls and Long-Term Maintenance
If dark spots reappear within weeks of treatment, an unaddressed underlying water source is supplying moisture. Check behind toilets, inspect pipe fittings under vanities, and search window frames for compromised exterior flashing. Treating surface growth without fixing plumbing leaks or structural condensation yields only temporary relief, as lingering dampness triggers re-infestation every 24 to 48 hours.
When dealing with black spots trapped behind flexible shower caulk, cleaning solutions cannot penetrate the physical rubber barrier. Peel out old, failing silicone caulking using a utility knife and scraper tool. Clean the exposed joint thoroughly with white vinegar, scrub away residue, let the seam dry completely, and apply fresh 100 percent silicone sealant containing advanced mold-inhibiting technology.
Establish a simple maintenance routine to prevent future outbreaks. Keep a spray bottle filled with white vinegar inside your shower enclosure. Spritz tile walls and glass doors once or twice a week after bathing, allowing the vinegar to air dry. This quick misting neutralizes stray spores, prevents soap scum build-up, and keeps grout lines looking pristine with minimal effort.
Frequently Asked Questions
How do you determine if mold growth requires professional remediation?
Professional remediation is necessary if fungal growth covers more than 10 square feet, if contamination extends inside HVAC ductwork, or if growth stems from sewage leaks or flooding. Additionally, if occupants suffer from severe asthma, immune deficiencies, or persistent respiratory symptoms, hire a certified professional who utilizes negative air pressure containment and HEPA filtration systems.
Can you safely combine vinegar and hydrogen peroxide to create a stronger cleaner?
No, you should never mix white vinegar and hydrogen peroxide in the same container. Combining these ingredients forms peracetic acid, a corrosive substance that releases harsh vapors capable of irritating your eyes, throat, and skin. For maximum effectiveness, apply white vinegar first, scrub the surface, rinse thoroughly, and then apply hydrogen peroxide as a secondary brightening mist.
What is the most effective way to remove mildew from shower caulk and grout?
Apply undiluted 5 percent white vinegar to the grout lines and caulk, letting it sit for one hour. Follow with a scrub paste made of baking soda, dish soap, and water using a stiff nylon brush. If mildew has grown underneath flexible silicone caulk, strip away the compromised caulk, clean the bare seam, and re-caulk with fresh mold-resistant silicone.
How quickly does mold return if moisture levels remain high?
Microscopic mold spores can germinate and begin forming visible colonies within 24 to 48 hours of exposure to moisture. Controlling ambient humidity below 50 percent, fixing plumbing leaks immediately, and running exhaust fans after showering remain vital steps to permanently prevent regrowth.
Transform Your Home Environment Today
You do not need toxic chemicals or expensive service contracts to conquer home mold and mildew problems. Equipped with safe pantry essentials, proper protective gear, and strategic ventilation habits, you can take complete control of your living space. Inspect your bathroom tile, laundry room walls, and basement corners today, apply these proven steps, and enjoy a cleaner, healthier home environment.