You want gleaming wood planks, not dull haze, warped seams, or voided warranties. Everyday habits you think are helpful—like firing up a steam mop or mixing vinegar with water—quietly strip protective finishes.
Replacing water-ruined boards or paying for premature refinishing drains your budget fast. Fortunately, eight proven cleaning habits block abrasive grit, trapped moisture, and harsh chemicals before they damage your floors.
Each practical step fits a busy schedule and works across modern wood finishes. Use these methods to clean faster, lower long-term repair costs, and keep your planks crisp for decades.
Dry Prep Habits That Stop Micro-Scratches
Wet mopping a dirty floor turns harmless dust into liquid sandpaper under your mop pad. Before a single drop of cleaner touches your planks, dry prep removes the sharp mineral grit that clouds glossy polyurethane.
Treat dry soil removal as your primary defense against premature wear. When you clear grit first, your periodic wet cleanings stay fast, streak-free, and gentle on the topcoat.
1. Dust Mop Daily With Microfiber or Flagged Bristles
Footsteps grind microscopic sand and backyard soil straight into wood finishes within hours. The National Wood Flooring Association recommends sweeping or dry dust mopping daily, especially across hallways, kitchens, and entryways.
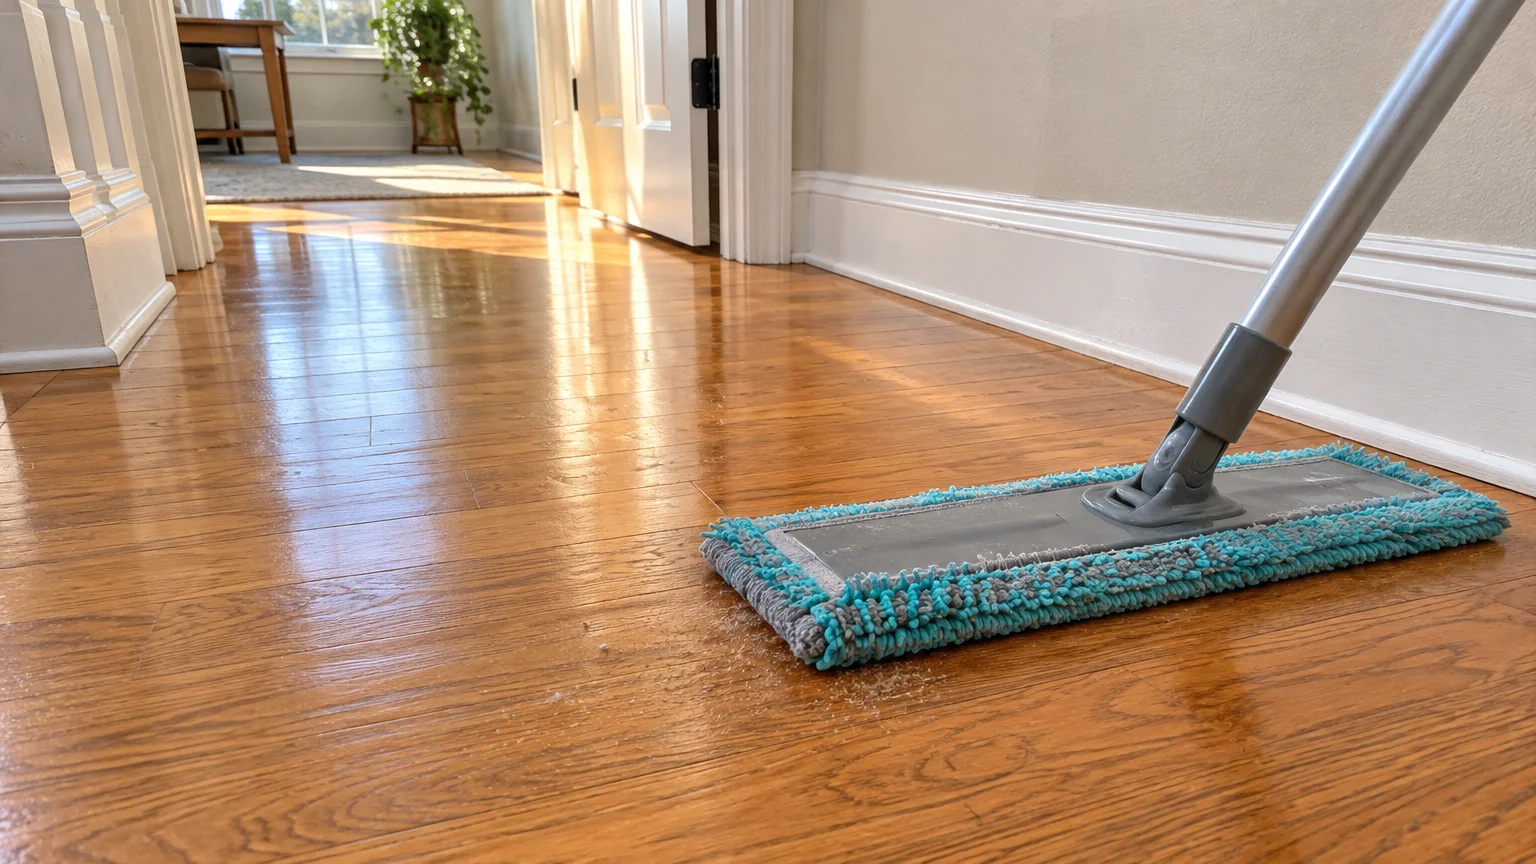
Skip old-fashioned stiff straw brooms because their coarse stalks carve tiny scratches across soft clear coats. Grab a clean microfiber dust mop or a synthetic-fiber broom with soft, flagged tips that cradle fine dust instead.
Keep your microfiber pad flat against the floorboards from wall to wall. Bona advises against lifting a dry microfiber mop mid-pass so captured grit stays locked inside the fibers rather than dropping back onto your clean path.
Want a quick time-saving hack for busy mornings? Park a dedicated microfiber dust mop in a pantry near your kitchen so a fast sweep becomes automatic right after breakfast.
Wash dry dusting pads separately in plain detergent without fabric softener. Softener coats synthetic fibers in waxy film that kills static charge and smears grease across your planks during the next pass.
2. Vacuum Weekly Without a Spinning Beater Bar
Even thorough sweeping leaves fine grit wedged inside board bevels and expansion seams. Guidance from the NWFA, Bona, Bruce Flooring, and Johnson Hardwood calls for vacuuming wood floors at least once every week.
Your vacuum head matters far more than raw suction power. Use a straight-suction canister vacuum fitted with a soft natural-hair or felt brush attachment to glide smoothly over delicate finishes.
If you rely on an upright machine, switch it to the bare-floor setting before turning it on. Verify that the spinning beater bar or brush roll stops completely so stiff nylon bristles never hammer dirt into the wood.
Spinning brush rolls also fling heavy sand grains backward at high speed against your baseboards. Flip the vacuum over regularly to peel off hair and check the wheels for embedded pebbles.
That quick wheel inspection saves you from dragging a single trapped rock across an entire living room. Keep a small handheld brush attachment handy for vacuuming baseboard shoe molding at the same time.
3. Block Grit and Dent Pressure Before Dirt Enters the Room
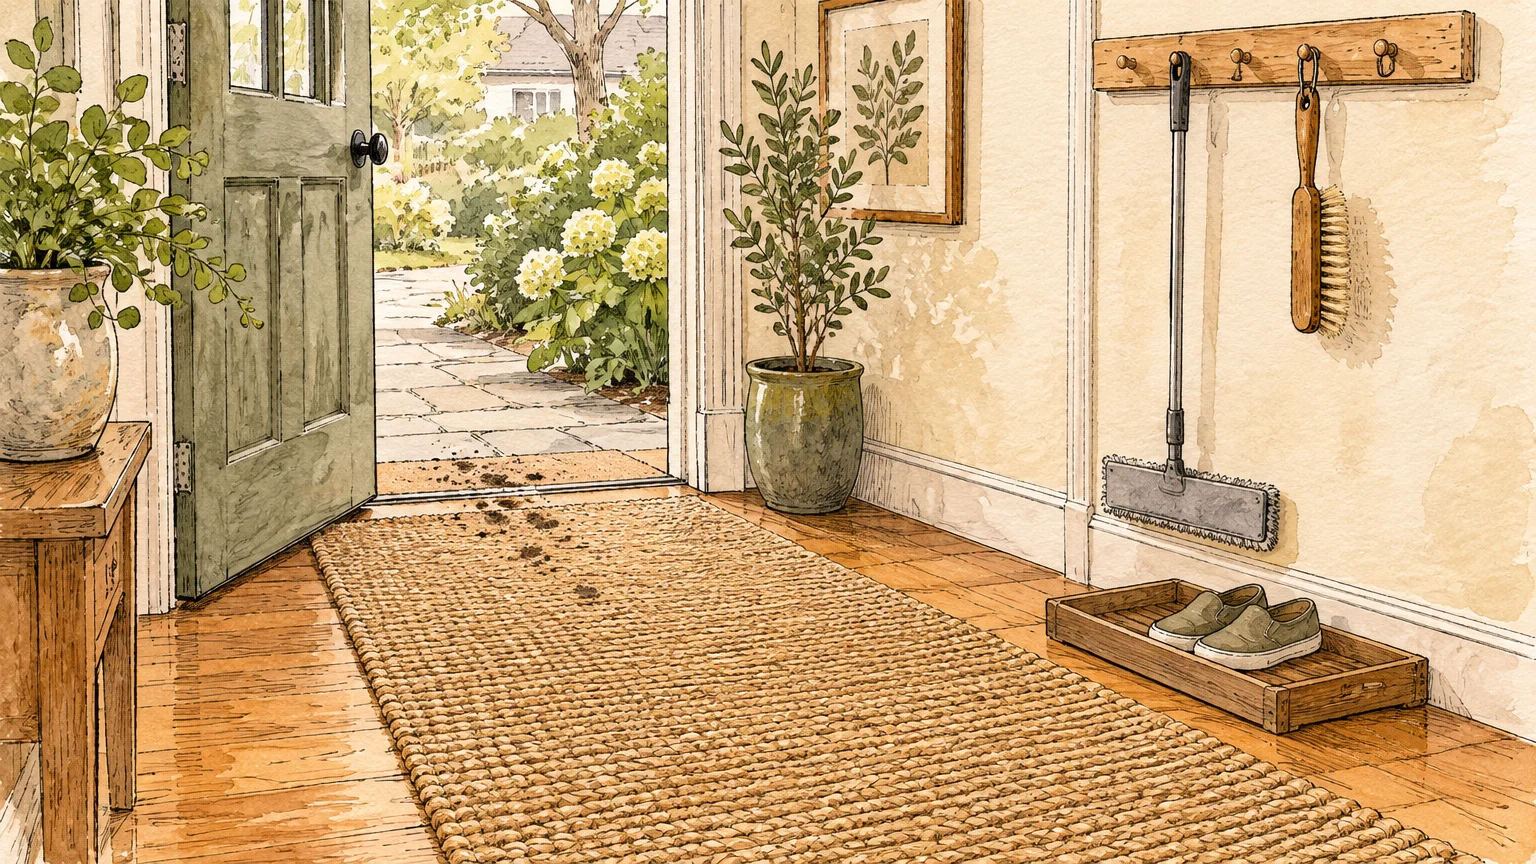
Stopping soil at the doorway cuts your weekly cleaning time. NWFA and Johnson Hardwood care guides recommend placing breathable entry mats wide enough for at least two full steps at every exterior door.
Two steps force shoes to shed wet sand and street salt before anyone hits bare planks. Shake or vacuum those mats regularly so trapped gravel never overflows onto adjacent floorboards.
Sharp point loads damage wood fibers just as badly as loose grit does. Research highlighted by Barnum Floors shows a 125-pound person in a high heel missing its rubber cap exerts roughly 2,000 pounds per square inch.
That concentrated pressure easily dents oak, maple, and softer pine species in a single step. Adopt a strict shoes-off policy near the front mat and keep spare house slippers in a nearby basket.
Protect heavy furniture legs with thick felt pads or indoor-outdoor carpet glides before sliding anything back into place. Remove hard plastic or metal factory caps first, and swap plastic office chair casters for soft rubber caster wheels.
Keep dog and cat claws trimmed short to prevent rhythmic clicking marks down busy corridors. Felt pads wear thin quickly under dining chairs, so inspect and replace compressed pads regularly.
Wet Cleaning Chemistry and Moisture Control
Wood breathes, swells, and shrinks whenever moisture levels shift around it. Once dry soil is gone, controlling water volume and cleaner chemistry keeps your floor flat, bright, and structurally sound.
Most DIY cleaning disasters happen when homeowners treat sealed timber like ceramic tile. Understanding your finish type and pH balance prevents cloudy buildup before it starts.
4. Run the Water-Drop Test Before You Damp Mop
Never guess whether your protective seal can handle moisture on high-traffic boards. CostHelper suggests placing one small drop of water directly onto a worn area in front of your sink or entryway.
If the drop beads up tightly or absorbs slowly, your finish still repels moisture safely. When water soaks straight into the grain immediately, bare wood fibers lie exposed and require refinishing before any wet cleaning.
Match your tool to your specific wood finish once you confirm the seal is intact. Testing from Consumer Reports advises using a lightly dampened mop on surface-sealed polyurethane floors.
Porous penetrating-oil or wax-sealed floors demand an even lighter touch. Consumer Reports recommends wiping oil-finished or waxed wood exclusively with a barely damp cloth rather than running any mop across the surface.
Keep wet cleaning infrequent to limit cumulative moisture exposure. NWFA maintenance schedules and Kleenco advise damp mopping about once a month overall, bumping up to once or twice weekly only in busy kitchens.
5. Ditch Steam Mops and Soaking String Mops Forever
Superheated vapor looks effortless in commercials, yet it destroys wood floors from the inside out. The NWFA and major brands including Shaw, Bruce, and Johnson Hardwood explicitly prohibit steam mops on wood flooring.
High heat softens surface coatings while pressurized steam drives water deep into board tongues and grooves. That hidden moisture triggers cupping, edge warping, finish peeling, and voided manufacturer warranties.
Lab evaluations by Consumer Reports confirmed that every tested steam mop model left residual moisture behind regardless of its steam setting. Even on the lowest pulse, steam tools leave wet film where dry wood expects air.
Traditional cotton string mops and sloshing buckets create similar structural hazards. Never pour water or cleaner directly onto planks, and wring flat microfiber pads until they feel barely damp to your fingertips.
Follow the rapid evaporation check recommended by the NWFA, Planchers Bellefeuille, and Bruce. Your damp floor should dry completely within about one minute behind your last mop pass; if streaks linger longer, wring your pad drier.
Ignoring moisture limits turns a free cleaning habit into a brutal repair bill. Data from Angi and Hallmark Floors places water-damaged plank replacement at 6 to 12 dollars per square foot, plus 3 to 10 dollars for subfloor repairs.
6. Switch to pH-Neutral Cleaners and Ban Acidic Hacks
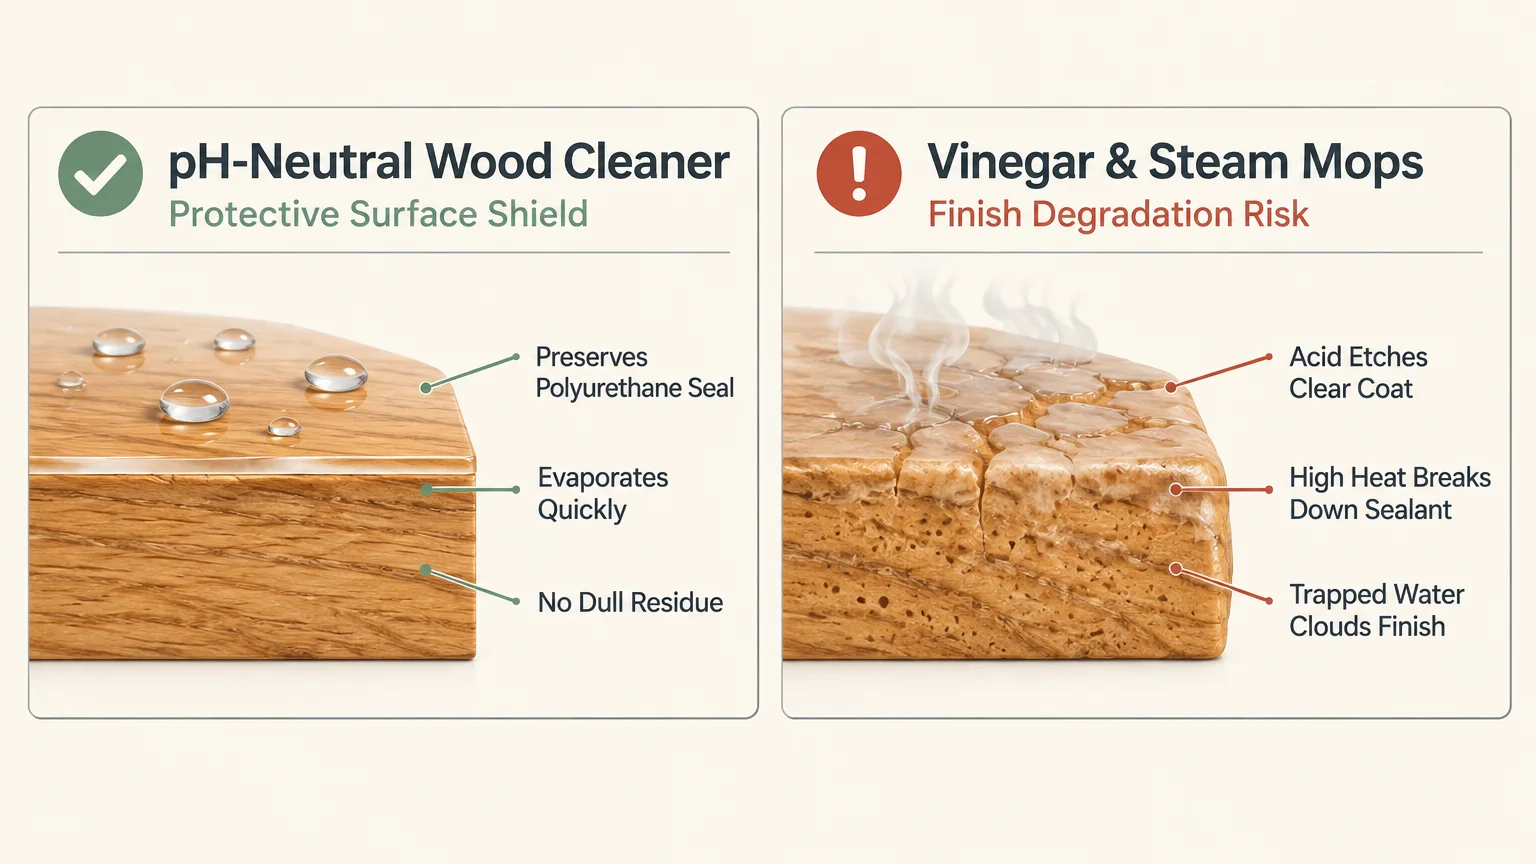
Cheap pantry recipes circulate online constantly, yet kitchen acids eat modern floor coatings alive. White vinegar carries a sharp acidic pH between 2.2 and 3.0, strong enough to etch clear protective polymers.
The NWFA, Bona, Bruce, AHF Products, and Johnson Hardwood all warn against vinegar-and-water solutions. Repeated acidic mopping dulls gloss evenly over months, weakens finish adhesion, and can void your floor warranty.
Vinegar is not the only culprit hiding under kitchen sinks. Care manuals from the NWFA, Bruce, and Johnson Hardwood ban ammonia, bleach, abrasive soaps, oil soaps, acrylic polishes, household spray dusters, and wax on polyurethane.
Products like Murphy Oil Soap, Pledge, and Endust leave slick, sticky residue that traps fresh dirt faster. Worse still, silicone and wax layers contaminate the surface so future maintenance coats peel off instead of bonding.
Choose a water-based, pH-neutral wood cleaner sitting right around 7.0 on the pH scale. Look for formulas carrying EPA Safer Choice and GREENGUARD Gold certifications so indoor air stays low in chemical emissions.
Bona Hardwood Floor Cleaner meets both certifications and contains less than 3 percent volatile organic compounds. According to Bona and Green Building Supply, one quart covers roughly 500 square feet, while one gallon covers 2,000 square feet.
Spray mist directly onto small work zones or onto your microfiber pad instead of flooding whole rooms. Working in tight grids stops cleaner from puddling along board edges while cutting your product use noticeably.
Spot Fixes, Climate Control, and Long-Term Finish Care
Great floor care reaches beyond weekly sweeps and monthly mopping. How you dissolve tough scuffs, regulate indoor air, and choose rugs decides whether your floor needs costly sanding or effortless upkeep.
When you pair smart spot treatments with stable humidity, solid hardwood easily outlives multiple generations. These final two strategies lock in clarity and prevent slow chemical decay.
7. Target Tough Scuffs and Pet Accidents With the Right Neutralizer
Aggressive scrubbing pads strip away finish faster than they lift black shoe marks or kitchen grease. When stubborn rubber heel scuffs, ink, or cooking oil resist gentle mopping, step up carefully with solvent precision.
Manufacturer guidance from Bruce allows lightly rubbing tough grease or heel marks using a soft cloth dampened with odorless mineral spirits. Wipe the spot immediately afterward with your pH-neutral wood cleaner to remove lingering solvent.
Never pour mineral spirits directly onto the wood, and crack a window for fresh airflow while treating isolated spots. Always test a hidden closet corner first if you own an oil-finished floor.
Pet urine requires instant action because urine is acidic. Left sitting along seams, pet accidents react with wood tannins and stain oak planks permanently black.
Effeclean recommends blotting liquid immediately with dry paper towels before applying a hardwood-safe enzyme cleaner. Enzymes digest odor-causing uric crystals safely without forcing water deep into adjacent floorboards.
Skip hydrogen peroxide, baking soda pastes, and carpet stain removers on bare or sealed planks. Those harsh oxidizers bleach natural wood dyes and leave chalky white rings that only sanding removes.
8. Stabilize Indoor Humidity and Upgrade Your Rug Pads
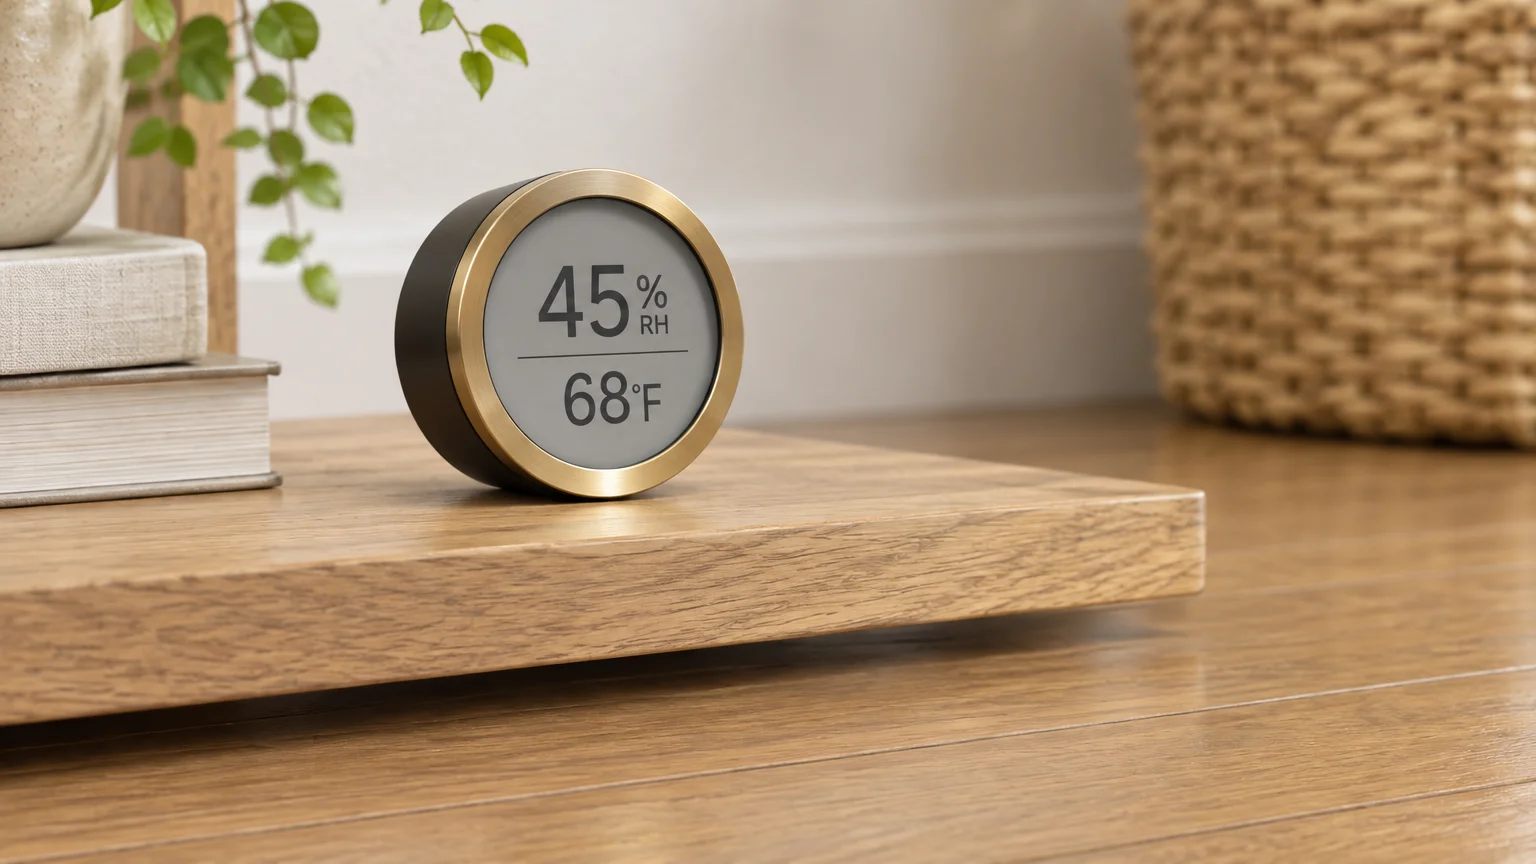
Dry winter heat shrinks floorboards into wide gaps, while muggy summer air forces edges to cup upward. The NWFA advises holding indoor temperatures between 60 and 80 degrees Fahrenheit alongside 30 to 50 percent relative humidity.
Bruce, AHF Products, and Johnson Hardwood set an ideal target band between 35 and 55 percent relative humidity. Maintaining steady air keeps timber near its manufactured equilibrium moisture content of 6 to 9 percent.
Data from the USDA Forest Products Laboratory cited by the NWFA places the national equilibrium average around 8 percent. Keeping rooms within range prevents structural movement, since moisture and installation mistakes drive 70 percent of wood floor failures.
Pick up an inexpensive digital hygrometer and place it away from sunny windows. Run a whole-house or room humidifier during dry heating seasons and engage air conditioning or dehumidifiers during humid summers.
Look closely underneath every area rug and hallway runner before your finish clouds over. Johnson Hardwood and RugPadUSA warn against PVC, synthetic latex, adhesive-backed, and rubber or vinyl-backed mats and plastic office chair mats.
Those synthetic pads trap moisture and leach oily plasticizers straight into polyurethane topcoats over time. Material testing timelines show PVC pad damage stays invisible for three to six months while chemical migration quietly begins.
By twelve months, migrating plasticizers soften the wood finish; by eighteen to twenty-four months, noticeable yellowing and cloudy haze appear. Past year three, PVC pad damage often turns permanent unless you pay for full refinishing.
Swap synthetic grippers for breathable 100 percent felt pads or 100 percent natural rubber pads labeled safe for hardwood. Lift and air out hallway runners regularly to verify both pad and finish stay crisp.
Smart preventative care stretches out major restoration timelines by decades. The NWFA recommends scheduling a light screen and recoat every three to five years before footsteps wear completely through the clear topcoat.
Angi and CostHelper benchmarks put a professional screen and recoat at 1 to 2.50 dollars per square foot, or roughly 200 to 250 dollars for a 225-square-foot room. Handy DIYers spend 50 to 100 dollars renting a buffer.
Reserve full sanding and refinishing for every ten to twenty years or longer. Angi reports full projects average 1,107 to 2,681 dollars—typically around 1,800 to 1,900 dollars, or 3 to 8 dollars per square foot.
Homewyse estimates fall near 6.64 to 8.10 dollars per square foot, with labor making up roughly 80 percent of total costs. Still, the National Association of Realtors notes wood refinishing recovers an average 147 percent ROI at resale.
If you ever refinish on site, respect fresh polyurethane cure times carefully. Walk in socks only after 24 hours, lift felt-padded furniture back after about five days, and wait roughly two weeks before laying rugs down.
Factory-cured prefinished floors arrive fully hardened from the plant, so you can place breathable felt rug pads down immediately. Knowing that difference prevents trapped solvents from wrinkling brand-new site finishes.
Adapting Your Cleaning Routine to Your Finish, Skill Level, and Budget
Not every household shares the same timber, foot traffic, or free time on Saturday morning. Adjusting these eight core habits lets you match real-world conditions without overspending on specialty gear.
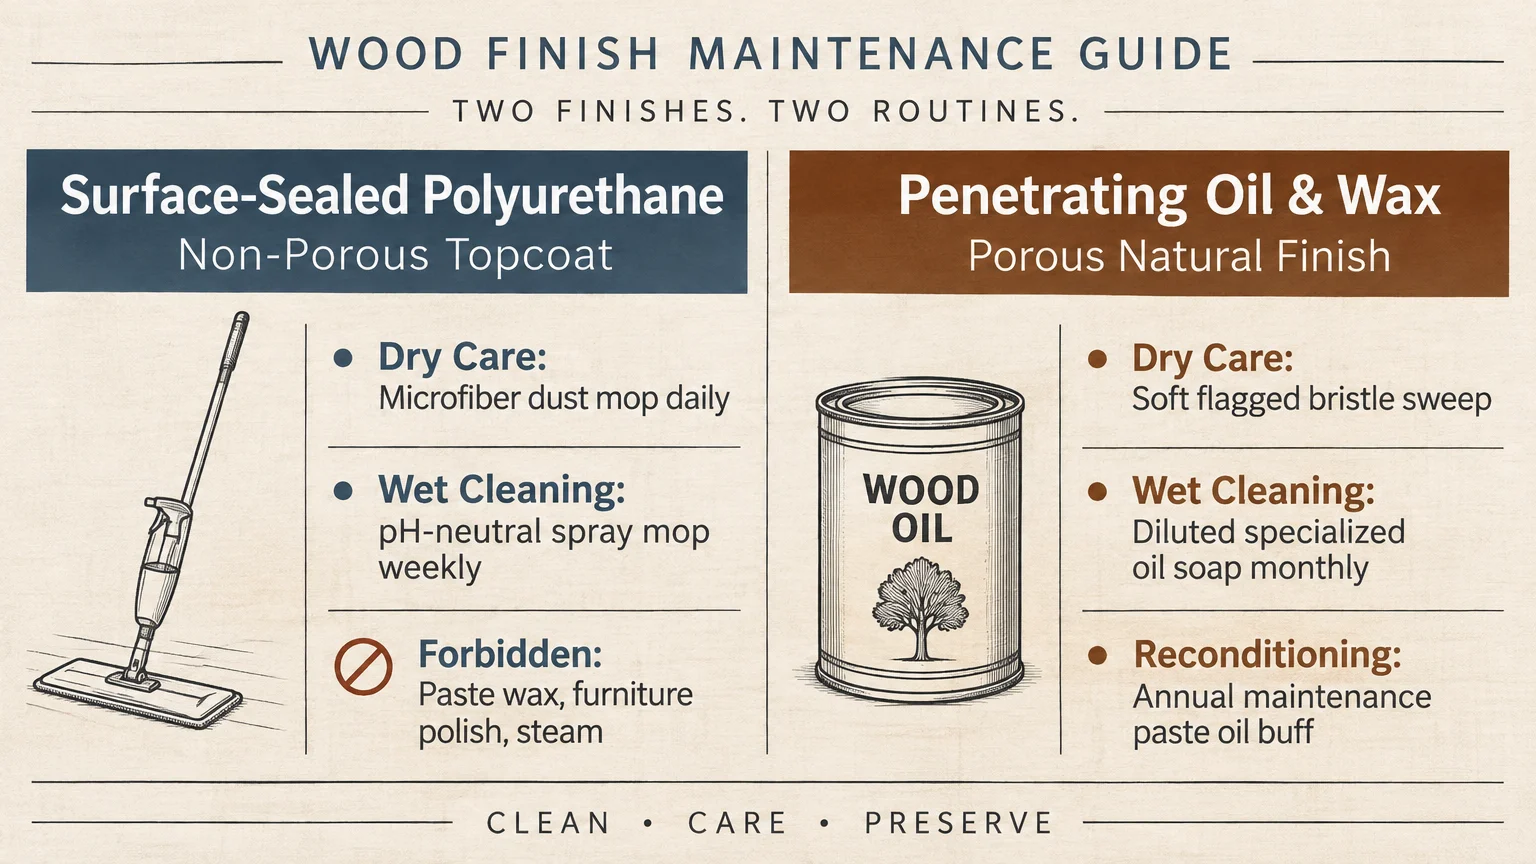
Start by checking whether your home carries factory polyurethane, site-applied urethane, or penetrating oil. Polyurethane owners use damp microfiber mops monthly, while oil-sealed owners stick to dry dusting plus damp cloth spot wipes.
Tight on cash right now? Skip disposable wet swipes and buy one washable microfiber flat mop kit alongside a single gallon refill of pH-neutral concentrate.
Because one gallon covers roughly 2,000 square feet, refilling a durable trigger spray bottle cuts per-clean costs down to pennies. Add bulk felt pad sheets you trim with scissors to stretch maintenance dollars further.
Confident DIYers can save hundreds by handling their own three-to-five-year maintenance recoat over a weekend. Renting an orbital buffer and applying fresh water-based topcoat costs 50 to 100 dollars compared to hiring out at 1 to 2.50 dollars per foot.
Beginners should skip DIY buffing and concentrate entirely on dry grit control plus pH-neutral mopping. Those two habits alone help preserve factory finishes for years.
Homes packed with toddlers and shedding dogs need zone-based scheduling rather than marathon whole-house cleaning. Dust mop entryways and dining tables daily, damp mop kitchen splash zones weekly, and leave quiet guest rooms for monthly upkeep.
Hardwood Floor Care FAQ: Safety, Tools, and Troubleshooting
Can I safely clean oiled or waxed hardwood floors with a spray mop?
Avoid spray mops loaded with standard polyurethane cleaners on penetrating-oil or paste-wax floors. Standard water-based detergents dry out natural oil finishes and leave uneven dull patches across waxed grain.
Consumer Reports recommends cleaning oil-sealed or waxed wood exclusively with a damp cloth rather than a mop. Check your flooring manufacturer label for a compatible soap or refresher oil designed specifically for non-polyurethane finishes.
Which vacuum and mop tools are actually worth buying?
Invest first in a flat swivel mop fitted with machine-washable microfiber pads—keep two dry pads for dust and two dedicated pads for damp mopping. Look for a wide flat mop head if you cover large open rooms quickly.
For vacuuming, prioritize a straight-suction canister with a soft natural-hair parquet tool or an upright vacuum with a true mechanical brush-roll shutoff switch. Avoid heavy cordless stick heads unless the soft roller contains zero stiff bristles.
Where should I source replacement rug pads and safe cleaners?
Buy wood cleaners at hardware stores or home centers only after reading the back label carefully. Confirm water-based, pH-neutral chemistry plus EPA Safer Choice or GREENGUARD Gold logos, and walk past anything listing vinegar, wax, or oil soap.
Order rug pads from specialty flooring or rug suppliers that state exact material composition clearly. Choose 100 percent needle-punched felt or 100 percent natural rubber, rejecting vague non-slip blends that hide PVC or synthetic latex.
Why does my floor still look cloudy after I switched to a pH-neutral cleaner?
Persistent haze usually means old wax, acrylic polish, or oil soap buildup still clings to your polyurethane. A gentle pH-neutral cleaner lifts dirt off top of buildup without dissolving years of sticky spray dusters.
Check whether cloudiness forms rectangular outlines underneath area rugs, which points toward eighteen-to-twenty-four-month PVC plasticizer migration. Light wax buildup often lifts with manufacturer-approved polish removers, whereas deep PVC softening requires professional screening or full sanding.
Take Action Today: Lock In One Habit First
Trying to overhaul your entire house in one afternoon usually leads to burnout by Sunday evening. Pick one single change tonight and let that quick win build momentum across the rest of your rooms.
Run a quick water-drop test by your kitchen sink, or lock the beater bar off on your upright vacuum right now. If you still keep vinegar or a steam mop in your cleaning closet, move them straight to the garage.
Track two simple benchmarks over the next month: how fast your damp floor dries behind you and how clearly natural grain reflects daylight. Once you see streak-free boards drying in about sixty seconds, adding the remaining seven habits feels effortless.