Step Framework: Executing Your Trend-Proof Kitchen Update
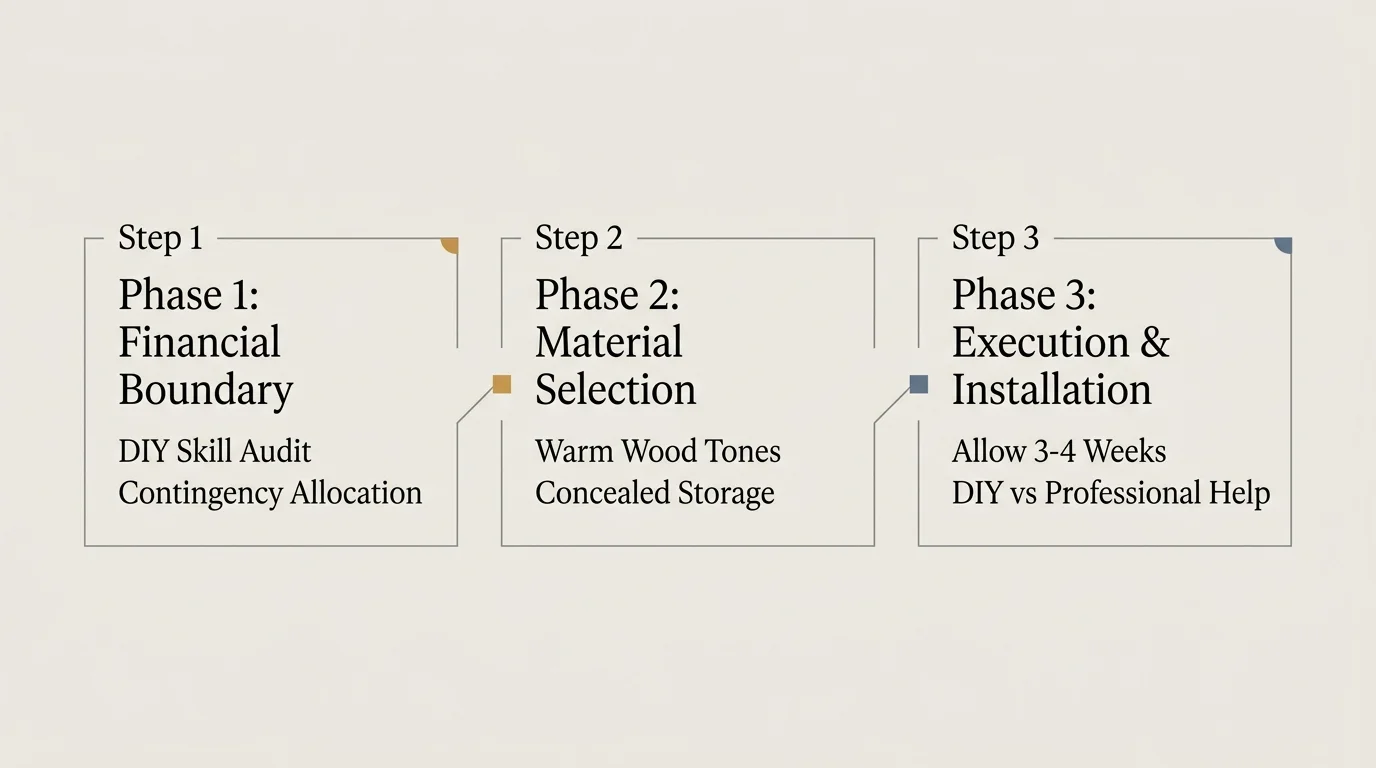
Phase One: Preparation and Demolition
Proper preparation dictates the ultimate success of your kitchen transformation. You must begin by emptying all cabinets, removing freestanding appliances, and protecting your floors with heavy-duty builder board. Taping thick plastic sheeting over doorways prevents fine demolition dust from circulating throughout your home and settling into soft furnishings.
When removing old backsplashes or dismantling unwanted decorative range hoods, wear appropriate personal protective equipment, including a respirator and safety glasses. Shut off the main electrical breakers and water supply lines before disconnecting any fixtures. Thoroughly wash your cabinet boxes with a heavy-duty degreaser to strip away years of accumulated cooking oils; paint and primer will immediately fail if applied over grease.
For comprehensive guidelines on safely handling demolition debris and managing indoor air quality during renovations, consult resources provided by Utah State University Extension, which offer valuable insights for maintaining a healthy home environment during major projects.
Phase Two: Installation and Execution
With a clean, prepped room, you transition into the core installation phase. If you are painting cabinets, apply a high-adhesion bonding primer followed by two coats of durable urethane alkyd enamel, sanding lightly between coats for a glass-like finish. Install your new large-format tile backsplash by back-buttering each tile with modified thinset mortar to guarantee complete coverage and prevent hollow spots.
As you upgrade the room, consider modernizing your electrical footprint. Integrating energy-saving LED lighting strips under your upper cabinets provides excellent task lighting and highlights your new backsplash. The Department of Energy emphasizes that efficient lighting significantly reduces electrical consumption while enhancing ambient warmth in high-traffic work zones.
When installing new unlacquered brass hardware, use a specialized cabinet hardware jig; this inexpensive plastic template ensures every single handle sits perfectly level and aligned, eliminating the risk of crooked pulls ruining your fresh paint job.
Phase Three: Finishing Touches and Quality Checkpoints
The final phase transforms a construction zone back into a functioning home. You must meticulously inspect all freshly painted surfaces for drips or uneven coverage, touching up anomalies with a fine artist’s brush. Run a continuous bead of high-quality, mold-resistant silicone caulk along the junction where your new backsplash meets the countertop; smooth the bead with a damp finger to create a watertight, invisible seal.
Reattach your cabinet doors and spend time adjusting the internal hinges. Most modern concealed hinges feature three-way adjustment screws that allow you to tweak the door’s position up, down, left, right, in, and out until the gaps between doors are perfectly uniform. Test your newly installed plumbing fixtures for micro-leaks by running hot water for several minutes and feeling along the supply line connections with a dry paper towel.