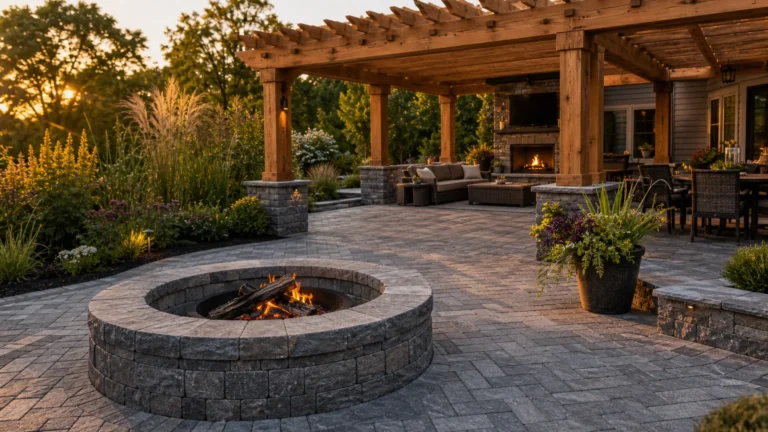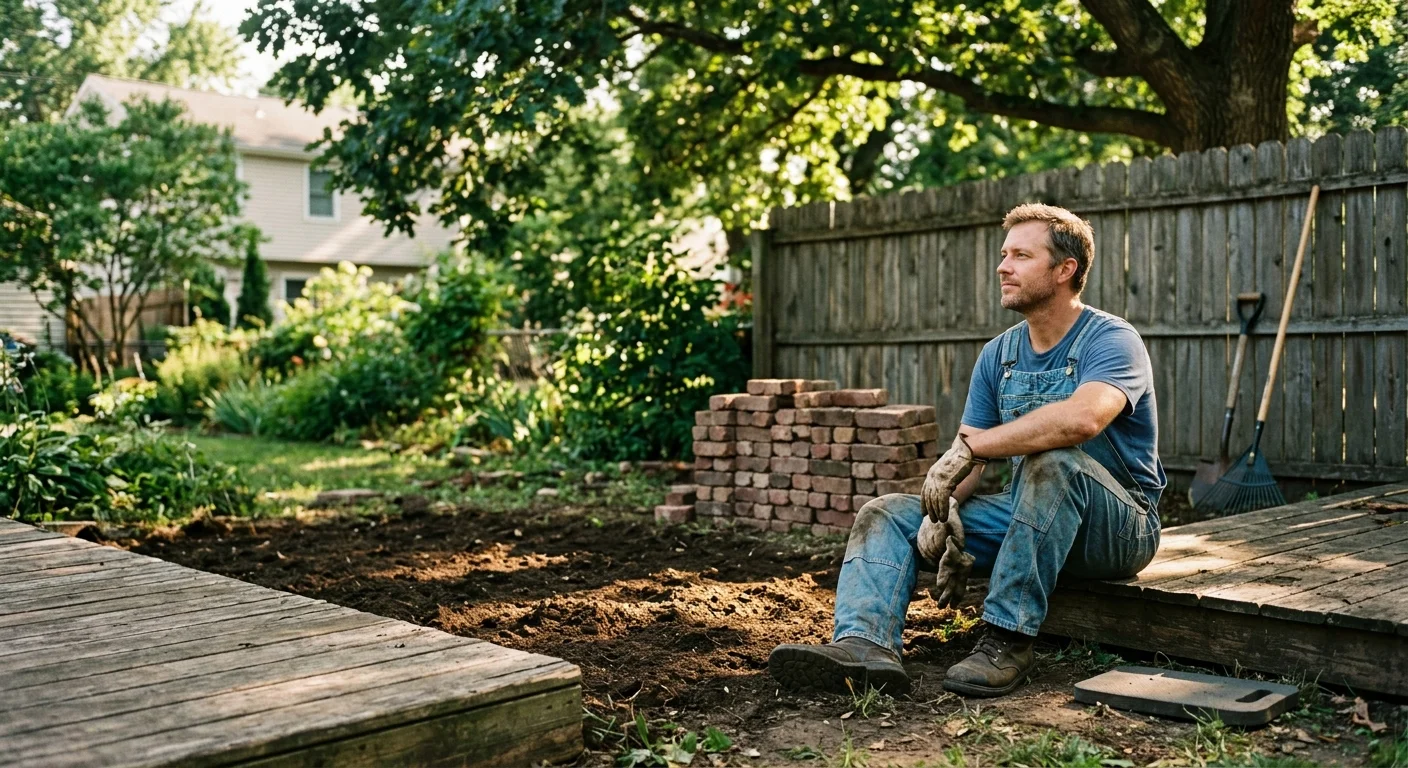
Reclaiming your outdoor living space begins with knowing exactly what to clear away before you add a single new plant or patio chair. A successful backyard makeover relies just as much on strategic removal as it does on thoughtful additions, saving you significant time and money in the long run. Over the years, forgotten projects, outdated materials, and invasive greenery quietly take over, transforming your once-relaxing retreat into a source of constant stress. By targeting seven specific nuisance items right now, you clear the canvas for better backyard ideas that actually serve your lifestyle. Stripping away the clutter guarantees you establish a solid, manageable foundation for a functional landscape design you will genuinely want to enjoy every single day.
Project Planning Snapshot
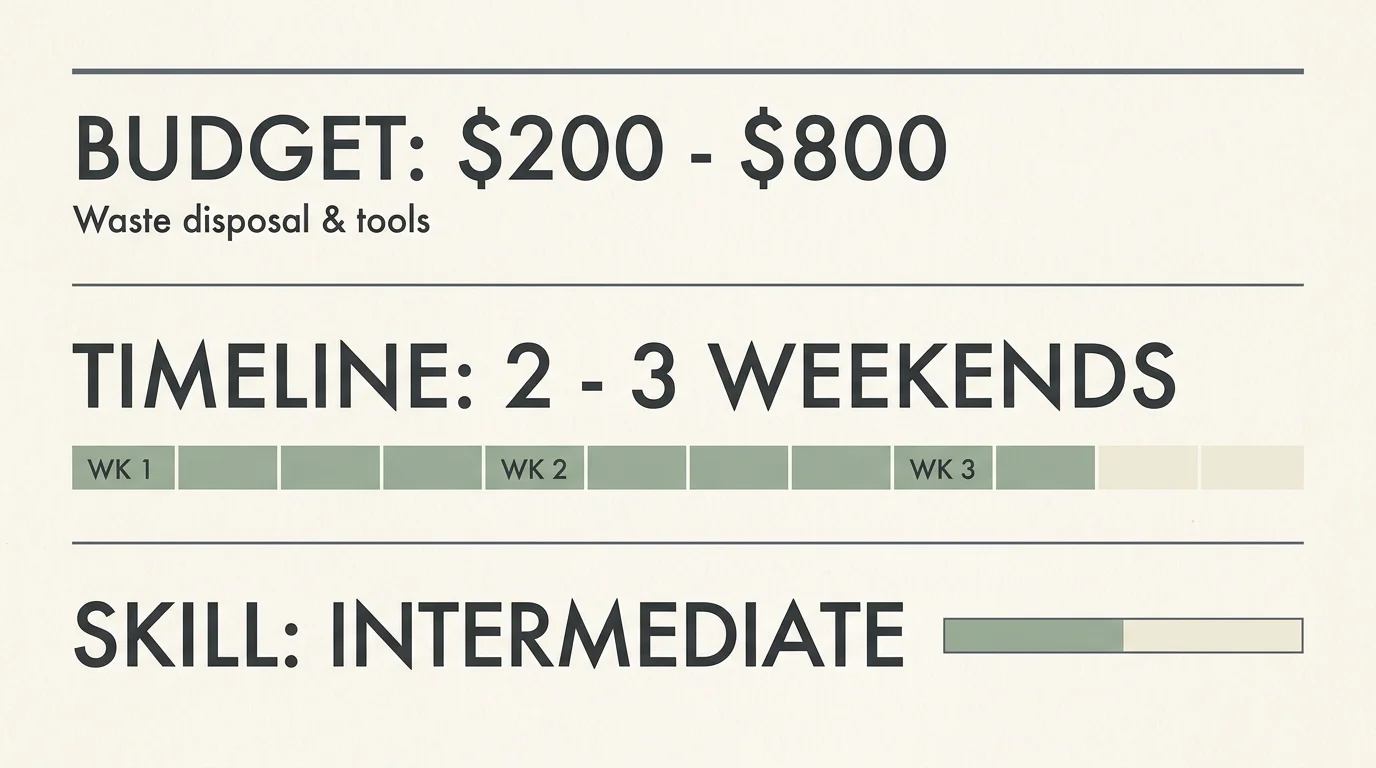
Before you swing a sledgehammer or rent a dumpster, you need to understand the scope of a full backyard clear-out. Financially, expect to spend between $200 and $800 on this foundational phase. This budget primarily covers waste disposal fees, a roll-off dumpster rental, and the purchase or rental of heavy-duty hand tools like a mattock, a pry bar, and a high-quality wheelbarrow. Investing in proper disposal now prevents costly municipal fines and keeps your property safe. You can often recoup some of these costs by recycling scrap metal or clean concrete at local aggregate centers.
From a timeline perspective, block out two to three full weekends to tackle all seven of these removal projects. Rushing through demolition usually leads to property damage or personal injury. You need ample time to dismantle structures, dig out stubborn root systems, and haul heavy loads. Skill-wise, this process demands intermediate physical endurance and basic DIY know-how. You will not need advanced carpentry or masonry skills, but you must know how to safely operate tools, lift heavy materials using your legs, and follow local utility safety guidelines.
The Seven Things You Need to Remove Immediately
1. Old, Crumbling Hardscaping
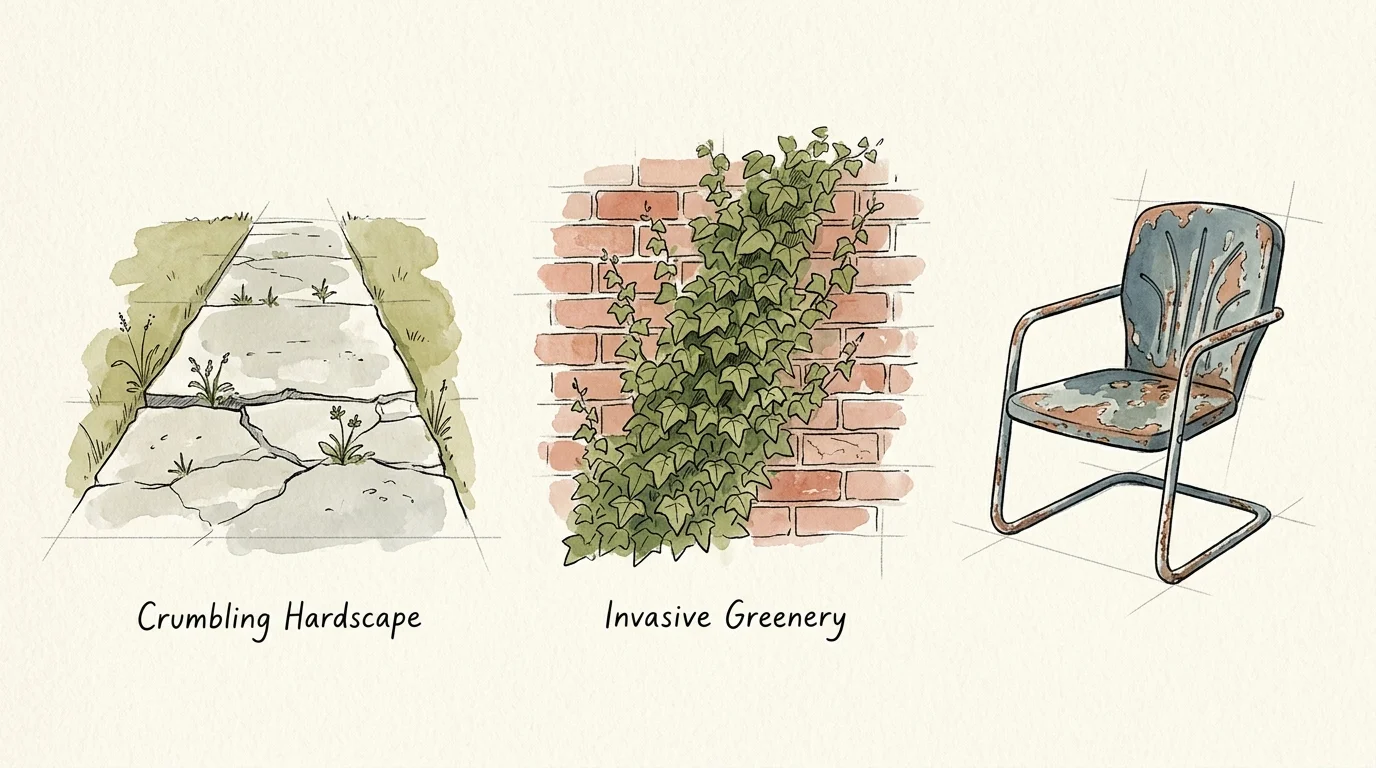
Cracked concrete slabs, uneven brick paths, and severely sunken pavers do more than just ruin your backyard aesthetic; they pose significant tripping hazards for your family and guests. Water pools in these concrete depressions, further eroding the base material and causing the surface to heave during winter freezes. Getting rid of this broken hardscape opens up valuable square footage for modern patios, expansive garden beds, or lush turf.
To safely remove old concrete, you need a 10-pound sledgehammer, a heavy-duty steel pry bar, and thick leather gloves. Work from the outside edges inward, striking the slab about six inches from the perimeter to fracture the material. Slide your pry bar underneath the cracked sections to lever them upward, making them easier to break into manageable, softball-sized chunks. For slabs thicker than four inches, save your back and rent an electric demolition hammer from your local hardware store. Once the rubble is gone, you can start planning structural hardscaping upgrades that incorporate proper leveling and drainage.
2. Invasive and High-Maintenance Plants
English ivy, running bamboo, and aggressive mint varieties might look lush at the nursery, but they quickly turn into landscaping nightmares. English ivy aggressively competes with native vegetation for essential soil nutrients and sunlight, often suffocating mature trees and compromising the mortar on your brick walls. Bamboo rhizomes spread relentlessly underground, breaching property lines and destroying underground plumbing. Removing these biological bullies protects the integrity of your remaining plants and structures.
Eradicating invasive plants requires patience and manual labor. You cannot simply trim the surface foliage; you must excavate the entire root ball. Use a trenching shovel to cut a wide perimeter around the plant, severing the lateral roots. Pull the central mass out of the ground, sifting through the soil with your hands to extract any remaining root fragments. A piece of bamboo rhizome as small as two inches can regenerate into a full plant. When dealing with widespread overgrowth, consult your local university extension service for regional guidance on managing aggressive invasive species effectively.
3. Deteriorating Landscape Fabric
Decades ago, landscapers praised synthetic weed barriers as the ultimate low-maintenance gardening solution. Today, horticultural experts agree that old landscape fabric severely damages soil health. Over time, the material clogs with fine silt, preventing vital oxygen, water, and organic nutrients from reaching the root zones of your desirable plants. Weeds simply blow in, germinate in the mulch on top of the fabric, and send their roots directly through the mesh, making them nearly impossible to pull out.
Pulling up degraded weed fabric is deeply satisfying but requires a systematic approach. Clear away the top layer of mulch or rock using a bow rake. Locate the edges of the fabric and use a utility knife to slice it into narrow, three-foot strips. Pulling smaller strips prevents you from accidentally uprooting the adjacent shrubs you want to keep. Discard the tattered plastic in your municipal trash, as it is rarely recyclable. Leaving the bare dirt exposed allows you to focus on rebuilding long-term soil health using natural, biodegradable mulches.
4. Chemical Pesticides and Synthetic Fertilizers
Take a hard look inside your garden shed or outdoor storage box. Half-empty bottles of synthetic pesticides, expired herbicides, and neon-colored chemical fertilizers are dangerous liabilities. These harsh chemicals degrade over time, posing poisoning risks to curious pets and children. Furthermore, excessive use of synthetic treatments kills off beneficial earthworms and microscopic soil bacteria, creating a sterile environment that actually makes your lawn more susceptible to disease and drought.
You cannot dump these liquids down the storm drain or toss them into your standard trash bin. Gather all your chemical bottles, place them in a sturdy plastic tub to catch potential leaks, and drive them to your county’s hazardous waste drop-off facility. Clearing out this toxic clutter frees up shelf space for organic, sustainable alternatives like kelp meal, composted poultry manure, and neem oil. Shifting to an organic approach creates a safer, more resilient outdoor living space for your entire family.
5. Standing Water Hazards
Empty ceramic planters, neglected birdbaths, sagging gutter extensions, and deep depressions in your lawn hold stagnant water after heavy rains. These seemingly harmless puddles serve as prime breeding grounds for mosquitoes. A female mosquito needs only a bottle cap’s worth of water to lay hundreds of eggs, and larvae can hatch in just 48 hours. Eliminating these water traps instantly makes your patio more enjoyable during warm summer evenings.
Audit your yard 24 hours after a rainstorm to identify problem areas. Flip over unused wheelbarrows, drill drainage holes in the bottom of decorative outdoor pots, and scrub out birdbaths twice a week. For larger drainage issues in the lawn, you will need to add topsoil to grade the earth away from your foundation. Proper grading prevents water accumulation and protects your home’s structural integrity. You can find excellent guidelines on managing residential water runoff and efficient outdoor lighting standards to improve your yard’s safety profile through federal environmental resources.
6. Outdated Mulch Alternatives
Rubber mulch, dyed wood chips, and white marble rocks enjoyed brief periods of popularity, but they often clash with modern backyard design and harm your ecosystem. Rubber mulch, manufactured from shredded tires, releases volatile organic compounds and heavy metals into the soil as it bakes in the summer sun. Artificially dyed black and red mulches frequently contain unwanted chemical binders. White marble stones create harsh visual glare and reflect intense heat onto delicate plant foliage, causing severe scorch damage.
Scoop up these synthetic or harsh materials using a flat-edged transfer shovel. Sift out any valuable soil using a piece of hardware cloth stapled to a wooden frame. Once you remove the offending material, replace it with a thick, three-inch layer of natural, undyed cedar or hardwood mulch. Natural mulch breaks down slowly over the seasons, insulating plant roots, retaining soil moisture, and enriching the earth with vital organic matter.
7. Dilapidated Sheds and Rusted Play Sets
That sagging wooden shed with the rotting roof or the rusted metal swing set your teenagers outgrew a decade ago monopolizes your yard’s prime real estate. Beyond being an eyesore, rotting wood attracts termite colonies and carpenter ants, which can easily migrate to your primary residence. Rusted metal fixtures present serious tetanus hazards and sharp edges that make the yard unsafe for entertaining.
Dismantling a structure requires a logical, top-down approach. Always start by removing the roof panels, followed by the roof trusses, the wall panels, and finally the floor framing. Use a reciprocating saw equipped with a wood-and-metal blade to quickly slice through stubborn nails and rusted bolts. Haul the raw materials to the dump immediately rather than letting them rot on the grass. Removing massive, unused structures opens up exciting possibilities for functional outdoor living areas, such as a cozy fire pit lounge or a custom dining pergola.
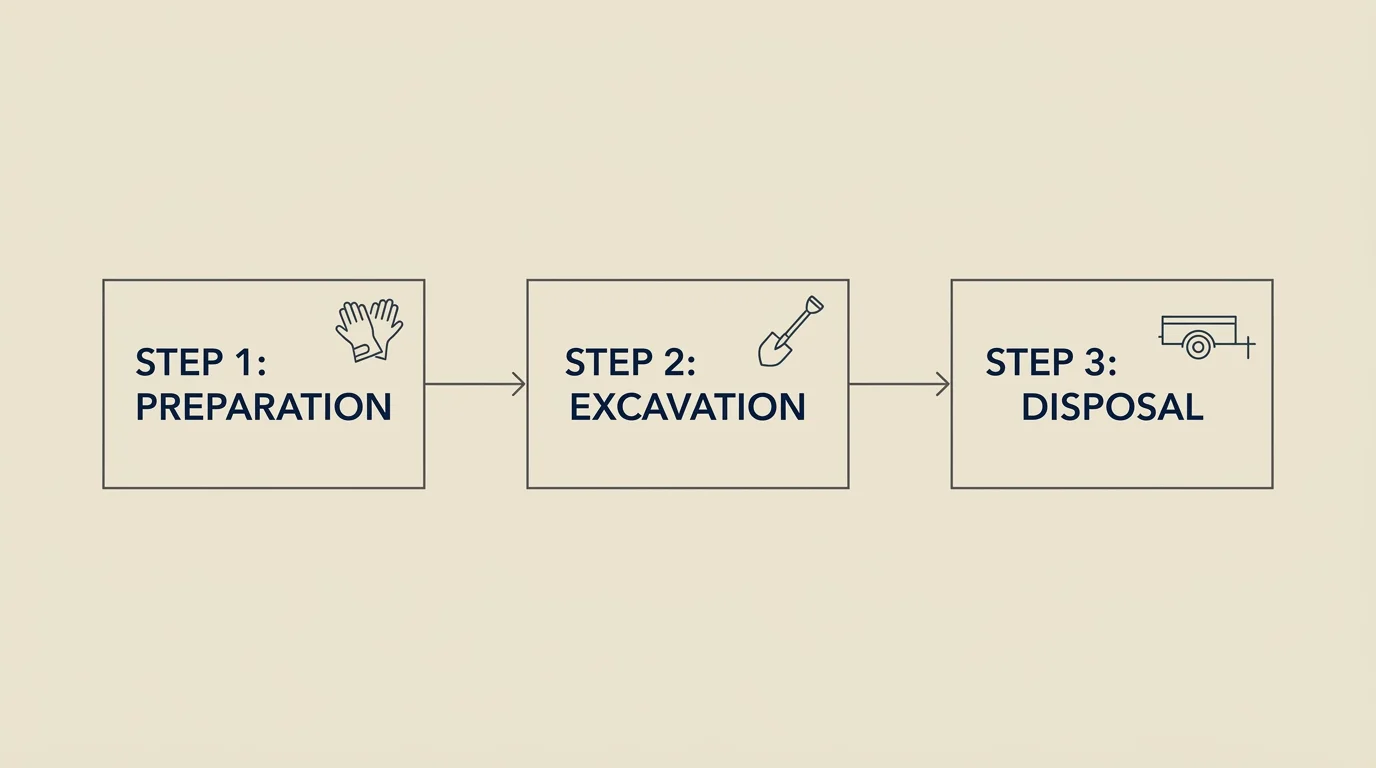
Your Step-by-Step Removal Framework
Phase One: Preparation and Safety Assessments
Preparation dictates the success of your demolition project. Your absolute first step is calling 811 to have your local utility companies mark underground gas, water, and electrical lines. Skipping this step risks catastrophic property damage and lethal accidents. Next, assemble your personal protective equipment. You need impact-resistant safety goggles, heavy leather work gloves, steel-toed boots, and a well-fitted dust mask. Designate a specific staging zone in your driveway for your dumpster or debris piles, ensuring the heavy trucks will not crack your driveway concrete or crush your lawn sprinklers.
Phase Two: Systematic Execution
Execute your clean-out by working from the most difficult projects to the easiest. Break the heavy concrete and dismantle the wooden structures while you have peak physical energy during the first weekend. Create separate piles for trash, recyclable scrap metal, and compostable yard waste to minimize disposal fees. Work in designated zones rather than bouncing erratically around the yard. Clearing one specific corner completely provides a powerful psychological boost that motivates you to push through the remainder of the heavy labor.
Phase Three: Finishing and Soil Recovery
After hauling away the heavy debris, you must address the scars left behind on your landscape. Heavy foot traffic and heavy materials compact the topsoil, essentially suffocating the earth. Use a core aerator or a simple pitchfork to loosen the soil in the newly cleared zones. Rake the area flat, removing any lingering rocks, glass shards, or plastic fragments. If you removed large sections of concrete or invasive plants, apply a thick layer of organic compost to introduce beneficial microbes back into the depleted ground.
Styling and Personalization Following the Cleardown
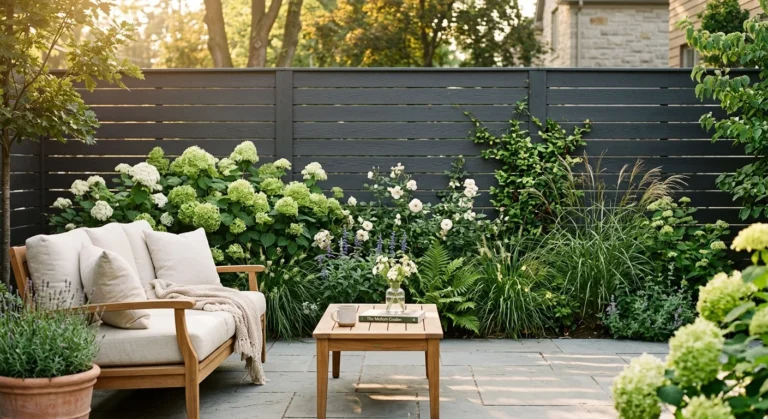
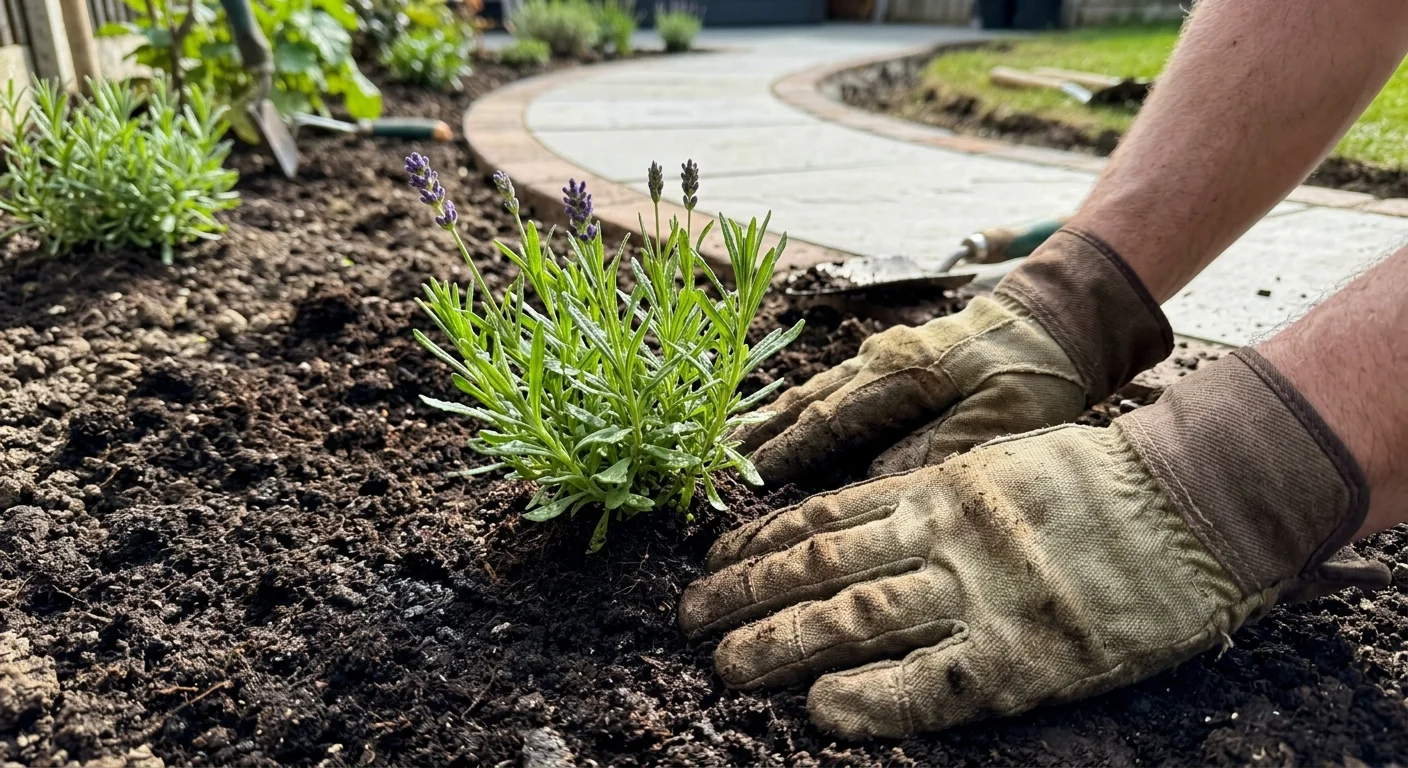
Standing in a freshly cleared, debris-free yard feels incredibly liberating. Now, you hold a true blank canvas. Approach your landscaping tips with intention, focusing on creating distinct functional zones. Designate one corner for active play, another for outdoor dining, and a quiet perimeter for a reading hammock or a vegetable garden. Use natural edging stones or subtle shifts in plant height to separate these zones organically.
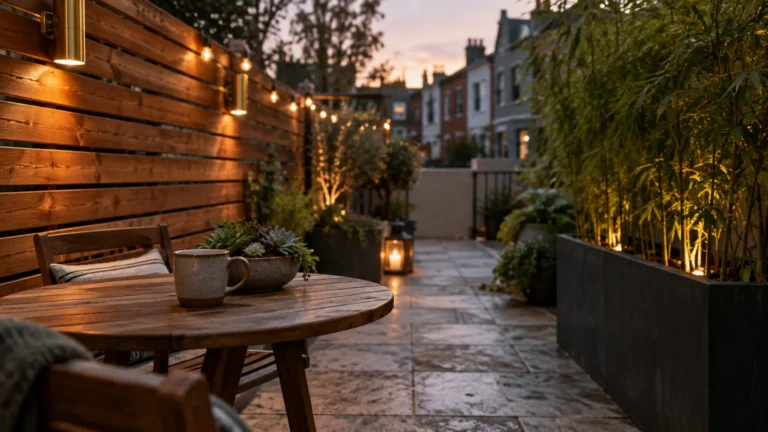
Introduce color and texture by planting native perennials that thrive in your specific climate zone. Native plants require significantly less water and fertilizer than exotic species, keeping your maintenance demands incredibly low. When it comes to lighting, install low-voltage, warm LED pathway lights instead of harsh, glaring security floodlights. Layering soft light around trees and walkways adds immense depth to the space. Look into modern backyard design concepts to discover how contrasting textures—like smooth river rock against feathery ornamental grasses—elevate the overall sophistication of your outdoor living area.
Troubleshooting and Upkeep for a Clutter-Free Yard
Even with careful planning, backyard demolition throws curveballs. You might dig into an invasive root system and discover an unmarked, abandoned irrigation pipe. If you encounter unknown plumbing or buried cables that 811 did not mark, stop digging immediately and consult a professional plumber or electrician. If a concrete slab proves too thick for a sledgehammer, do not risk a back injury; pivot your plan and hire a local concrete-cutting service for an hourly rate.
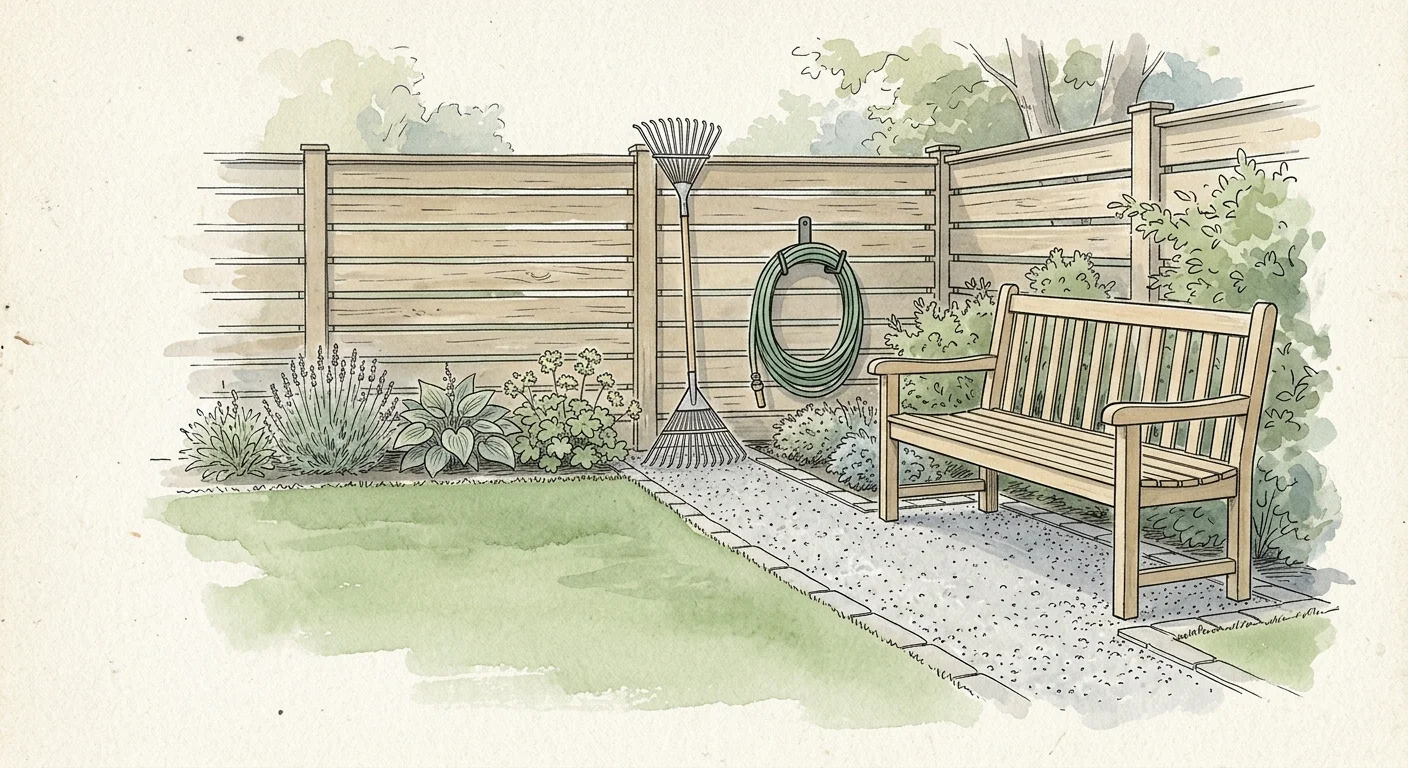
To prevent the clutter from creeping back into your life, establish a strict seasonal maintenance schedule. Walk your property line on the first weekend of every month. Pluck invasive weeds the moment they sprout, rather than waiting for them to establish deep taproots. Clear fallen branches and rake leaves out of the gutters promptly to prevent standing water. Treat your backyard with the same organizational respect you give your indoor living room, and it will remain a pristine, welcoming sanctuary.
Frequently Asked Questions
How do I safely dispose of old pressure-treated wood from my deck or shed?
You cannot burn old pressure-treated lumber in a fire pit or a wood stove. Older treated wood contains chromated copper arsenate, which releases highly toxic arsenic gas when incinerated. You must load this wood into a truck or dumpster and transport it directly to a municipal solid waste landfill. Always call your local dump ahead of time to confirm their specific intake protocols for chemically treated construction materials.
What is the most cost-effective way to haul away broken concrete chunks?
Renting a dumpster for concrete alone is extremely expensive due to heavy weight overage fees. Instead, search online for local aggregate recyclers or concrete crushing facilities. Many of these businesses accept clean broken concrete—meaning concrete free of rebar, soil, and trash—for free or for a minimal flat drop-off fee. You will have to load and haul the material yourself, but you will save hundreds of dollars in disposal costs.
How soon can I plant grass seed or lay sod after removing invasive weeds?
Do not plant expensive sod immediately after tearing out invasive ground covers like ivy or mint. Wait at least two to three weeks. During this waiting period, water the bare dirt regularly. This tricks any remaining root fragments into sprouting. Once the new weeds emerge, you can dig them out completely. Only after you are certain the invasive species is eradicated should you invest time and money into leveling the soil and planting new grass.
Do I need a municipal building permit to tear down an old backyard shed?
Permit requirements for demolition vary wildly depending on your local city or county codes. In many municipalities, structures under 120 square feet do not require a demolition permit, provided they do not contain plumbing or electrical wiring. However, if the shed is tied into your home’s electrical panel or sits on a poured concrete foundation, a permit and formal inspection are almost certainly required. Always verify with your local building department before starting the teardown.
Moving Forward with Your Blank Canvas
Clearing out the neglected elements of your yard is the most powerful step you can take toward building your dream outdoor space. Removing the crumbling concrete, the tangled weeds, and the rusted metal forces you to stop avoiding your yard and start engaging with its true potential. You now possess a safe, healthy, and open environment ready for fresh ideas. Grab your heavy gloves, formulate your dumpster strategy, and take back your property this weekend. The beautiful, low-maintenance retreat you have been dreaming about is just beneath the clutter, waiting for you to uncover it.