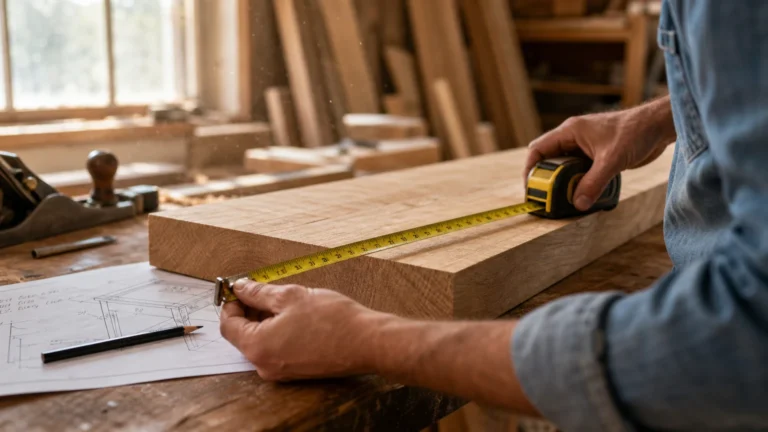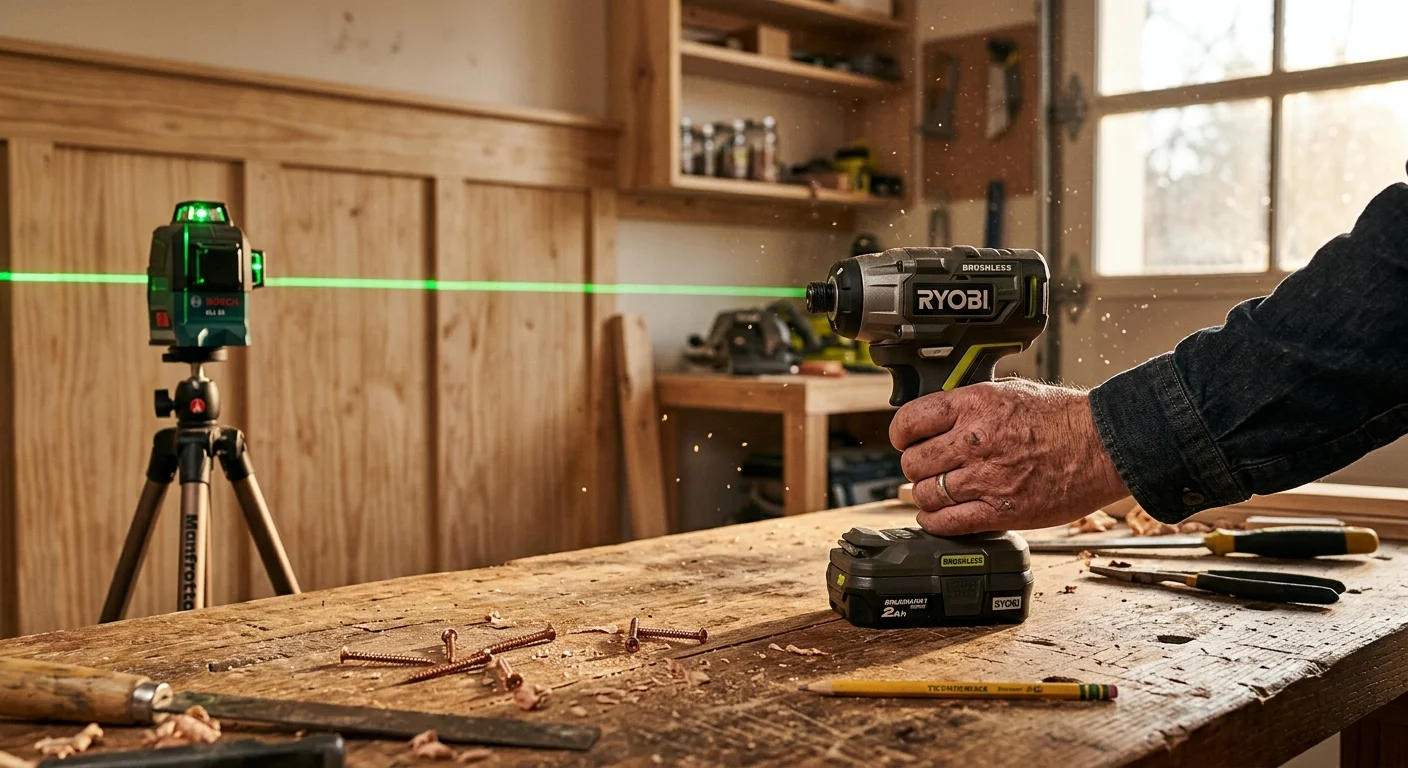
Upgrading your baseline workshop equipment transforms frustrating weekend chores into precise, professional-grade home improvements while cutting project timelines in half. Basic starter kits get you through minor picture hanging and flat-pack furniture assembly, but ambitious renovations demand precision, sustained torque, and reliable ergonomics. When you invest in advanced motor technologies, optical leveling, and specialized cutting systems, you eliminate the common measurement errors, stripped fasteners, and ragged edges that sabotage custom builds. Strategic tool upgrades empower you to tackle complex carpentry, cabinet refinishing, and structural remodeling with total confidence, delivering cleaner results that elevate your living space and maximize your home equity.
Planning Snapshot: Budget, Timeline, and Skill Progression
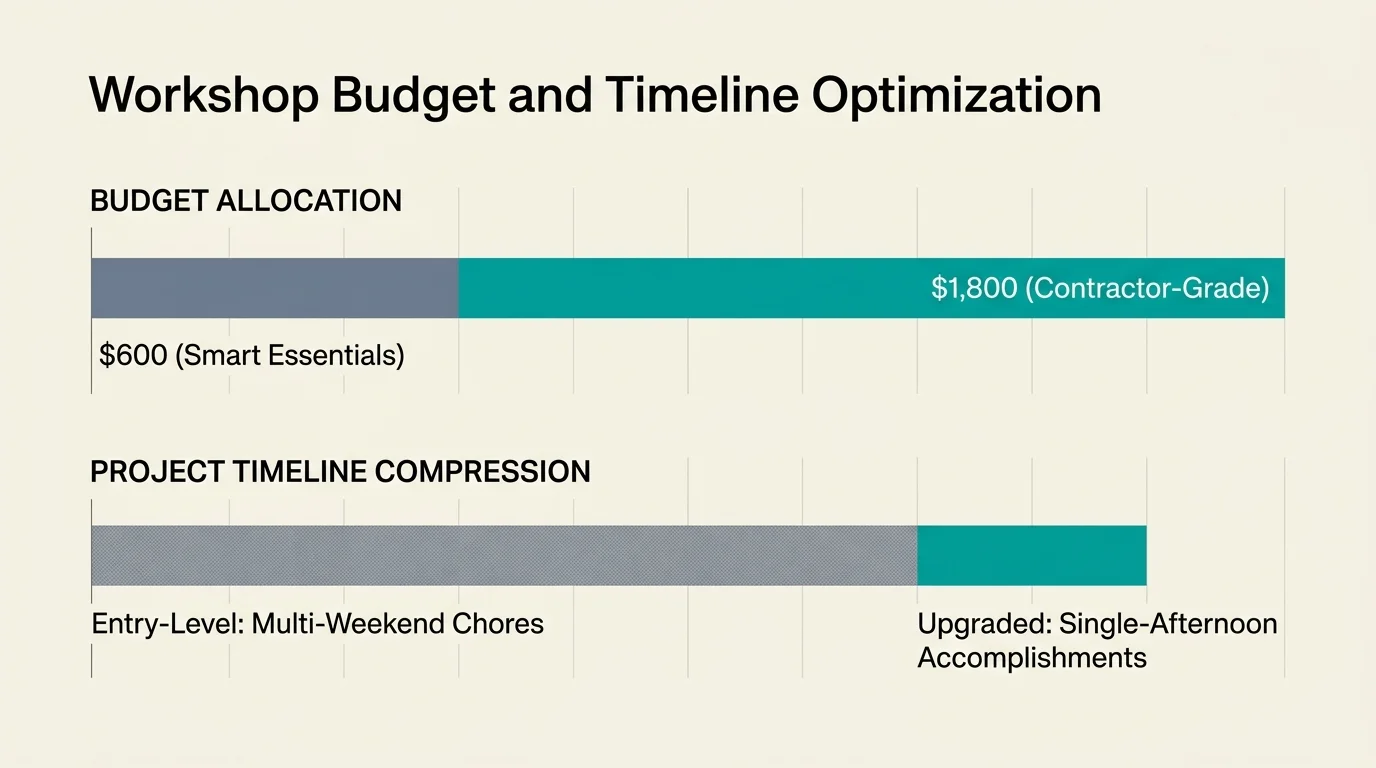
Transitioning from entry-level hand tools to high-performance equipment represents an intentional financial investment that yields compounding dividends across every future project. A comprehensive workshop upgrade typically ranges from $600 for a core lineup of smart essentials to $1,800 for advanced, contractor-grade machinery. Rather than buying an entire catalog at once, prioritize your acquisitions around upcoming builds, spreading expenditures across several quarters to match your project calendar.
The time savings delivered by pro-tier equipment become apparent immediately. Tasks that once consumed entire weekends—such as hand-sanding butcher block counters, framing partition walls, or leveling long runs of wainscoting—collapse into single-afternoon accomplishments. More importantly, your personal skill ceiling expands dramatically; specialized gear compensates for minor human inconsistencies, enabling intermediate DIYers to execute tight joinery, glass-smooth finishes, and plumb installations that rival custom contractor work.
The 9 Tool Upgrades That Transform DIY Results
1. Brushless Cordless Drill and Driver Kit
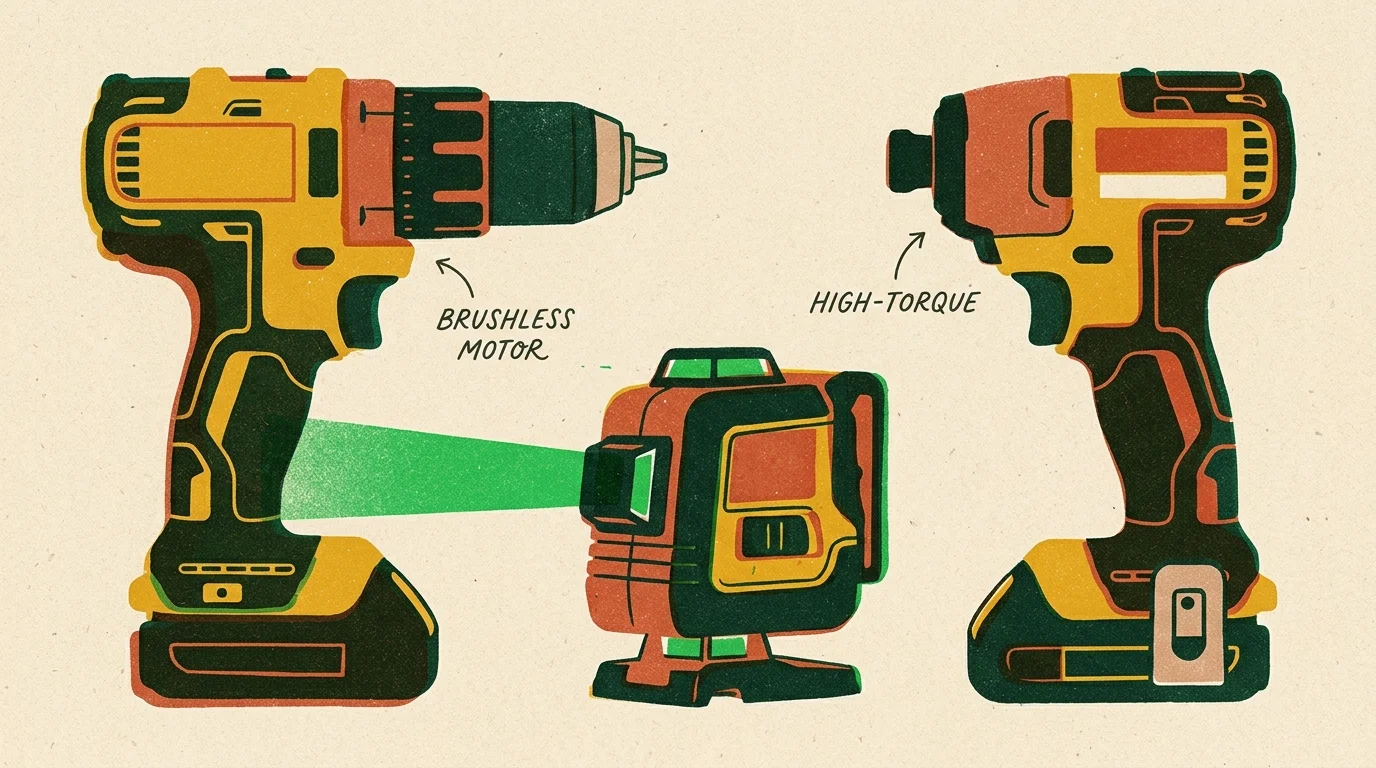
Replacing an older brushed power drill with a modern brushless system represents the single most impactful mechanical upgrade for any home workshop. Brushless motors utilize internal microprocessors rather than physical carbon brushes to manage electrical current, pushing motor efficiency up to 80% to 90% compared to the modest 70% to 75% efficiency of traditional brushed motors. Because internal friction drops to near zero, these powerhouses deliver 30% to 50% longer battery runtime per charge alongside a 20% to 30% increase in working torque. You can drill dense hardwoods and drive structural lag bolts all afternoon without experiencing thermal shutdown or motor degradation.
2. Dedicated High-Torque Impact Driver
While a standard drill excels at boring holes, a dedicated 18-volt or 20-volt cordless impact driver revolutionizes fastening operations. These compact tools generate 1,500 to 2,000+ inch-pounds of rotational torque and over 3,000 impacts per minute (IPM), delivering roughly two to three times the driving power of a standard drill. The internal anvil mechanism directs rotational kinetic energy directly into the fastener head rather than twisting your forearm, virtually eliminating wrist fatigue and cam-out screw stripping when sinking three-inch deck screws into pressure-treated framing lumber.
3. Green-Beam Self-Leveling Cross-Line Laser
Ditch the tedious manual bubble levels and chalk lines for a self-leveling green cross-line laser. Human eyes register green wavelengths approximately four times more vividly than traditional red beams under standard indoor ambient lighting, ensuring crisp visibility across wide open-concept rooms. Priced accessibly between $40 and $120, a quality unit maintains an accuracy tolerance within plus or minus 1/8 inch at 30 feet. Whether you are laying out intricate geometric board-and-batten accent walls inspired by Architectural Digest or setting kitchen upper cabinets perfectly level across irregular drywall, the laser projects continuous horizontal and vertical reference planes that keep every layout mark true.
4. Sliding Compound Miter Saw
Standard fixed miter saws limit horizontal crosscuts to roughly 5.5 to 6 inches, forcing you to flip wider boards or resort to awkward hand cuts. Upgrading to a 10-inch or 12-inch dual-bevel sliding compound miter saw expands your horizontal crosscut capacity to 12 to 14 inches in a single smooth stroke. This expanded envelope allows you to slice cleanly through standard 2×12 construction lumber, wide stair treads, and deep shelving boards. The dual-bevel functionality enables complex crown molding cuts without flipping the workpiece upside down, ensuring razor-sharp miter joints on architectural trim.
5. Dual-Action Random Orbital Sander with Dust Extraction
Traditional quarter-sheet palm sanders move in predictable geometric orbits, frequently leaving unsightly swirl marks across the grain that ruin your stain finish. A 5-inch dual-action random orbital sander spins between 10,000 and 12,000 oscillations per minute (OPM) while maintaining an eccentric orbit diameter of 3/32 to 3/16 of an inch. This chaotic rotation removes material two to three times faster than sheet sanders while preventing directional scratches. When paired with a sealed vacuum extraction hose, these sanders capture fine particulate matter at the source, creating a healthier workspace and pristine surface prep for furniture restoration.
6. Multi-Sensor Center-Detecting Wall Scanner
Basic capacitive stud sensors frequently trigger false positives over drywall seams, metal plumbing pipes, or HVAC ducting. Modern multi-sensor radar wall scanners eliminate guesswork by accurately identifying both the exact center and the total width of wood and metal studs up to 1.5 inches deep. Crucially, these units feature integrated safety sensors that detect live, unshielded alternating current (AC) electrical wiring up to 2 inches deep beneath the wall surface. This dual-sensing capability protects you from costly plumbing punctures and hazardous electrical strikes when mounting heavy floating shelves, bathroom vanities, or wall-hung televisions.
7. High Volume Low Pressure (HVLP) Paint Sprayer
Upgrading from brushes and rollers to an HVLP paint turbine sprayer unlocks factory-grade finishes on interior doors, trim, and cabinetry. HVLP systems operate at low air pressures—often under 10 PSI at the air cap—to atomize paint into a fine, controllable mist. This process achieves a paint transfer efficiency rate between 65% and 85%, cutting overspray waste nearly in half compared to traditional compressed-air spray guns that lose up to 70% of material to the surrounding air. The controlled spray envelope lays down ultra-smooth coatings without roller stipple or brush strokes, making high-end kitchen cabinet makeovers featured on HGTV fully achievable in a home garage.
8. Quick-Change Oscillating Multi-Tool
When you encounter tight corners, stubborn nails, or intricate cutout requirements, an oscillating multi-tool serves as an indispensable problem solver. Professional-grade models operate between 10,000 and 20,000 OPM with an aggressive oscillation angle between 2.8 and 3.6 degrees. Upgrading to a unit with a tool-free lever or Starlock clamping interface eliminates the hassle of searching for hex keys during mid-cut blade swaps. You can effortlessly flush-cut door jambs for new flooring installations, plunge-cut drywall for junction boxes, or scrape away hardened tile mortar in seconds.
9. Cordless 18-Gauge Brad Nailer
Traditional pneumatic finishing nailers require cumbersome air hoses, noisy compressors, and ongoing valve maintenance. A modern cordless 18-gauge brad nailer uses a sealed mechanical flywheel or compressed nitrogen chamber to sink 5/8-inch to 2-1/8-inch brads instantly on battery power alone. The absence of dragging hoses lets you climb ladders freely, navigate cramped closets, and install delicate baseboards, picture frame molding, and custom cabinetry with rapid-fire precision and zero compressor noise.

Step-by-Step Execution Framework for Complex Projects
Phase 1: Precision Preparation and Structural Scanning
Every successful renovation begins with meticulous site mapping before making a single cut. Mount your green-beam laser level in the center of the workspace and map out your datum lines across all four walls. Sweep the target area using your multi-sensor wall scanner, marking the exact center lines of framing studs while checking for live electrical conduits behind the drywall. Double-check all material dimensions, confirm structural load points, and stage your materials near your cutting station to streamline your physical workflow.
Phase 2: High-Efficiency Cutting and Mechanical Fastening
Execute your crosscuts and compound bevels on your sliding miter saw, utilizing stop blocks on an extended outfeed table to ensure identical repeat cuts for shelf frames and trim components. When assembling structural frames, employ your brushless drill with a countersink bit to pilot holes before driving fasteners home with the impact driver. The controlled torque delivery prevents splitting delicate hardwoods, while the cordless brad nailer allows you to pin trim pieces securely in place without displacing your alignment marks.
Phase 3: Surface Refinement and Professional Coating
Prepare raw timber and assembled millwork by working through progressive abrasive grits on your random orbital sander, moving systematically from 120-grit up to 220-grit. Wipe down the surfaces using tack cloths to lift microscopic dust, referencing wood surface preparation technical bulletins published by the Forest Products Laboratory to ensure proper grain conditioning. Set up an isolated spray booth using plastic sheeting, tune your HVLP paint sprayer to match coating viscosity, and apply two light, overlapping coats for a flawless, durable finish.
Workspace Customization and Workshop Ergonomics
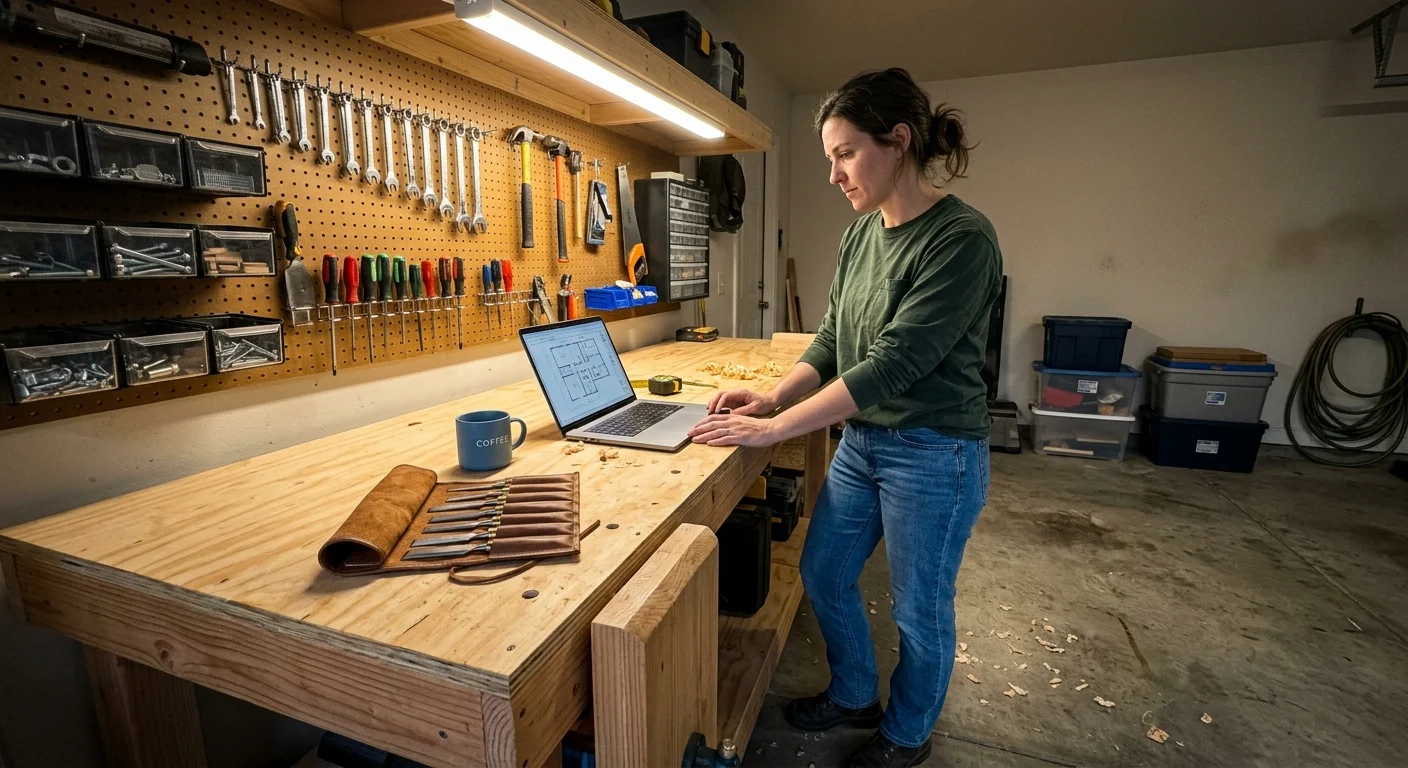
High-performance tools deliver their best results when organized inside an ergonomic, efficient workspace tailored to your physical movements. Design your workshop layout around an expansive central assembly table equipped with built-in T-tracks, flush-mounted electrical receptacles, and dedicated dust collection drops. Arranging your cutting, sanding, and assembly stations in a logical triangular flow minimizes wasted footsteps and reduces physical fatigue during extended weekend builds.
Lighting plays a critical role in cut precision and surface inspection. Supplement ambient garage illumination with high-output 5000K daylight LED ceiling fixtures to eliminate shadows across your saw fences and workbench surfaces. Upgrading your workshop lighting aligns directly with energy efficiency guidelines from the U.S. Department of Energy, providing maximum visual clarity while keeping electrical utility costs low. Hang customizable French cleat wall systems or metal pegboards to keep your most frequently used cordless tools within arm’s reach.
Troubleshooting Common Gear Pitfalls and Upkeep
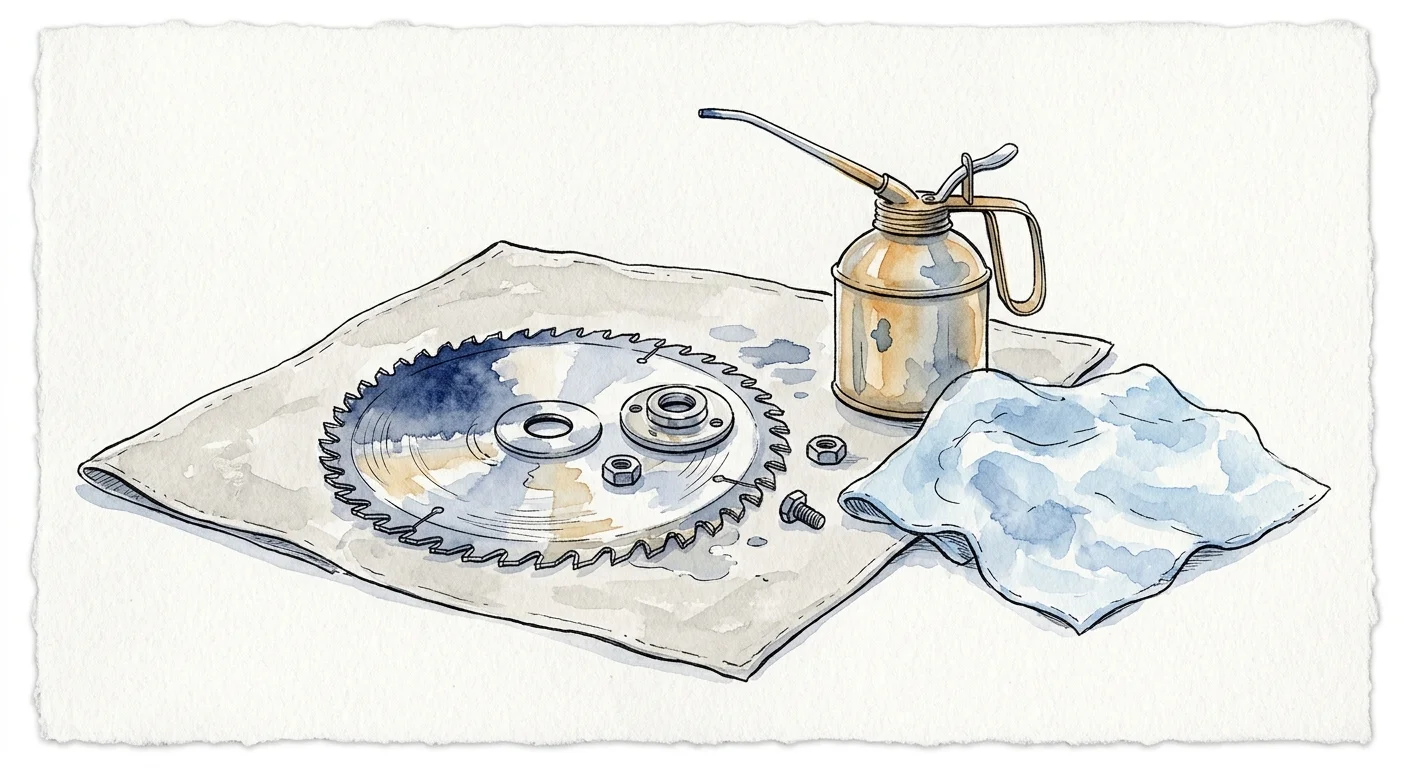
Even premium tools lose accuracy and power without systematic maintenance and proper operation. Lithium-ion battery packs represent a significant investment; avoid leaving batteries in unheated garages during freezing winter months or baking in hot summer attics, as thermal extremes degrade lithium cell chemistry. Store your battery packs at approximately 40% to 50% charge in a temperature-controlled space if you anticipate weeks of inactivity between builds.
Regularly inspect and calibrate your cutting machinery to preserve tight tolerances. Miter saw fences can shift out of square after heavy transport or repeated crosscuts through dense framing lumber; use a precision machinist square against the blade body (avoiding the carbide teeth) to reset the fence to a true 90-degree alignment. For your HVLP sprayer, thoroughly disassemble the needle assembly, fluid tip, and air cap immediately following each painting session. Dried paint residue inside the fluid passages causes spattering, uneven fan patterns, and pressure drops that ruin fine finish coats.
Frequently Asked Questions
Should I purchase bare tools or complete combo kits when upgrading?
If you are transitioning to a new voltage ecosystem, purchasing a multi-tool combo kit that includes two high-capacity batteries and a rapid charger offers the greatest initial value. Once you establish a primary battery platform, buying bare tools saves 30% to 50% per tool, allowing you to expand your specialized collection without accumulating redundant chargers.
How do I choose the best battery voltage platform for home renovation?
For extensive residential remodeling, 18-volt or 20-volt platforms provide the optimal balance of raw torque, runtime, and tool variety. While ultra-compact 12-volt systems excel at delicate cabinet hardware installation and close-quarters plumbing, 18-volt ecosystems provide the continuous power required for heavy-duty framing, sliding miter saws, and high-demand rotary cutting.
Can an HVLP sprayer handle thick latex wall paint without heavy thinning?
Modern high-output turbine HVLP sprayers can atomize unthinned or minimally thinned latex paints when paired with larger fluid needles (typically 1.8 mm to 2.2 mm). However, adding 5% to 10% water or a specialty paint conditioner improves flow, reduces orange peel texture, and creates an ultra-smooth factory finish on millwork.
How can I adapt high-powered tools for small apartment workshops?
Focus on compact, low-noise upgrades equipped with sealed HEPA dust extraction ports. Cordless brushless tools generate significantly less motor noise than brushed alternatives, while random orbital sanders connected to auto-starting shop vacuums contain airborne dust within tight living spaces. Utilize collapsible mobile workbenches that fold flat for closet storage between projects.
Elevating Your Craft
Investing in higher-grade workshop tools is fundamentally an investment in your creative capability, safety, and personal time. The right equipment removes mechanical frustration, allowing you to focus entirely on design precision, structural integrity, and exquisite finishing details. Select the upgrade that addresses your current project bottleneck, set up your workspace with intention, and build your next home masterpiece with total craftsmanship.