Transforming raw lumber into sturdy, functional home decor provides an unmatched sense of personal accomplishment while saving you hundreds of dollars on retail markups. You can construct durable, designer-quality pieces for every room using basic hand tools, off-the-shelf dimensional boards, and straightforward joinery techniques. These curated entry-level projects eliminate intimidating joinery and expensive specialty machinery, proving that anyone can craft custom tables, storage units, and seating with patience and accurate measurements. By mastering a few core skills—such as cross-cutting, pocket-hole drilling, sanding, and staining—you will gain the confidence to furnish your living space on your own terms and budget.

Project Planning and Workshop Fundamentals
Before purchasing lumber, evaluate your workspace, budget, and safety gear. You do not need an elaborate shop; a simple garage corner, patio, or balcony provides plenty of assembly room. Keep your workspace swept and power cords organized to avoid tripping hazards while handling boards. Wear ANSI-rated eye protection, earplugs when running power saws, and a dust mask during sanding. Plan for a modest budget between forty and eighty dollars per piece, which easily covers dimensional boards, glue, and fasteners.
Your basic toolkit requires only four dependable tools: a circular saw or compact miter saw for clean crosscuts, a cordless drill-driver, a pocket-hole jig for hidden joinery, and a random orbital sander. When buying lumber, select construction-grade white pine, Douglas fir, or poplar. Sight down the narrow edge of every board to avoid warped, bowed, or twisted stock that could compromise your assembly.
Seven Straightforward DIY Furniture Builds
1. The Rustic Farmhouse Bench
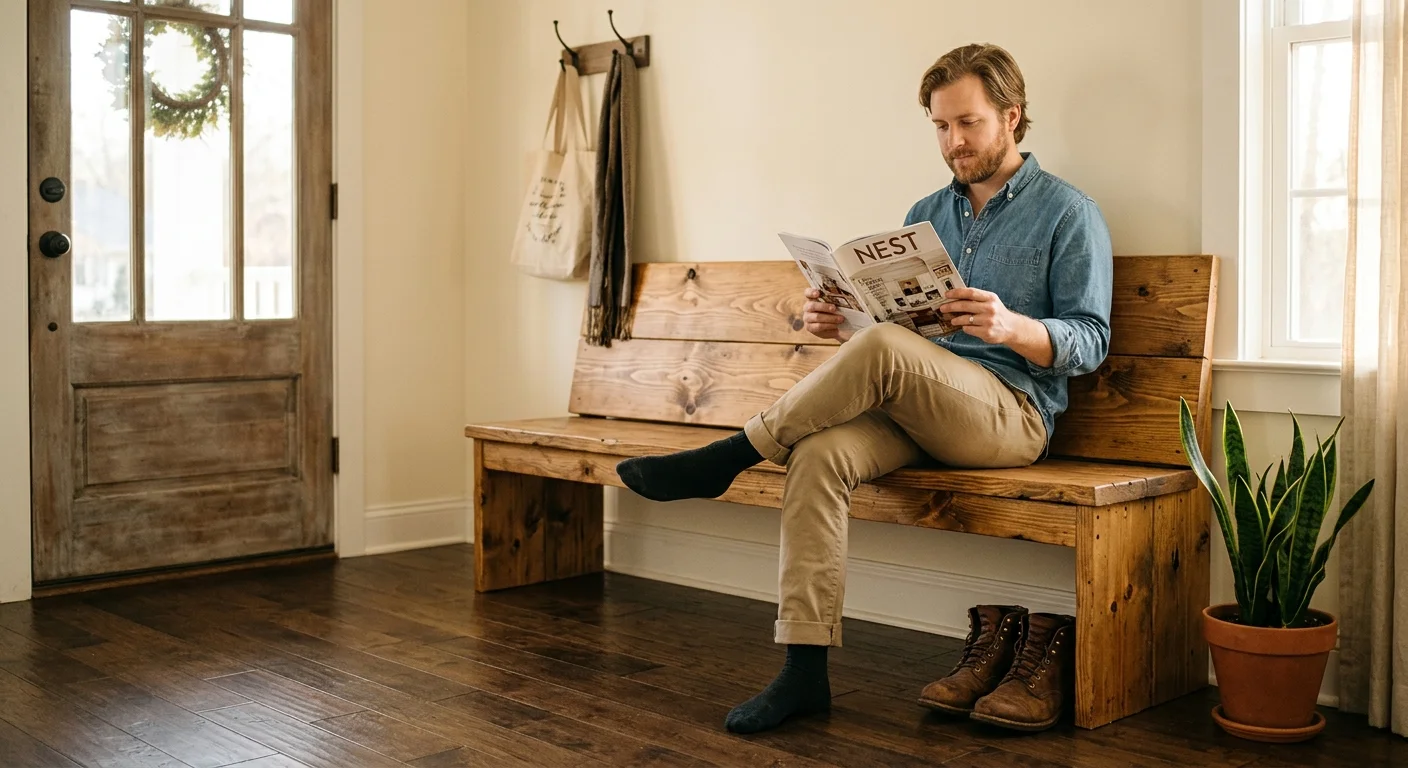
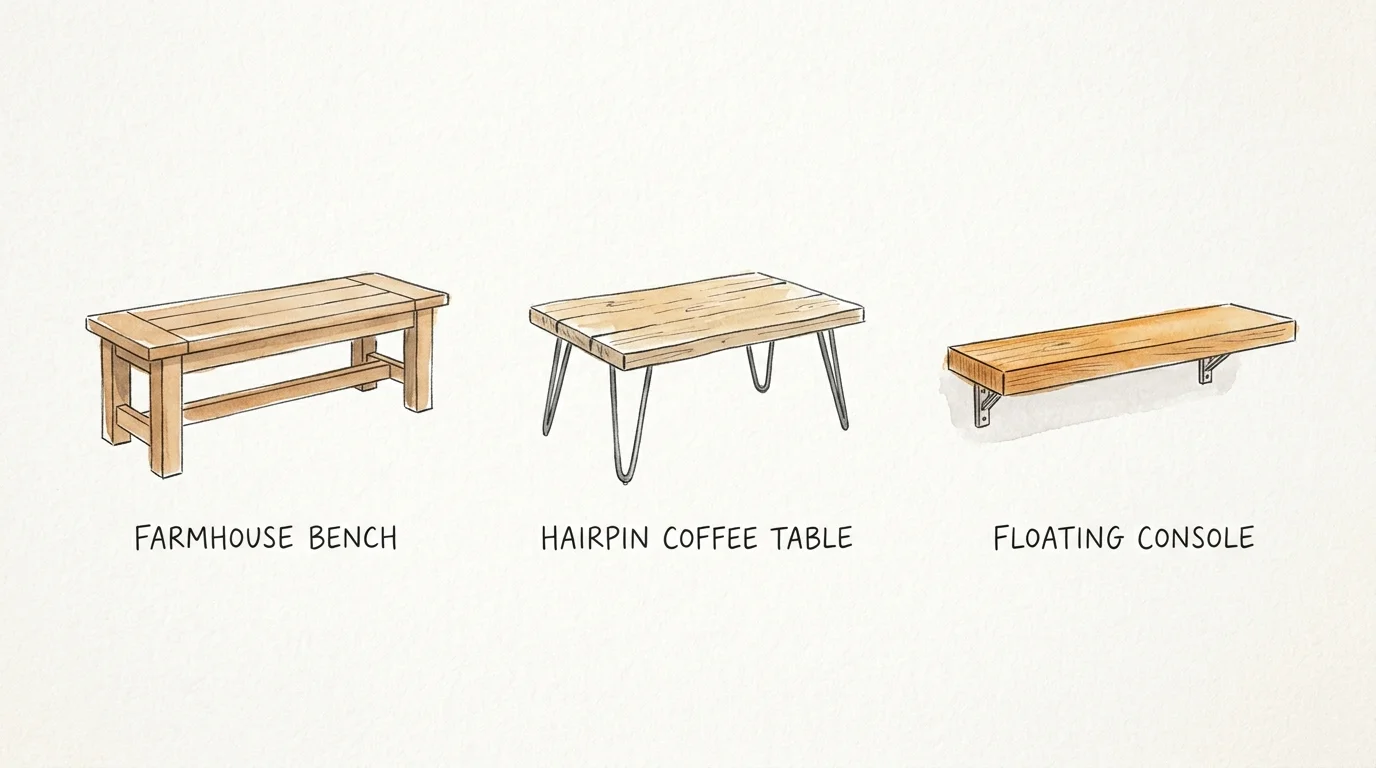
A farmhouse bench makes an ideal first build because its simple geometry teaches core structural joinery while forgiving small measurement variances. Form the bench top from two thick two-by-eight boards joined with pocket-hole screws and wood glue, using bar clamps to hold the tabletop boards tight while driving screws. Build a stable base using two-by-four legs reinforced with a low horizontal stretcher beam across the bottom span. This sturdy seat comfortably supports three adults, requires under three hours of work, and costs under thirty-five dollars in standard lumber. Sand the wood to two-hundred-twenty grit before applying an oil stain to accentuate the grain.
2. The Modern Hairpin-Leg Coffee Table
Combining natural wood tops with industrial metal legs produces an elegant living room table with minimal building effort. Purchase a pre-glued round or rectangular pine panel to avoid edge-gluing boards yourself. Sand the top surface and soften the perimeter with a slight bevel. Turn the top over, mark corner locations, and attach three-rod steel hairpin legs using structural wood screws. Design publications like Architectural Digest celebrate this silhouette because slender hairpin legs maximize floor space in compact rooms.
3. The Wall-Mounted Floating Entryway Console
Small entryways benefit from floating consoles that keep walkways unobstructed. Build a three-sided rectangular box from one-by-eight select pine or birch plywood, joining the corners with concealed pocket holes underneath. Fasten an interlocking French cleat bracket system to your wall studs; the cleat locks the console flush against the drywall without visible fasteners. This sleek shelf forms a practical drop station for keys and mail while costing less than thirty dollars in raw materials.
4. The A-Frame Tiered Ladder Bookshelf
An open ladder shelf brings functional vertical storage to living rooms and home offices. Cut two long two-by-two side rails at a ten-degree angle so the unit rests flush against the wall. Build four or five shelves of progressive depths—spanning from six inches at the top to fourteen inches at the base—using standard one-by-ten boards. Fasten each shelf between the rails with countersunk wood screws, and conceal the screw heads with matching wood plugs.
5. The Cantilevered C-Shaped Sofa Table
A cantilevered side table slides directly under your couch, placing drinks or laptops comfortably within reach without cluttering floor area. Cut five matching segments of three-quarter-inch hardwood or select pine: two for the base, two for upright supports, and one for the top frame. Fasten each junction at ninety degrees with pocket screws and wood glue. Top the frame with a smooth plank, seal the surface with polyurethane, and enjoy a compact, versatile workspace.
6. The Upholstered Storage Ottoman
This project pairs basic box construction with simple upholstery. Build a square carcass from three-quarter-inch plywood, reinforcing the corners with internal cleats. Cut a matching plywood lid, wrap it with three-inch foam and batting, and staple upholstery fabric securely across the underside. Fasten the padded lid to the box with a continuous piano hinge to create a comfortable footrest with hidden blanket storage.
7. The Low-Profile Slat Platform Bed Frame
Building a platform bed saves money while eliminating noisy factory hardware. Construct a perimeter box from two-by-eight lumber, anchoring corners with heavy-duty structural screws and four-by-four corner posts. Mount a central support beam across two steel joist hangers, then secure one-by-four pine slats across interior ledgers spaced three inches apart. Stick self-adhesive felt furniture pads onto the bottom of the corner posts to protect hardwood floors. Research from the Forest Products Laboratory demonstrates that proper slat spacing maintains wood resilience and protects mattress integrity under load.
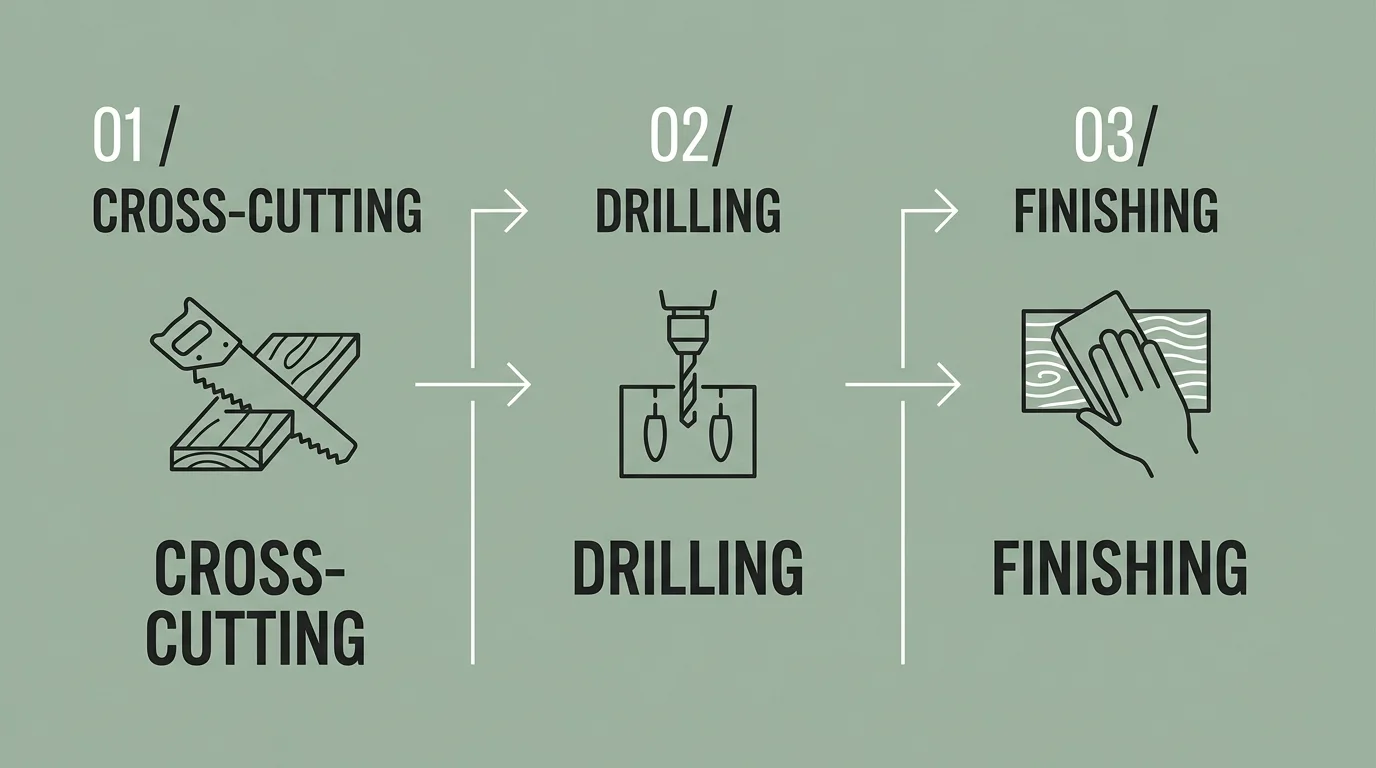
The Three-Stage Construction Blueprint
Achieving clean results on beginner woodworking furniture plans requires a disciplined three-phase workflow. The first phase focuses on lumber prep. Inspect boards thoroughly at the store for cup, bow, and crook. Let your lumber acclimate inside your home for forty-eight hours before cutting. Measure with a quality tape, mark cutlines with a sharp pencil, clamp a simple stop block for repeatable identical cuts, and cut along the waste side of the line to maintain exact board lengths.
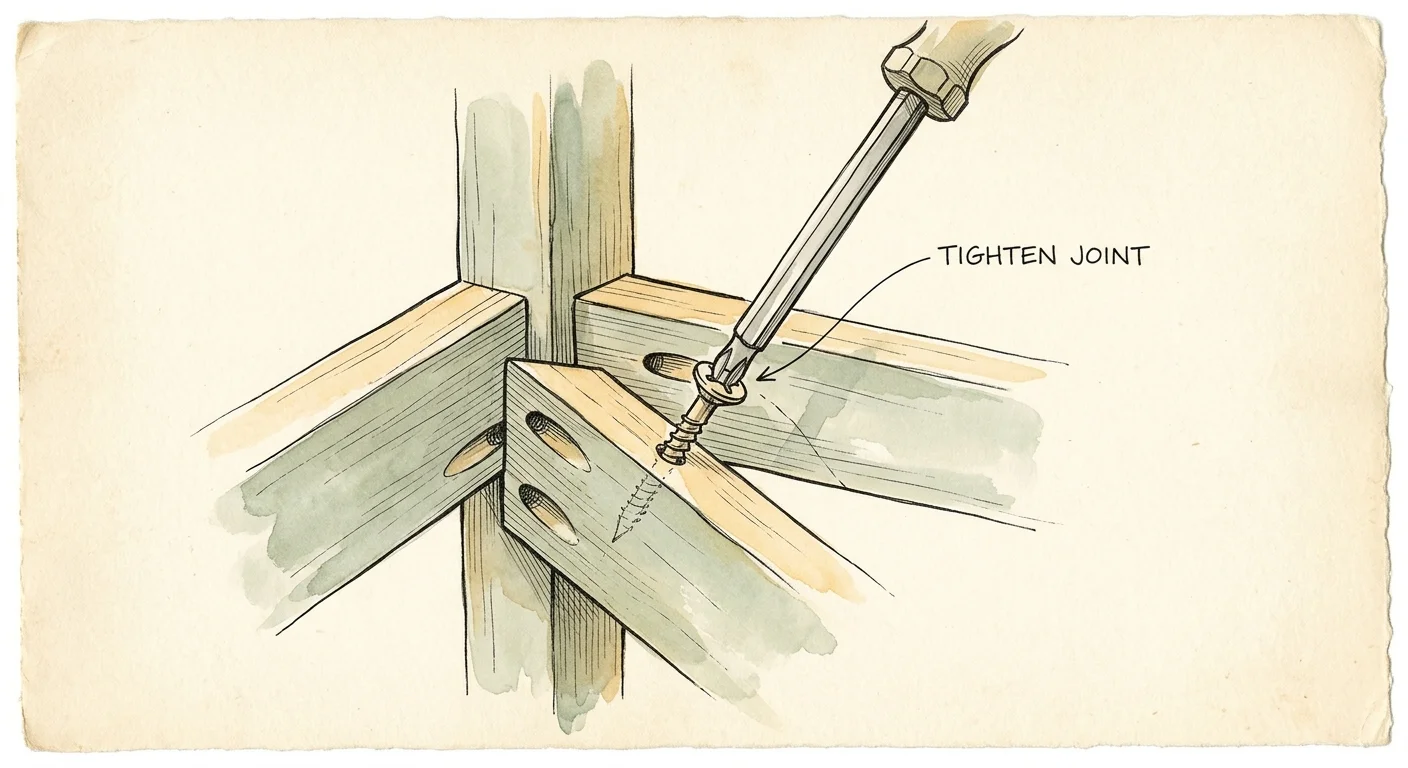
The second phase involves dry-fitting and mechanical joinery. Always assemble your components without adhesive first to confirm tight, square joints. Apply polyvinyl acetate (PVA) wood glue along every mating surface, as dried wood glue creates a bond stronger than the wood itself. Drive pocket-hole screws using a clutch-equipped drill to avoid stripping timber. Woodworking guides at Family Handyman confirm that pocket screws act as powerful clamps while the glue cures permanently.
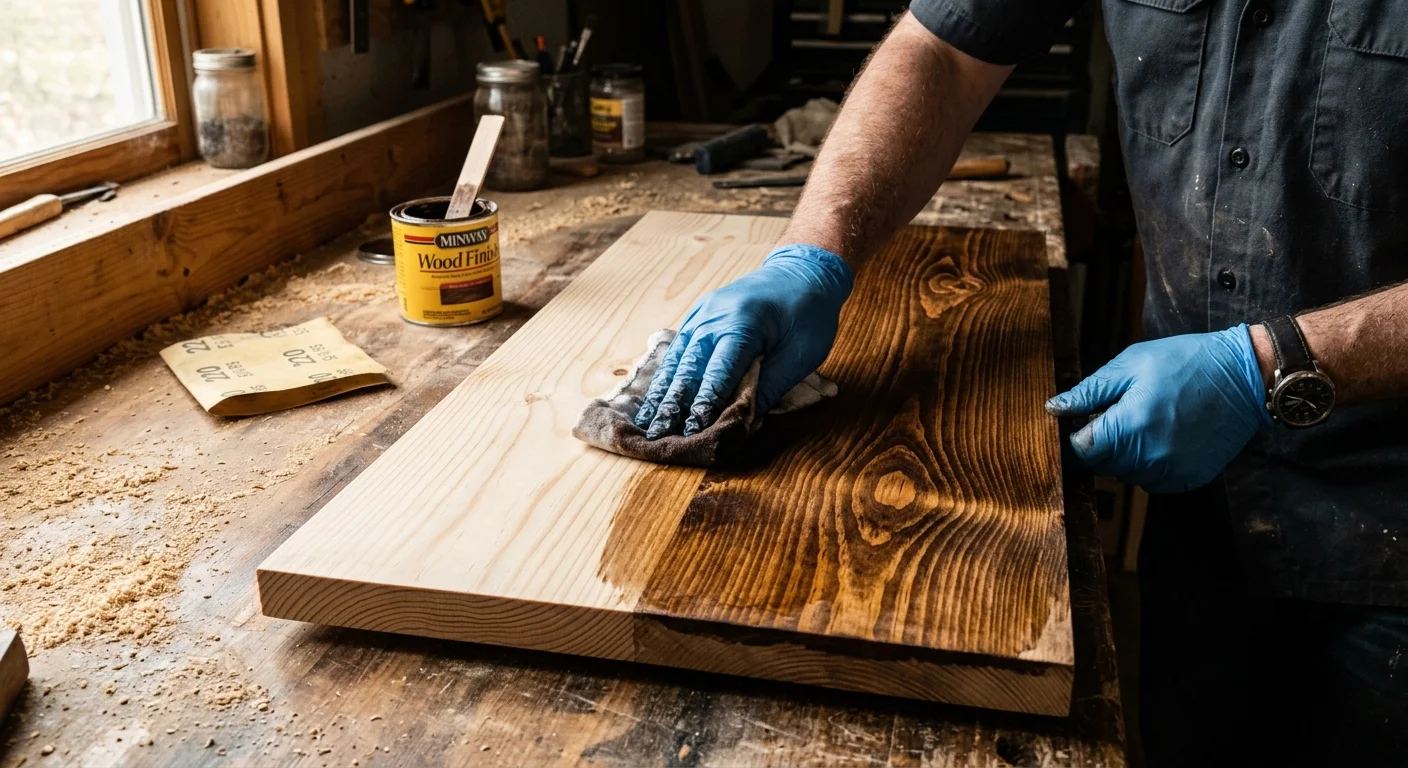
The third phase addresses surface prep and sealing. Sand all wood systematically through progressive grits: eighty grit removes mill marks, one-hundred-twenty grit smooths rough grain, and two-hundred-twenty grit creates a glass-smooth finish. Wipe away dust with a tack cloth before finishing. When working with softwoods like pine, apply a pre-stain wood conditioner beforehand to ensure uniform stain absorption without splotchy patches.
Customizing Finishes and Styling Your Pieces
Finishing choices turn basic construction lumber into high-end furniture. For a contemporary two-tone style, paint the base of your table or bench in a satin charcoal or crisp white while staining the wood top with a warm walnut or honey tone. Sources like HGTV note that pairing natural wood grains with clean painted frames introduces striking visual contrast into modern interiors.
Hardware and distressing techniques add distinct personality. Soften edges with a hand plane for a lived-in look, or install matte black metal corner braces for an industrial accent. Select metal hardware finishes like brushed brass or matte black that complement existing room lighting fixtures. Apply three thin coats of satin wipe-on polyurethane to seal high-use tabletops, scuffing lightly with four-hundred-grit sandpaper between coats to create a durable, moisture-resistant barrier against daily wear.
Workshop Troubleshooting and Long-Term Furniture Care
Minor mistakes happen on every project, but simple fixes keep your build moving forward. If your saw tears wood fibers on the underside of a cut, score your cutline with a utility knife first or apply masking tape over the line before cutting. If you drill a pocket hole incorrectly, glue a wooden pocket-hole plug into the hole, trim it flush with a pull saw, and re-drill cleanly.
Routine maintenance keeps handmade furniture pristine. Shield wood surfaces from moisture and heat using coasters and felt pads. Treat stained pieces twice a year with paste wax or furniture polish to replenish moisture and buff away micro-scuffs. If a tabletop suffers a deep scratch, sand the localized area and reapply your original finish for an invisible repair, an advantage highlighted by This Old House.
Frequently Asked Questions
What basic tools should I buy first for beginner woodworking? Start with four core tools: an eighteen-volt cordless drill, a circular saw with an edge guide, an adjustable pocket-hole jig, and a random orbital sander. These versatile tools allow you to make accurate cuts, build durable joints, and sand smooth surfaces across countless beginner furniture builds.
How can I find straight lumber at home improvement stores? Look down the narrow edge of each board from one end to ensure it runs perfectly straight without twisting or bowing. Avoid boards with deep cracks, loose knots, or damp green patches, and choose kiln-dried boards from the center of the lumber stack.
Is standard construction pine strong enough for everyday home furniture? Yes, construction pine and Douglas fir provide excellent strength when joined properly with glue and pocket screws. A durable topcoat, such as polyurethane, hardens the surface and protects soft wood fibers against everyday dings and scratches.
How do I modify these furniture dimensions for small apartments? You can scale any design by shortening the horizontal rails and shelf lengths while maintaining identical leg heights and joinery. Keep unsupported spans of three-quarter-inch shelving under thirty inches to prevent the wood from sagging over time.
Launch Your First DIY Furniture Build
Building custom furniture transforms your living space while building valuable craftsmanship skills. Pick one approachable project from this list that meets a functional need in your home, write down your cut list, and head to the lumberyard. With careful measurements, sharp tools, and solid joinery, you will build gorgeous, durable furniture you can proudly enjoy for decades.