Maximizing your return on a bathroom remodel demands a targeted approach rather than a full-scale demolition. Recent 2026 data proves that replacing a dated vanity and upgrading its surrounding fixtures delivers the absolute highest value per dollar of any bathroom renovation. You can completely transform the aesthetic of your space without altering the plumbing footprint or tearing out old shower tile. This strategic update slashes both material costs and project timelines, reducing weeks of contractor chaos into a manageable weekend DIY. Focusing your budget on a solid wood vanity, statement lighting, and an efficient low-flow faucet instantly modernizes the room. You secure a premium facelift that elevates daily routines while actively paying for itself.
Understanding the ROI of a Targeted Bathroom Upgrade
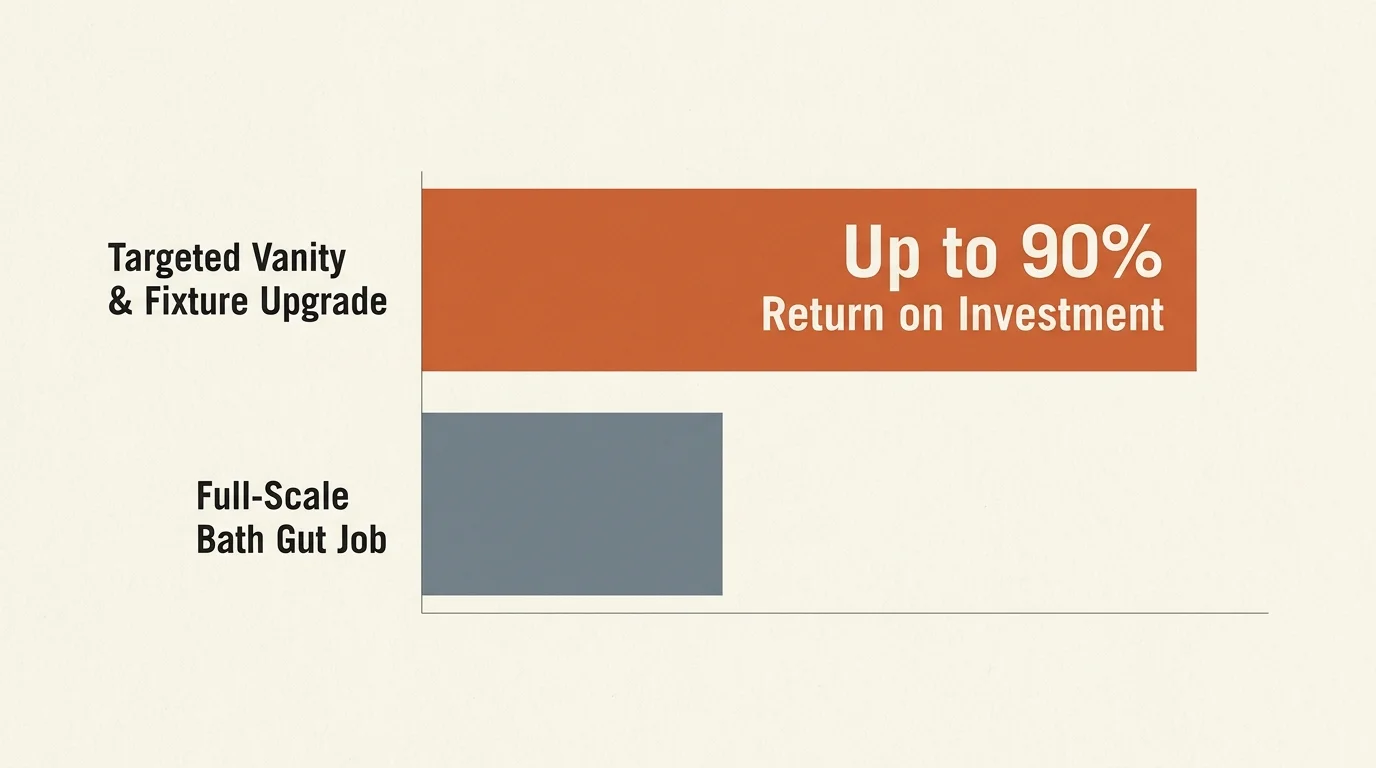
When you evaluate home renovation ROI, the numbers rarely lie; real estate and building economics consistently show that massive gut jobs struggle to pay for themselves. Tearing out a bathtub, moving plumbing lines, and laying intricate tile patterns easily pushes a budget into the tens of thousands of dollars. In contrast, the current housing market highly rewards cosmetic efficiency. Upgrading the primary functional and visual anchor of the room offers an exceptional return on your investment. Buyers immediately notice a fresh, clean sink, contemporary hardware, and flattering lighting.
Because you leave the core plumbing and structural elements intact, you avoid costly building permits and specialized contractor labor. You invest solely in visible, high-quality materials that make an immediate impact. This focused expenditure means that nearly every dollar you spend directly increases your home equity, often returning up to ninety percent of the project cost upon resale. You benefit from a luxurious, modern upgrade today while fiercely protecting your financial investment for tomorrow.
The Planning Snapshot and Project Blueprint
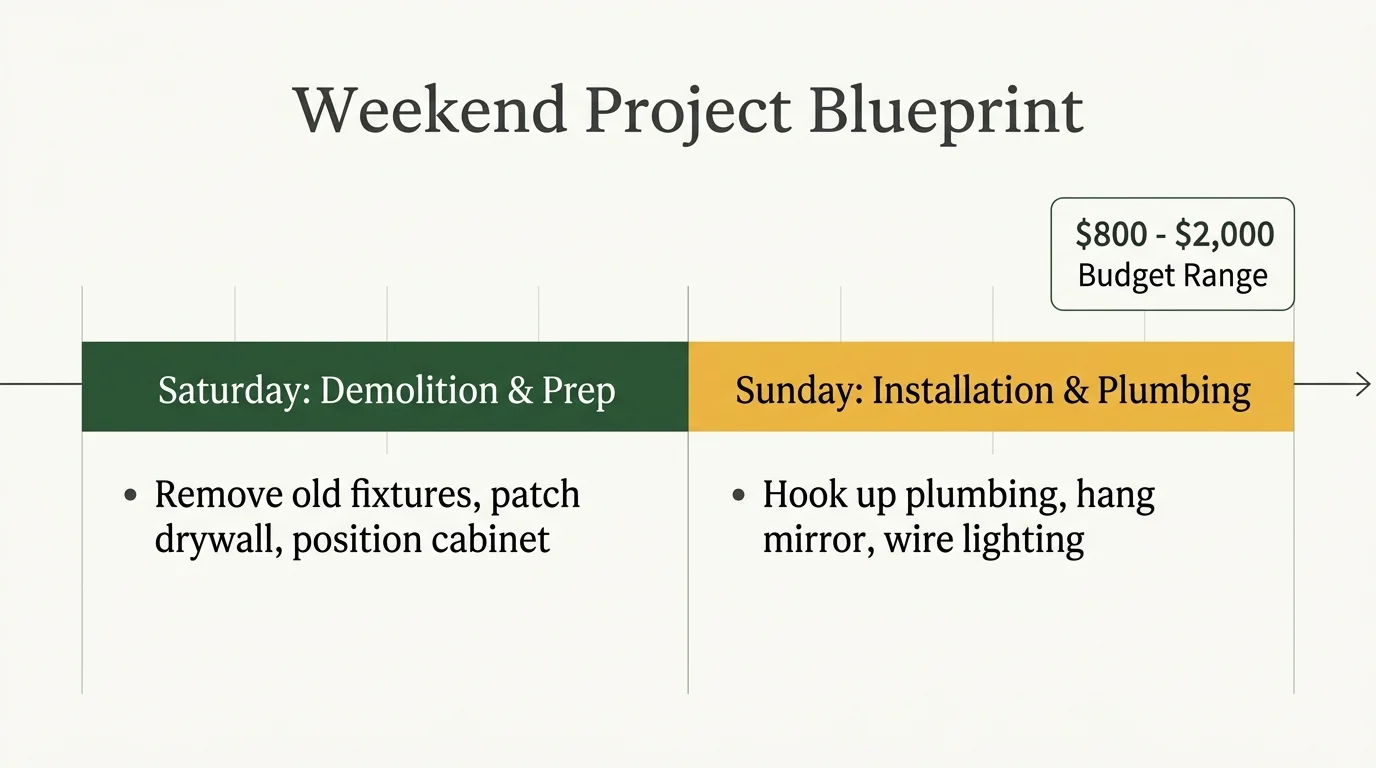
Before you turn off the water valves, you need a clear understanding of the project scope to guarantee a smooth workflow. You should budget between eight hundred and two thousand dollars for a complete vanity, faucet, mirror, and lighting upgrade, heavily dependent on your material selections. This project requires an intermediate level of DIY confidence; you must feel comfortable working with basic hand tools, applying silicone caulk, and managing simple plumbing connections.
A dedicated homeowner can realistically complete this entire process over a single weekend. You should spend your Saturday removing the old fixtures, patching any drywall damage, and positioning the new vanity cabinet. Sunday provides the perfect opportunity to hook up the plumbing, hang the new mirror, and wire the updated light fixture. By setting realistic expectations and gathering all your materials beforehand, you prevent mid-project trips to the hardware store and keep your bathroom downtime to an absolute minimum.
Phase One Involves Prep Work and Strategic Demolition
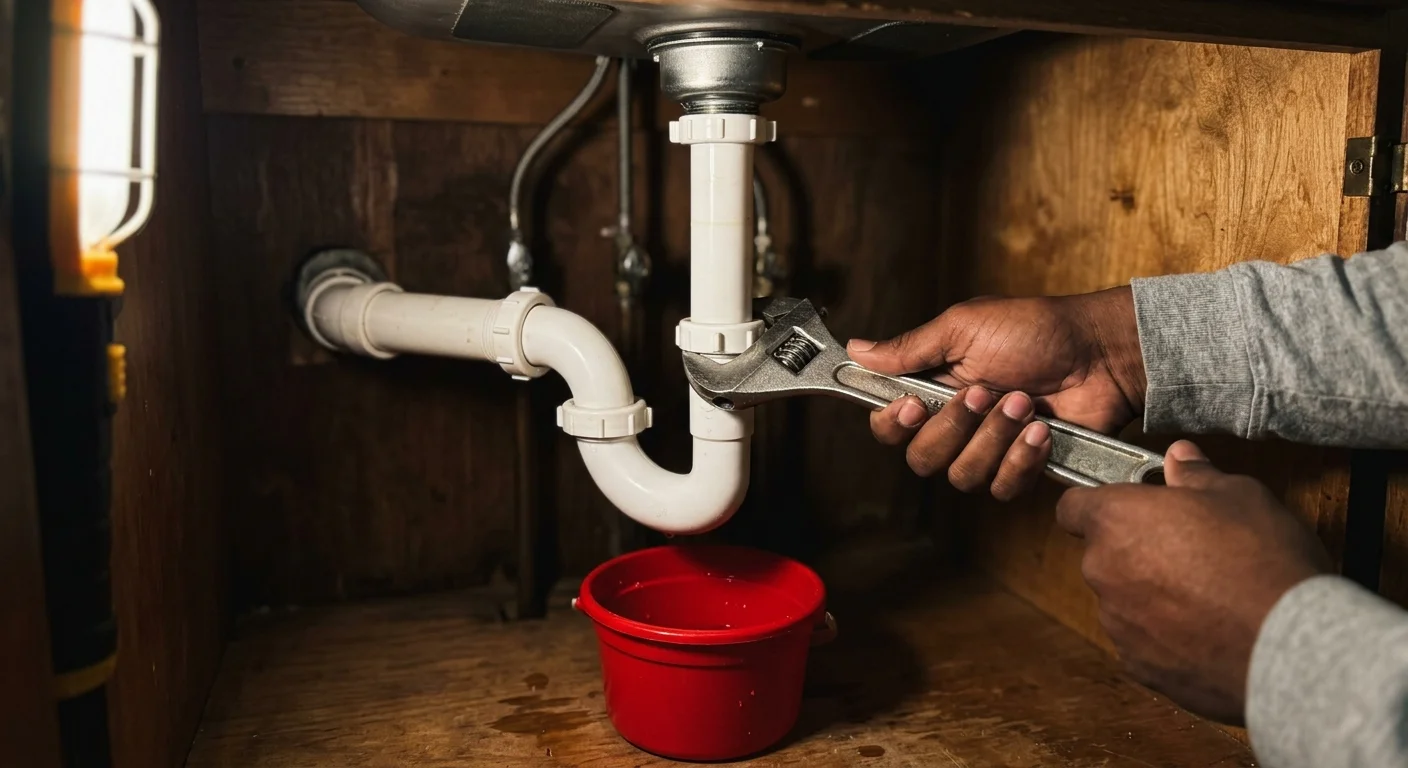
Successful home improvement relies entirely on meticulous preparation and careful demolition. You must begin by shutting off the water supply to the sink; look for the two oval-shaped valves beneath the basin and turn them clockwise until they stop tightly. Turn on the old faucet to drain any residual water and relieve pressure in the lines. Place a bucket beneath the P-trap before you use an adjustable wrench to loosen the slip nuts, as a small amount of trapped, dirty water will inevitably spill out. Once you disconnect the plumbing, you can focus on removing the old vanity top safely.
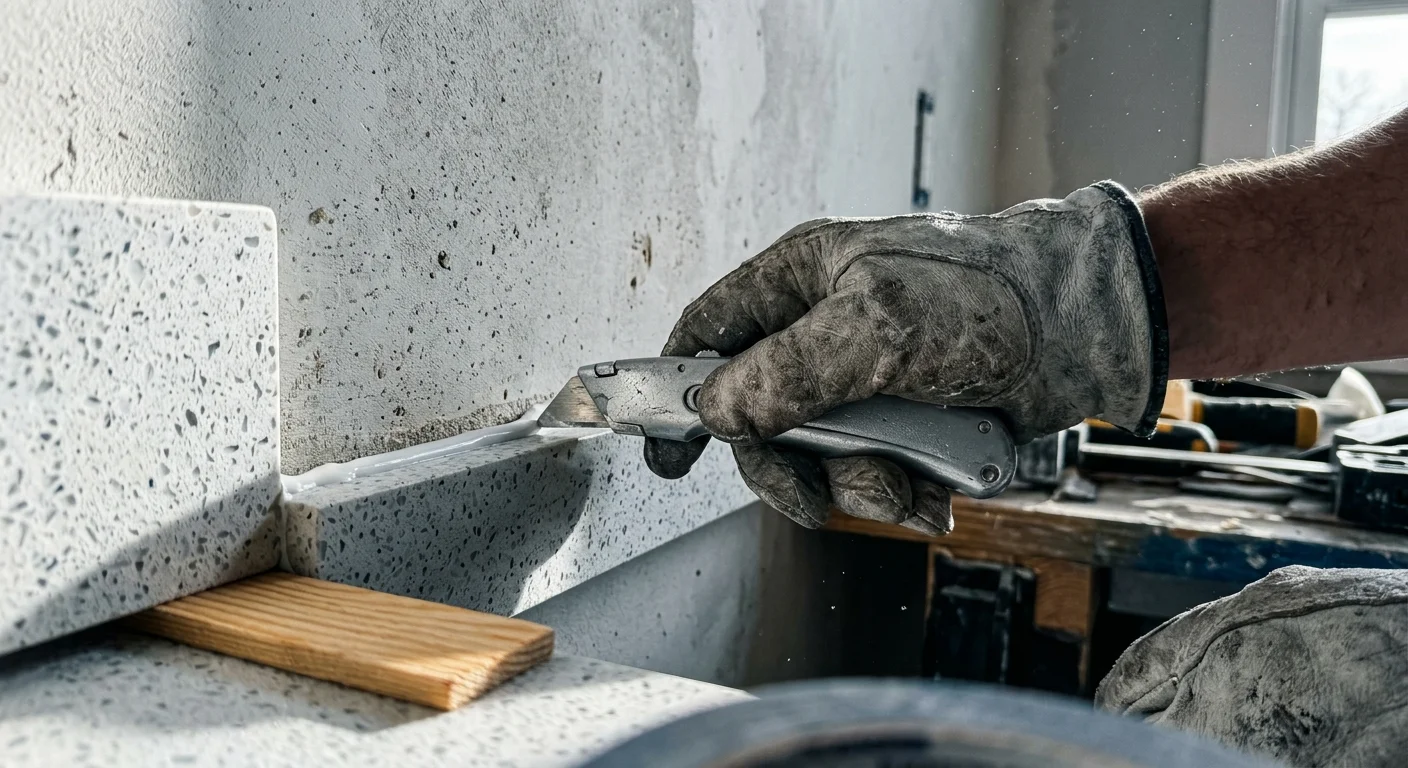
Builders often glue countertops to the base cabinets using incredibly strong construction adhesive. You need to take a utility knife and slice through the caulk line where the backsplash meets the wall to break the initial seal. Gently tap wooden shims between the cabinet and the countertop to slowly break the adhesive bond without tearing large chunks of drywall away. After you recruit a helper to lift off the heavy top, you can unscrew the cabinet base from the wall studs and slide it out of the room. Take this opportunity to patch any holes in the wall, sand the surface smooth, and apply a fresh coat of moisture-resistant paint before the new vanity obstructs your access.
Phase Two Focuses on Flawless Vanity and Plumbing Installation
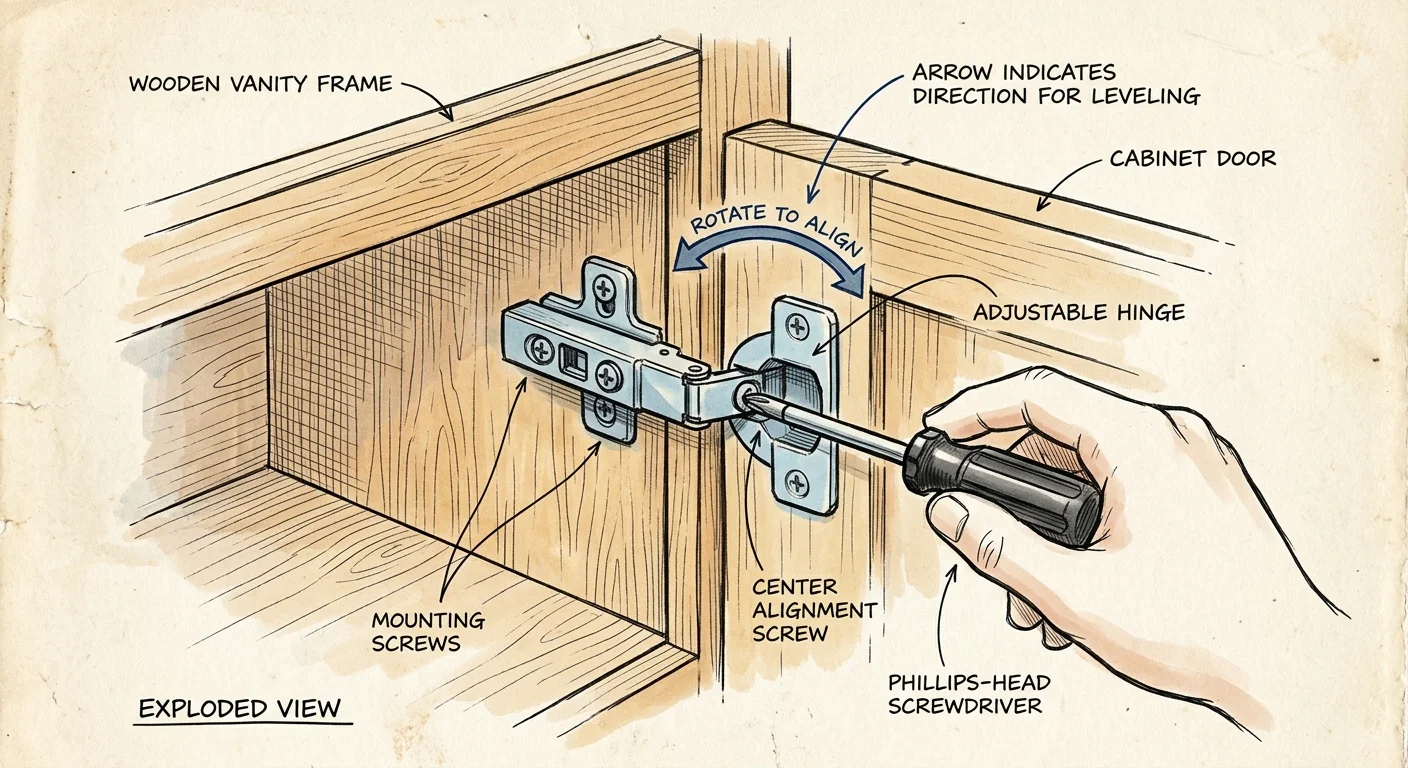
Positioning your new vanity correctly guarantees a professional finish and prevents long-term structural issues from developing. Slide the new cabinet into place and use a reliable stud finder to locate the wooden framing hidden behind the drywall. Bathrooms rarely feature perfectly level floors, so you must place a spirit level across the top edge of the empty cabinet. Tap wooden shims under the base until the bubble sits perfectly centered; an unlevel vanity causes doors to hang improperly and water to pool aggressively on the countertop. Once perfectly leveled, drive heavy-duty wood screws through the reinforced back rail of the cabinet directly into the wall studs for a highly secure hold.
Before you permanently secure the heavy countertop to the cabinet, you should install the faucet and drain assembly. Working from above while the top rests on a sturdy workbench proves significantly easier than contorting your body inside a dark, cramped cabinet later. Lower the fully assembled top onto the cabinet base, applying a thin bead of silicone adhesive along the top rim of the base beforehand to lock it securely in place. Connect your flexible water supply lines to the shutoff valves and hand-tighten them before applying a final, cautious quarter-turn with a wrench. Reattach the P-trap to the new tailpiece, ensuring the rubber gaskets sit perfectly flat to prevent frustrating leaks. As you finish the plumbing, consider upgrading to an aerated model, as following water-efficient plumbing guidelines significantly reduces your monthly utility bills without sacrificing comfortable water pressure.
Phase Three Brings Finishing Touches and Illumination
With the plumbing secured and tested for leaks, you must address the surrounding visual elements that truly elevate the aesthetic. A pristine vanity requires equally compelling context to achieve that coveted high-end appearance. Begin by permanently sealing the seam where your new countertop meets the wall; apply a smooth, continuous bead of high-quality, mold-resistant silicone caulk. Use a damp finger or a specialized caulking tool to create a flawless transition that prevents stray moisture from seeping behind the cabinet and causing invisible damage.
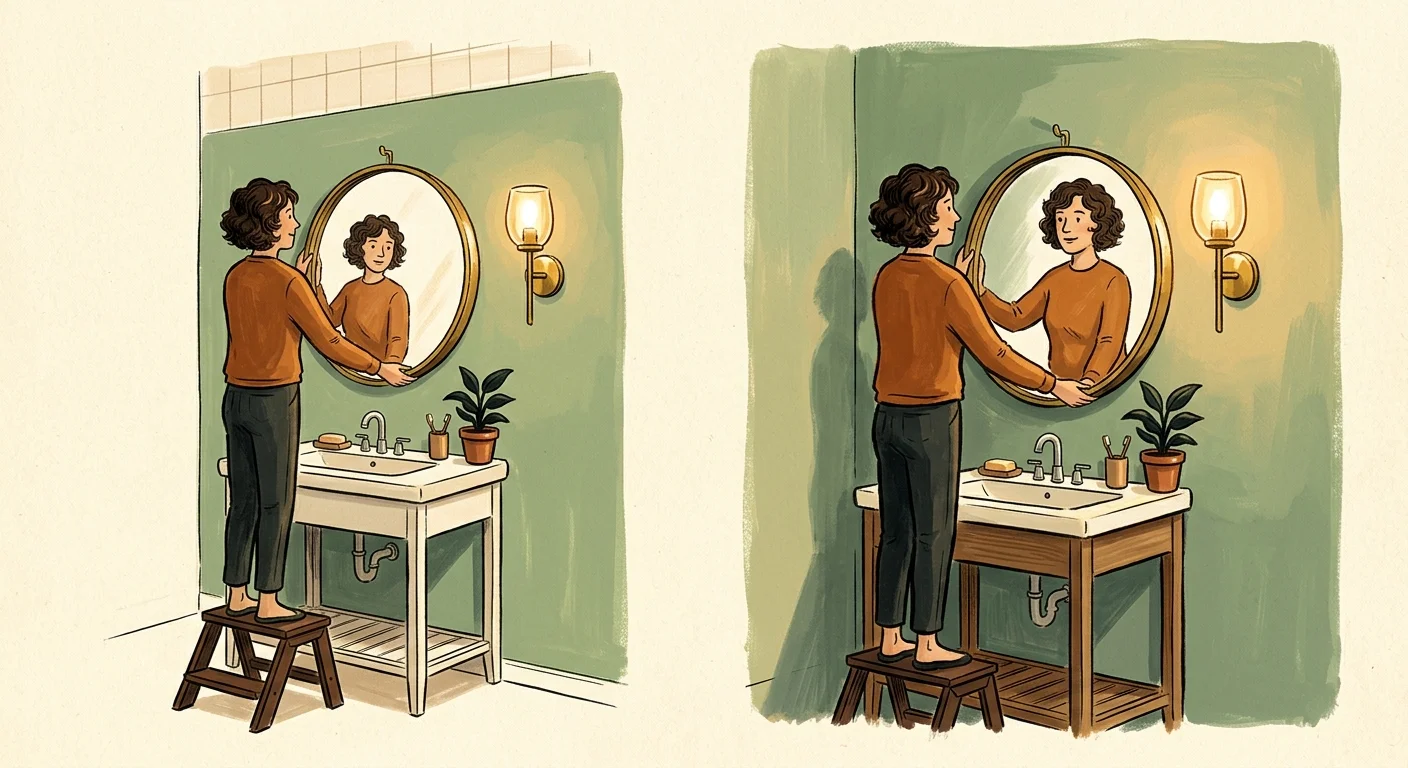
Next, you must banish the builder-grade mirror and lighting that actively drag down the perceived value of your newly upgraded bathroom. Remove large, unframed plate glass mirrors carefully, wearing heavy gloves and safety glasses, and replace them with a stylish framed mirror that directly complements your new vanity hardware. Updating your lighting fixture makes an astonishing difference in how the room feels and functions daily. Swapping a dated, multi-bulb Hollywood strip for a sleek two-light or three-light sconce instantly modernizes the entire space. Remember to turn off the power at your main electrical breaker box before you touch any exposed wires. When you wire the new fixture, match the black wire to black, white to white, and secure the bare copper ground wire tightly to the green grounding screw. Lighting fundamentally alters the atmosphere, so integrating expert lighting design strategies ensures your reflection looks vibrant and natural every morning. Choose LED bulbs with a color temperature around three thousand Kelvin to cast a warm, flattering glow that mimics natural daylight beautifully.
Styling and Personalization to Elevate the Space
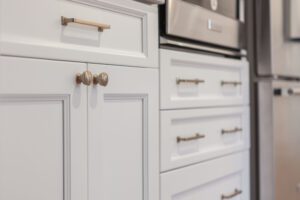
The mechanical installation merely provides a foundation; the intentional styling process injects your unique personality and ultimately elevates the overall design. Upgrading your cabinet hardware represents an incredibly simple yet transformative styling choice that takes only minutes to execute. If your vanity arrives with generic brushed nickel knobs, swapping them for unlacquered brass pulls or heavy matte black T-bars instantly creates a bespoke, designer appearance. You should deliberately echo this specific hardware finish in your towel rings, toilet paper holder, and shower door handles to establish a cohesive, intentional visual theme throughout the room.
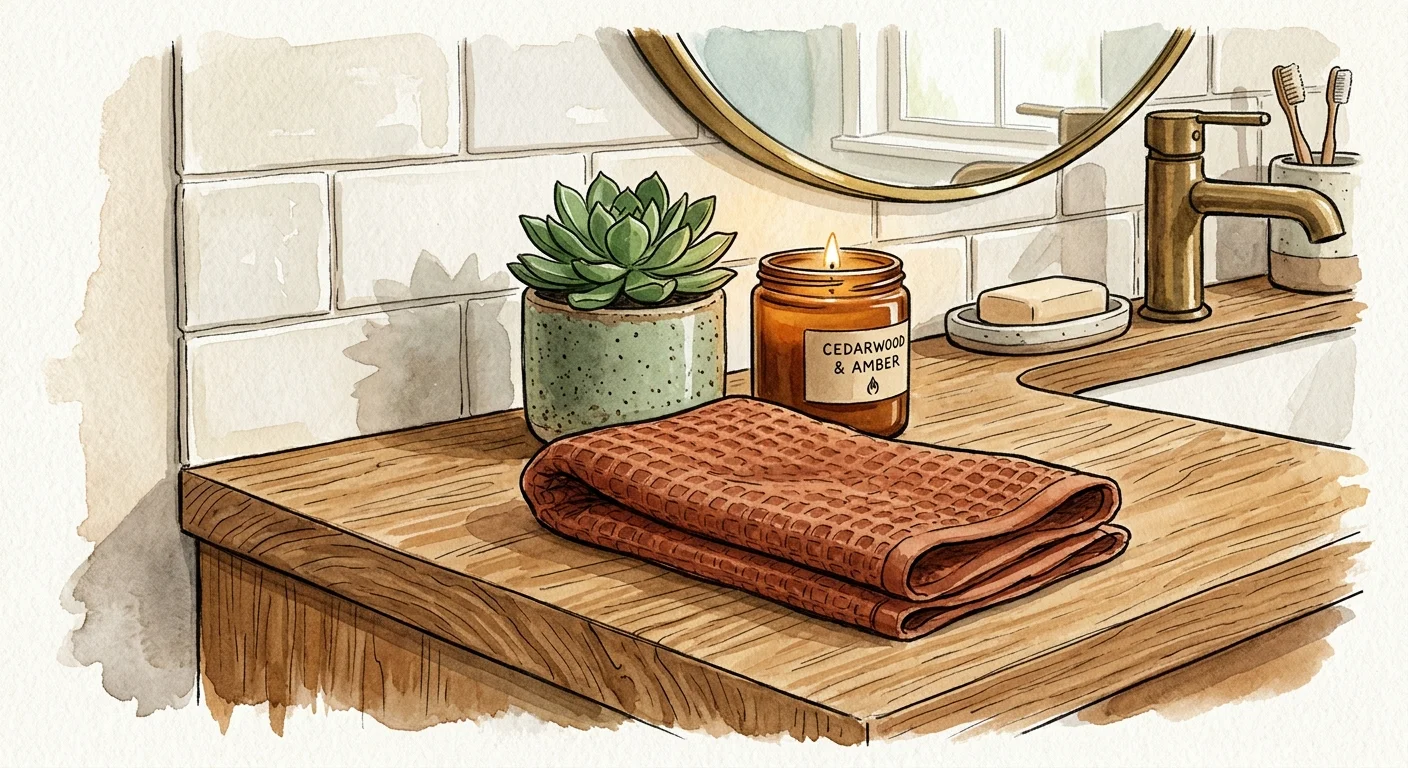
Beyond the metal hardware, you can introduce organic textures to soften the hard, glossy surfaces inherent in standard bathroom architecture. Place a tightly woven seagrass tray on the vanity top to corral your daily essentials like hand soap, lotion, and cotton swabs. Incorporate a small, humidity-loving houseplant—like a delicate fern or a trailing pothos—to bring vibrant life and fresh, natural color into the sterile space. When you select your everyday textiles, invest in plush, oversized bath towels in a rich shade that contrasts beautifully with your primary cabinet color. Researching modern bathroom color schemes helps you strike the perfect, delicate balance between calming, spa-like neutrals and dramatic, moody accents. A deep navy blue vanity paired with crisp white quartz countertops and warm brass accents, for example, delivers an enduring, sophisticated aesthetic that feels both traditional and strikingly current.
Troubleshooting Common Pitfalls and Ensuring Upkeep
Even the most meticulous and thoroughly prepared DIYer encounters occasional hiccups, but you can confidently resolve most issues with patience and basic mechanical knowledge. The most common post-installation problem predictably involves a slow, frustrating leak under the new sink. If you notice a persistent drip originating from the P-trap, you likely misaligned the plastic slip nut or failed to insert the beveled plastic washer correctly; simply loosen the connection, reseat the washer so the taper faces the joint, and tighten it firmly by hand. If water weeps slowly from the metal supply valve connections, you may need to shut off the water, apply three tight wraps of plumber tape to the male threads, and gently retighten them with your wrench. You can always consult expert plumbing fundamentals if you face an unfamiliar or heavily corroded pipe configuration during your installation.
Long-term maintenance directly dictates how gracefully your financial investment ages over the years. You must physically inspect the silicone caulk line behind your sink regularly, as cracking or peeling caulk easily allows standing water to penetrate the vulnerable drywall and breed structural rot. Clean your vanity surfaces with non-abrasive, pH-neutral cleaners to fiercely protect the factory paint finish and preserve the sealant on the stone countertop. Bathrooms endure constant, punishing humidity, which heavily threatens wooden cabinets over time. You must ensure your ceiling exhaust fan functions optimally and consciously run it during every single shower. Adhering to strict indoor moisture control recommendations prevents dangerous mold growth and physically stops your wooden vanity drawers from swelling, sticking, or warping, preserving your hard work for years to come.
Frequently Asked Questions About Bathroom Vanity Upgrades
Readers frequently encounter highly specific challenges when attempting to adapt this standardized project to their unique, occasionally quirky homes. By addressing these common hurdles proactively, you can avoid mid-project panic and ensure a smooth installation. Here are detailed, actionable answers to the most common questions regarding modern bathroom upgrades.
What specific tools are absolutely necessary for this project?
You need a reliable, well-maintained set of foundational hand tools to execute this project safely and efficiently. Your toolkit must absolutely include an adjustable wrench, a pair of wide slip-joint pliers, a versatile multi-bit screwdriver, and a heavy-duty utility knife with fresh blades. You also strongly require a high-quality spirit level, an electronic stud finder, a smooth-operating caulk gun, and a powerful cordless drill for securing the cabinet base to the wall. Keep a large plastic bucket and several old, absorbent towels nearby to quickly manage the inevitable water spills during the messy plumbing disconnection phase.
How do I choose between solid wood and MDF for a vanity?
Your choice between solid wood and medium-density fiberboard directly dictates both the expected lifespan and the upfront price of your vanity. Solid wood resists heavy moisture damage significantly better than MDF and holds structural screws far more securely, making it the unquestionably superior choice for high-traffic, incredibly humid family bathrooms. However, MDF costs substantially less and inherently resists temperature-induced expansion and contraction. If you choose a budget-friendly MDF vanity, you must ensure the protective laminate edges are fully sealed and vigilantly wipe up any standing water to prevent the composite material from swelling and permanently deteriorating.
What if my existing plumbing does not line up with the new vanity?
Modern vanities often feature deep storage drawers or complex internal shelving that can easily conflict with older, rigidly placed plumbing configurations. If your rigid drain pipe protrudes from the wall in a spot that directly hits a moving drawer, you may need to use a flexible P-trap extension or carefully cut a measured, neat notch into the wooden back of the drawer box. When metal supply lines unexpectedly emerge from the floor rather than the wall, you must use a sharp hole saw to cut precise, circular openings in the bottom panel of your new vanity before you attempt to slide it into position.
How can I adapt this project for a particularly small half-bath or powder room?
Powder rooms heavily require you to maximize every single square inch without visually overwhelming the tightly limited floor plan. You should strongly consider installing a modern floating vanity; by mounting the cabinet securely directly to the wall and exposing the tile floor beneath it, you create a powerful optical illusion of vastly expanded space. Alternatively, you can opt for a classic pedestal sink or a narrow-depth, open-frame console to keep the tiny room feeling delightfully airy. You must compensate for the lost under-sink storage by installing floating vertical shelving or recessing a mirrored medicine cabinet deeply into the wall above the basin.
Transform Your Space and Reclaim Your Bathroom
You currently hold the distinct power to completely revitalize one of the most important and heavily utilized rooms in your home without draining your life savings or enduring weeks of exhausting construction dust. By executing a targeted vanity and fixture replacement, you intelligently leverage 2026 housing data to secure the absolute highest possible return on your renovation investment. You instantly gain a beautiful, highly functional space that elevates your morning routine and adds undeniable, measurable equity to your property. Gather your tools, deliberately select a vanity that speaks to your personal design aesthetic, and commit a single weekend to this incredibly rewarding project. You can absolutely achieve professional-grade results and build lasting, deeply satisfying DIY confidence starting today.