Transform a quiet weekend into a gallery of handcrafted decor with simple hobbies that deliver instant gratification. You can elevate your home aesthetics and create display-ready masterpieces using basic materials, zero specialized training, and just a few hours of focus. While complex crafts require weeks of dedication, afternoon projects harness the momentum of quick execution, ensuring you never abandon a half-finished idea. Whether you want to revitalize thrifted objects, experiment with eco-friendly textiles, or mold natural elements into functional art, dedicating a focused afternoon yields tangible rewards. Clear your workbench and discover how easily you can produce high-quality, personalized pieces that spark conversation and breathe fresh energy into your living spaces.
1. Hand-Poured Botanical Soy Candles
Inspiration and Materials
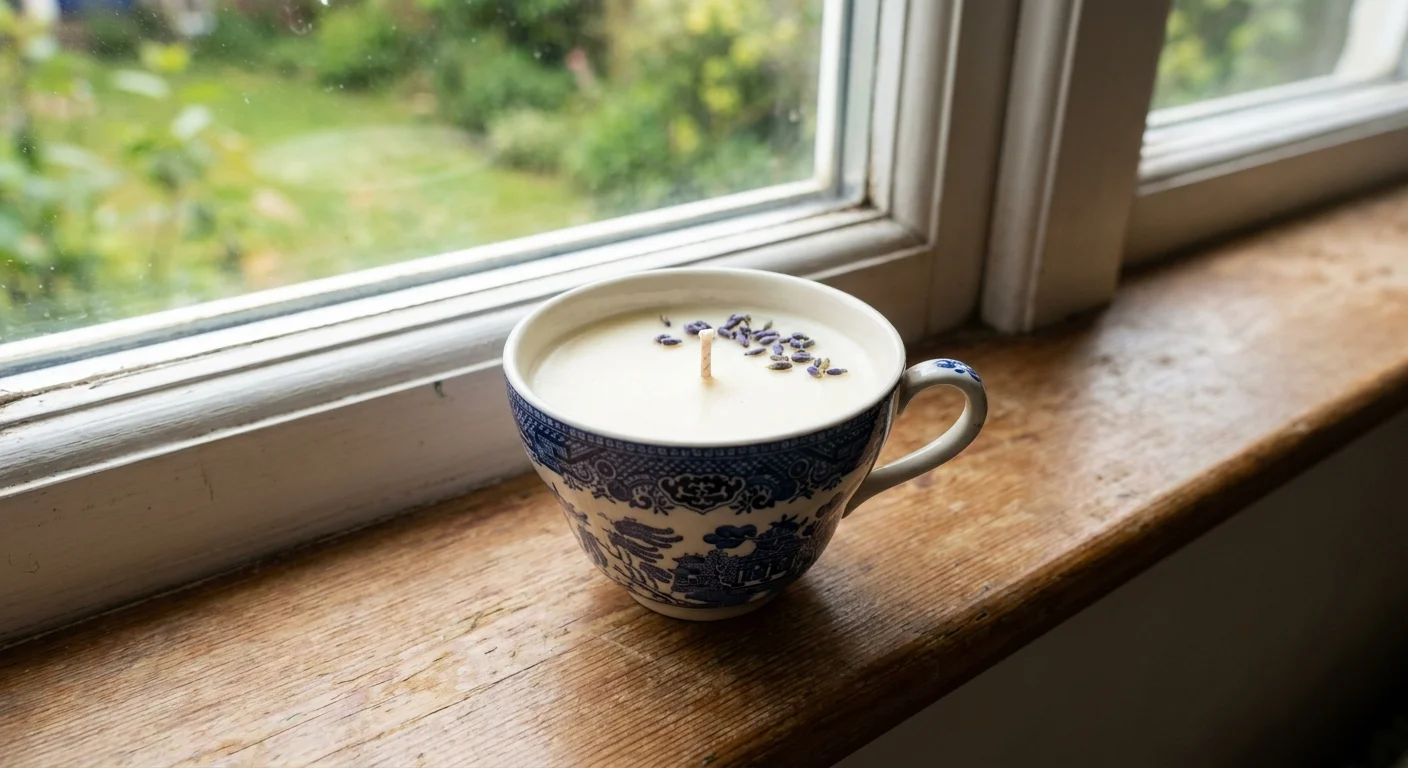
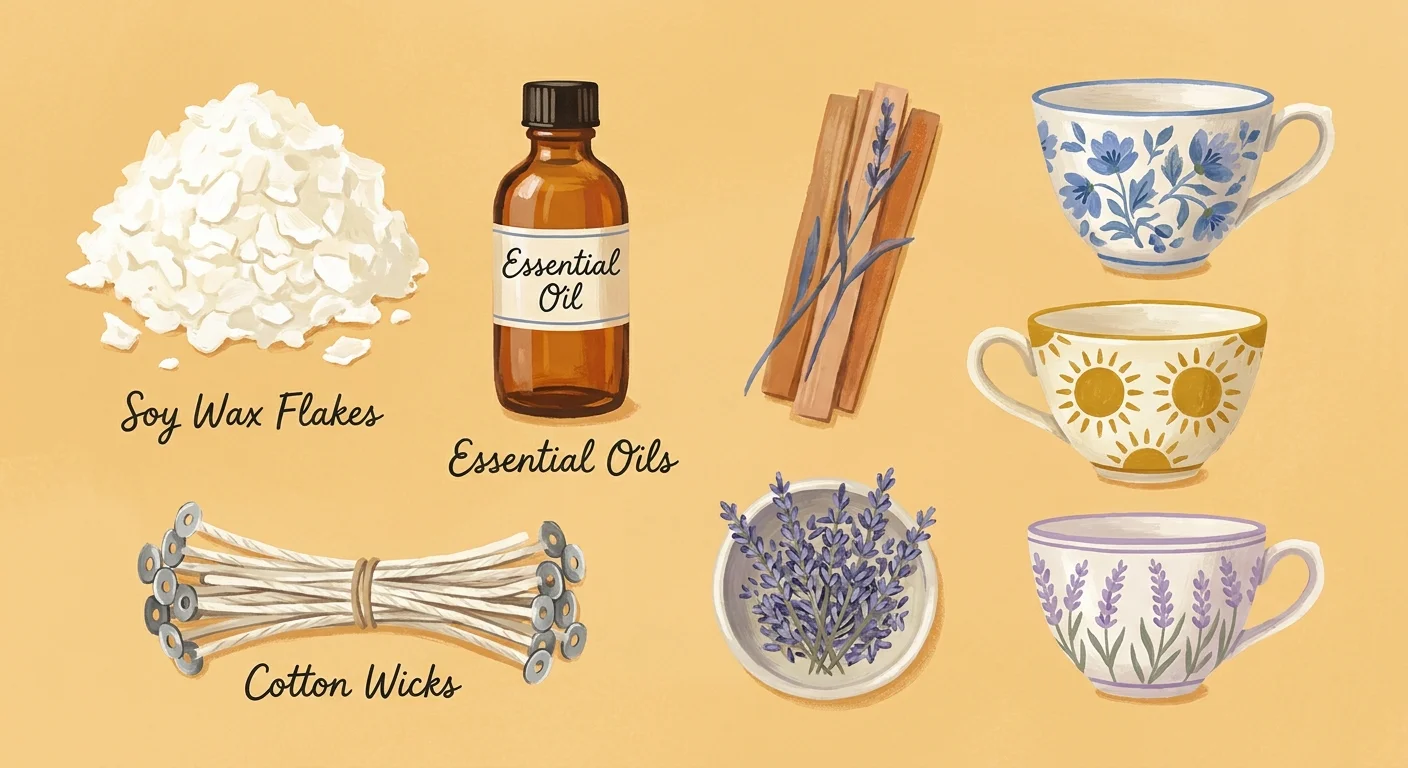
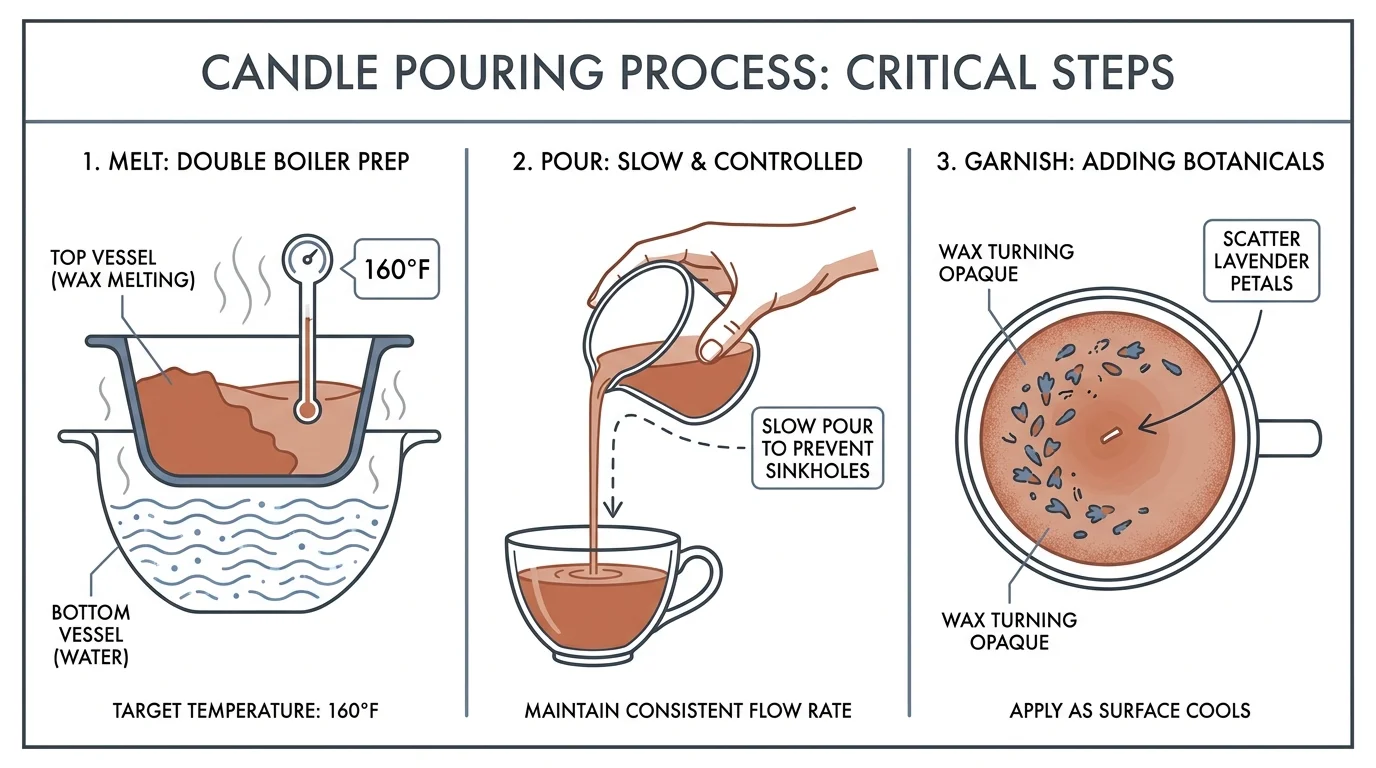
The warm, flickering ambiance of boutique candles inspires this accessible craft. Replicate luxury aesthetics directly in your kitchen without paying premium retail prices. Source soy wax flakes, essential oils, cotton wicks, dried lavender, and thrifted teacups. Repurpose thick mason jars if teacups prove scarce. Always melt your wax in a double boiler to ensure stable temperatures; consult resources like the National Candle Association for comprehensive melting safety guidelines.
Process and Styling
Secure the metal wick tab to the bottom center of your vessel using hot glue. Pour the melted wax carefully once it cools to 160 degrees Fahrenheit. Scatter dried lavender petals over the surface just as the wax turns opaque, allowing the blooms to rest on top. To prevent sinkholes, pour slowly and tap the container to release air bubbles. Display your cured candle on a stack of hardcover books or give it as a housewarming gift. Trim the wick to a quarter inch before every burn to extend the life of your creation.
2. Pressed Flower Resin Coasters
Inspiration and Materials
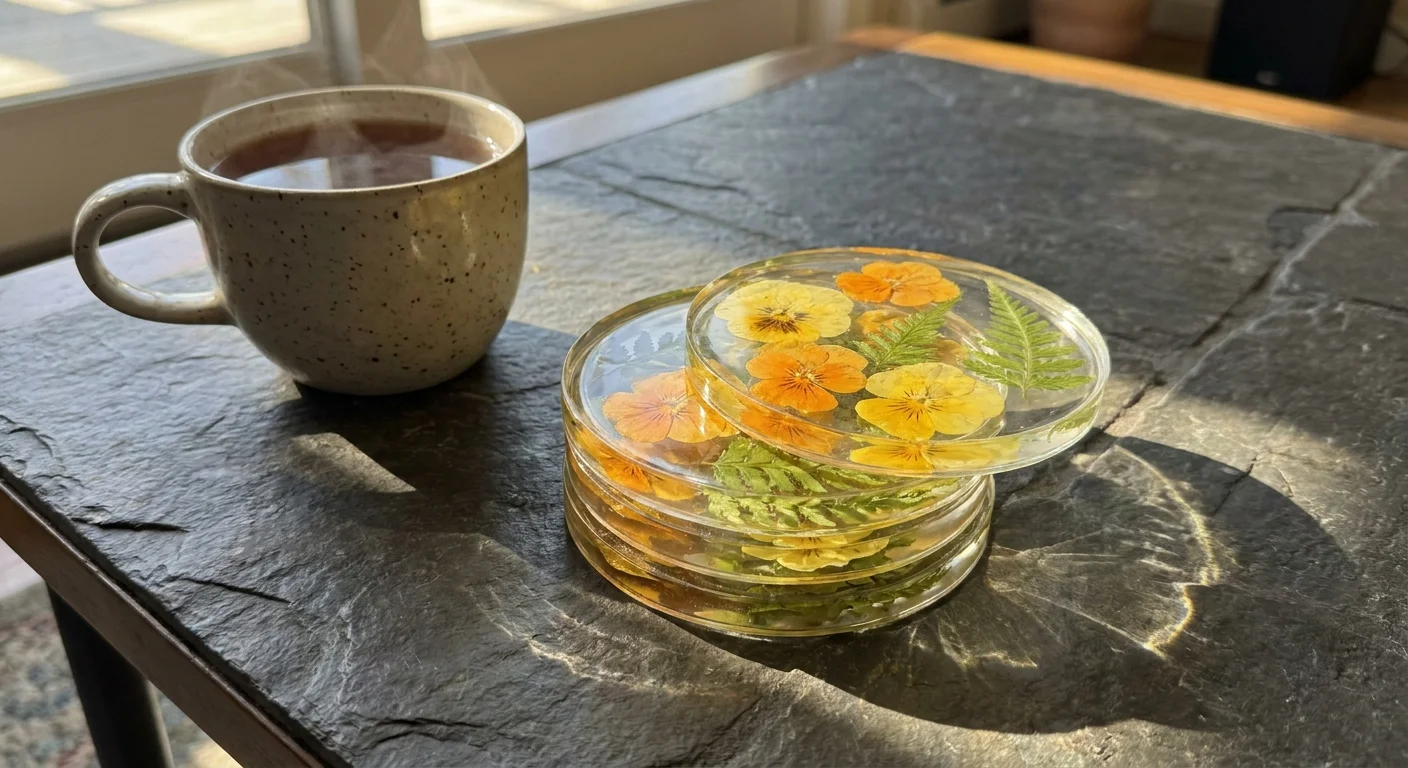
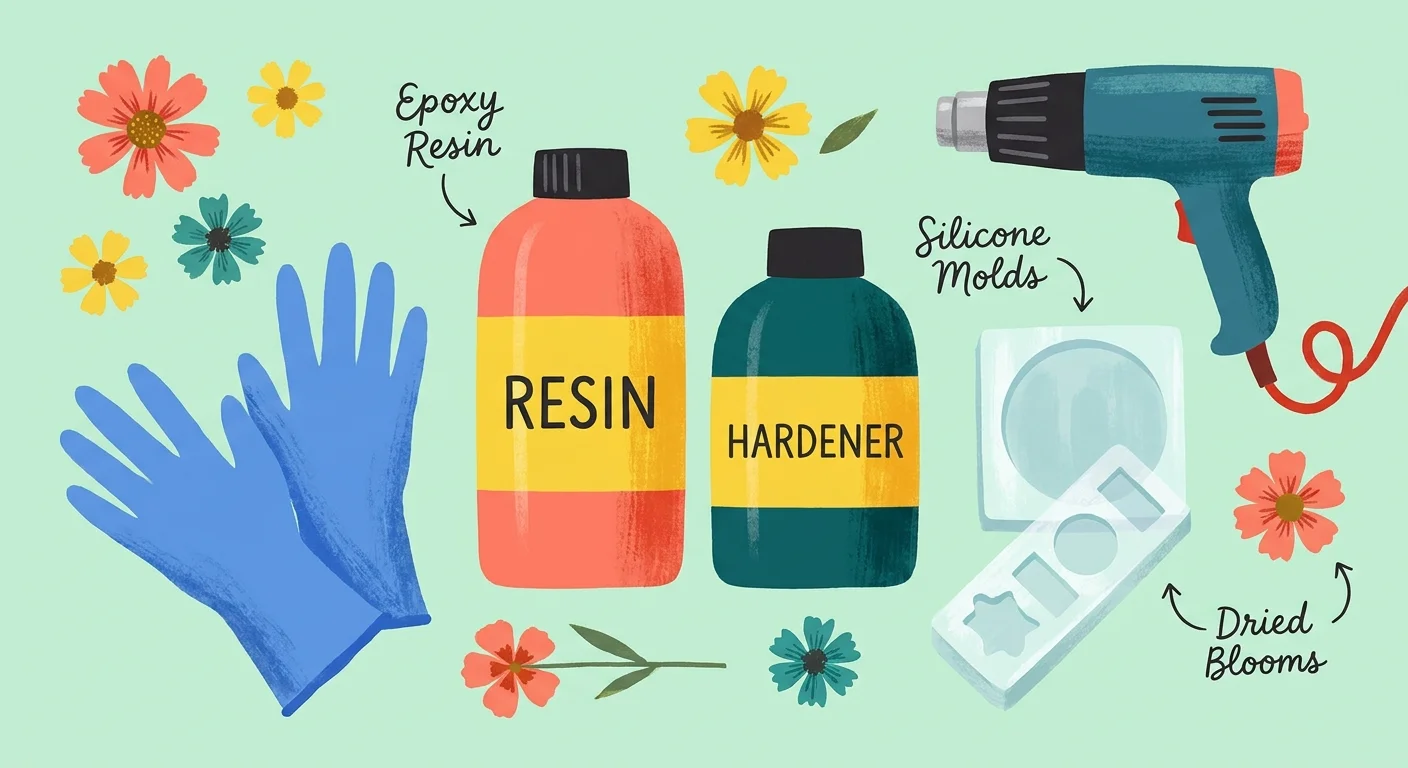
Capture the fleeting beauty of spring foliage forever in crystal-clear functional art. This project delivers an immediate wow factor by preserving delicate local blooms in a durable, glassy shell. Gather clear casting epoxy resin, silicone coaster molds, and thoroughly dried local flowers. Moisture ruins resin curing, so ensure your petals remain incredibly crisp. Always wear a respirator mask and nitrile gloves when handling unmixed chemicals. Work in a well-ventilated space and protect your surface with a silicone mat.
Process and Styling
Mix equal parts resin and hardener slowly to minimize the incorporation of air bubbles. Pour a thin base layer into your silicone mold, then use precision tweezers to arrange your petals. Once you finalize the design, pour the remaining topcoat. Sweep a heat gun quickly over the surface to pop any rising bubbles. Bundle four cured coasters with natural jute twine for a sophisticated handmade gift. Keep these pieces out of direct sunlight to prevent the epoxy from yellowing, and wipe them clean with a soft, damp cloth.
3. Macrame Plant Hangers
Inspiration and Materials
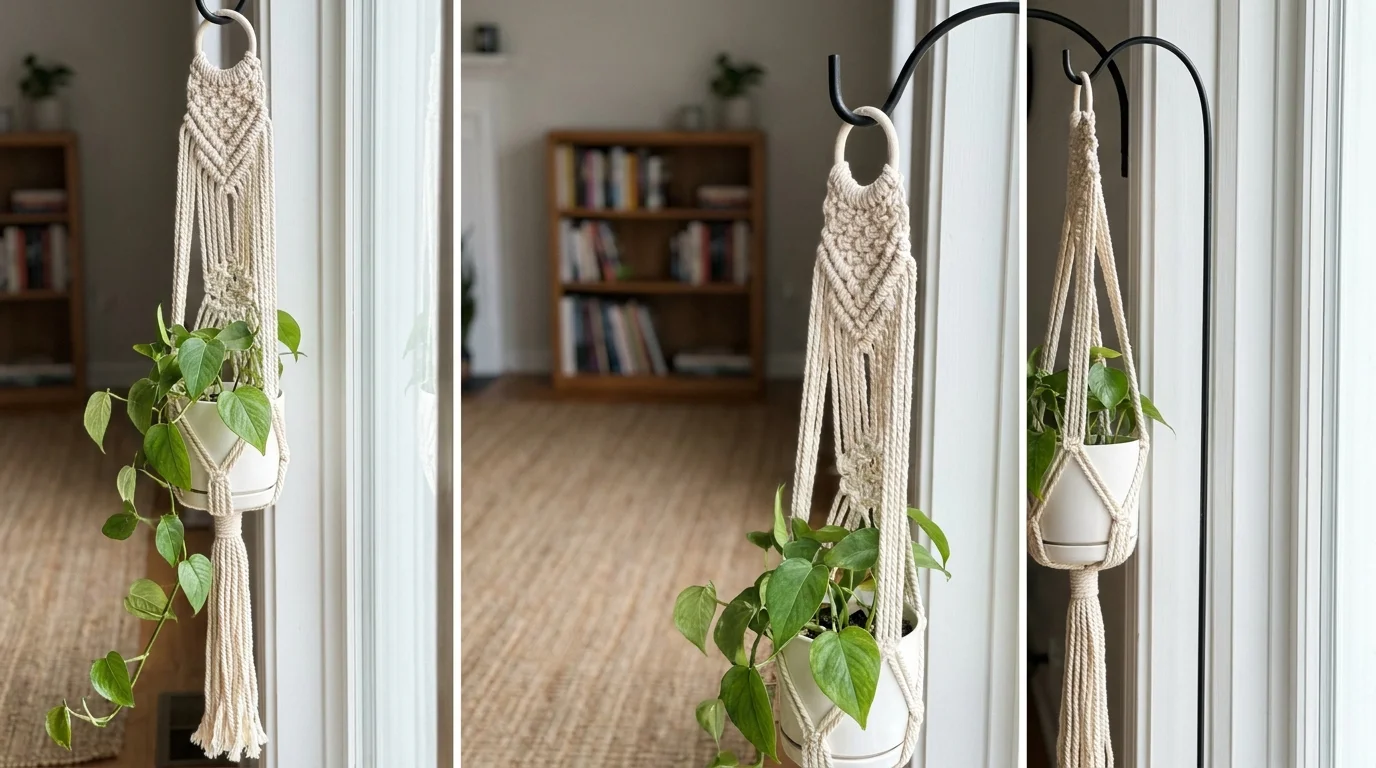
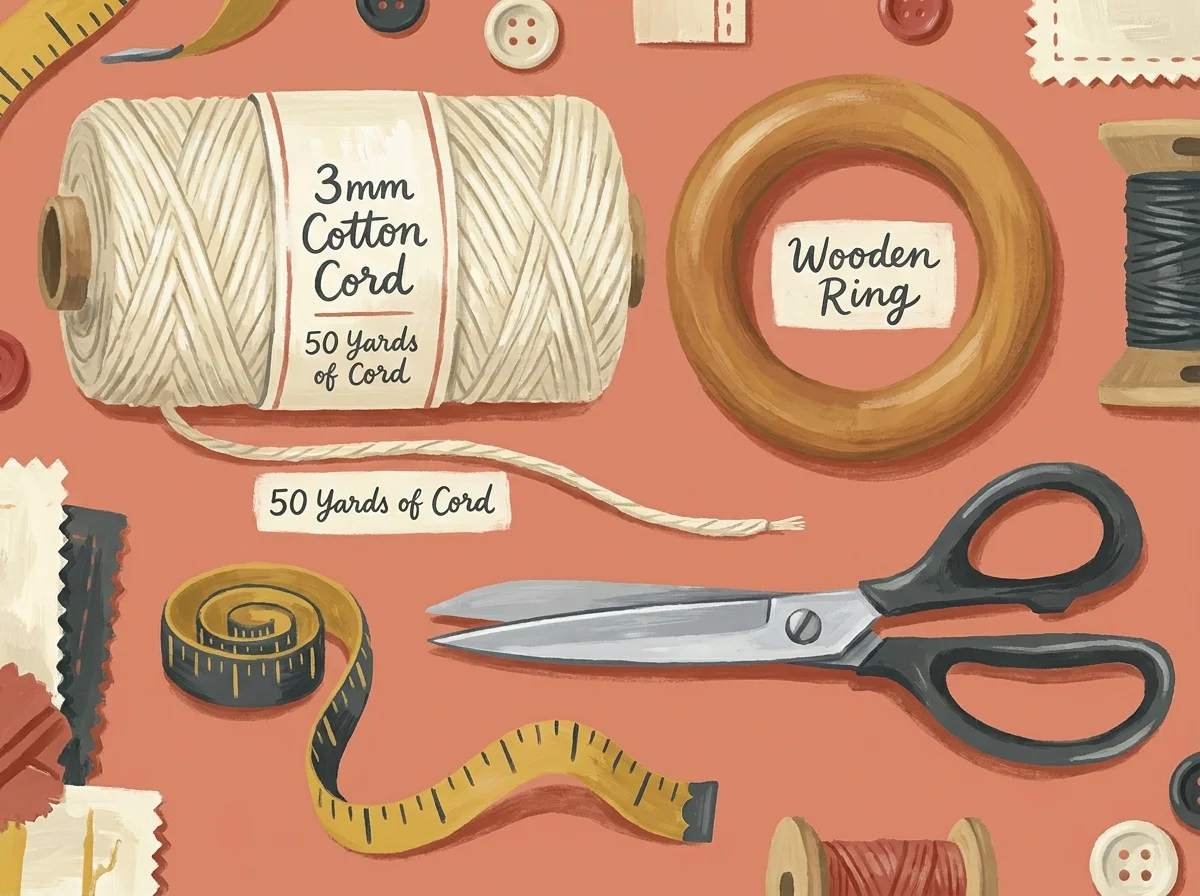
Bring a nostalgic, bohemian texture into modern living spaces with the art of knotting. Macrame requires minimal tools and offers a highly tactile, meditative afternoon experience. You need roughly fifty yards of three-millimeter twisted cotton cord, a solid wooden ring, and sharp fabric scissors. To make an eco-friendly substitution, slice old cotton t-shirts into continuous strips for upcycled yarn. Anchor your wooden ring to a sturdy hook or doorknob to maintain consistent tension as you work.
Process and Styling
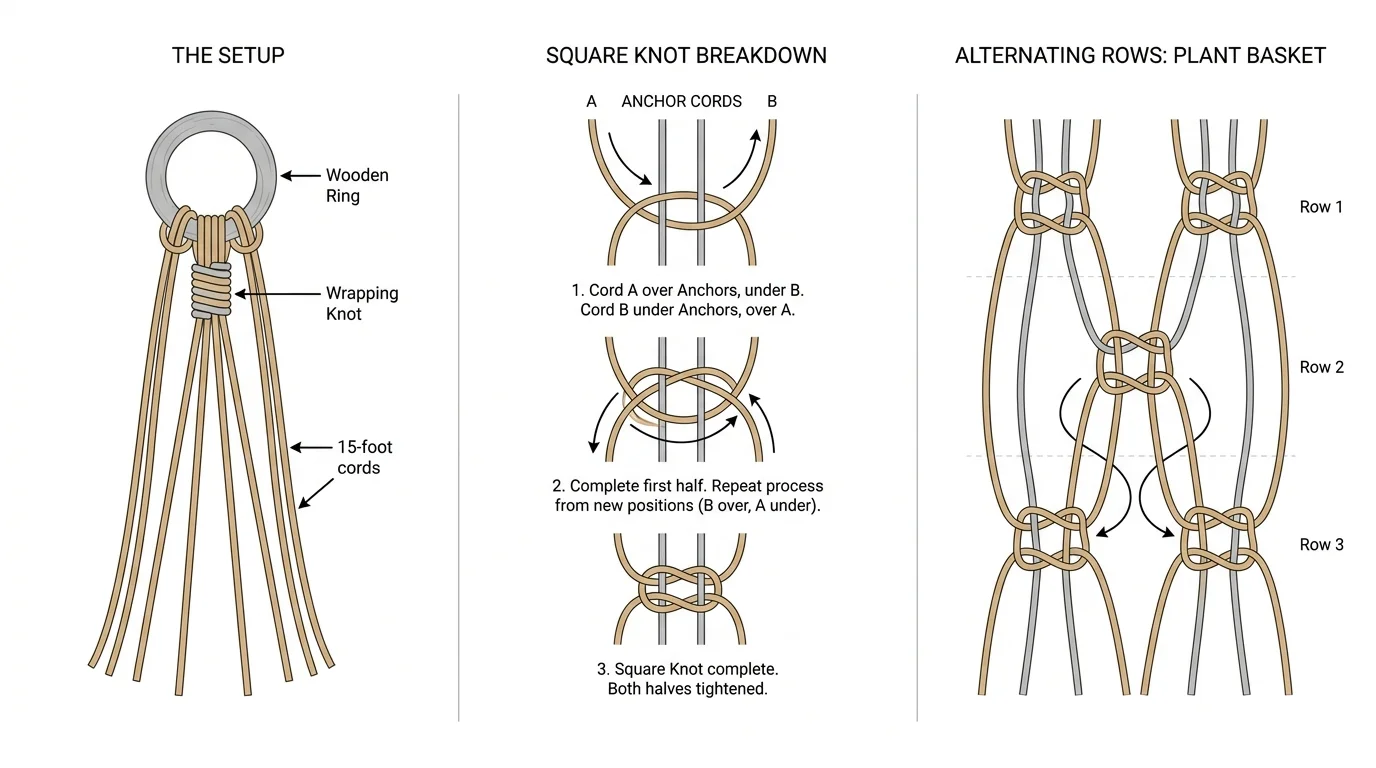
Master just two foundational techniques: the square knot and the wrapping knot. Cut your main cords to fifteen feet, loop them evenly through the ring, and secure them with a wrapping knot. Divide the descending cords into four groups and tie alternating square knots to form an open, woven basket. Check your tension frequently so the cradle holds your heavy ceramic pot level. House a trailing pothos inside your new hanger. Spot clean the cord with mild detergent and warm water if dust accumulates over time.
4. Faux Stoneware Terracotta Pots
Inspiration and Materials
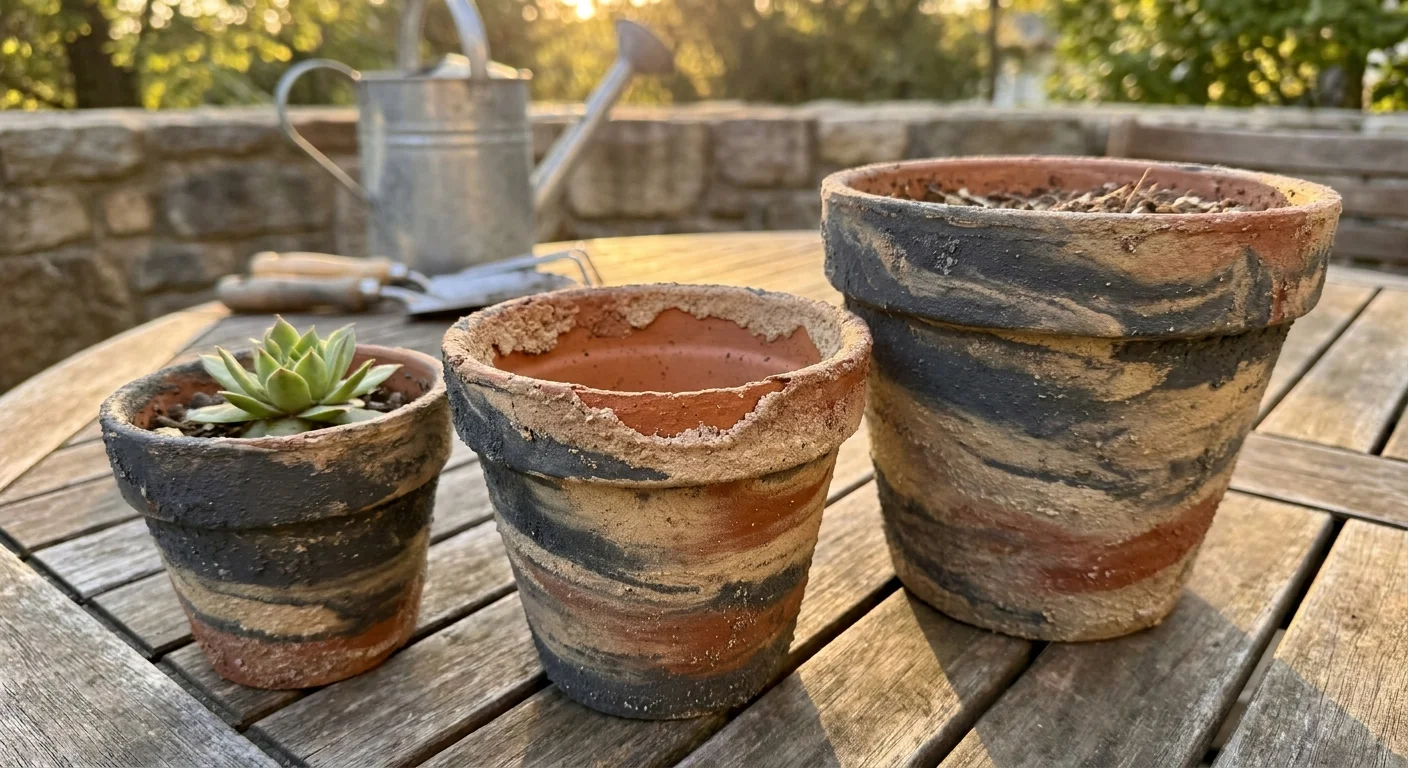
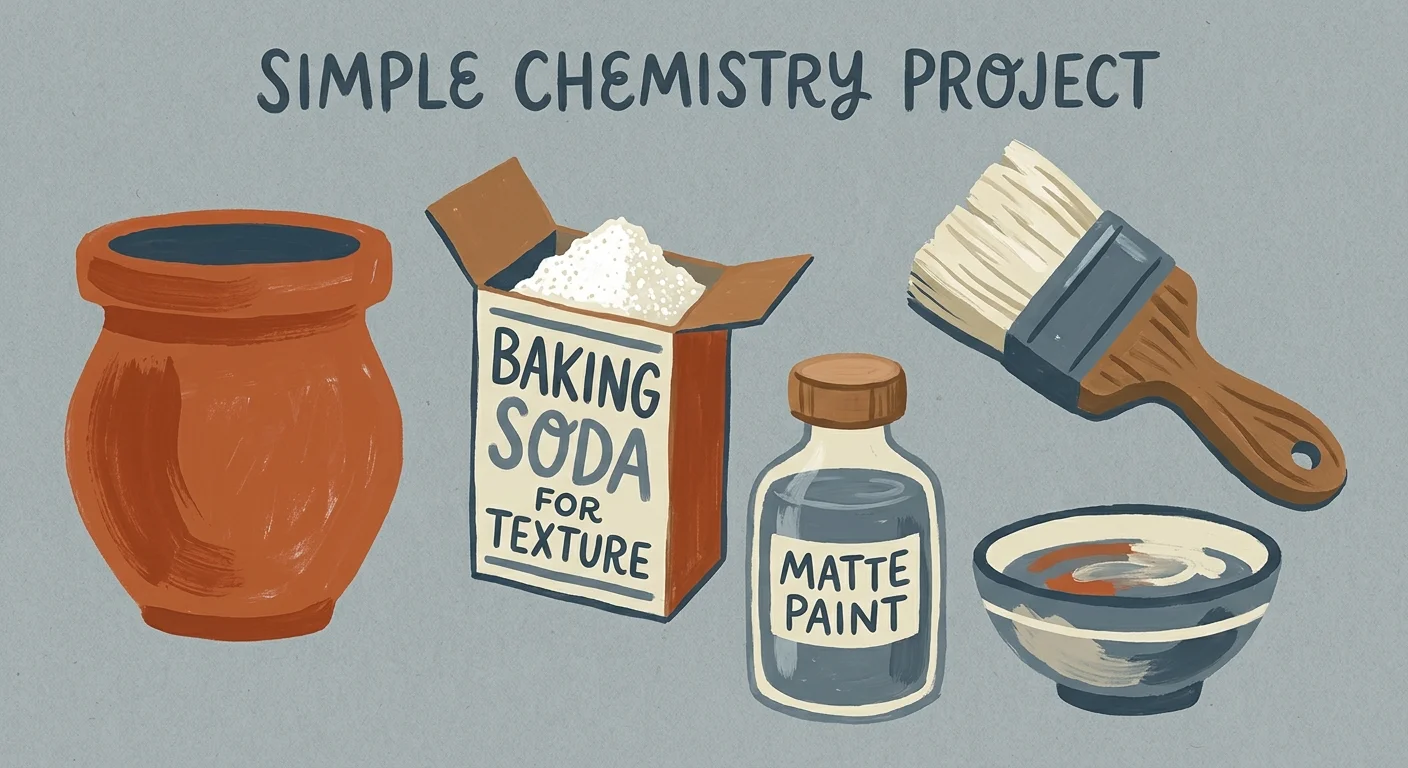
Replicate the earthy, organic look of expensive aged ceramic stoneware on a tight budget. This brilliant paint hack transforms cheap, standard orange vessels into high-end decor pieces. Grab a few basic terracotta pots, matte acrylic craft paint, baking soda, and a stiff bristle brush. The baking soda acts as a powerful thickening agent, giving ordinary paint a rich, chalky texture. Lay down newspaper to catch powdery drips, and mix your concoction in a disposable plastic cup.
Process and Styling
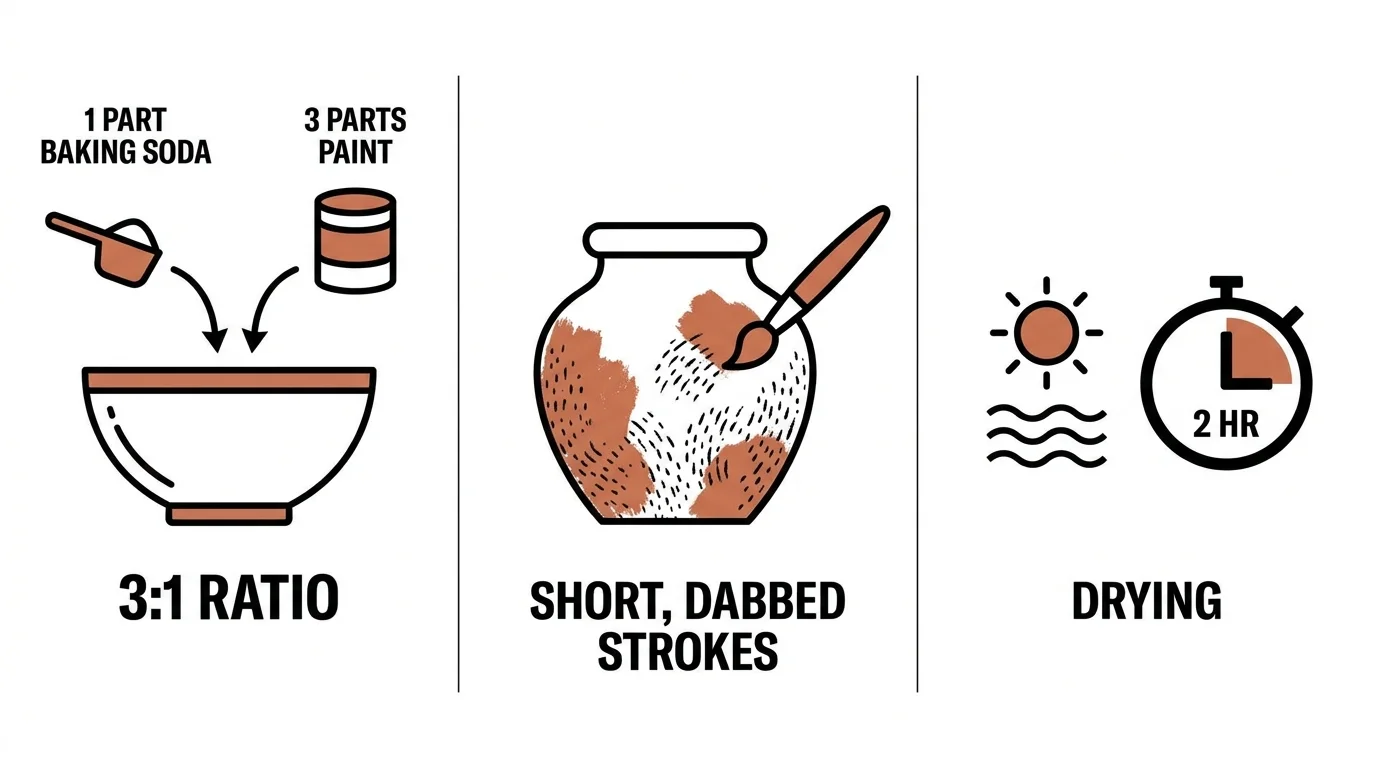
Combine one cup of acrylic paint with one tablespoon of baking soda, stirring until the mixture resembles fluffy frosting. Brush the thick paste onto the pot using chaotic, cross-hatch strokes to build maximum dimension. The mixture dries rapidly, forming a gorgeous matte finish in under thirty minutes. Group three upcycled pots of varying heights on a sunlit windowsill. Seal the painted surface with a clear, water-based polyurethane spray to protect the textured finish from moisture damage when watering your houseplants.
5. Abstract Punch Needle Wall Art
Inspiration and Materials
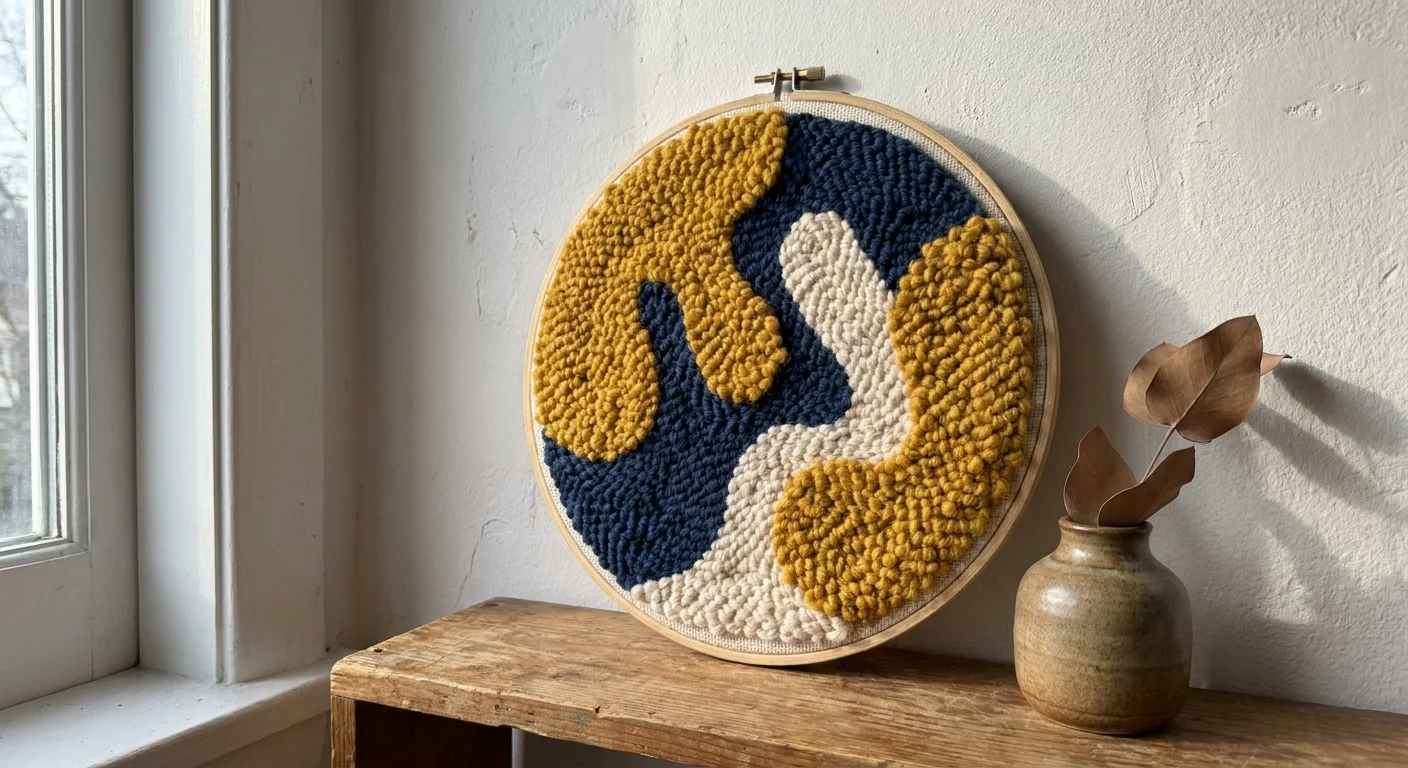
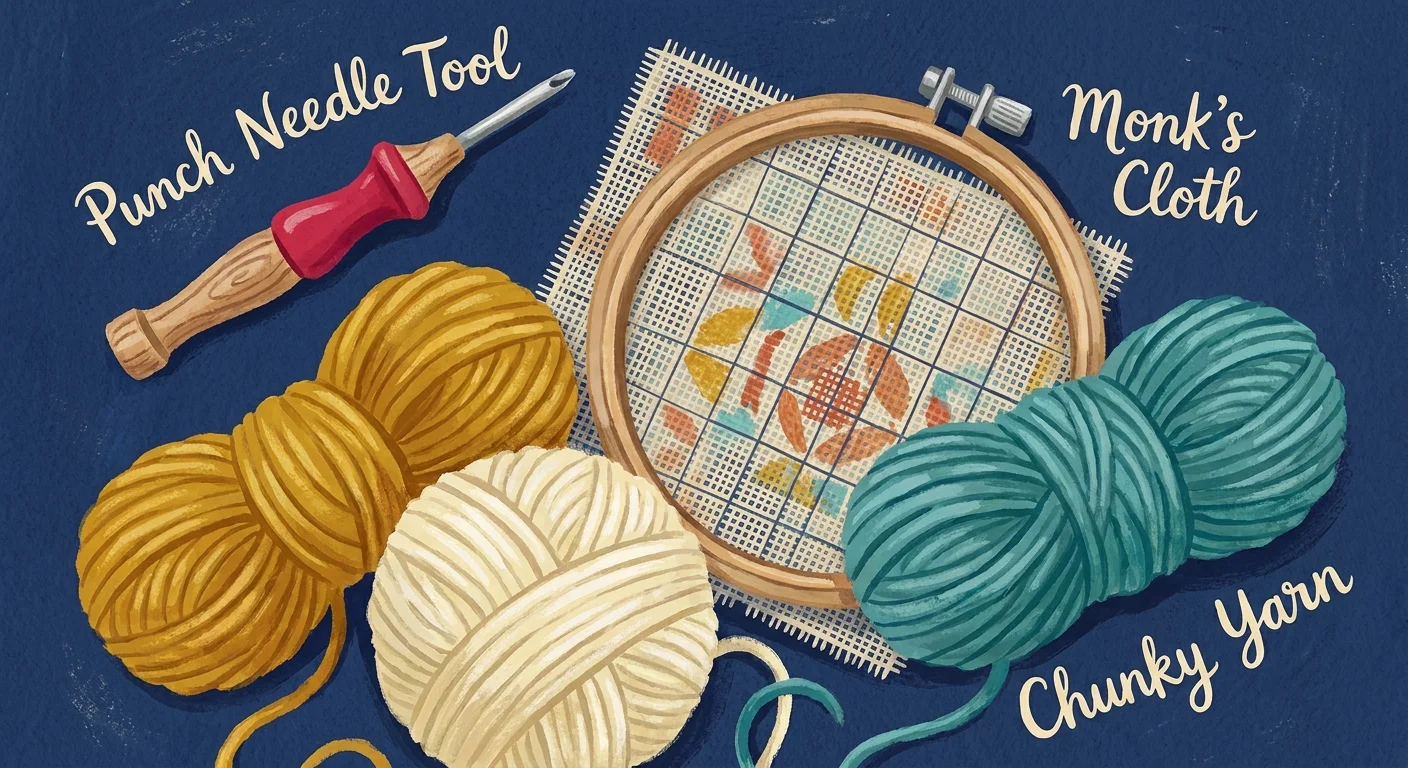
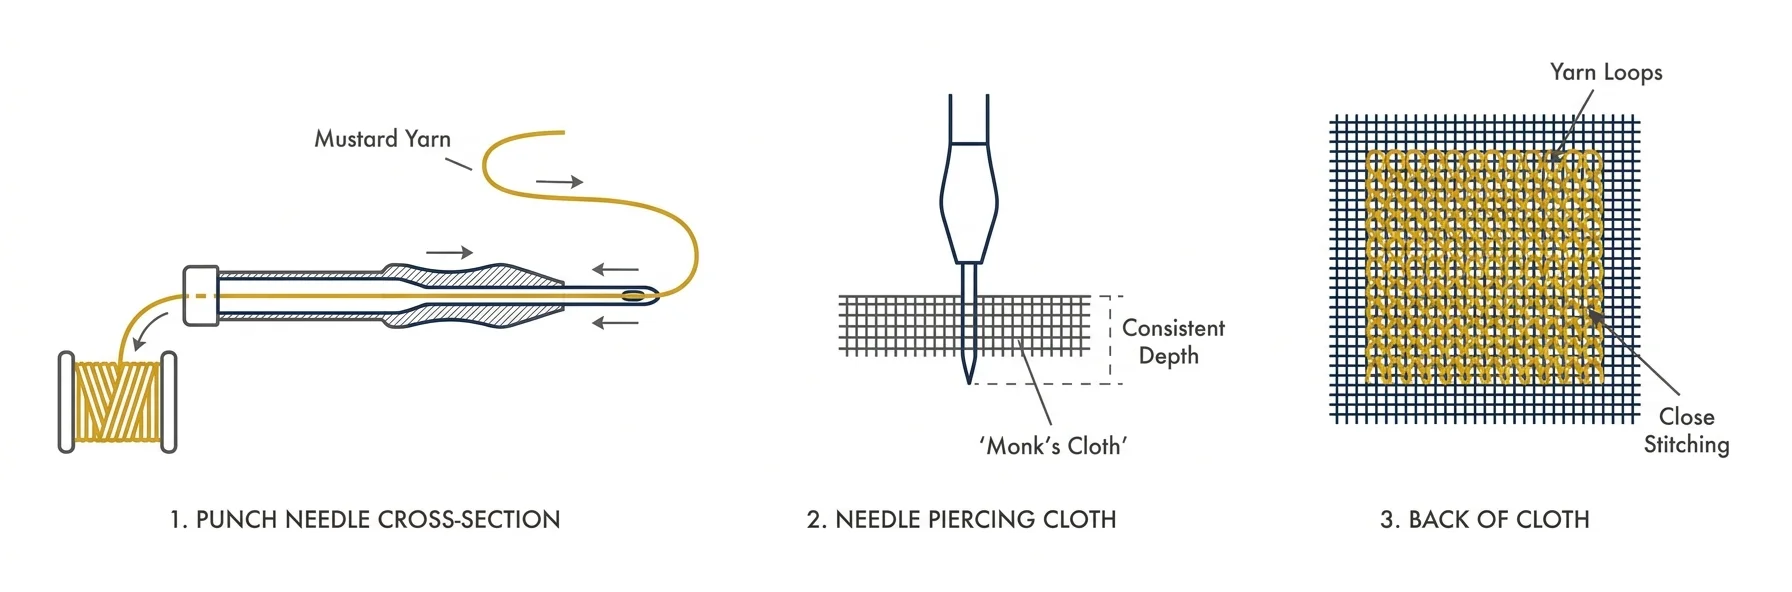
The satisfying pop of yarn pushing tightly through fabric makes punch needle an incredibly addictive senior craft and weekend hobby. You can create plush, tapestry-like textures without the steep learning curve of traditional weaving. Procure a standard punch needle tool, monks cloth, a wooden embroidery hoop, and bulky yarn scraps. Monks cloth features a loose weave specifically designed to grip yarn loops tightly. For intricate pattern inspiration, browse the galleries hosted by the Textile Society of America.
Process and Styling
Stretch your monks cloth across the embroidery hoop until it sounds like a tight drum when tapped. Thread bulky yarn through the hollow needle and punch down consistently, ensuring the tool sits entirely flush against the fabric with every stitch. Map out abstract waves or geometric shapes, filling each section with contrasting colors. Frame the finished textile piece in a shadow box to protect it from dust, or leave it stretched in the hoop for a rustic display. Keep the piece mounted away from curious pets whose claws might snag the loops.
6. Chunky Arm-Knit Throw Blankets
Inspiration and Materials
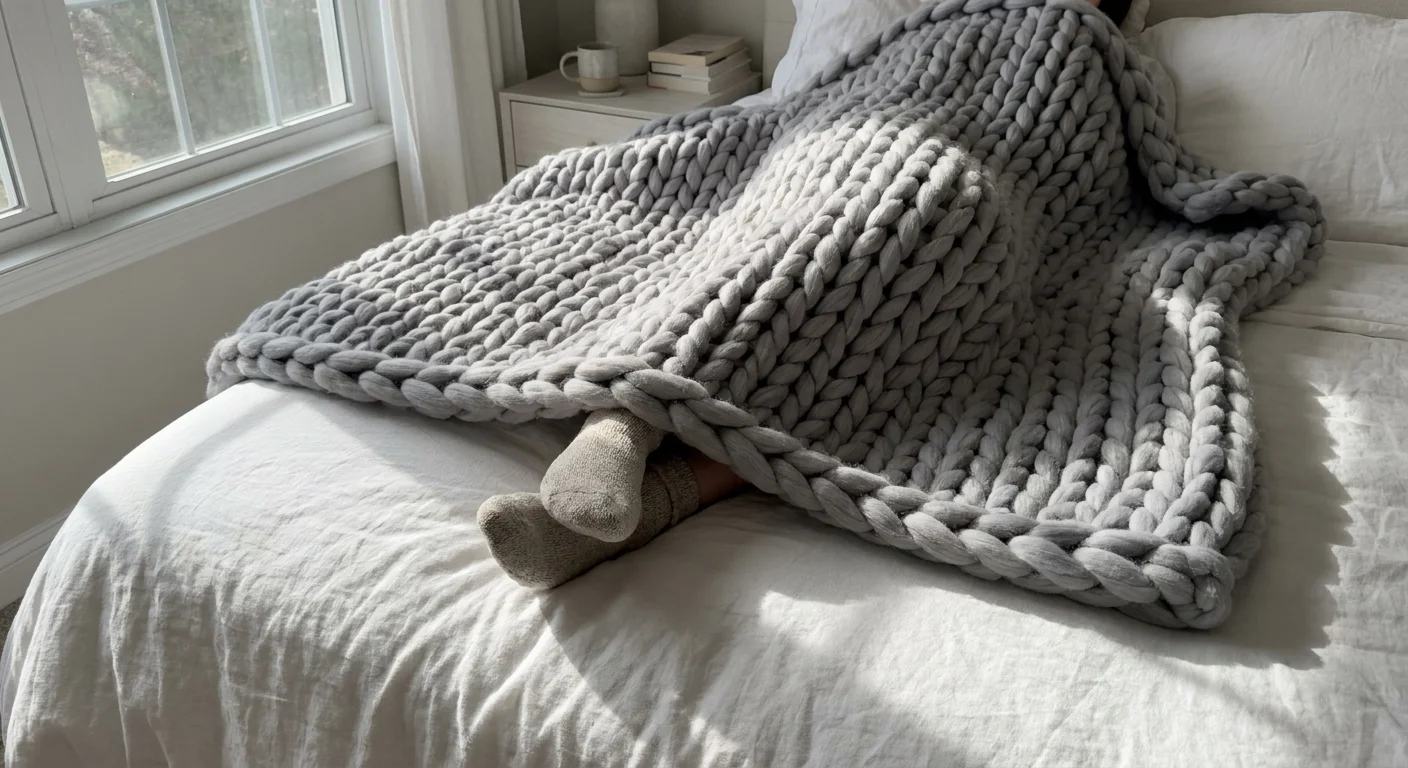
Create a dramatic, cloud-like textile piece entirely by hand, utilizing your arms instead of traditional knitting needles. This large-scale project provides an oversized, visually striking impact perfect for cozying up a living room. Source four to six skeins of jumbo tube yarn. Opt for a cotton-encased tube yarn filled with polyester fiber to guarantee superior longevity over shedding unspun roving. Clear a large space on your living room floor so the heavy blanket does not drag unevenly while you knit.
Process and Styling
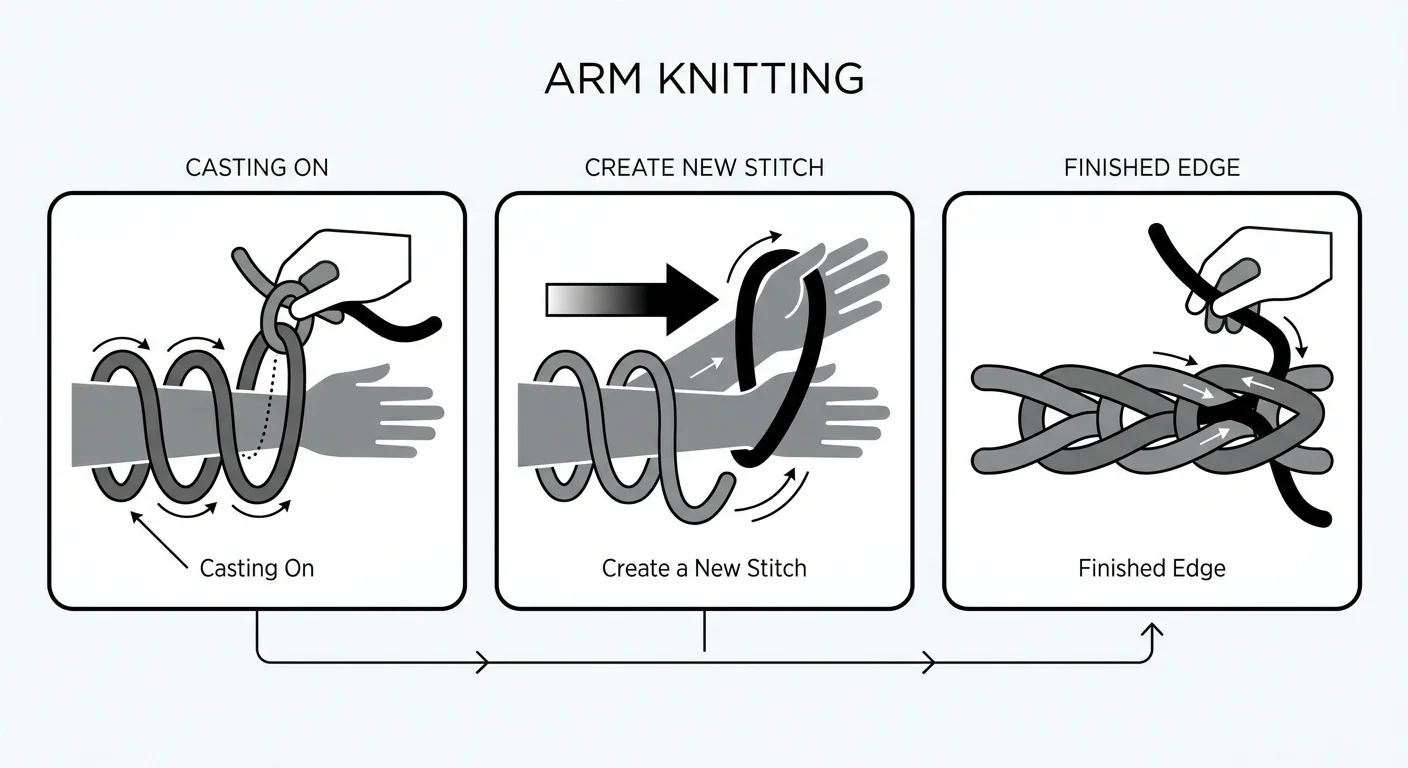
Cast on your initial row by creating a series of slip knots directly over your right forearm. Weave the working yarn back and forth through the loops, transferring the stitches from one arm to the other to build the rows. You can comfortably finish a substantial lap throw in just two hours. Drape the finished throw casually over the corner of a reading chair or lay it across the foot of your bed. Dry clean the blanket or gently spot clean minor spills to maintain the structural integrity of the fibers.
7. Botanical Dye Canvas Tote Bags
Inspiration and Materials
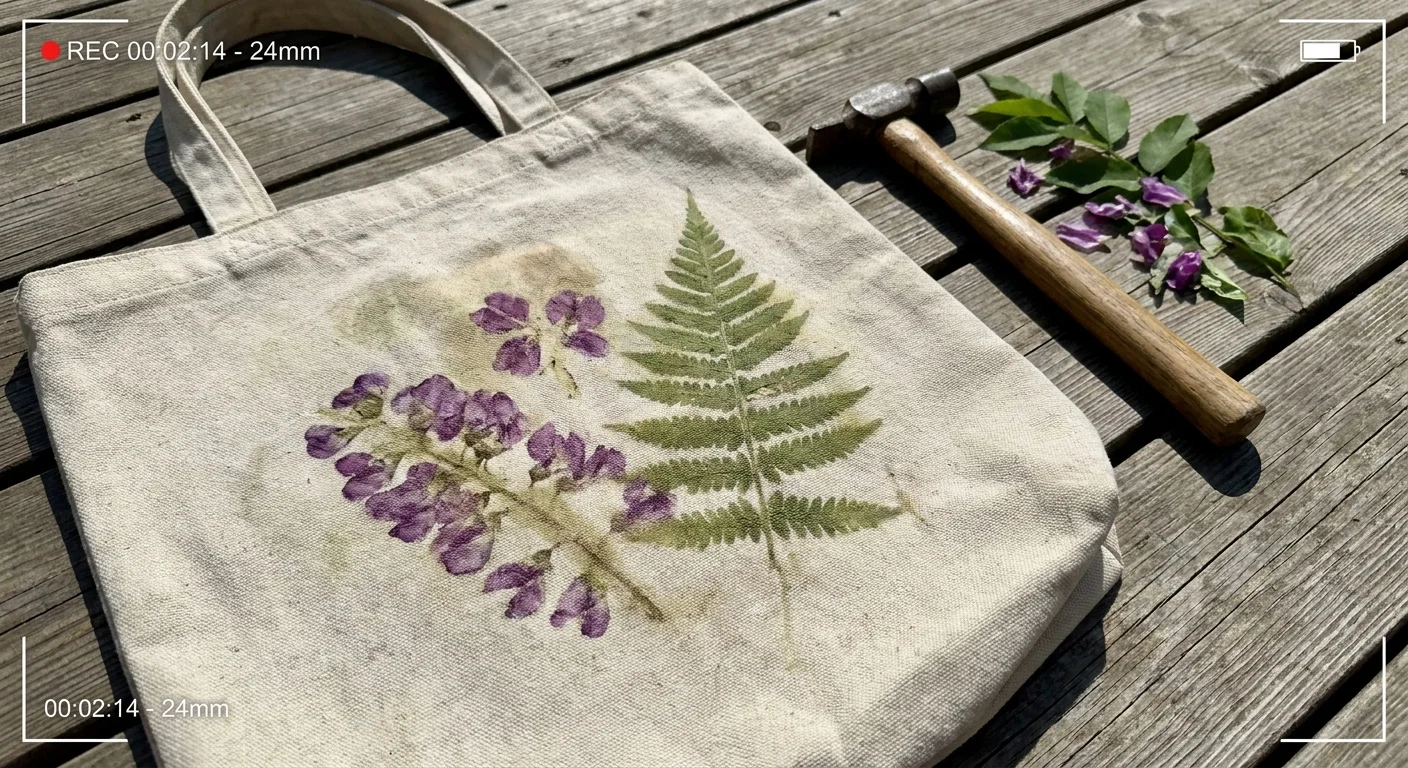
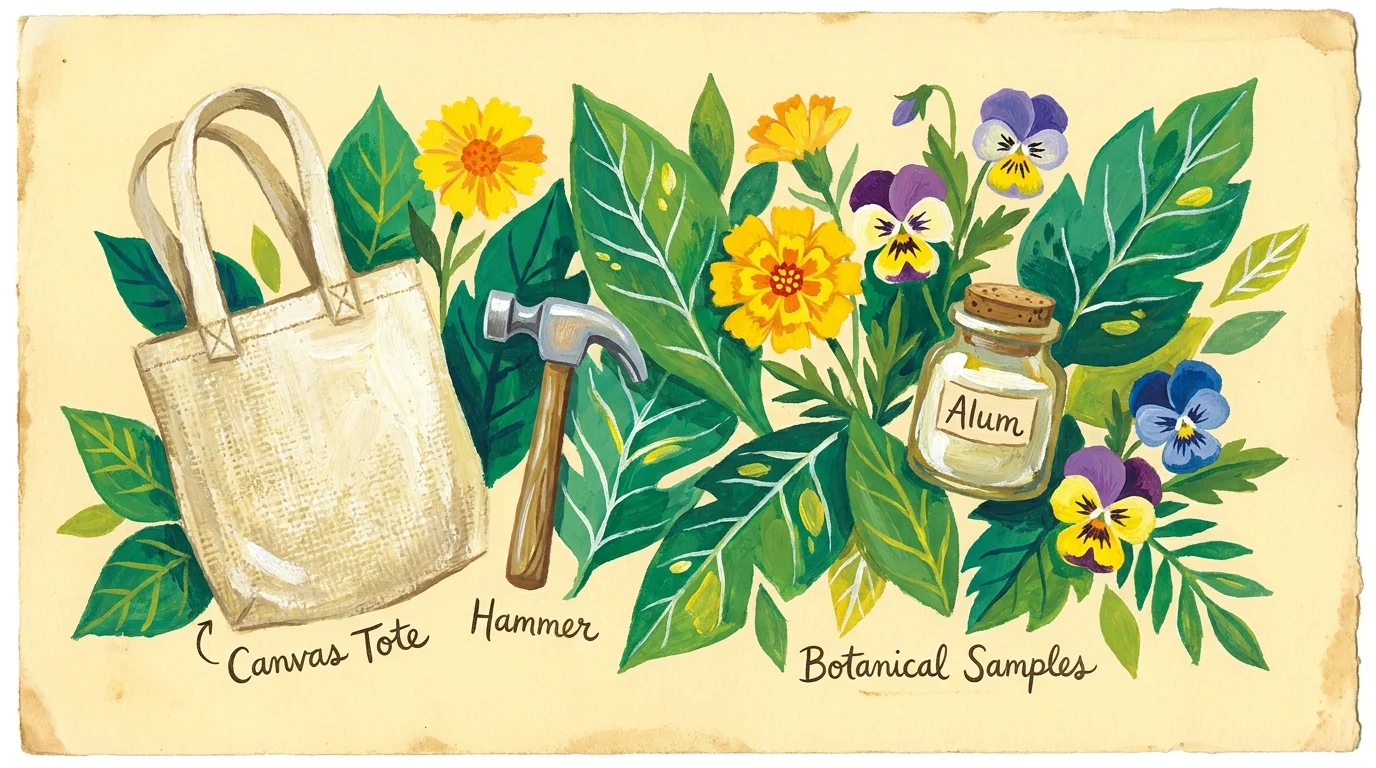
Harvest beautiful, muted colors directly from your kitchen pantry to create earthy functional accessories. Natural dyeing offers a fascinating intersection of chemistry and art. Gather plain cotton canvas totes, cleaned avocado pits, and alum powder. The alum acts as a mordant, opening the cotton fibers so natural pigments bond permanently to the textile. Wash your canvas totes in hot water beforehand to remove any factory sizing. Explore Botanical Colors for advanced mordanting and color extraction guides.
Process and Styling
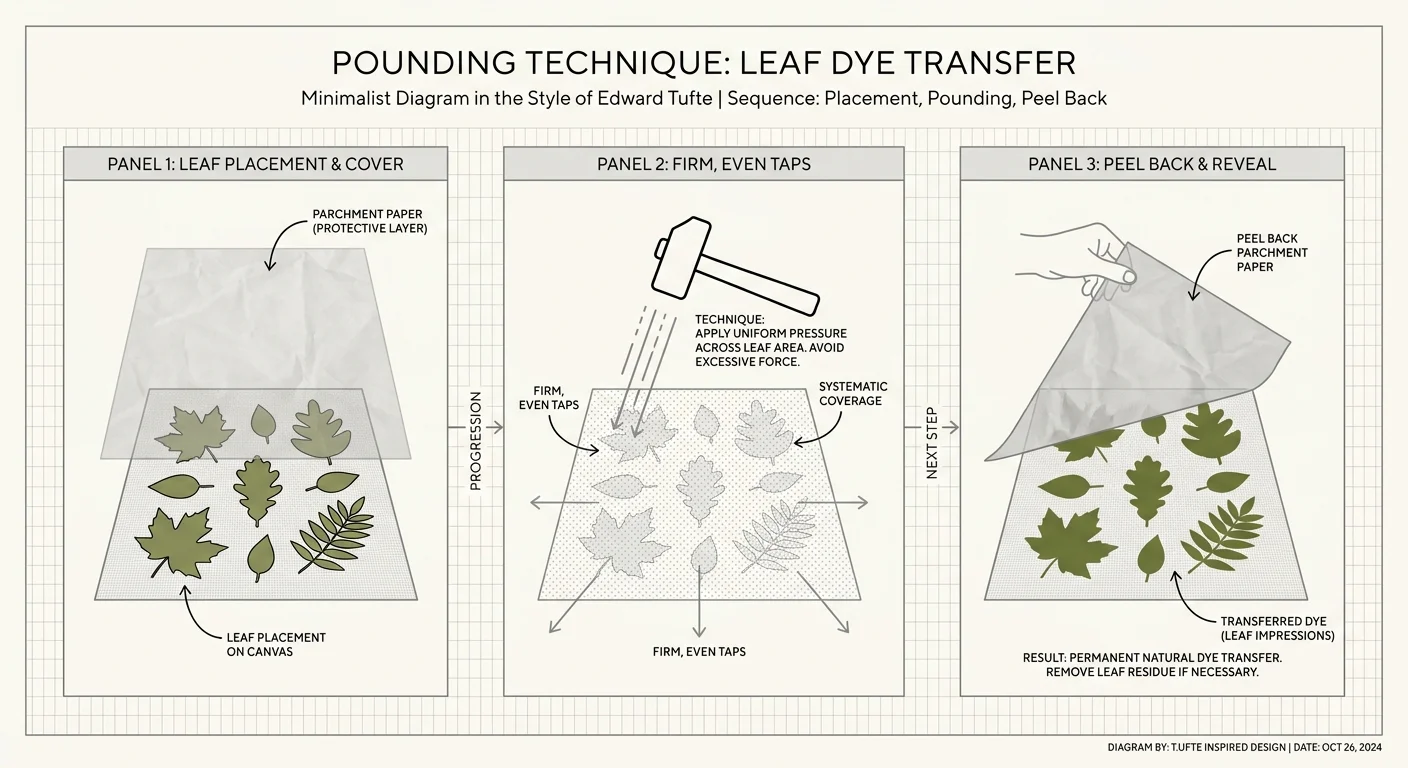
Simmer half a dozen cleaned avocado pits in a stainless steel pot for an hour to extract a vibrant blush-pink dye. Soak your damp tote in an alum water bath for thirty minutes, wring it gently, and submerge it fully into the simmering dye pot. Stir the fabric occasionally to prevent splotches. Rinse the dyed canvas in cold water until the runoff runs perfectly clear. Take your customized tote on weekend farmers market runs. Hand wash natural dyes in cold water using a pH-neutral soap to prevent premature fading.
8. Wire-Wrapped Sea Glass Sun Catchers
Inspiration and Materials
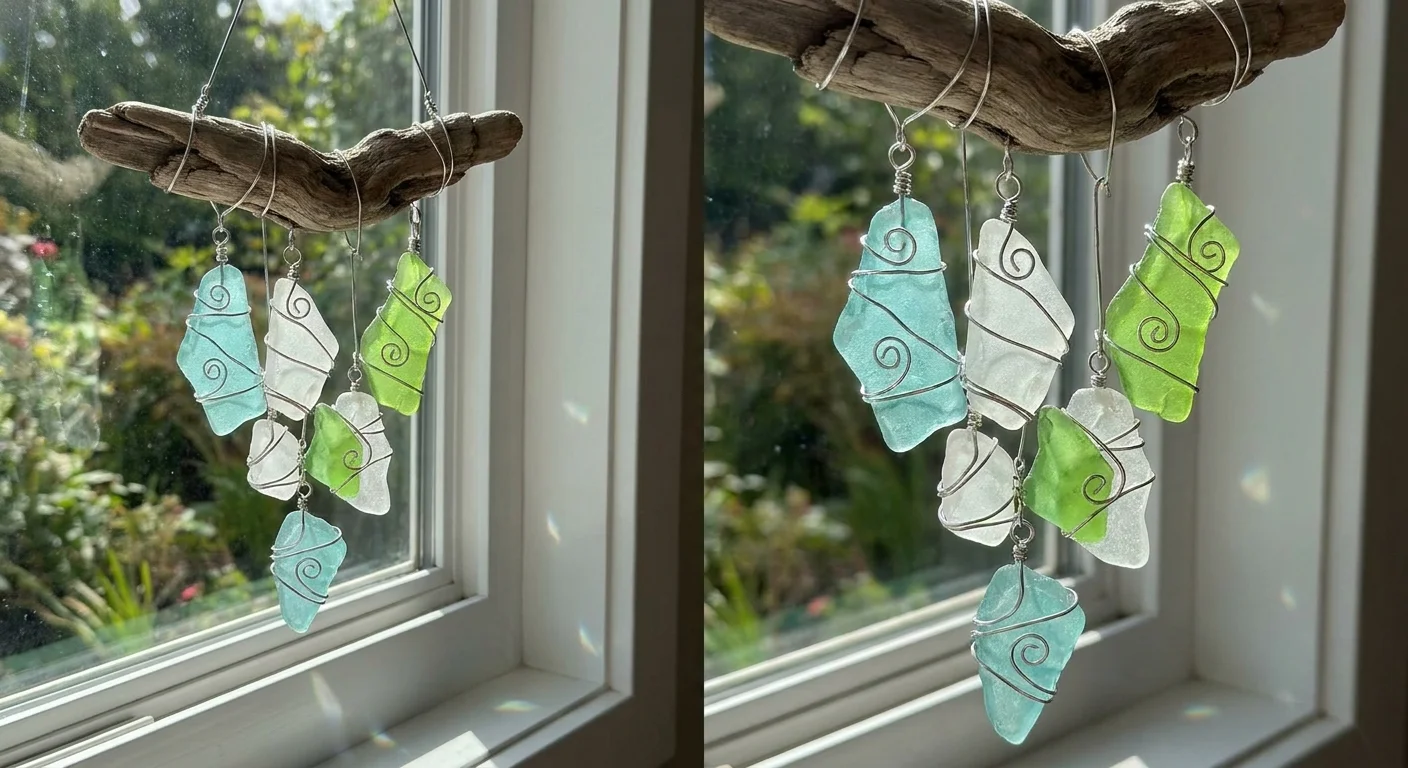
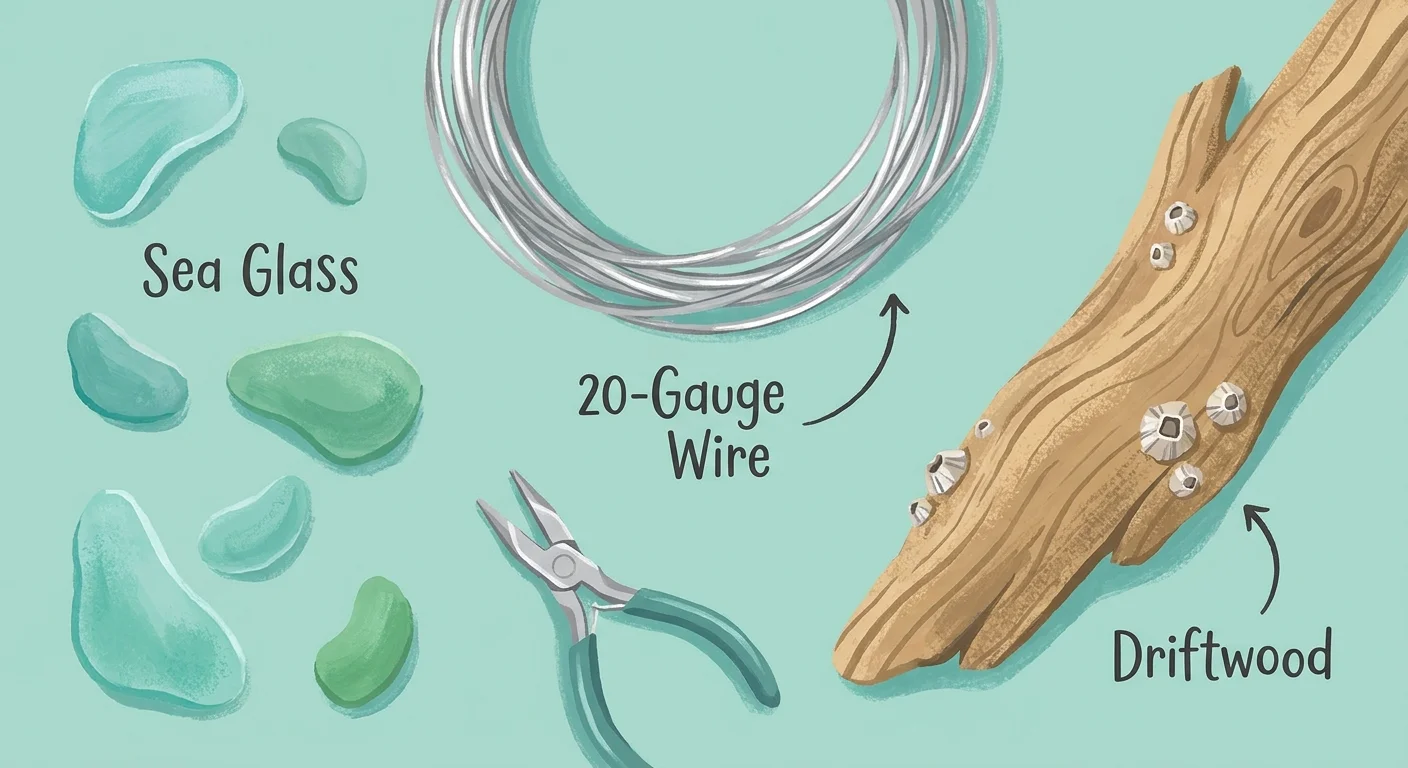
Transform beachcombing treasures into dazzling window ornaments that scatter warm afternoon light across your walls. This jewelry-inspired craft honors the ocean while refining your fine motor skills. Collect genuine frosted sea glass or purchase tumbled craft glass. You also need twenty-gauge, tarnish-resistant copper wire, heavy-duty jump rings, and needle-nose pliers equipped with wire cutters. Select glass pieces with varied shapes, as perfectly smooth edges make wrapping frustrating. For advanced techniques, explore beginner guides from the Ganoksin Jewelry Making Community.
Process and Styling
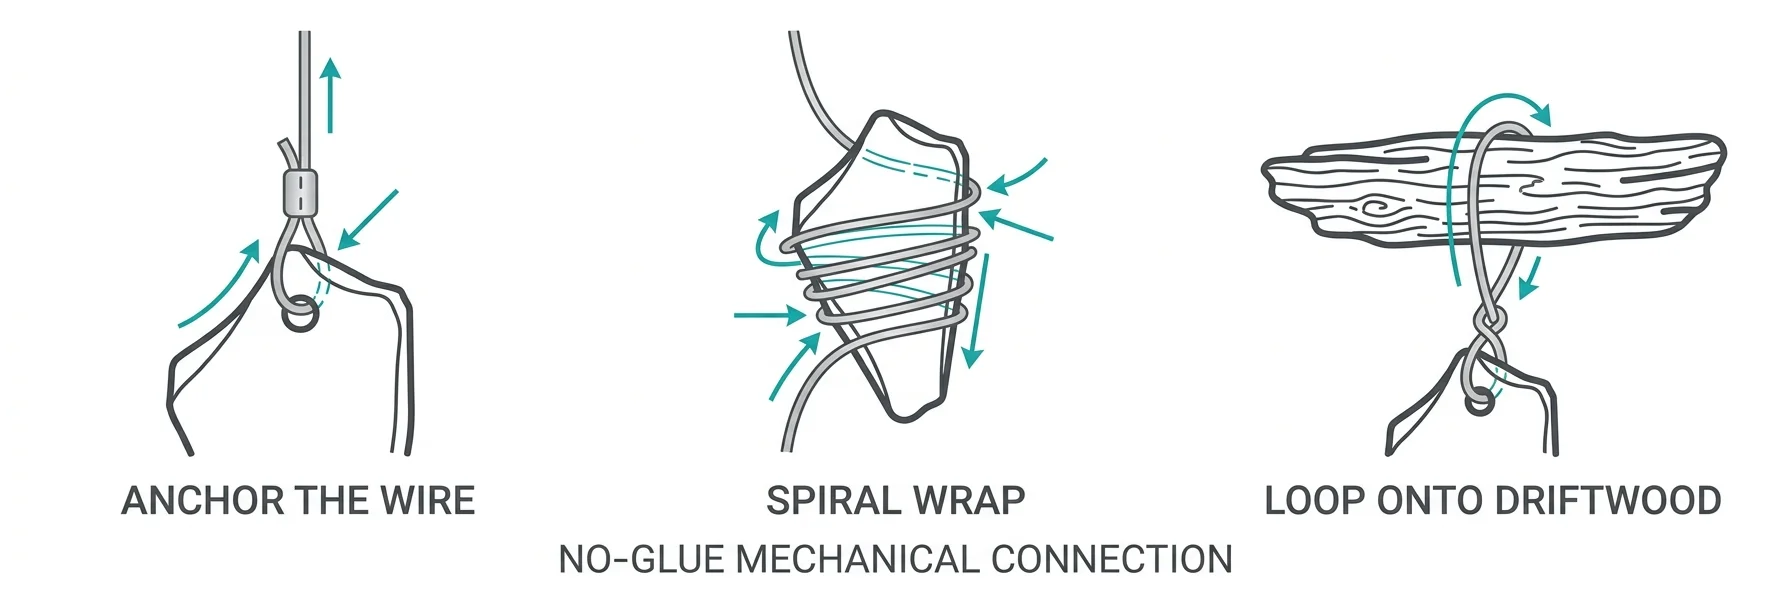
Pinch the copper wire firmly against the back of your sea glass, wrapping the strand tightly around the grooved edges to create a secure, structural cage. Twist the wire at the top to form a sturdy hanging loop, using your pliers to tuck the sharp metal ends inward so they never scratch your skin. Link five wrapped pieces together using jump rings to form a cascading vertical chain. Suspend the sun catcher from a suction cup hook on an east-facing window. Polish the copper wire occasionally with a dry jewelry cloth to remove natural oxidation.
Frequently Asked Questions
How can I keep costs down when sourcing craft materials? Look around your home before purchasing brand-new supplies. Repurpose glass food jars for candle vessels, rip old t-shirts into macrame yarn, or forage for natural dye ingredients like onion skins and avocado pits. Thrift stores consistently offer incredible bargains on terracotta pots, wooden embroidery hoops, and oversized garments you can harvest for chunky knitting yarn.
What if a project takes longer than a single afternoon? Set realistic boundaries and break the process into manageable, distinct phases. Complete the material preparation and the messy construction steps during your afternoon window. Save passive stages—like waiting for resin to cure, paint to dry, or wax to cool—for overnight processing, then style the finished piece tomorrow morning.
Are there alternatives to specialized crafting tools? Absolutely. If you lack a heat gun for popping resin bubbles, a standard lighter swept quickly over the surface works perfectly. If you want to try chunky knitting without investing in specialized needles, arm knitting uses your own body as the tool. Always evaluate the core function of a specialized tool and find a safe household substitute that achieves the identical physical result.
How do I scale simple projects into larger decor pieces? Increase your raw material volume and multiply your foundational techniques. A macrame plant hanger uses the exact same square knots as a massive wall tapestry; it just requires a larger wooden dowel and significantly more yardage. You can also scale the baking soda paint technique to cover large, thrifted floor planters to instantly elevate your living space.
The Next Challenge
Now that you possess the techniques to pour, knot, weave, and paint your way to stunning home decor, push your creative boundaries even further. Take the baking soda faux-stoneware technique and apply it to a large, thrifted glass vase, or try embedding small shards of wire-wrapped sea glass into a custom poured resin coaster. The true magic of weekend making lies in combining these accessible skills into completely original hybrid crafts. Examine your leftover supplies, set aside a few hours next Saturday, and challenge yourself to build something entirely unprecedented.