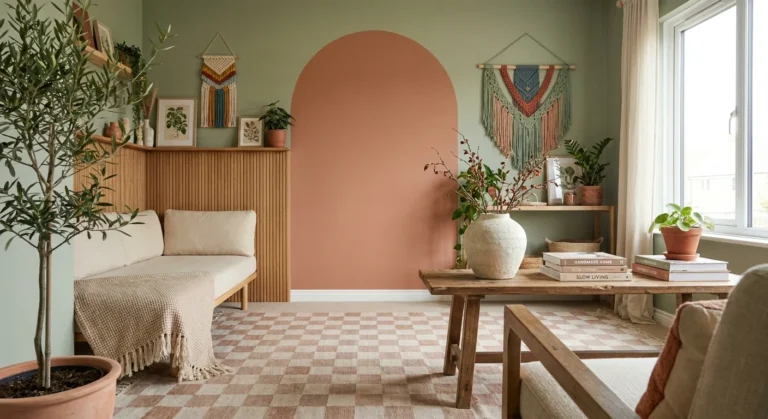
So, you’re thinking of painting a room? Whether it’s because you’re finally ready to refresh your walls, you’re moving into a new place, or you just want to shake things up a bit, painting a room is one of the easiest and most affordable ways to give a room a whole new vibe. But if you’re a first-timer, it might seem a bit intimidating.
No worries, though-painting a room doesn’t have to be complicated , and with a little patience and some basic preparations, you can tackle it like a pro. Here’s your ultimate guide on how to paint a room. Let’s dive in!
Step 1: Gather Your Supplies
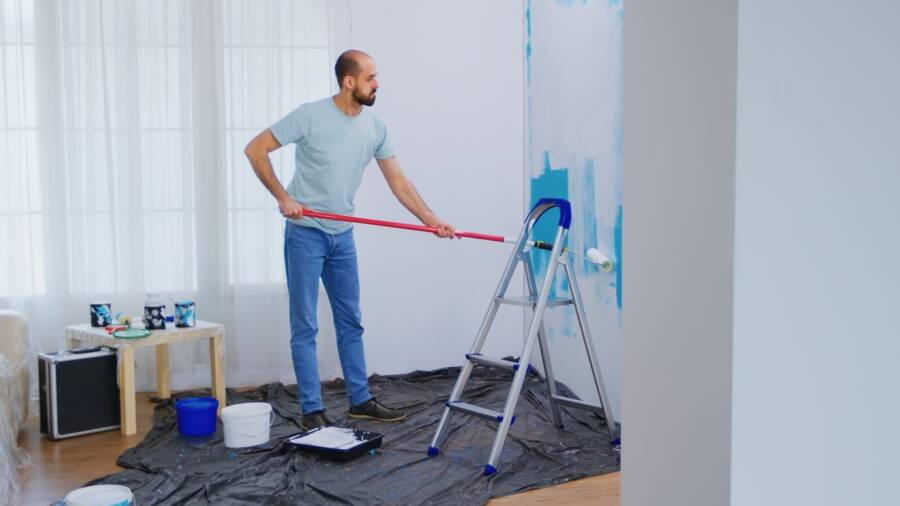
Before you even think about picking up the paintbrush, make sure you’ve got everything you need. A last-minute trip to the hardware store can be a huge pain, so you should get organized first. Of course, one of the first things you’ll need is paint. The amount you’ll need depends on the size of the room, but a good rule is to buy one gallon for every 350 square feet. If you’re not sure, it’s always better to have a little extra than not enough.
You will also need a paint roller, brushes, and a tray. A roller will save you time and give you a smooth and even finish. The tray holds your paint, and you’ll need a liner to keep things clean. A good brush is essential for cutting in around edges and corners.
Painter’s tape is used to tape off windows and doors to get clean lines. It’s a game-changer and makes a huge difference. If you have high ceilings, a ladder will be your best friend for reaching the top without any danger. Last on our supplies list is a screwdriver because if you need to remove light fixtures, switch plates, or outlet covers, this tool will come in handy.
Step 2: Prep the Room
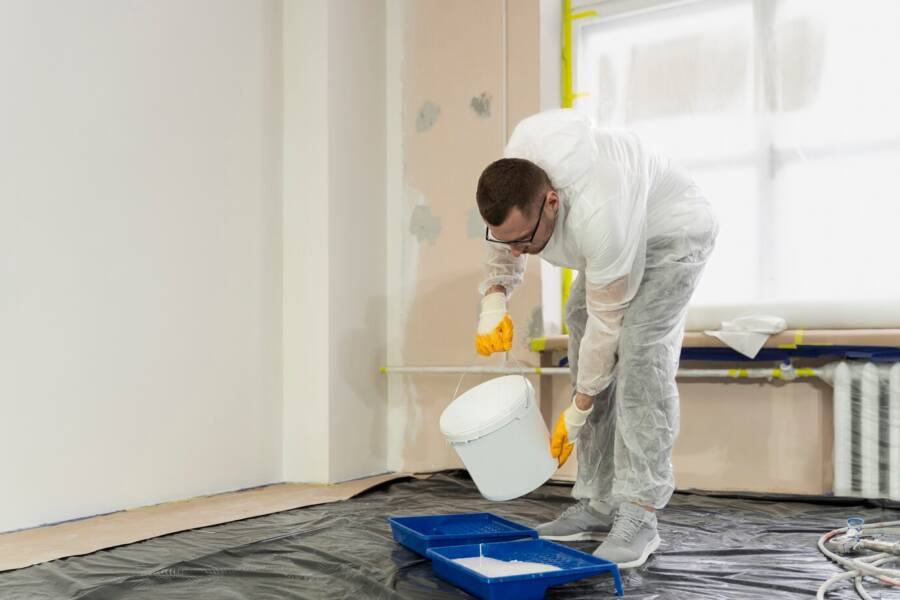
Now that you’ve got everything ready, it’s time to prep the room. This step is crucial because the better you prepare, the smoother the process will go. Trust me, taking your time here will pay off in the long run. Start by cleaning out as much furniture as you can. The less you have to work around it, the easier the painting process will be. For the furniture that you can’t move , you can push it to the center of the room and cover it with some plastic foil.
You should also lay down cloths or plastic sheets on the floor to protect it. Make sure that they cover any areas that you’ll be painting, especially around edges and corners. This is even more important if you’re working with a carpeted floor. Take off any light switch covers and outlet covers. This will give you a cleaner edge around the trim and will prevent you from accidentally painting over them.
The next step is to use painter’s tape to cover baseboards and window and door frames. You’ll have nice, clean lines without worrying about painting over those areas. Clean the walls because dust, dirt, and cobwebs might interfere with the paint’s ability to stick to the walls. You can use a sponge or cloth with warm, soapy water to wipe down the walls. Make sure the walls are completely dry before moving on with the process.
Step 3: Choose the Right Type of Paint
Now for the fun part—choosing your paint! The color you pick is entirely up to you, but there are a few technicalities that you have to consider. To begin with, paint comes in different finishes, from matte to high gloss. For most rooms, eggshell and satin finishes work really well. These are easy to clean and hide all sorts of imperfections. Glossy finishes are better for doors, while matte finishes are perfect for ceilings and low-traffic walls.
Another important aspect is the quality of the paint. The higher the quality, the better the coverage and durability. Good paint might cost a bit more, but in the long run it will save you time and effort because you’ll need to apply fewer coats.
Step 4: Start with the Edges
Okay, it’s time to get painting! Start by cutting in around the edges of the room. This means painting the corners, ceiling edges, and baseboards. Use an angled brush to carefully apply the paint in these areas. It’s easier to do this before painting the rest of the wall so you don’t accidentally paint over the areas that you’ve taped off.
Don’t worry if your lines aren’t perfect at this stage. The goal is to get a solid border where the roller won’t reach. You can clean it up later.
Step 5: Roll the Walls
Now that your edges are done, it’s time to bring out the roller. Here’s a pro tip: dip your roller in the paint tray, then roll it back and forth on the tray’s ridged surface to remove the excess paint. You want the roller to be evenly coated but not dripping.
Start painting the walls in sections. Work from the top to the bottom and make sure that the paint is spread evenly. This method will prevent streaks and roller marks. Don’t press too hard; you should let the roller do the work for you. You’ll probably need to do two coats of paint. After the first coat dries, look for areas you missed and then apply a second coat.
Step 6: Remove the Tape
Once the second coat is dry, carefully remove the painter’s tape. Pull it off slowly at a 45-degree angle. If the paint starts peeling away with the tape, scrape the edge of the tape with a utility knife before removing it. This will ensure that you have clean lines.
Step 7: Clean Up
Once you are done painting, it’s time to clean things up. Clean your brushes and rollers right away to avoid the paint drying on them. You can use warm water and soap for latex paints and mineral spirits for oil-based paints. You can also clean your paint trays with a putty knife to scrape off any excess paint, then wash with warm and soapy water. Remove the plastic protection and put the furniture back in place once everything has dried.
Step 8: Let the Paint Dry and Cure
Now that everything is done, don’t rush into using the room right away. Give your freshly painted walls enough time to fully dry. Depending on the type of paint, this could take a few hours to a day. For a full cure, it might take up to a week.
There you have it! The entire process of painting a room, from prep to finish. It might seem like a lot at first, but once you get into it, it’s actually pretty simple. Plus, there’s nothing more satisfying than stepping back and admiring your hard work once you are done.
Just remember: Take your time, don’t rush, and don’t be afraid to make mistakes. The beauty of this process is that you can always fix things as you go. Happy painting, and enjoy your freshly updated room!
If you are preparing to paint a room in your house, we recommend buying this paint roller kit. In this kit you’ll find different sizes of rollers and also some paintbrushes.
Read also: 8 Things That Attract Termites to YOUR HOME