You can transform your dull living room into a custom-designed haven this weekend by harnessing the power of viral DIY projects. Endless scrolling often leaves you overwhelmed with inspiration but short on practical execution steps; however, bridging that gap is easier than you think. Social media trends offer brilliant, cost-effective methods for upgrading both rented apartments and forever homes without requiring a professional contractor. By applying strategic techniques to these popular crafts, you unlock high-end aesthetics on a surprisingly modest budget. Grab your basic toolkit and prepare to elevate your home DIY creativity with proven methods that actually work in real life.
Project Planning and Preparation Snapshot
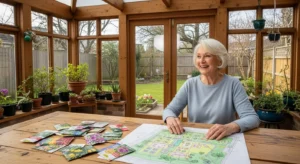
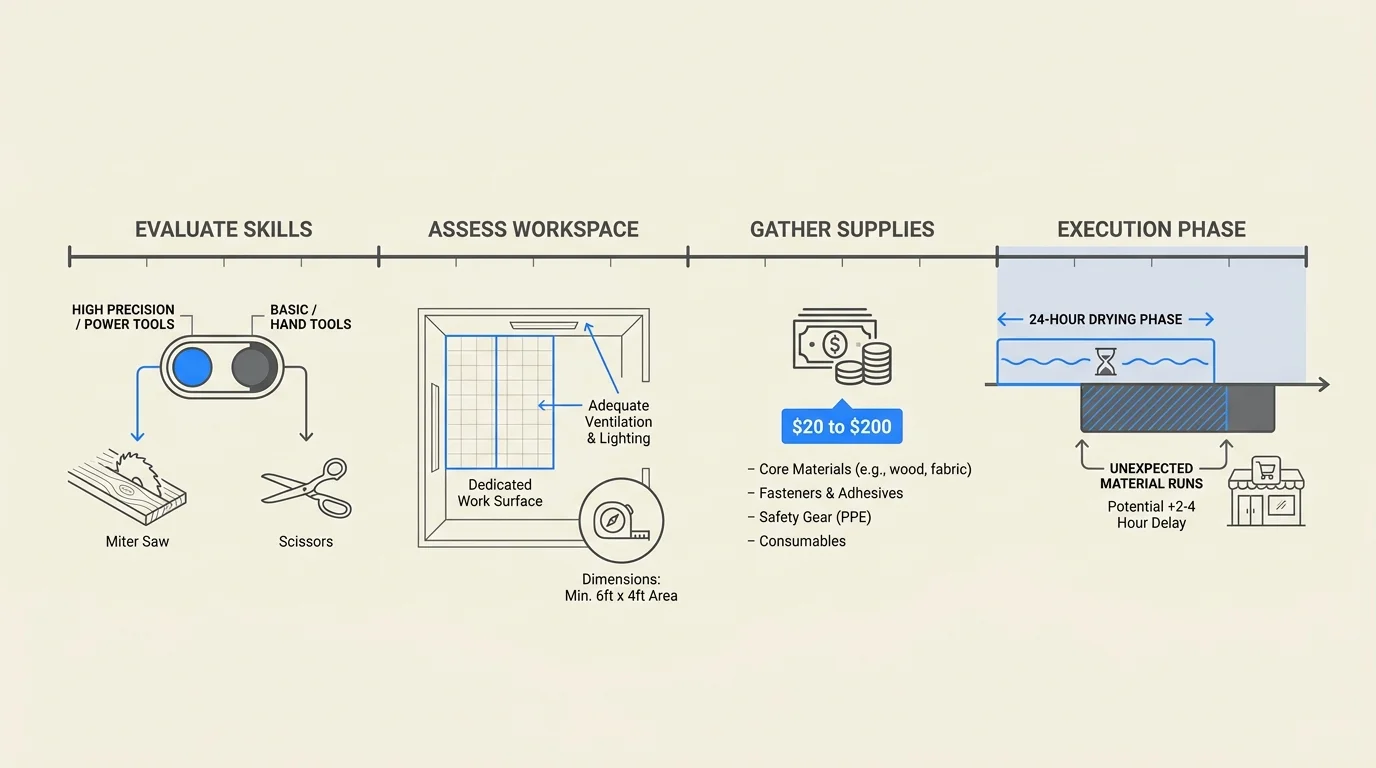
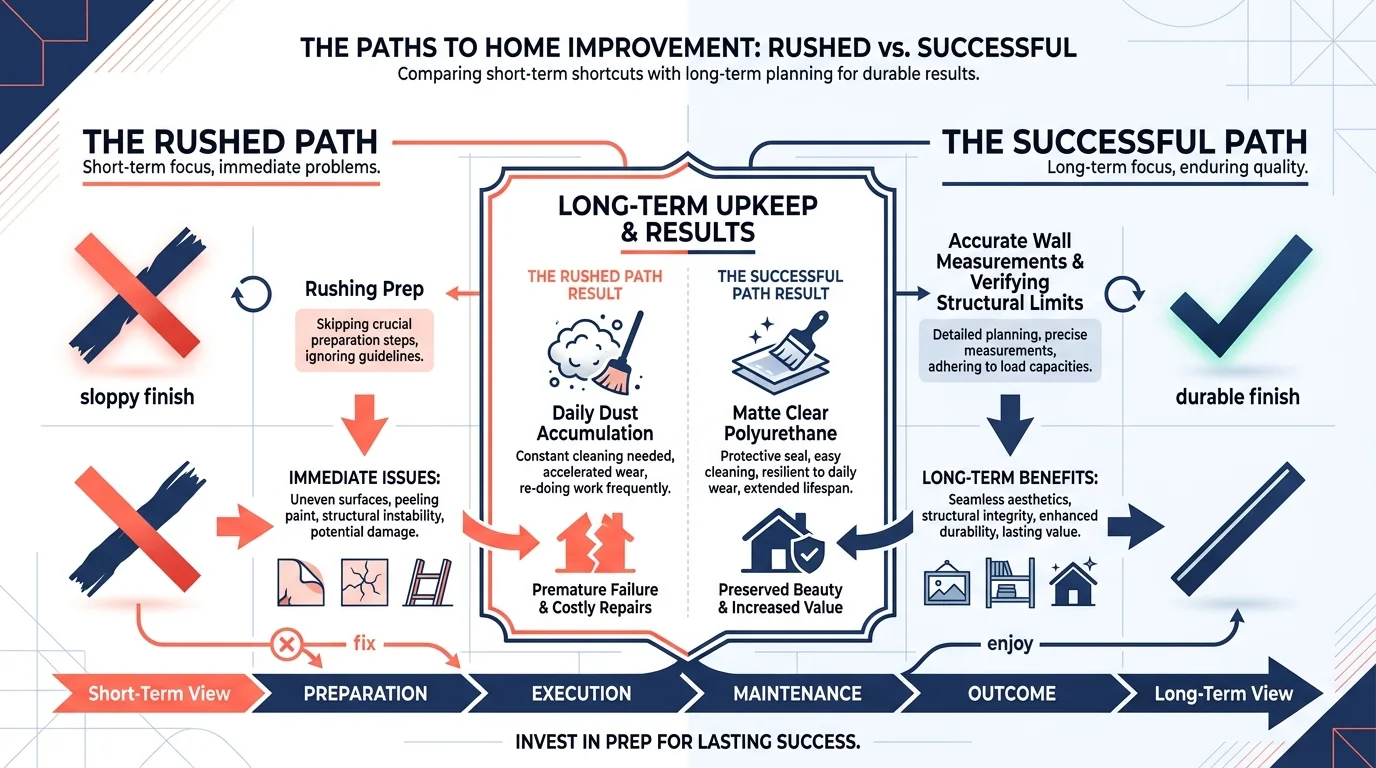
You need to assess your workspace and resources thoroughly before tearing into a new aesthetic endeavor. Most viral trends thrive on their functional accessibility; a typical project requires only a weekend and a budget ranging from twenty to two hundred dollars. You must evaluate your skill level honestly, recognizing whether you feel comfortable operating a miter saw or if you should stick to basic scissors and heavy-duty adhesive. Establish a realistic timeline that accounts for unexpected material runs to the hardware store and necessary drying phases between coats of paint. Rushing the critical preparation phase always guarantees a sloppy finish—a reality conveniently edited out of short, fast-paced videos. Gathering your supplies ahead of time ensures a smooth workflow, transforming frantic weekend scrambling into a deeply enjoyable session of creativity. Taking accurate wall measurements and verifying your structural limits prevents costly beginner mistakes that could easily ruin your initial batch of raw materials.
Project 1: The Renter-Friendly Slat Wall
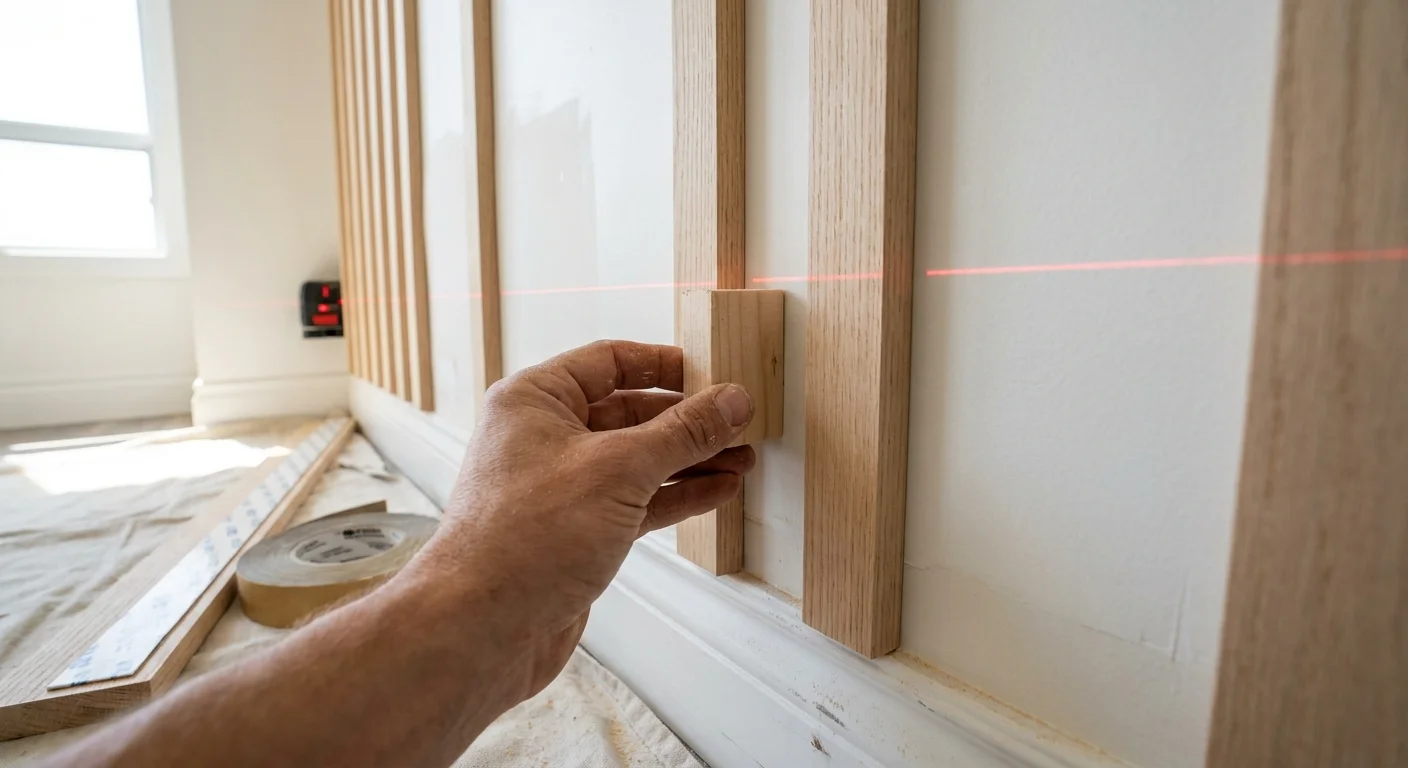
The renter-friendly slat wall adds immediate architectural interest to flat, boring rooms without jeopardizing your valuable security deposit. You begin your preparation by measuring your target wall and sourcing lightweight wood trim or sound-dampening acoustic felt panels. Execution requires cutting your slats to the exact ceiling height and securing them using a dense lattice of heavy-duty double-sided mounting tape. For a flawless, seamless finish, you must use a reliable spacer—like a spare piece of scrap wood—to ensure perfectly uniform gaps between each vertical line. The finishing phase involves sealing the raw wood with a matte clear polyurethane coat to prevent splintering and daily dust accumulation over the coming years. Check your layout with a standard laser level repeatedly during the installation process; gravity easily pulls your sight lines askew, resulting in a noticeably tilted focal point. When sourcing your lumber, look for sustainable options outlined by leading architectural design resources to ensure your temporary upgrade remains both stylish and environmentally conscious.
Project 2: Faux Ceramic Upcycled Vases
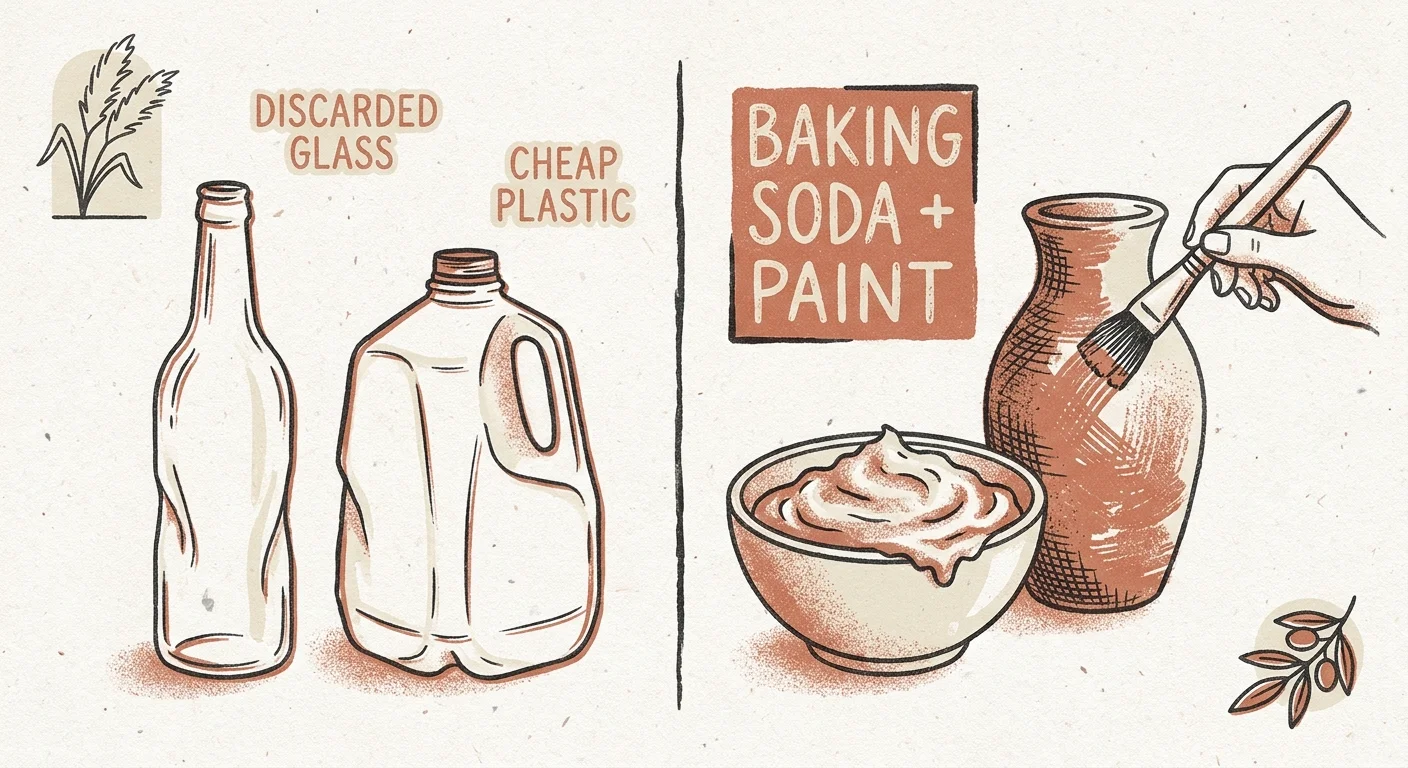
You can rescue discarded glass or cheap plastic vessels by applying the famous baking soda paint trick, turning household trash into bespoke faux ceramics. Preparation involves thoroughly washing and drying your thrifted vases to remove old hand oils and stubborn price tag residue. You then mix standard interior latex wall paint with a generous scoop of basic baking soda until the consistency closely resembles thick, spreadable frosting. During the active execution phase, brush this highly textured mixture onto the vessel using varied, cross-hatching strokes to gradually build up an authentic artisanal clay appearance. The essential finishing touch requires allowing the newly painted piece to cure undisturbed in a well-ventilated area for twenty-four hours before staging it with dried pampas grass or trailing faux olive branches. Since this matte finish remains highly porous and susceptible to damage, you must avoid exposing the exterior to standing water or damp humidifiers. You can easily experiment with different ratios of baking soda to paint to achieve ranging levels of physical coarseness, perfectly mimicking high-end designer stoneware.
Project 3: Peel-and-Stick Checkerboard Floors
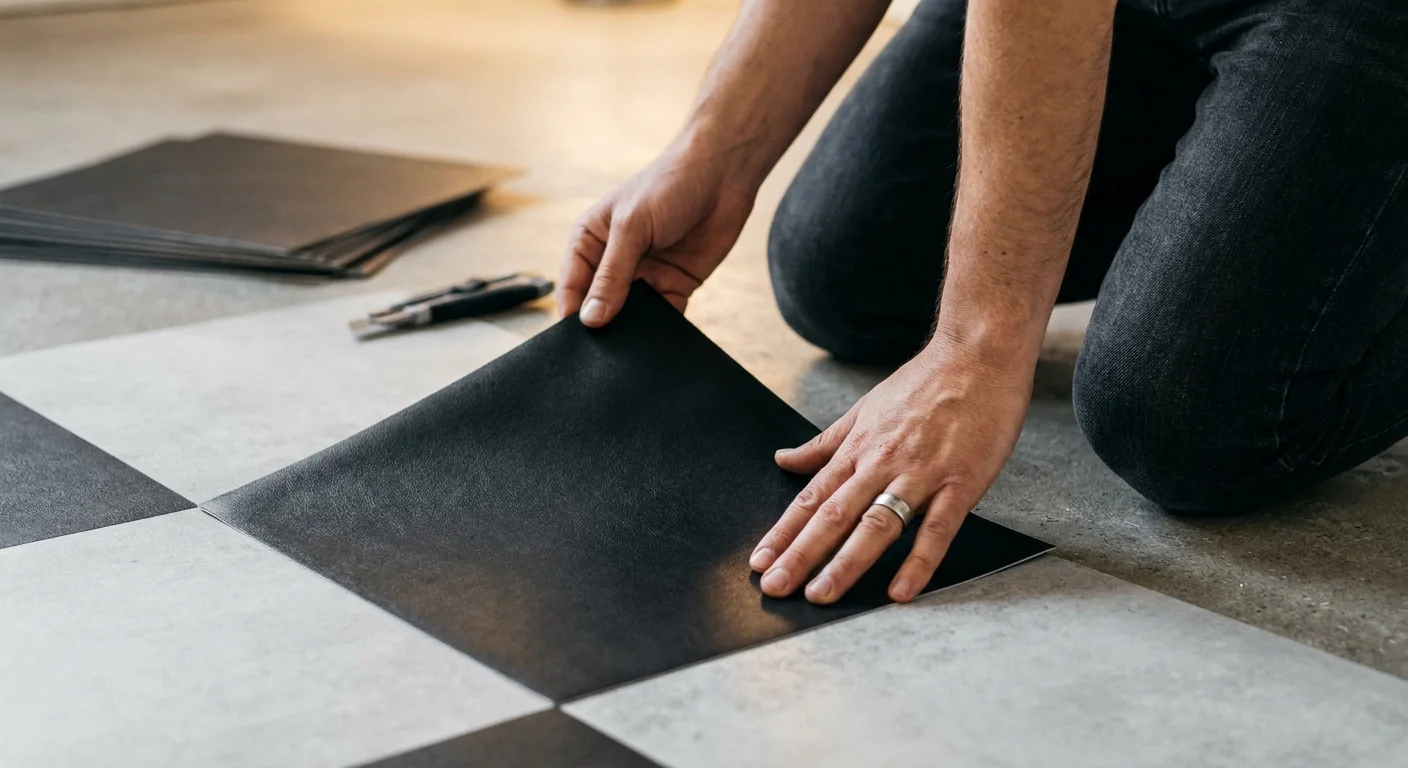
Peel-and-stick checkerboard floors offer a high-impact aesthetic upgrade for outdated vintage kitchens and tired apartment bathroom spaces. Proper preparation completely dictates the lifespan of your new flooring; you must scrub the existing linoleum with a heavy-duty degreaser and fill any deep tile grout lines with a smooth self-leveling compound. Execution demands immense patience as you snap a blue chalk line straight down the exact center of the room to establish your starting point, working carefully outward to keep the black and white grid perfectly square. You firmly press each individual vinyl tile down, paying special attention to the four corners where annoying lifting typically occurs. Finishing the challenging job means running a continuous bead of waterproof clear silicone caulk along the bottom baseboards to lock out creeping moisture and daily dirt. You can find comprehensive guides on subfloor moisture barriers through energy conservation platforms, ensuring your new floor survives harsh seasonal temperature shifts without buckling.

Project 4: The Expanding Cloud Foam Mirror
The expanding foam mirror frame injects a playful, surrealist texture into minimalist bedrooms and modern dressing areas. You prepare your workspace by laying down heavy drop cloths and aggressively masking off the actual mirror glass with high-tack painter tape and thick plastic sheeting, as polyurethane foam adheres permanently to most household surfaces. To execute this bold visual look, you don a proper respirator and protective rubber gloves, slowly spraying the sticky foam in overlapping, organic loops around the perimeter to create voluminous, cloud-like shapes. Ensure your indoor workspace strictly complies with standard occupational safety guidelines regarding adequate cross-ventilation when handling chemical agents. The finishing phase comes after a full day of undisturbed curing, when you can safely paint the hardened foam using a soft bristle brush and acrylic craft paint in your favorite bright pastel or deep metallic hue. Do not ever use aerosol spray paint directly on raw expanding foam; the harsh chemical propellants melt the delicate cellular structure instantly, ruining your hard work.
Project 5: Painted Arch Color Blocking
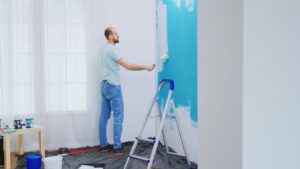
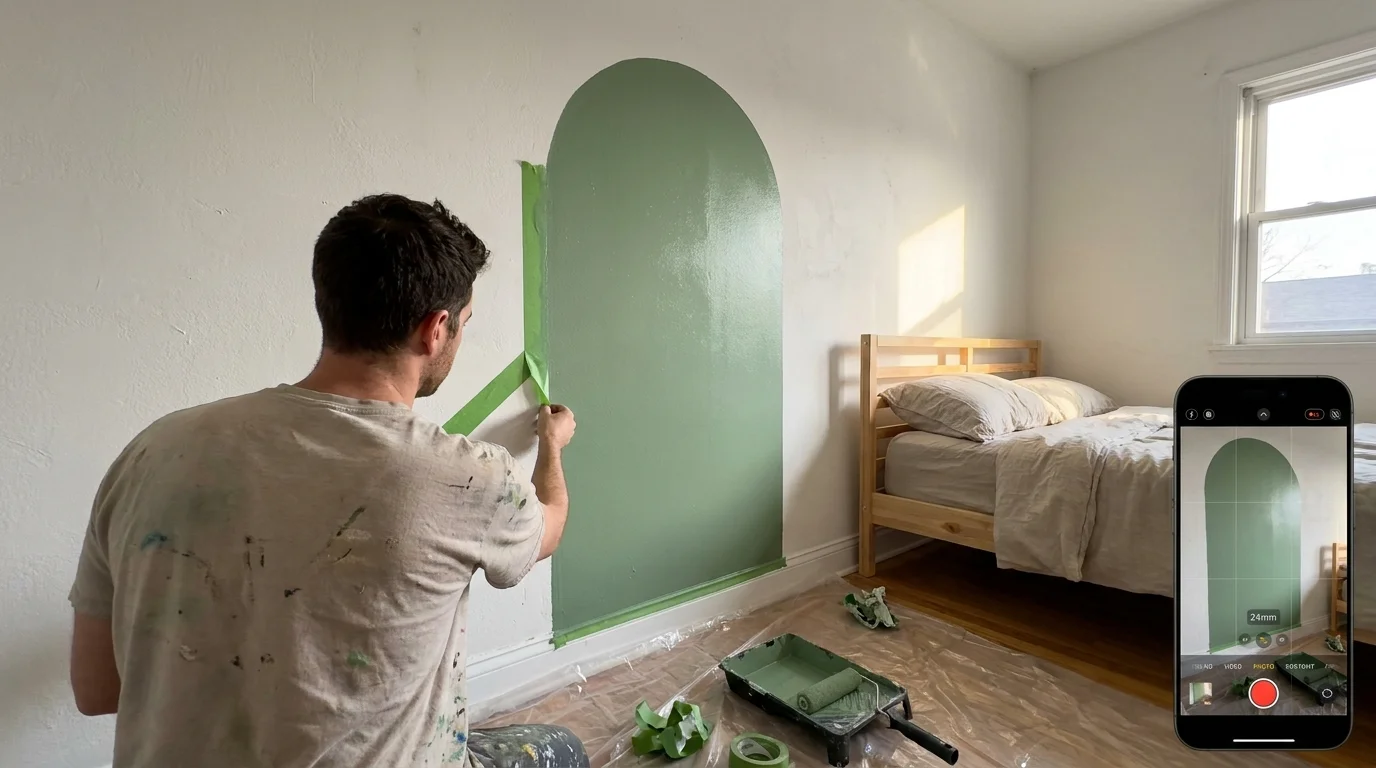
Painting a color-blocked wall arch provides an immediate, eye-catching focal point behind a master bed or an otherwise empty living room sofa. Preparation starts with tying a piece of heavy string to a sharpened pencil and firmly pinning the other end to the wall to create a massive makeshift compass. You gently draw your perfect semi-circle directly onto the bare drywall, carefully extending the straight vertical lines down to the baseboards using a long bubble level. Execution involves cutting in the curved outer edge with a high-quality angled trim brush, moving slowly and steadily to keep the contrasting paint line incredibly crisp. You finish the afternoon project by rolling the wide interior of the arch with two even coats of premium interior latex paint for a deeply saturated look. Creating a distinct visual zone with contrasting color is a classic design trick utilized by interior decorating experts to define cozy spaces in wide open-concept floor plans without erecting physical drywall.

Project 6: Fluted Furniture Flipping
Fluted furniture flipping revitalizes heavily worn bedroom dressers and basic side tables through the clever application of heavily textured wooden pole wrap. You begin prep by removing all old brass hardware, filling deep surface gouges with standard wood putty, and giving the entire piece a thorough orbital sanding to rough up the existing glossy factory finish. Execution is incredibly straightforward once you precisely measure and cut your flexible fluted paneling to match the flat drawer fronts or cabinet doors. You apply a generous, even layer of heavy-duty wood adhesive and secure the ribbed wrap firmly in place using a pneumatic brad nailer for immediate structural hold. Finishing involves filling those tiny brad nail holes, sanding the sharp cut edges flush, and applying a rich gel wood stain or a vibrant protective enamel paint. This tactile wrapping technique elevates cheap, mass-produced particleboard furniture into breathtaking pieces that closely mimic expensive, high-end designer showroom items.
Project 7: DIY Faux Built-Ins from Bookshelves
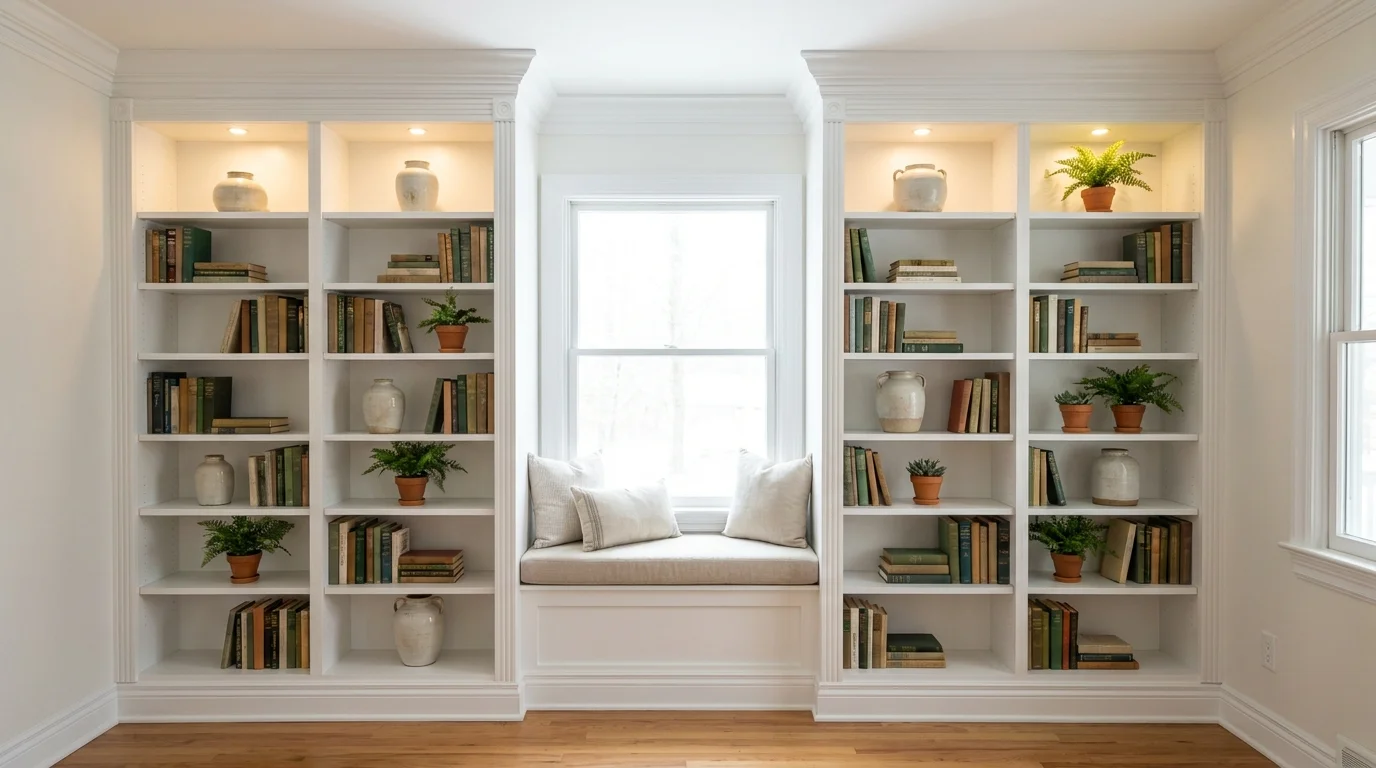
Building faux built-in shelving utilizes basic flat-pack retail bookcases as the structural foundation for a truly custom living room library. Preparation explicitly requires mapping out your internal wall studs and permanently anchoring the basic shelving units securely to the drywall to prevent any dangerous tipping hazards. During the execution phase, you install chunky floor baseboards around the bottom of the units and attach vertical medium-density fiberboard trim pieces across the front seams where the separate bookcases meet. The critical finishing step involves caulking every single seam, structural gap, and visible shelf pin hole before priming and painting the entire large assembly a unified, moody color. Reputable building guides provided by veteran home improvement organizations highly emphasize the absolute necessity of adequate wall anchoring whenever you alter the center of gravity on tall freestanding furniture.
Styling and Personalizing Your Viral Crafts
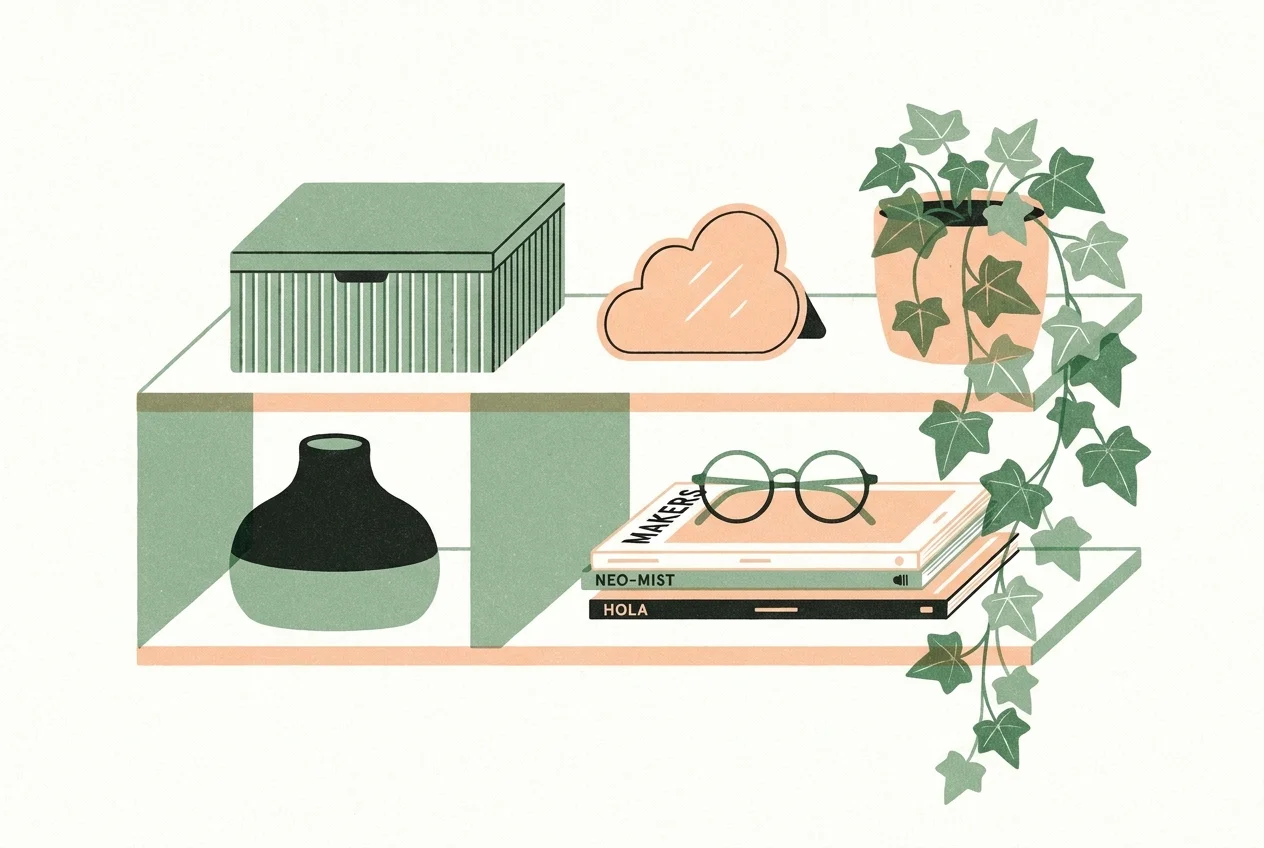
Styling your newly completed projects allows you to express your individual personality while integrating the internet trend naturally into your real home. You must consider the existing color palette of your room; a harsh neon foam mirror might clash violently with a muted, earthy living space. Incorporate varying physical textures by contrasting the smooth, flat matte finish of a painted wall arch with the rough, highly organic feel of a baking soda ceramic vase. You can manipulate physical scale and layout to maximize visual impact, placing your upcycled fluted side table next to a low-profile modern sofa to purposefully highlight the vertical wood grain. Layering these handmade functional items with beloved vintage antique finds and professional framed artwork ensures your room looks uniquely curated over time rather than heavily reliant on passing digital fads.
Troubleshooting and Long-Term Upkeep
Even the most carefully executed home DIY projects require occasional routine maintenance to retain their fresh, intentional appearance. A common project pitfall involves peel-and-stick flooring shifting or lifting at the corners due to inadequate floor preparation or excessive ambient household humidity. You can remedy this annoying issue by carefully warming the stubborn vinyl tile with a standard hairdryer to reactivate the factory adhesive and firmly pressing it back down beneath a heavy stack of hardcover books. Painted wall arches and upcycled faux ceramic vases may suffer from minor scuffs and chips over time; you should always retain a small, airtight glass jar of your custom mixed paint for quick weekend touch-ups. If your expanding foam mirror begins to collect stubborn gray dust in its deep crevices, use a soft bristle paintbrush or a can of compressed air to gently blow away the debris without damaging the painted exterior surface.
Frequently Asked Questions
How can I safely remove heavy-duty mounting tape from rental walls? Many renters worry about tearing the delicate drywall paper when taking down slat walls. You can effectively soften the strong tape adhesive by applying gentle, consistent heat with a standard hairdryer and slowly slicing through the thick foam backing using a long piece of traditional dental floss.
Where do I source the flexible wood paneling used in fluted furniture flips? You can find this versatile ribbed material, often labeled commercially as basement pole wrap, located in the specialized millwork aisle of most major home improvement warehouse stores. It typically comes in large rolls that you can cut to size.
Does the baking soda paint technique work reliably on glazed ceramics or smooth glass surfaces? You absolutely must scuff-sand these slick, non-porous surfaces and apply a high-quality bonding primer first. If you skip this critical preparation step, the highly textured baking soda paint will simply peel off in large, frustrating flakes once it completely dries.
How do I adapt the faux built-in bookshelf project for older homes with prominent crown molding? You should carefully trace the intricate, curved profile of your existing ceiling molding onto the top trim piece of your shelving unit. Cut that traced shape out slowly with a manual coping saw, creating a seamless, integrated transition between the original ceiling and your new custom library.
Transform Your Space Today
Taking the very first step toward drastically improving your living space requires nothing more than a decisive moment of deliberate action. You possess the innate capability to turn viral internet inspiration into tangible, beautiful reality, upgrading your daily environment with your own hands. Embrace the minor physical imperfections that inevitably come with learning brand-new technical skills; these small construction quirks simply add deep character and authentic charm to your home. Gather your essential project supplies this afternoon, lay down your heavy canvas drop cloths, and commit fully to completing just one manageable craft this weekend. You will look around your beautifully customized room on Sunday evening and finally realize that creating a bespoke, high-end home is entirely within your reach.