Transform a tired room into a stunning showcase by tackling your own DIY wall decor, saving thousands of dollars while adding undeniable character to your home. Blank walls offer an endless expanse of creative potential, waiting for you to introduce texture, color, and architectural depth. Whether you own your property or rent an apartment, you can execute professional-looking wall styling ideas over a single weekend. From elegant board and batten installations to budget-friendly faux limewash finishes, these accessible projects require minimal tools but deliver maximum visual impact. You will discover exactly how to plan, prep, and execute nine distinct accent wall DIY designs that perfectly reflect your personal aesthetic. Your dramatic interior upgrade starts right now.
Planning Your Wall Transformation
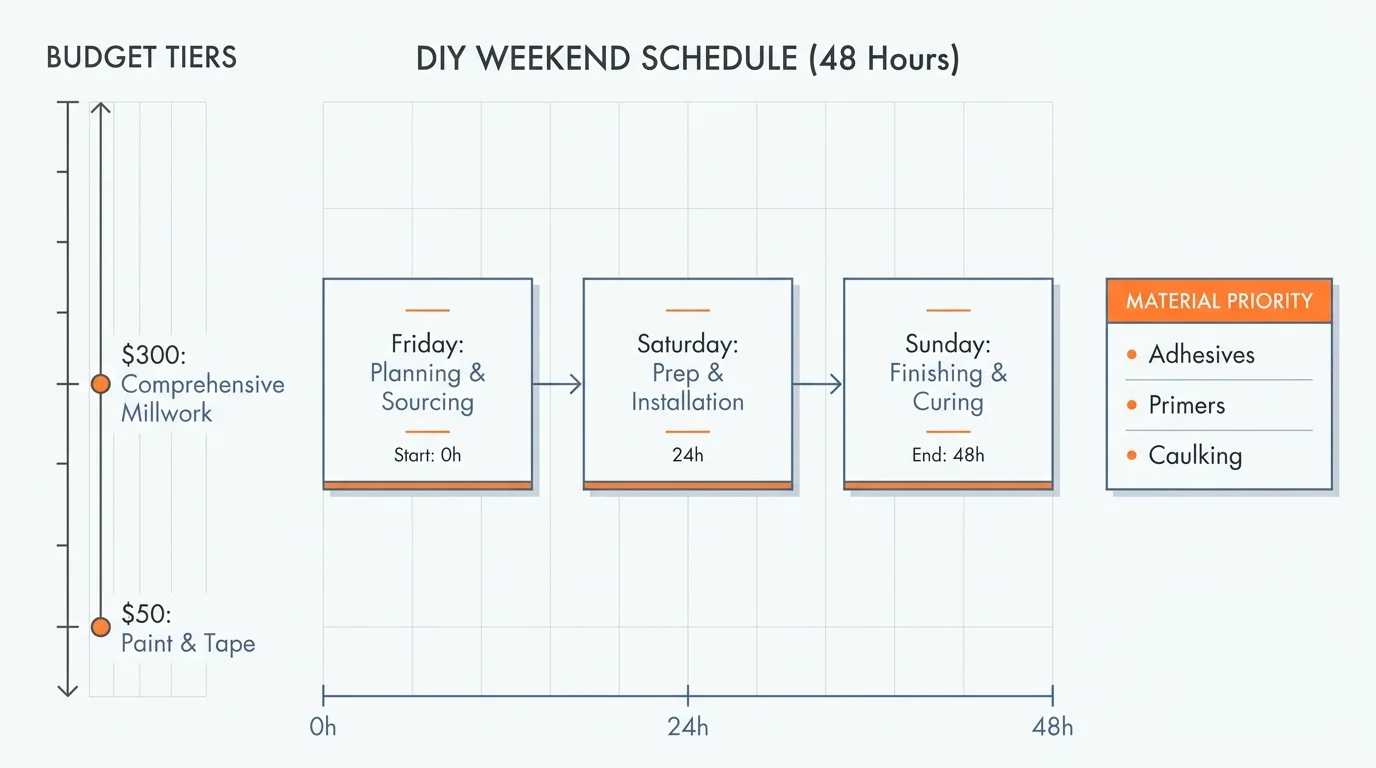
Transformative wall projects demand a structured approach to budgeting, material sourcing, and scheduling. Setting clear financial boundaries prevents mid-project surprises and keeps your stress levels firmly manageable. Average costs for these upgrades range from fifty dollars for straightforward paint techniques to roughly three hundred dollars for comprehensive millwork installations. You should price out individual components—comparing a solid sheet of beadboard against the cost of individual pine slats—to stretch your dollar further. Most of these home wall projects require a dedicated weekend, ensuring you have sufficient time to let primers, adhesives, and caulking cure completely before you apply your final topcoats. Beginners can comfortably tackle tape designs and vinyl murals, while intermediate DIYers will confidently wield a brad nailer for the carpentry projects. Planning your material list meticulously ensures your entire execution phase flows without frustrating interruptions.
Prep Work and Building a Blank Canvas
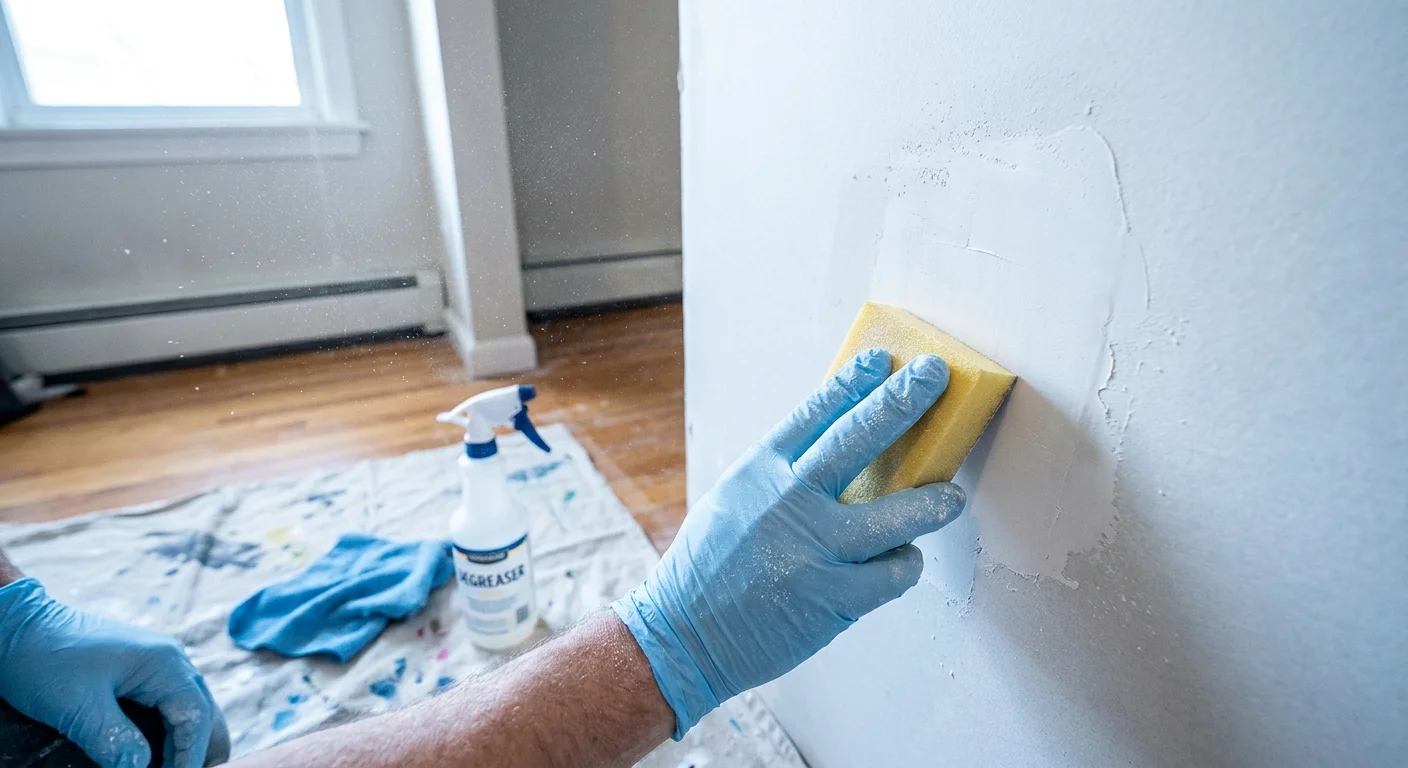
Every successful accent wall DIY begins with a pristine, structurally sound surface. You must wash your drywall thoroughly using a mild household degreaser to eliminate hidden dust, pet dander, and fingerprint oils that actively prevent modern adhesives from bonding properly. Fill old nail holes and minor dents with a high-quality spackling compound, let the damp patches dry completely, and sand them perfectly flush with the surrounding wall. If your home was built before 1978, consult the Penn State Extension guidelines on lead paint safety to verify you are adequately protecting your respiratory health before you begin scraping. Once your surface feels completely smooth to the touch, apply an even coat of high-quality gripping primer. This crucial initial step creates a uniform base, locking out structural moisture and maximizing your new finish’s long-term durability.

9 Wall Styling Projects to Elevate Your Space
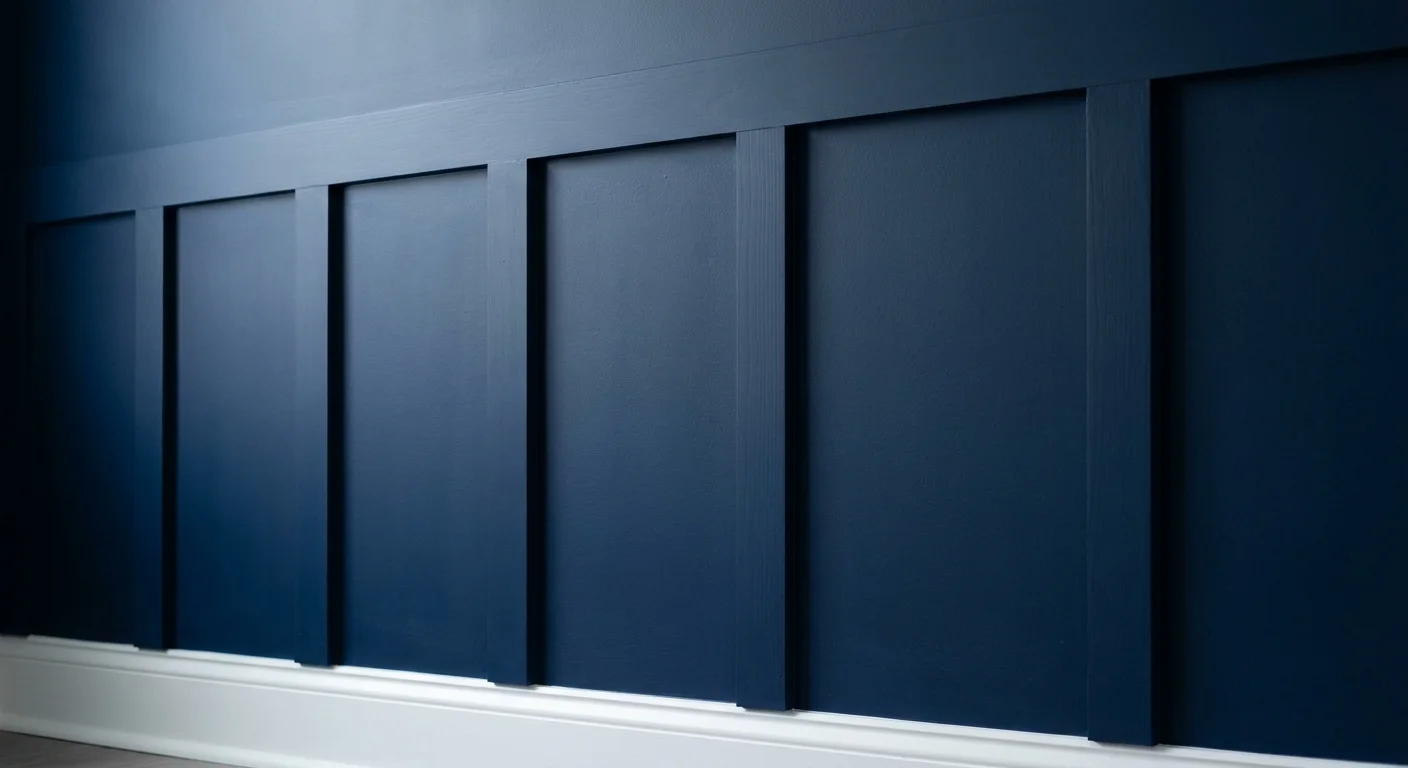
1. Classic Board and Batten
This timeless molding technique instantly elevates standard drywall by introducing rigid architectural structure and traditional charm. You will install horizontal and vertical strips of primed medium-density fiberboard or select pine to construct a precise, grid-like pattern across the lower two-thirds of your wall. Secure these wooden boards using heavy-duty construction adhesive and an electric brad nailer, ensuring you drive your nails directly into the hidden wall studs for maximum stability. Fill every single seam with shrinking wood filler, sand the dried mounds smooth, and run a continuous bead of paintable acrylic caulk along every edge where the wood meets the wall. Painting the entire treatment in a rich, saturated hue transforms the basic lumber into a bespoke, high-end focal point. Explore HGTV’s comprehensive guide to interior trim for excellent templates on spacing your vertical battens accurately.
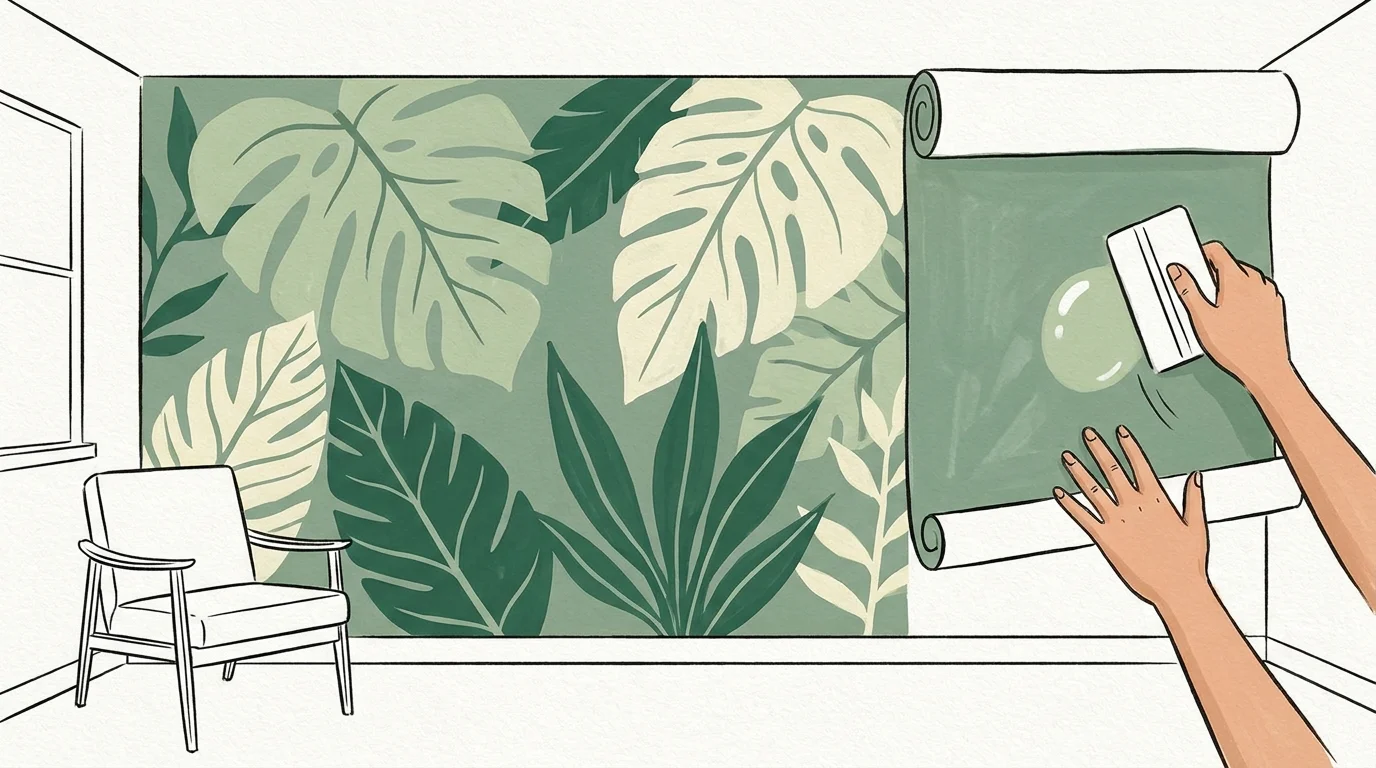
2. Peel-and-Stick Mural Magic
When you crave dramatic scenery without a permanent commitment, oversized vinyl murals provide an incredible, renter-friendly solution. Modern temporary wallpapers feature high-resolution forest landscapes, bold botanical prints, and sweeping abstract designs that convincingly mimic expensive hand-painted frescoes. Begin by measuring your wall dimensions precisely, ordering a custom mural with an extra inch of overlap on all sides to account for notoriously uneven ceilings and baseboards. Peel back the top few inches of the waxy backing paper, align your panels perfectly plumb using a reliable laser level, and use a specialized felt-tipped smoothing tool to press the heavy vinyl onto the wall. Work systematically from the center outward to push any trapped air bubbles toward the perimeter. This highly accessible wall styling idea grants you the ability to completely alter a room’s atmosphere in a single afternoon.
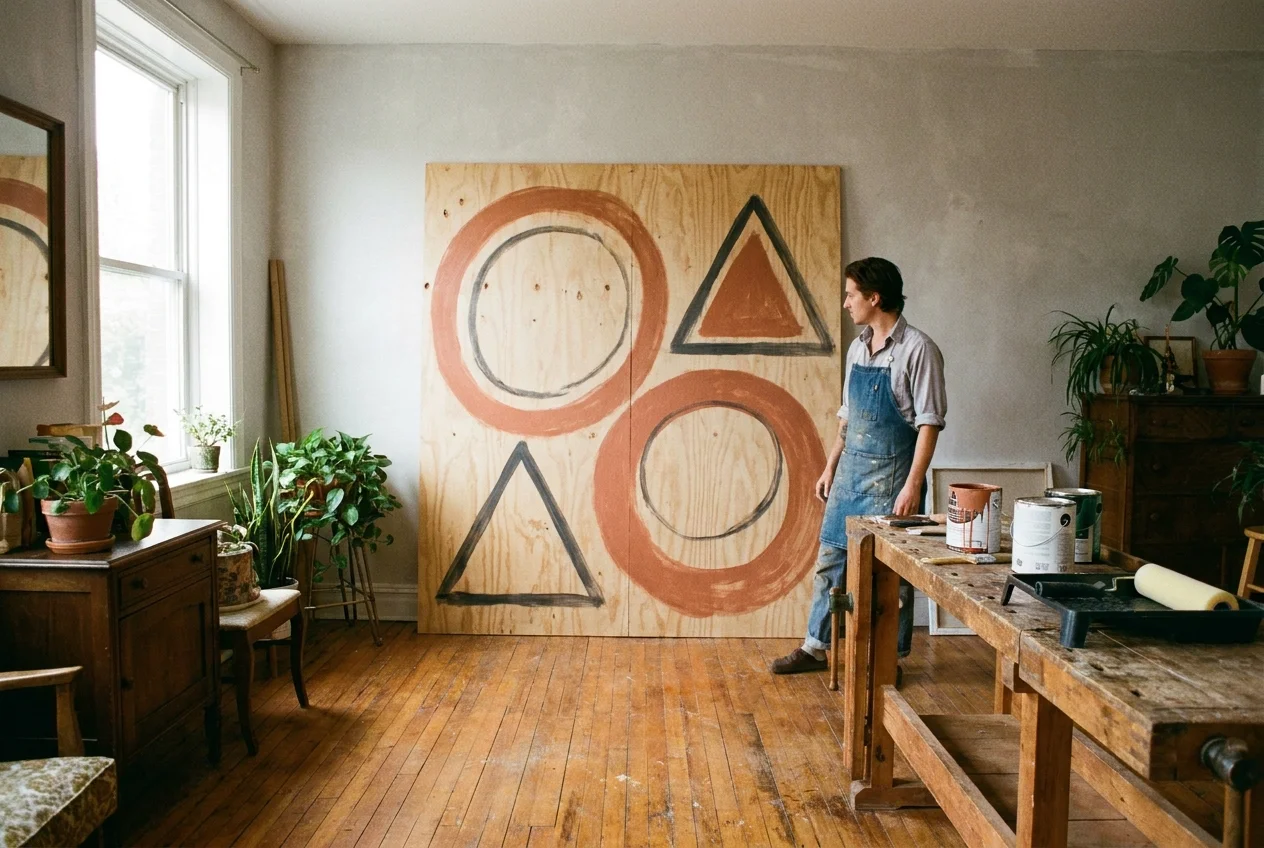
3. Oversized Plywood Art
Large-scale gallery artwork frequently commands a staggering price tag, but you can build a massive, commanding piece using an affordable sheet of sanded birch plywood. Instruct your local hardware store associate to cut the four-by-eight wood sheet to your specific dimensions, leaving you with a smooth, expansive canvas that fits easily into your vehicle. Seal the raw wood to showcase its organic grain, or stretch painter’s tape across the flat surface to paint striking geometric color blocks. Frame the rough plywood edges with thin pine lattice strips to give the finished piece a professional, structured border. Mount a heavy-duty aluminum French cleat to the back of the board and secure the corresponding metal bracket directly into your wall studs to safely anchor this heavy architectural element.
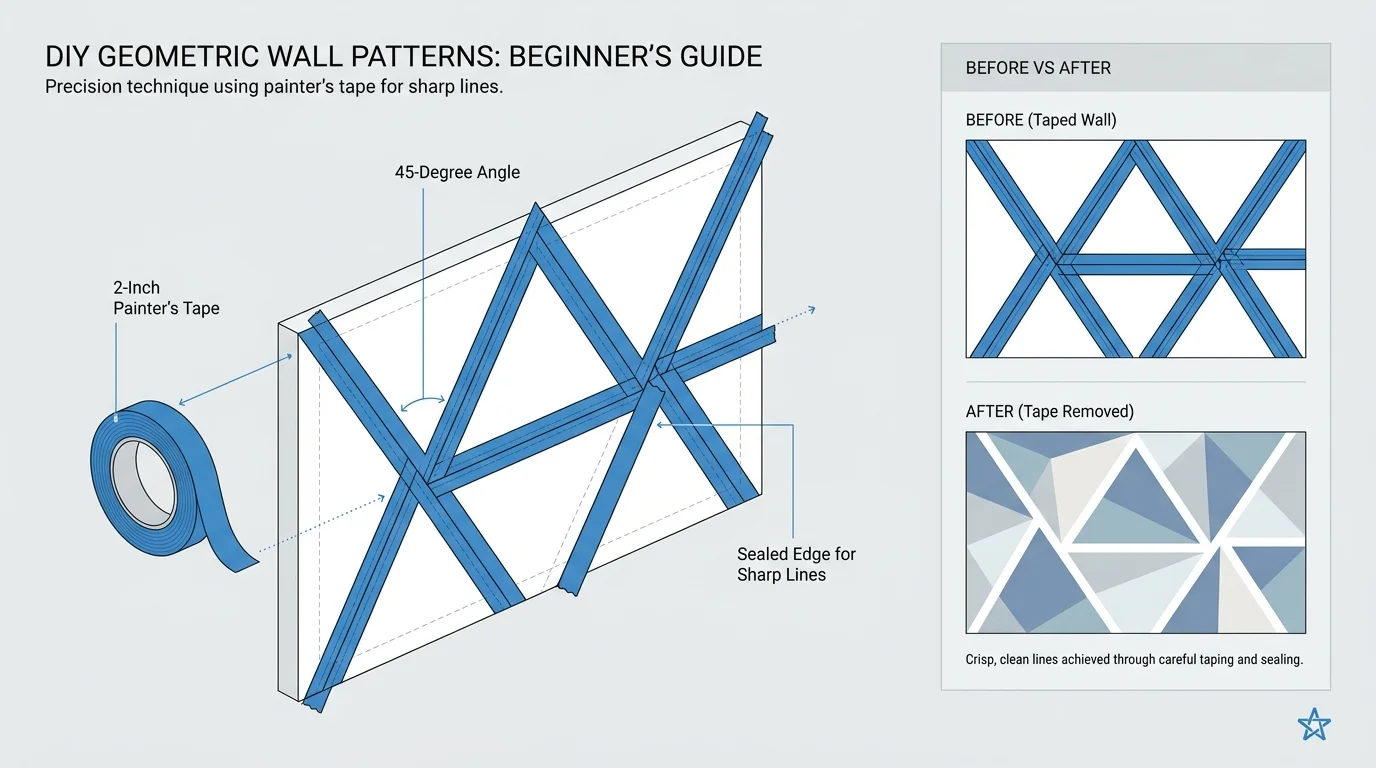
4. Geometric Painter’s Tape Designs
Paint remains the absolute most economical tool in your entire DIY arsenal, and high-quality painter’s tape unlocks its full creative potential. Design a fragmented, modern mural by stretching varying lengths of tape across your accent wall, intersecting the sharp lines to form irregular triangles, diamonds, and complex polygons. Press the delicate tape edges down firmly with a flexible plastic putty knife to prevent your wet paint from actively bleeding underneath the barrier. Roll three to four complementary paint colors into the segmented shapes, applying two solid coats to guarantee complete, opaque coverage. Remove the masking tape while your second coat of paint remains slightly damp; pulling the adhesive strips away at a sharp forty-five-degree angle yields incredibly crisp, satisfying lines that deliver a massive burst of playful energy.
5. Faux Limewash Finish
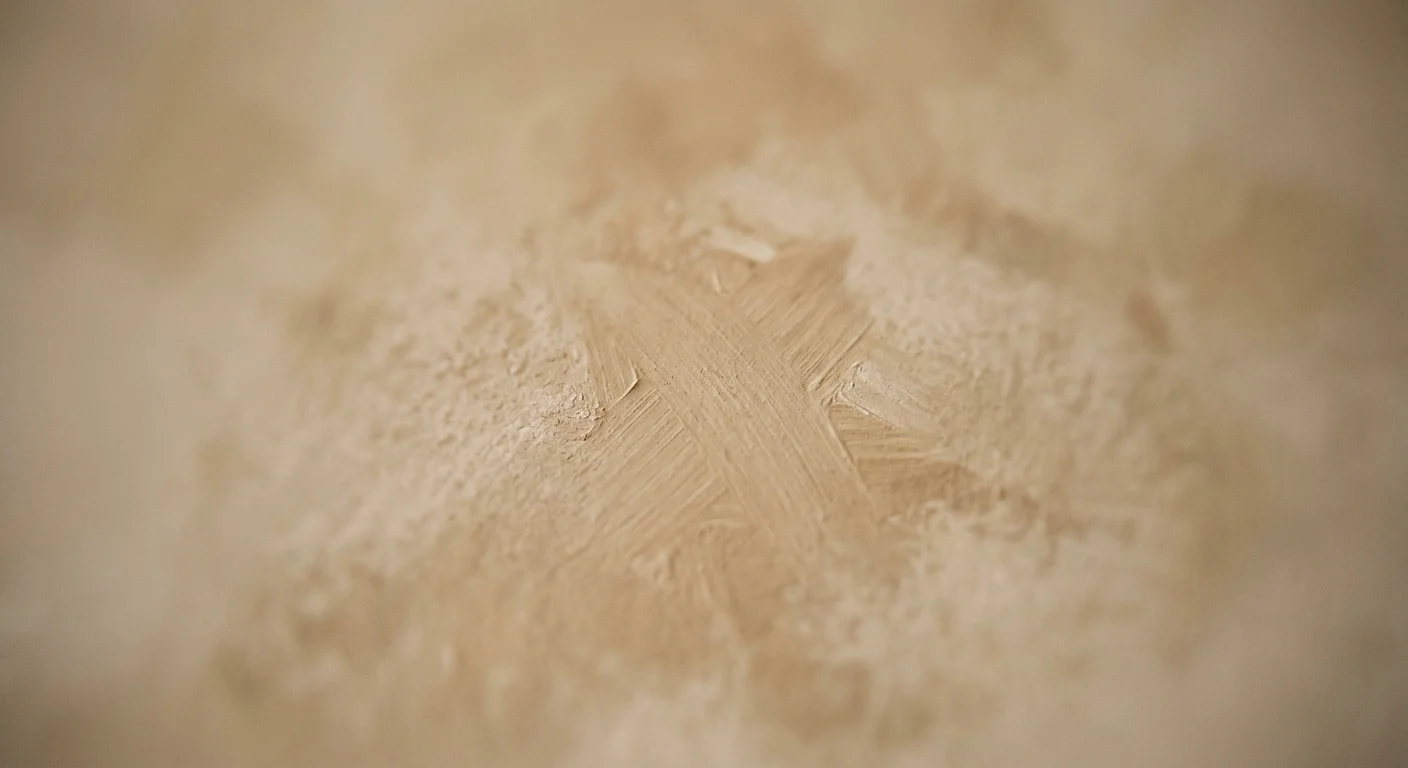
Achieving the rustic, plaster-like texture of a historic Mediterranean villa no longer requires you to hire specialized masonry professionals. You can effectively mimic an authentic, aged limewash using standard matte interior latex paint mixed heavily with a slow-drying clear drywall glaze. Dip a wide, densely bristled block brush into your custom mixture and apply the thinned paint using sweeping, overlapping crosshatch motions across the entire wall. The specialized glaze extends your working time significantly, allowing you to blend aggressive brush strokes and build a subtle, cloudy texture that beautifully catches the ambient room light. Layering a slightly lighter paint shade over a darker base enhances the convincing illusion of physical depth. As highlighted by Architectural Digest’s analysis of interior trends, mottled, tactile walls currently dominate upscale modern interior design.
6. Floating Picture Ledge Gallery
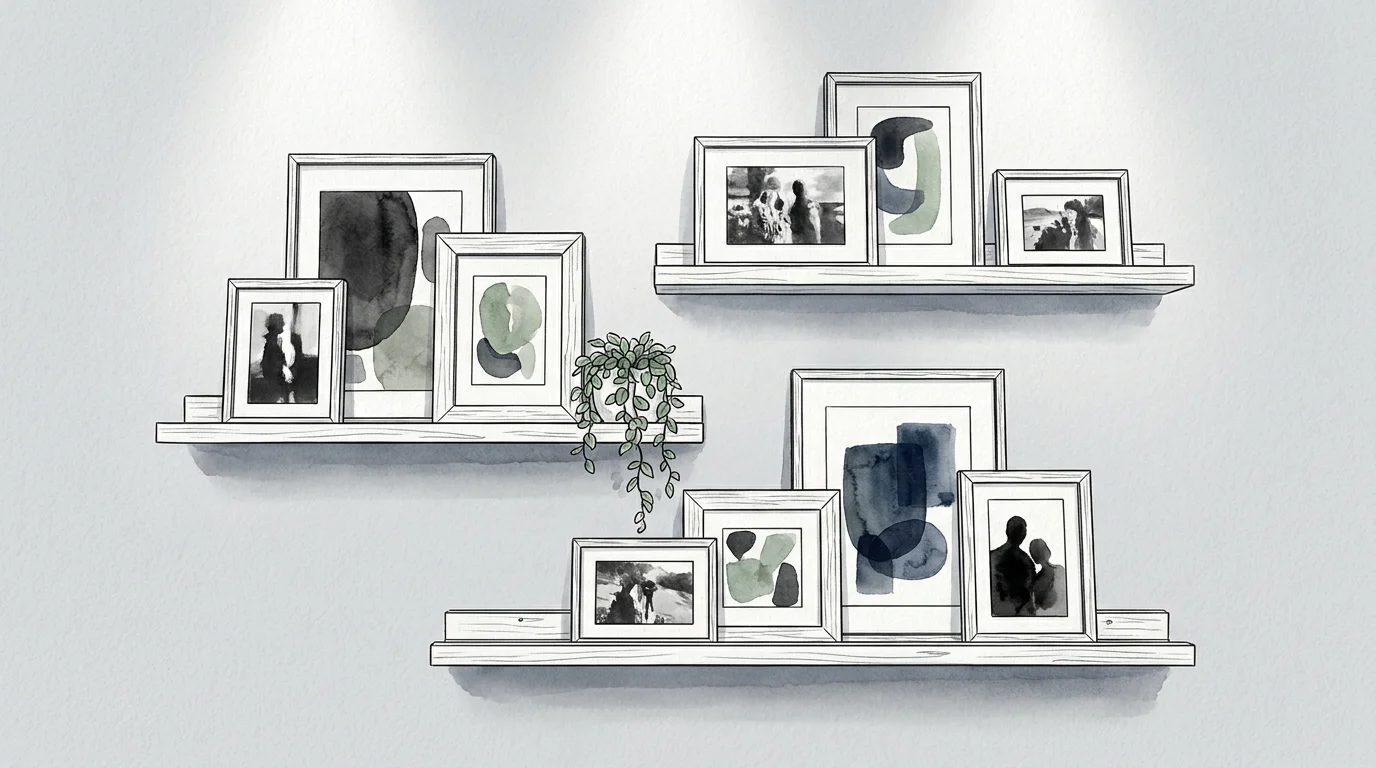
Standard gallery walls sometimes feel visually cluttered and exceptionally difficult to align perfectly, but a series of streamlined picture ledges successfully organizes your favorite framed prints into a cohesive, structured display. Construct your own custom-length ledges by securely joining a flat one-by-four base board with a narrow one-by-two lip at the front edge and a taller one-by-three backing piece. Apply strong wood glue and drive steel finish nails to assemble the distinct components, fill the exposed wood joints, and paint the ledges to perfectly match your primary wall color. Anchor the heavy wooden ledges firmly into your studs using three-inch cabinet screws, spacing the shelves vertically to accommodate your tallest picture frames. This highly adaptable styling idea empowers you to regularly swap seasonal artwork without ever hammering another disruptive nail.
7. Slat Wood Accent Wall
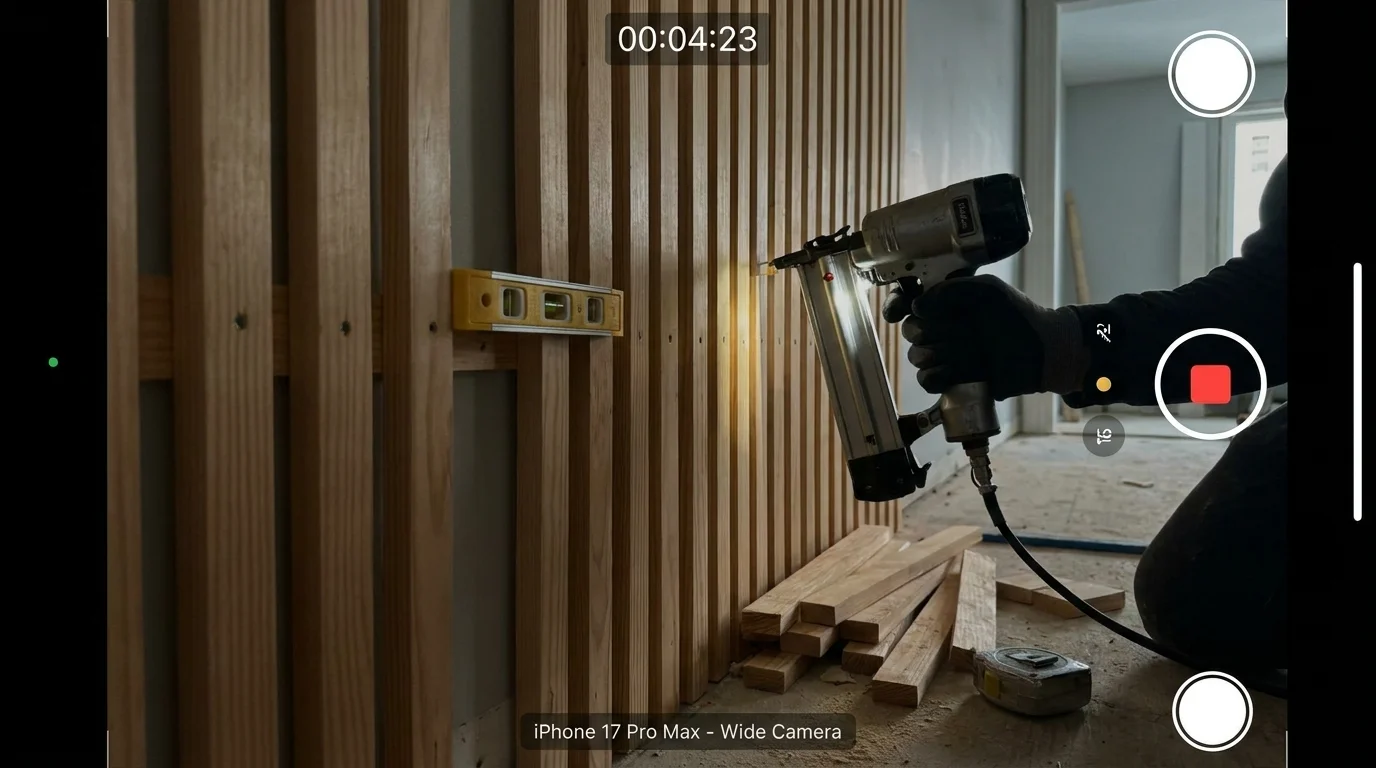
Vertical wooden slats bring incredible visual warmth and highly practical acoustic dampening to harsh, echoing living spaces. You will need dozens of thin pine, oak, or walnut strips, a dark background paint color, and an electric brad nailer to execute this contemporary architectural upgrade. Paint your host wall a deep charcoal or matte black before measuring and cutting a single board; the dark background inherently creates a striking shadow line that makes the natural wood tones pop dramatically. Cut your purchased wooden slats to the full height of your room and attach them flush to the wall, utilizing a scrap piece of half-inch plywood as a reliable spacer to ensure flawlessly uniform gaps between each strip. The rhythmic repetition of vertical lines instantly draws the eye upward, making standard ceilings feel significantly taller.
8. Stenciled Faux Wallpaper
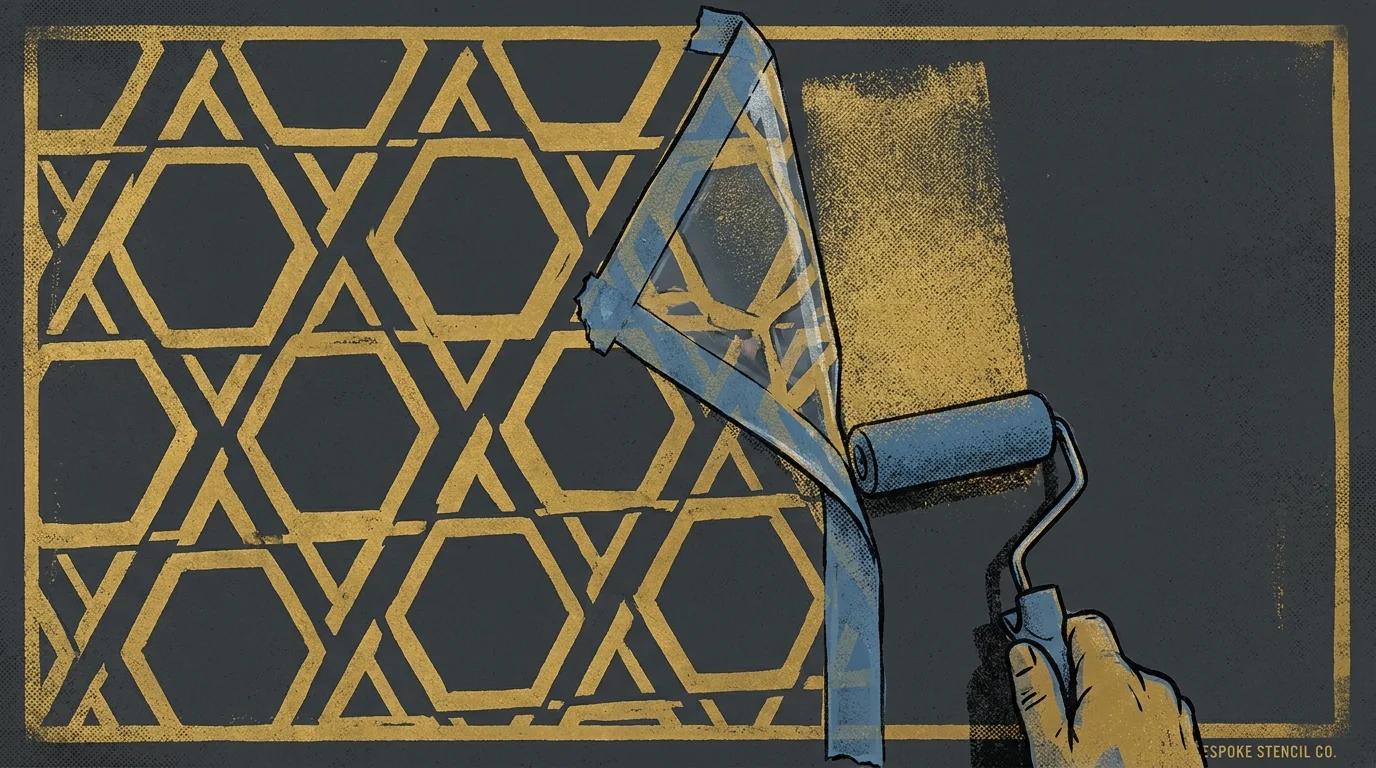
Traditional wallpaper application routinely intimidates many beginner DIY enthusiasts, but repeating wall stencils offer a highly forgiving and deeply customizable alternative. Purchase a large-scale, intricate wall stencil manufactured from durable Mylar plastic, alongside a dense foam paint roller and a reliable can of repositionable spray adhesive. Lightly mist the back side of the plastic stencil, press it firmly against the top left corner of your wall, and roll your contrasting paint color firmly over the intricate cutouts. The absolute secret to achieving a crisp stencil pattern relies on using an almost entirely dry roller; aggressively offload your excess paint onto a folded paper towel before ever touching the wall. Slowly peel back the stencil, carefully align the built-in registration marks, and continue methodically across the room to construct your bespoke focal wall.
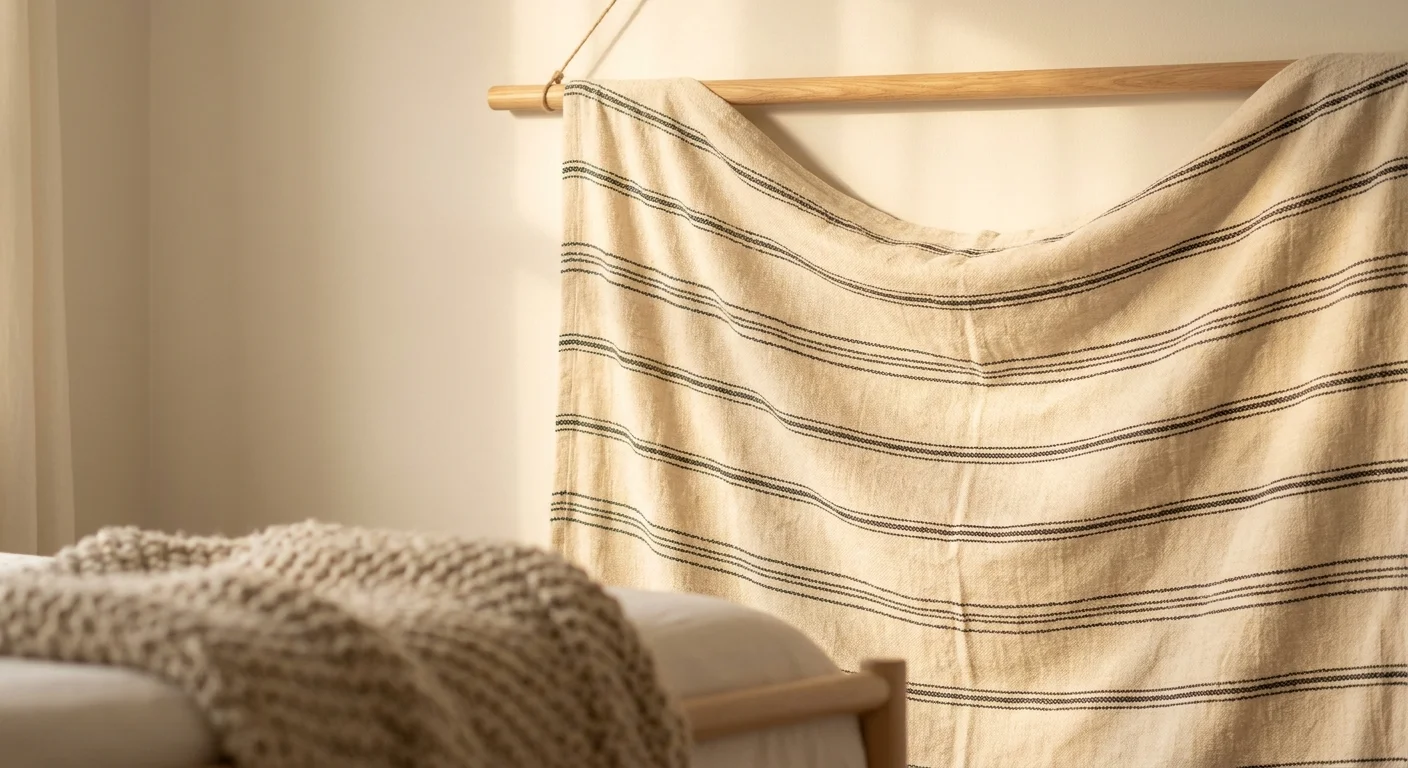
9. Fabric Tapestry Panels
When permanent painting or adhering heavy materials directly to your drywall is strictly prohibited by an inflexible lease agreement, upholstered fabric panels provide immense, damage-free texture and vibrant color. Measure your empty wall space accurately and construct a series of lightweight rectangular frames using inexpensive pine furring strips and flat metal corner braces. Stretch heavy-duty upholstery fabric, reclaimed vintage textiles, or bold graphic canvas prints tightly over the wooden frames, pulling the heavy material taut and securing it firmly to the back perimeter with a heavy-duty staple gun. Hang these massive, acoustic-friendly panels side-by-side using standard wire picture hardware to successfully create the convincing illusion of a fully upholstered accent wall. You can effortlessly remove the fabric frames from the wall when moving out, leaving only a few tiny pinholes behind.
Finishing Details and Personalization
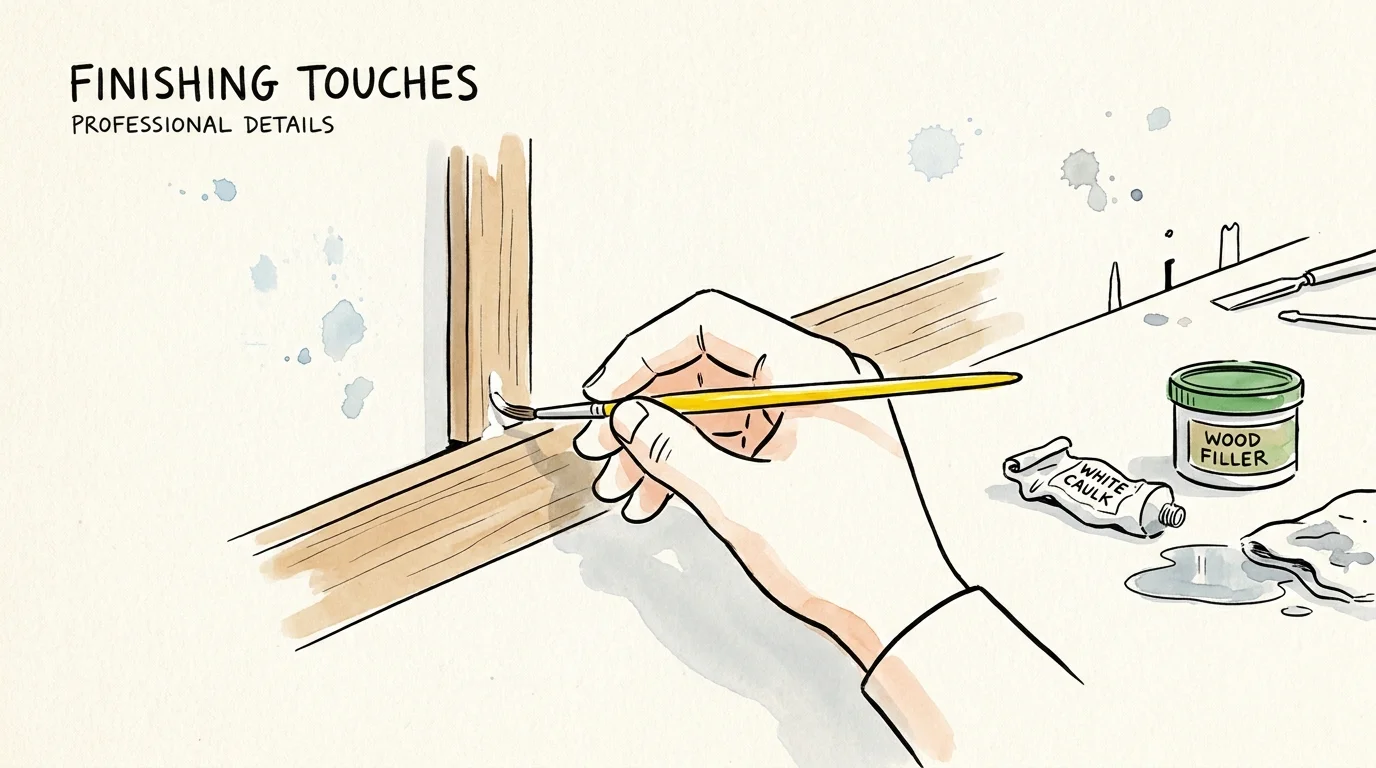
The critical gap between a distinctly amateur result and a breathtaking, professional-quality installation lies entirely in your dedicated finishing techniques. Caulk every single seam where your new wood trim meets the surrounding drywall, aggressively smoothing the acrylic bead with a damp finger to create a flawless, completely invisible transition. Fill all remaining hardware holes with shrinking wood putty, sand the dried mounds perfectly flat against the lumber, and spot-prime the fresh patches so they do not flash dully through your final topcoat. You must also consider how your new accent wall DIY actively interacts with your room’s existing lighting plan. Install a dedicated, hardwired picture light directly above your oversized plywood art, or position discreet floor uplights to intentionally cast dramatic, elongated shadows across your dimensional slat wood installation.
Troubleshooting Common Wall Decor Pitfalls
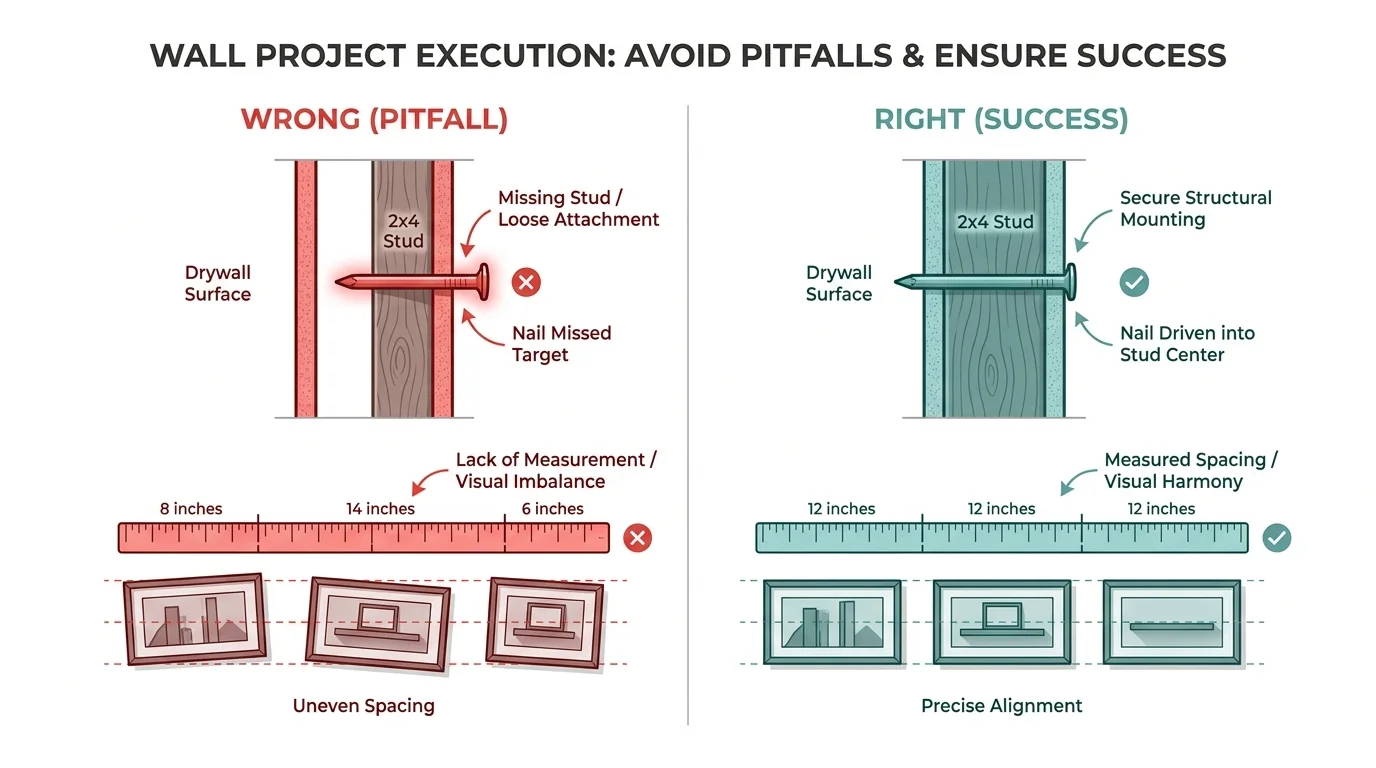
Even the absolute most meticulous planning cannot completely prevent every potential DIY hiccup, but knowing exactly how to recover effectively saves your entire project. If your heavy peel-and-stick wallpaper begins lifting stubbornly at the top corners, use a standard hairdryer on high heat to reactivate the factory adhesive and smooth it firmly back down with a clean rubber seam roller. Warped lumber can quickly ruin the crisp vertical lines of a board and batten project; inspect your boards carefully at the hardware store by sighting directly down the long edges, and allow the purchased wood to properly acclimate to your home’s internal humidity for forty-eight hours. High indoor humidity severely impacts the standard curing process of strong construction adhesives. For detailed guidance on aggressively managing interior moisture levels during home improvements, the Department of Energy provides excellent strategies that actively protect your finished surfaces from frustrating peeling and blistering.
Frequently Asked Questions
What is the best way to attach heavy decor to drywall?
When solid wood stud framing remains completely inaccessible behind your drywall, heavy-duty metal toggle bolts provide the safest, most reliable anchoring solution for weighty framed art or floating structural shelving. You drill a required pilot hole, insert the folded metal toggle, and tighten the machine bolt until the internal wings clamp securely against the hidden back side of the drywall. Avoid using plastic conical anchors for any heavy decor weighing over ten pounds, as they easily pull loose under sustained outward tension.
Can I create an accent wall in a rental without losing my deposit?
You absolutely can execute stunning architectural upgrades using entirely non-destructive materials. Liquid fabric starch offers an ingenious, renter-friendly method for adhering lightweight cotton fabric directly to your walls; the starch acts as a temporary glue that eventually peels off effortlessly and washes away completely with a warm, damp sponge. Alternatively, leaning oversized, heavy floor mirrors directly against the wall introduces significant layered depth without requiring you to drill a single destructive hole.
Where should I source affordable lumber for molding projects?
While massive big-box hardware stores offer undeniable convenience, local independent lumber yards frequently provide significantly better pricing and superior wood quality for large-scale interior trim work. If you plan to fully paint your custom molding installation, primed medium-density fiberboard boards present the absolute most cost-effective material solution, as they cost significantly less than clear pine and lack bleeding wood knots. Always calculate your required linear footage carefully and purchase ten percent extra material to easily account for inevitable miscuts.
How do I choose the right paint finish for textured walls?
Heavily textured drywall surfaces, such as aggressive orange peel or heavy knockdown finishes, demand incredibly careful paint sheen selection to look their absolute best. High-gloss paints reflect harsh directional light sharply, heavily highlighting every single bump and imperfection across the entire wall surface. To successfully disguise unwanted heavy texture while actively maintaining basic washability, you should opt for a flat or matte finish for the primary wall color, reserving shiny satin paints exclusively for your sanded wood trims.
Your Next Great Project Awaits
Transforming your daily home environment does not strictly require hiring an expensive general contractor or living agonizingly inside a chaotic construction zone for consecutive months. You possess the innate capability to confidently execute any of these bold wall styling ideas armed with basic hardware supplies and a dedicated spare weekend. Every piece of custom wooden molding you cut and every vibrant roll of floral wallpaper you smooth down actively builds your overall DIY confidence while tailoring your living space to match your distinct aesthetic. Stop staring passively at that completely uninspired expanse of blank drywall and start vigorously sketching out your ambitious vision today. Gather your selected materials, prep your blank canvas meticulously, and take the first decisive step toward creating a striking interior feature.