Retirement offers the perfect opportunity to transform your living space through engaging, stress-free DIY crafts that deliver beautiful results by Sunday evening. You can craft custom home decor that highlights your personal style without taking on exhausting renovations or investing in complicated power tools. Creating handmade pieces provides a deep sense of accomplishment and keeps your mind sharp while you enjoy a relaxing weekend at home. These approachable weekend projects require minimal physical strain but yield high-quality aesthetic upgrades for your living room, kitchen, or garden. Grab your basic supplies and clear a spot at the kitchen table; your next great creative endeavor awaits.

Planning Your Weekend DIY Retreat
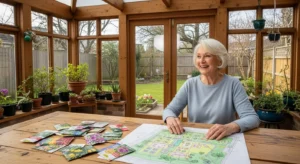
Before you dive into your chosen senior hobbies, establish a functional workspace. Assessing your budget, timeline, and skill level ensures your creative retreat remains stress-free. Most weekend projects require less than fifty dollars in raw materials, and you likely already own the essential scissors, brushes, and measuring tapes. Set aside a dedicated table where your supplies can remain undisturbed from Friday evening until Sunday afternoon. Proper illumination significantly reduces eye strain and improves your focus while tackling detailed tasks. Position an adjustable task light near your dominant hand to eliminate shadows. Upgrading your workspace with high-quality LED bulbs provides bright visibility. Read guidance on energy-efficient lighting choices from the Department of Energy to optimize your environment.
Project 1: Hand-Painted Terracotta Herb Gardens
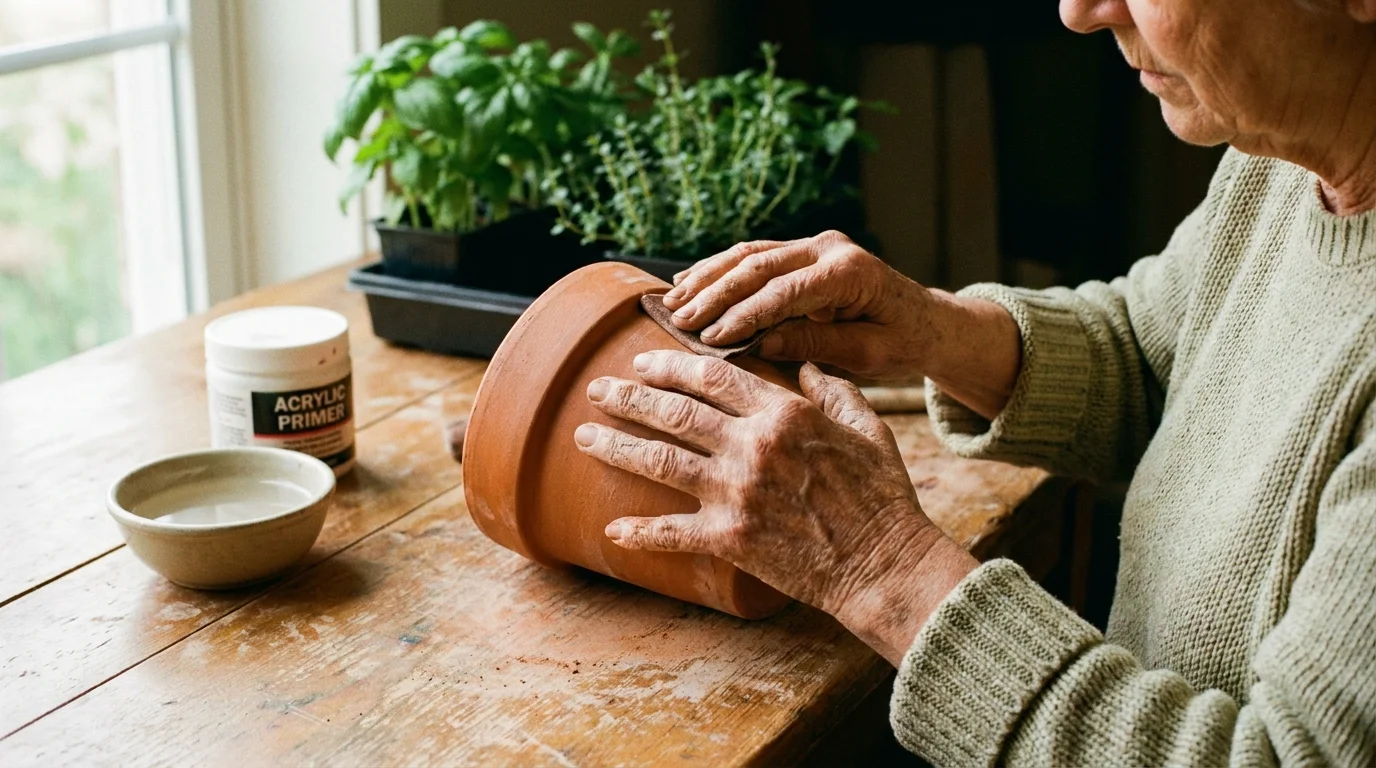
Transforming plain clay pots into a vibrant indoor herb garden breathes fresh life into your kitchen windowsill. Soak new terracotta pots in warm water for an hour to prevent the dry clay from absorbing moisture from your paint. Once dry, lightly scuff the exterior with a fine-grit sanding block so your primer grips properly. Apply a single coat of acrylic primer, letting it cure for two hours. Choose acrylic paints in colors that complement your favorite dishware, using flat brushes for base coats. Brush on a clear polyurethane sealer after the paint dries overnight to protect your artwork from water drips.
Add a handful of gravel to the bottom of each pot to ensure proper drainage, preventing root rot. Fill the remaining space with potting mix and gently nestle in young basil or thyme. You can find excellent advice on maintaining plants through this guide on container herb gardening from the Penn State Extension. Your garden now offers fresh ingredients for your next meal.

Project 2: Upcycled Vintage Teacup Candles
Repurposing orphaned vintage teacups into elegant custom candles provides a brilliant way to enjoy family heirlooms safely. Wash the cups thoroughly with gentle dish soap and warm water to ensure the wax adheres smoothly to the porcelain. Secure a cotton core wick to the bottom center using a drop of hot glue. Keep the wick standing perfectly straight by resting a wooden skewer across the rim and taping the wick to it. Melt natural soy wax flakes in a double boiler over low heat. Soy wax burns cleaner than traditional paraffin.
Once the wax reaches one hundred and eighty degrees Fahrenheit, remove it from the heat and stir in your preferred essential oils. Pour the wax slowly into the prepared teacups, leaving a half-inch of space below the rim. Allow the candles to cool undisturbed at room temperature for twenty-four hours to prevent cracking. Trim the wick to a quarter of an inch to guarantee a safe burn.
Project 3: Custom Decoupage Serving Trays
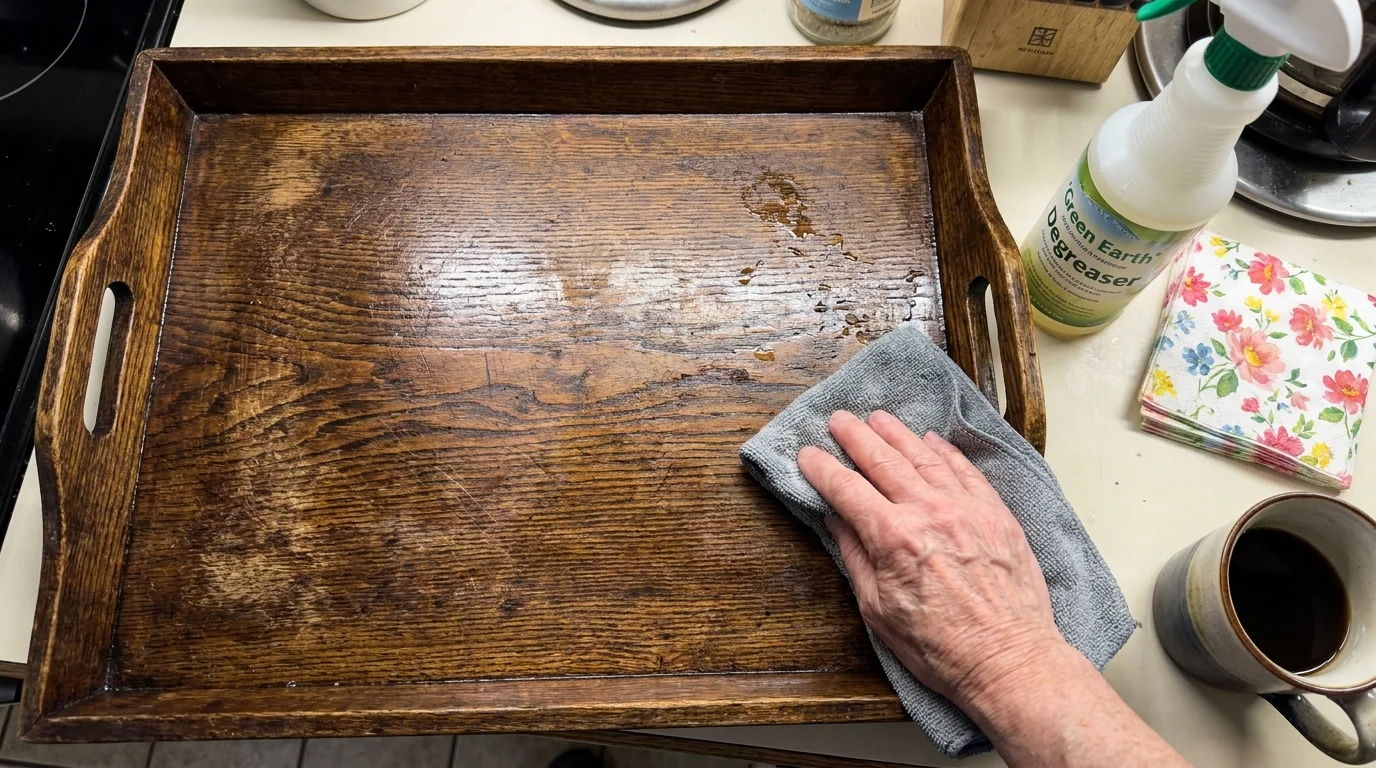
Decoupage offers a forgiving technique for seniors seeking to revitalize worn wooden serving trays. Clean your sourced wood vigorously with a degreasing household cleaner, then lightly sand the flat interior base until smooth. Wipe away the sawdust with a damp microfiber cloth, and paint the tray’s handles with a rich chalk-finish paint to frame your design. Select thick, high-quality paper for your central motif, such as vintage botanical prints. Measure the interior base and trim your chosen paper to fit exactly.
Apply an even layer of decoupage medium directly to the wood surface using a wide foam brush. Carefully press the paper onto the wet adhesive, smoothing outward with a clean rubber brayer to eliminate trapped air bubbles. Finish the piece by brushing three thin coats of the same decoupage medium over the top of the paper, allowing each layer to dry completely. For heavy rotation, add a protective topcoat of clear acrylic spray to instantly create a functional piece of art.
Project 4: No-Sew Fleece Throw Blankets
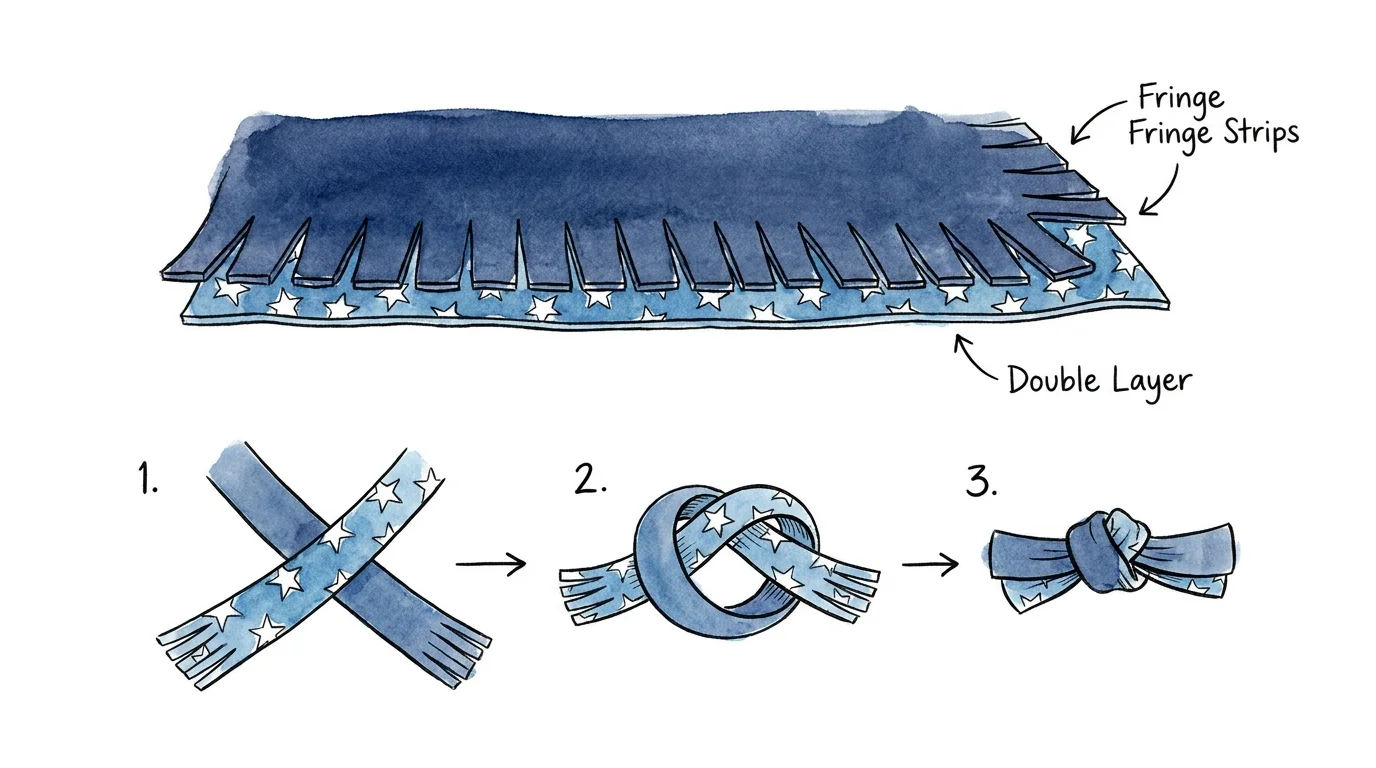
Crafting a customized fleece throw blanket requires zero sewing machine skills while delivering maximum warmth. You need two coordinating pieces of anti-pill fleece, sharp fabric scissors, and a large flat surface. Choose one solid color for the back and a vibrant patterned design for the front. Lay the fabric pieces smoothly on top of one another. Trim the edges so both pieces measure exactly the same dimensions, then cut a four-inch square out of all four corners to prevent the blanket from bunching.
Cut a fringe along the perimeter by snipping four-inch deep lines every inch. Cutting through both layers simultaneously guarantees your top and bottom fringes match perfectly. Take a top strip and its corresponding bottom strip, tying them into a simple double knot. Work your way around the entire perimeter, watching as the decorative edge forms. The repetitive tying motion provides a highly meditative rhythm perfect for a quiet afternoon.

Project 5: Personalized Wooden Welcome Signs
A custom wooden welcome sign creates an inviting first impression for guests arriving at your front door. Purchase a smooth wooden board measuring roughly ten inches wide by forty inches tall. Sand the edges gently to remove splinters, then wipe the board down with a tack cloth. Stain the wood using a deep walnut tone, wiping away the excess immediately to highlight the natural grain. Utilize adhesive vinyl stencils to map out your greeting vertically, securing them firmly with painter’s tape to achieve a professional look.
Dab a dense foam sponge lightly into exterior-grade cream acrylic paint. Tap the sponge repeatedly over the stencil, building the color up in thin layers rather than using heavy brushstrokes. Peel the stencils away while the paint remains slightly tacky to reveal crisp letters. Protect your hard work from the elements by brushing on two coats of exterior marine varnish. You can learn more through resources detailing how to finish outdoor wood.
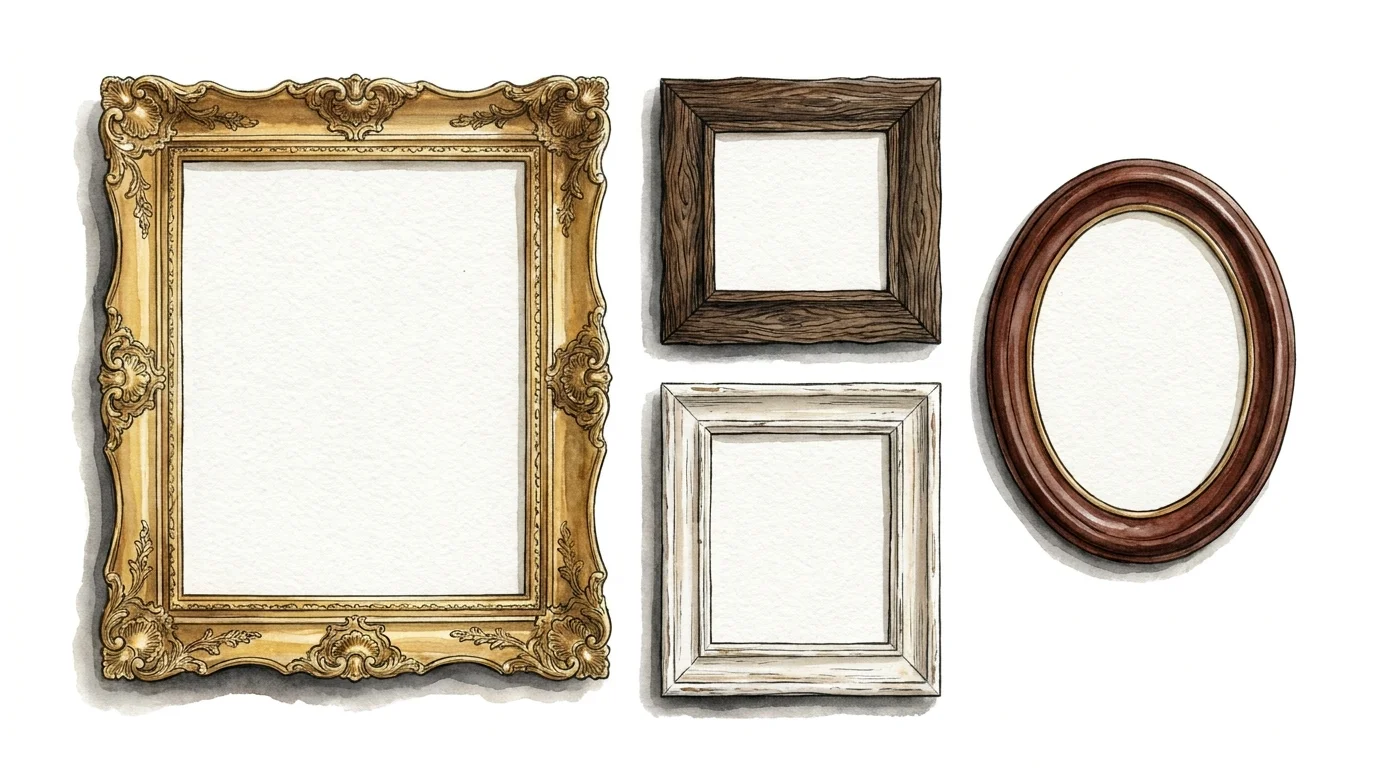
Project 6: Restored Antique Picture Frames
Breathing new life into tarnished antique picture frames highlights your treasured family photographs with unmatched elegance. Thrift stores frequently sell heavily ornate frames at significant discounts due to minor cosmetic damage. Start by carefully removing the old glass and backing materials. Use a soft toothbrush and mild soapy water to scrub grime out from the intricate floral carvings, allowing the frame to dry thoroughly. Fix minor chips in the wood or plaster detailing by pressing standard wood filler into the damaged areas.
To restore the vintage luster, apply a metallic wax finish using your index finger. Gently rub the metallic wax over the raised details, allowing the recessed areas to remain untouched to create a multifaceted antiqued appearance. Cut a fresh piece of acid-free mat board to protect your photograph from discoloration. Clean the original glass, then reassemble the frame using flexible framer’s points. Hanging your restored frame adds instant historic charm. You can gather inspiration for your gallery wall by viewing creative ways to arrange picture frames.
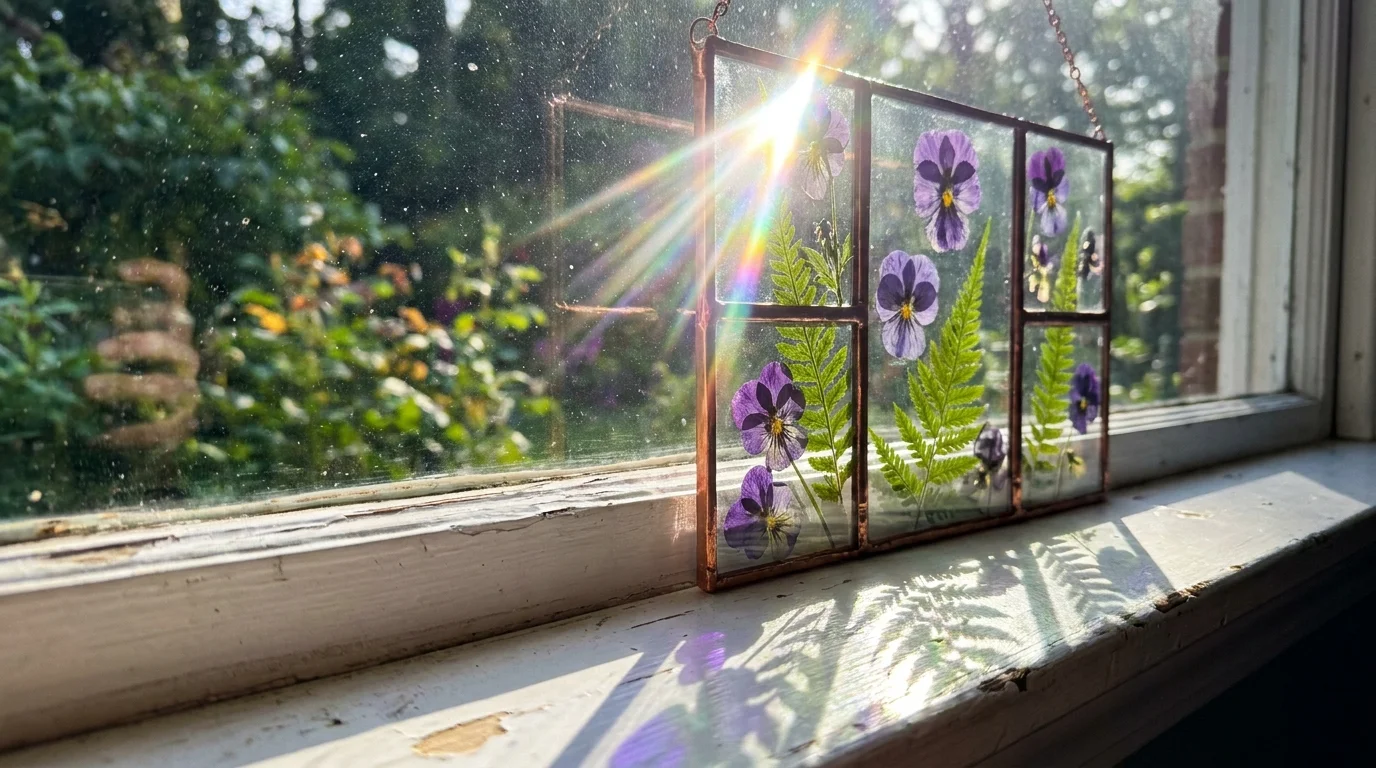
Project 7: Pressed Floral Glass Suncatchers
Capturing the ephemeral beauty of garden blossoms inside a glass suncatcher brings natural color indoors year-round. Gather small vibrant flowers like pansies or delicate fern fronds during the mid-morning. Place the freshly picked botanicals face-down between two sheets of absorbent parchment paper. Rest heavy books on top of the paper, leaving the flowers to press and dry completely for two weeks. Alternatively, easily purchase pre-pressed dried flowers from craft supply stores to begin right away. Obtain a floating glass picture frame from a local home goods retailer.
Carefully arrange your dried blooms on the bottom piece of glass using crafting tweezers. Secure each flower with a microscopic dot of clear craft glue applied with a toothpick, preventing the arrangement from slipping when you stand the frame upright. Place the second pane of glass over your arranged botanicals, sandwiching them securely. Reinsert the glass into the frame perimeter, tightening the latches to hold everything firmly in place. Suspend your finished suncatcher in a bright window.
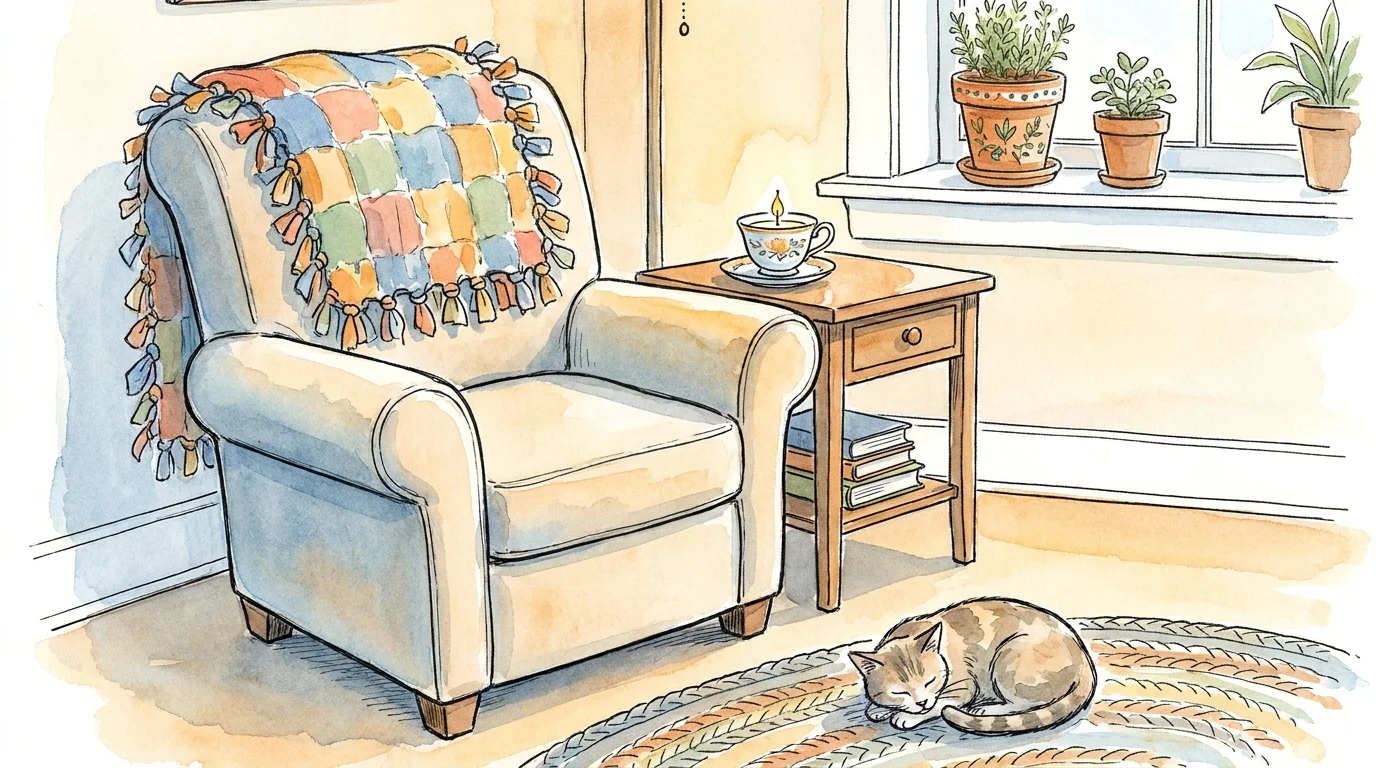
Styling and Personalizing Your Handiwork
Integrating freshly completed weekend projects into your existing home decor requires a thoughtful approach to placement. Avoid clustering all your DIY crafts in a single corner, which can make a room feel cluttered. Instead, distribute your terracotta herb gardens, custom serving trays, and restored frames evenly throughout your living spaces to create cohesive visual interest. Select paints that echo the dominant hues already present in your upholstery. Layering textures elevates the perceived quality of your handmade items. Pair the plush texture of your fleece blanket with the sleek surface of your painted serving tray. You can discover excellent styling combinations by reviewing expert insights on layering textures.
Troubleshooting and Long-Term Upkeep
Even meticulously planned craft projects encounter occasional hiccups, but you can resolve minor issues with practical troubleshooting. If your decoupage tray develops stubborn air bubbles while drying, gently prick the bubble with a sewing needle and press the paper flat to release the trapped air. Should your stenciled welcome sign exhibit paint bleeding beneath the edges, use a tiny pointed brush to carefully touch up the messy borders. Proper maintenance preserves the beauty of your creations. Dust your restored picture frames and vintage candles weekly using a dry microfiber cloth. Keep your pressed floral suncatchers away from direct southern sunlight during summer, as harsh UV rays will eventually bleach the vibrant dried petals.
Frequently Asked Questions
What tools do I need to start these weekend crafts?
You only need a few high-quality basics to tackle these relaxing weekend projects. A pair of ergonomic fabric scissors, soft-bristled paintbrushes, a reliable tape measure, and a smooth sanding block cover your preparation needs. Keeping a hot glue gun nearby provides quick solutions for minor attachments.
How can I adapt these DIY projects if I experience hand fatigue?
Modify crafting steps by investing in tools with thickened, soft-grip handles. When tackling the fleece blanket project, use a rotary cutter with an ergonomic handle on a self-healing mat to reduce repetitive strain. Take frequent breaks and stretch your fingers gently.
Where can I source high-quality materials for upcycling?
Estate sales, local church bazaars, and independent thrift stores consistently offer excellent hidden treasures. You can find beautiful bone china teacups, sturdy serving trays, and ornate antique frames for a fraction of their original cost. Visit these locations early on Saturday mornings for the best selection.
How do I protect my indoor crafting surfaces from paint spills?
Safeguard your dining table by laying down a thick, reusable drop cloth before opening paints. A heavy canvas tarp provides better protection than thin plastic sheeting, which tends to slip easily. Keep paper towels and a damp cloth nearby to wipe up drips immediately.
Start Your Next Masterpiece Today
You possess the creativity needed to transform your living environment with these deeply rewarding crafts. Channeling energy into a DIY project provides a mental reset and leaves you with a tangible representation of your weekend efforts. Gather your materials, set up your workspace, and allow yourself the freedom to enjoy the peaceful process of creating something new. Do not worry about achieving absolute perfection; the joy of crafting lies in the quiet moments of focus. Pick the project that sparks your imagination the most, and begin your creative journey right now.