You can transform discarded household castoffs into custom, high-end design accents without spending a fortune. Upcycling blends sustainable resourcefulness with bespoke design, giving forgotten furniture and worn relics a second life.
Instead of banishing scratched dressers, chipped china, or weathered ladders to the landfill, you can elevate them into practical art. These creative reuse projects inject immediate warmth and personality into modern living spaces.
You do not need professional carpentry credentials to achieve enduring, showroom-quality results. With a few foundational supplies and smart prep techniques, you will craft durable home treasures this weekend.

Planning Your Upcycling Projects: Budget, Tools, and Timelines
Before picking up a paintbrush, evaluate your budget, time commitment, and existing tools. Most upcycling projects cost between ten and fifty dollars, primarily for adhesives, fasteners, and finish coats.
You can complete beginner projects like frame trays or candle pouring in under two hours. More structural builds, such as chair benches or drawer storage, require four to eight hours across a weekend.
Assemble basic gear before beginning, including a cordless drill, orbital sander, multi-surface primer, and quality brushes. Renting power tools from local hardware centers keeps upfront costs low for renters and novice makers.
Assess each candidate piece for structural stability and surface safety before investing labor. Solid hardwood and forged metal withstand modifications easily, whereas warped particle board often crumbles under stress.

Nine Creative Upcycling Ideas for Everyday Spaces
1. The Architectural Wooden Ladder Quilt Rack
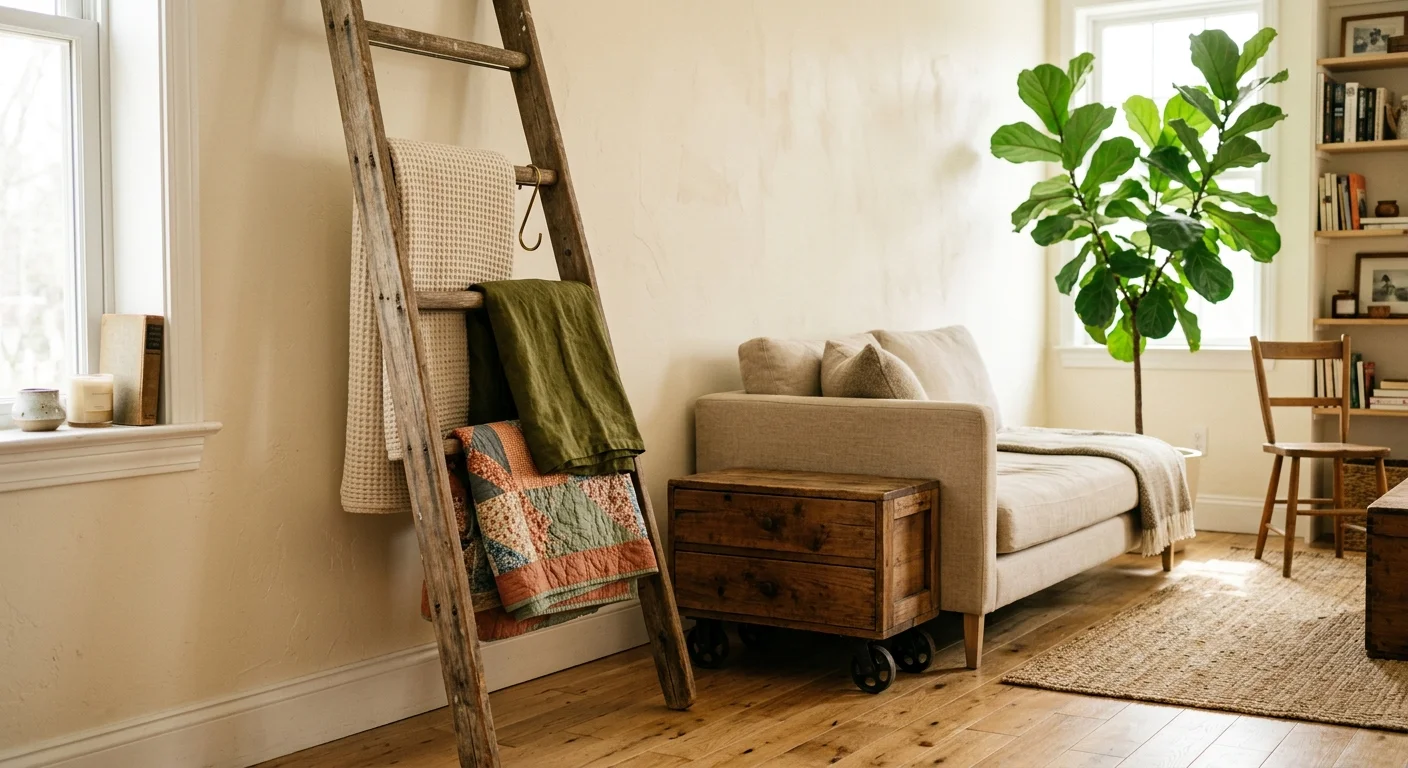
Weathered wooden step or extension ladders make striking vertical textile displays. Their narrow footprint optimizes blank wall space in compact living rooms and master suites.
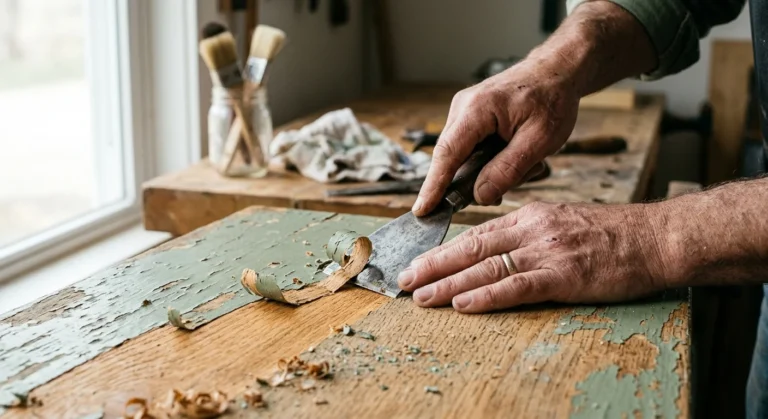
Sand the ladder rungs thoroughly to remove splintered wood and peeling varnish that could snag delicate fabrics. Wipe the sanded surface clean with a damp tack cloth before applying wax or clear matte sealer.
Lean the ladder securely against the wall at a seventy-five-degree angle, or mount rubber bumpers onto the top contact points. Drape heavy woven throws and vintage quilts across consecutive rungs to add instant tactile warmth.
2. Ornate Picture Frames Repurposed into Serving Trays
Heavy, ornate picture frames from thrift shops can instantly become luxurious decorative vanity or coffee table trays. The recessed backing creates an ideal boundary for corralled cocktail glasses or perfume bottles.
Disassemble the frame, clean the glass pane, and prime the ornate moulding with bonding spray paint. Deep metallic tones or rich matte black emphasize baroque relief details.
Cut decorative wallpaper, grasscloth, or marbled contact paper to fit the existing cardboard backing. Reassemble the layers securely, then screw two brass cabinet pulls directly into the left and right frame rails.
3. Reclaimed Pallets as Vertical Herb Gardens
Wooden shipping pallets offer exceptional framing for space-saving vertical outdoor gardens. Home gardeners can produce substantial edible herbs in tight patio footprints with this simple build.
Inspect pallets carefully for safety markings, selecting only pieces stamped with HT for heat-treated wood. The Environmental Protection Agency provides sustainable materials guidance emphasizing safe material reuse over chemical-treated alternatives.
Staple landscape fabric securely along the bottom and interior back of each pallet slat to form planting troughs. Fill each cavity with organic potting mix, then tuck in hardy herbs like rosemary, thyme, and mint.
4. Antique Dresser Drawers as Under-Bed Rolling Storage
Solid wood drawers from discarded, damaged dressers make functional, aesthetic under-bed rolling bins. They provide sturdy storage that outlasts flimsy plastic bins while keeping seasonal items dust-free.
Sand away rough exterior paint and vacuum interior corners to prepare the raw wood surfaces. Apply a coat of low-VOC latex enamel paint to coordinate with your existing bedroom palette.
Invert the drawer and screw four two-inch swivel caster wheels into the four bottom corners. Finish by attaching a vintage brass label holder to the drawer front for effortless organization.
5. Mason Jars and Wine Bottles Converted to Pendant Lights
Glass beverage bottles and vintage canning jars offer gorgeous diffuse illumination when wired as accent pendants. Grouping three glass vessels together creates a stunning dining room or kitchen island focal point.
Cut glass bottle bottoms cleanly using a specialized glass-cutting jig and hot-cold water thermal shock baths. Smooth the sharp cut rim immediately with wet silicone carbide sandpaper to ensure handle safety.
Thread an approved, pre-wired pendant cord kit through a hole drilled into the metal lid or bottle neck. Always use cool-burning LED bulbs to prevent heat accumulation inside the enclosed glass chambers.
Review residential lighting standards from the Department of Energy lighting guide to select optimal lumen outputs and color temperatures for your living spaces.
6. Vintage Hardcover Books as Concealed Floating Shelves
Damaged vintage hardcover encyclopedias and novels make whimsical, gravity-defying floating wall shelves. They provide conversational book displays in home offices and reading nooks without taking up floor space.
Secure a sturdy steel L-bracket directly to a wall stud using heavy-duty drywall screws. Slide the open back cover of the book over the horizontal bracket arm, keeping the pages closed beneath.
Fasten the bottom cover to the bracket with short wood screws, then glue the text block closed. Stack additional books overhead to conceal the mounting hardware completely from plain view.
7. Chipped China and Tins Transformed into Soy Candles
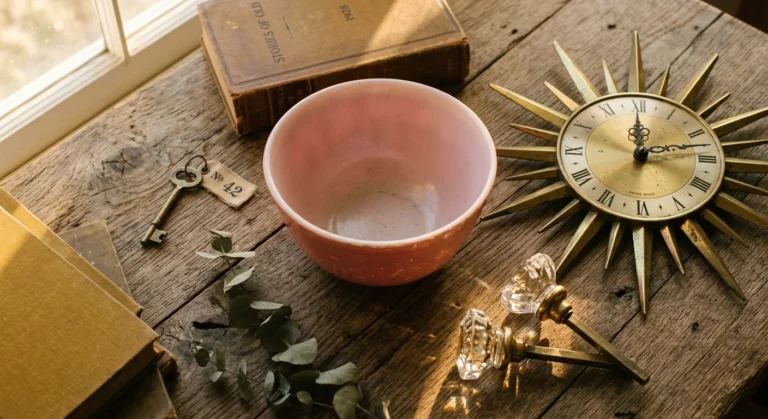
Heirloom teacups, sugar bowls, and vintage tea tins with small chips make charming, fragrant candle vessels. These pieces preserve sentimental family memories while serving practical everyday functions.
Secure a cotton candle wick to the interior base of your cleaned vessel using a dab of hot glue. Stabilize the vertical wick at the vessel rim with a wooden clothespin or wick centering tool.
Melt natural soy wax flakes in a double boiler until clear, stirring in your favorite non-toxic essential oils. Pour the wax gently into the cup, leaving a quarter-inch clearance below the rim.
8. Salvaged Dining Chairs Combined into an Entryway Bench
Two mismatched or broken wooden dining chairs can merge into an architectural French-style entryway bench. This hybrid build rescues chairs with ruined seats by uniting their structural frames.
Remove the damaged seats, sand the frames, and position the chairs side-by-side twenty-four inches apart. Join the chair bases together using a rectangular pine apron frame secured with pocket-hole screws and wood glue.
Cut a solid plywood board across both frames, top it with three-inch foam, and wrap it in durable upholstery fabric. Fasten the upholstered plank from underneath for a tailored, seamless seating solution.
9. Weathered Window Sashes Reimagined as Multi-Photo Frames
Salvaged multi-pane window sashes bring authentic architectural history into modern gallery walls. Their natural dividers let you showcase curated photography collections or family portraits within a single unified fixture.
Test older salvage pieces for dangerous coatings before dry sanding. Review lead paint safety protocols from the EPA Lead Abatement Program to protect indoor air quality during historical home renovations.
Seal flaking antique sash paint with a clear matte water-based polyurethane to encapsulate loose chips safely. Tape enlarged black-and-white photo prints directly behind individual glass panes using acid-free archival mounting tape.

Mastering the Process: Prep, Execution, and Finishing
Successful upcycling hinges on disciplined preparation rather than quick cosmetic touchups. Skipping surface cleaning or primer guarantees peeling paint and wobbly joints down the road.
Clean all vintage surfaces with trisodium phosphate or grease-cutting detergent to remove decades of built-up grime and body oils. Allow porous wood pieces to dry completely for forty-eight hours before applying abrasives.
Sand with progressive grits, starting around eighty grit to level ridges and finishing at two hundred twenty grit for silky smoothness. Always sand in the direction of the wood grain to avoid permanent cross-grain scratches.
Apply a high-adhesion stain-blocking primer when working over dark finishes, mahogany, or raw knots. A stain-blocking barrier stops tannin bleed-through, which otherwise stains white and pastel paint layers pink over time.
Maintain consistent safety standards by wearing an N95 respirator mask and impact-rated goggles during all cutting and sanding. Work in well-ventilated spaces to minimize particulate inhalation and chemical fume exposure.
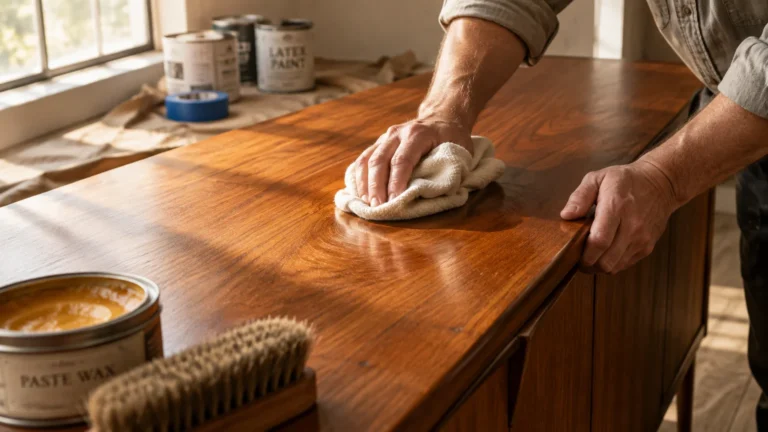
Select protective topcoats matched to the piece’s expected daily wear and environmental conditions. Hard-wearing surfaces like table tops benefit from water-based polyurethane, whereas decorative accents require only soft paste wax.
Apply finishes in thin, uniform layers rather than heavy coats to prevent dripping and prolonged curing times. Buffing between dry coats with fine steel wool creates a professional, factory-smooth luster.

Styling and Personalization: Elevate Your Aesthetic
Upcycled decor should blend into your existing design scheme rather than looking like an isolated craft experiment. Curate intentional color palettes that harmonize with your room’s existing architectural trims and flooring tones.
Consult expert design layouts in Architectural Digest design archives to see how elite stylists integrate patinated antiques into contemporary interiors. Juxtaposing rustic reclaimed wood against polished metals creates compelling visual tension.
Experiment with textural finishes like limewash, milk paint, or distressed chalk coatings to highlight vintage character. A subtle wet-distressing technique around natural wear points reveals underlying wood grain without looking artificial.
Upgrade mundane hardware to instantly elevate the perceived quality of your upcycled creations. Solid unlacquered brass knobs, hand-forged iron pulls, and matte ceramic handles transform thrifted furniture into luxury focal pieces.

Troubleshooting Common Pitfalls and Long-Term Upkeep
Paint bubbling often occurs when you apply fresh coats over damp wood or trapped oily residue. If bubbles appear, scrape the affected zone, sand smooth, clean with denatured alcohol, and re-prime thoroughly.
Sticky drawers and squeaky wooden joints cause frustrating daily friction in vintage furniture pieces. Rub paraffin wax or a plain candle along wooden drawer runners to restore effortless, quiet sliding action.
Wood movement throughout seasonal humidity swings can crack rigid glued joints or warp panels. Consult forestry research from the USDA Forest Products Laboratory regarding wood moisture equilibrium before joining solid timber components.
Dust your finished upcycled treasures weekly with an untreated microfiber cloth to preserve delicate wax finishes. Avoid harsh commercial aerosol sprays that leave silicone residues and degrade protective clear coats over time.
Frequently Asked Questions
What basic tools should a beginner buy first?
Start with an eighteen-volt cordless drill kit, a random orbital sander, a precision level, and comfortable safety gear. These versatile tools handle over eighty percent of common upcycling assembly and prep tasks.
Where can I find affordable items to upcycle?
Scout municipal bulk trash collection days, estate yard sales, thrift storefronts, and online community marketplace boards. Many homeowners gladly give away heavy, dated solid wood furniture for free if you handle pickup.
How do I know if an old piece is safe to repurpose?
Check structural joints for dry rot, deep pest damage, or structural fracture lines before committing your labor. Avoid furniture with heavy mildew odors or warped internal frames that compromise fundamental load-bearing stability.
How can renters adapt these projects without risking damage?
Choose freestanding pieces like ladder organizers, tray conversions, or rolling under-bed drawers that require zero wall fasteners. Use heavy-duty, damage-free adhesive strips if mounting lightweight upcycled elements to rental drywall surfaces.
Start Transforming Your Castoffs Today
Every neglected object holds latent beauty waiting for a creative eye and a steady hand. By reclaiming discarded materials, you lower landfill waste while crafting bespoke decor that tells a story.
Select one approachable project from this list, gather your supplies, and dedicate an afternoon to creative transformation. Your living space will reflect genuine character, craftsmanship, and sustainable style.