A fresh coat of paint can rescue drab laminate, but applying it to the wrong wooden furniture permanently destroys its value. Knowing when to put the paintbrush down will save you hours of regret and protect your investment.
Rare grain patterns, historic patinas, and specialized wood species offer natural warmth that modern pigment cannot replicate. Once you coat these surfaces in latex or chalk paint, stripping them becomes an expensive and grueling chore.
Before you open a can of primer on a thrifted treasure or family heirloom, evaluate what sits beneath the grime. Five distinct furniture categories should remain completely paint-free to preserve their structural integrity, beauty, and financial worth.
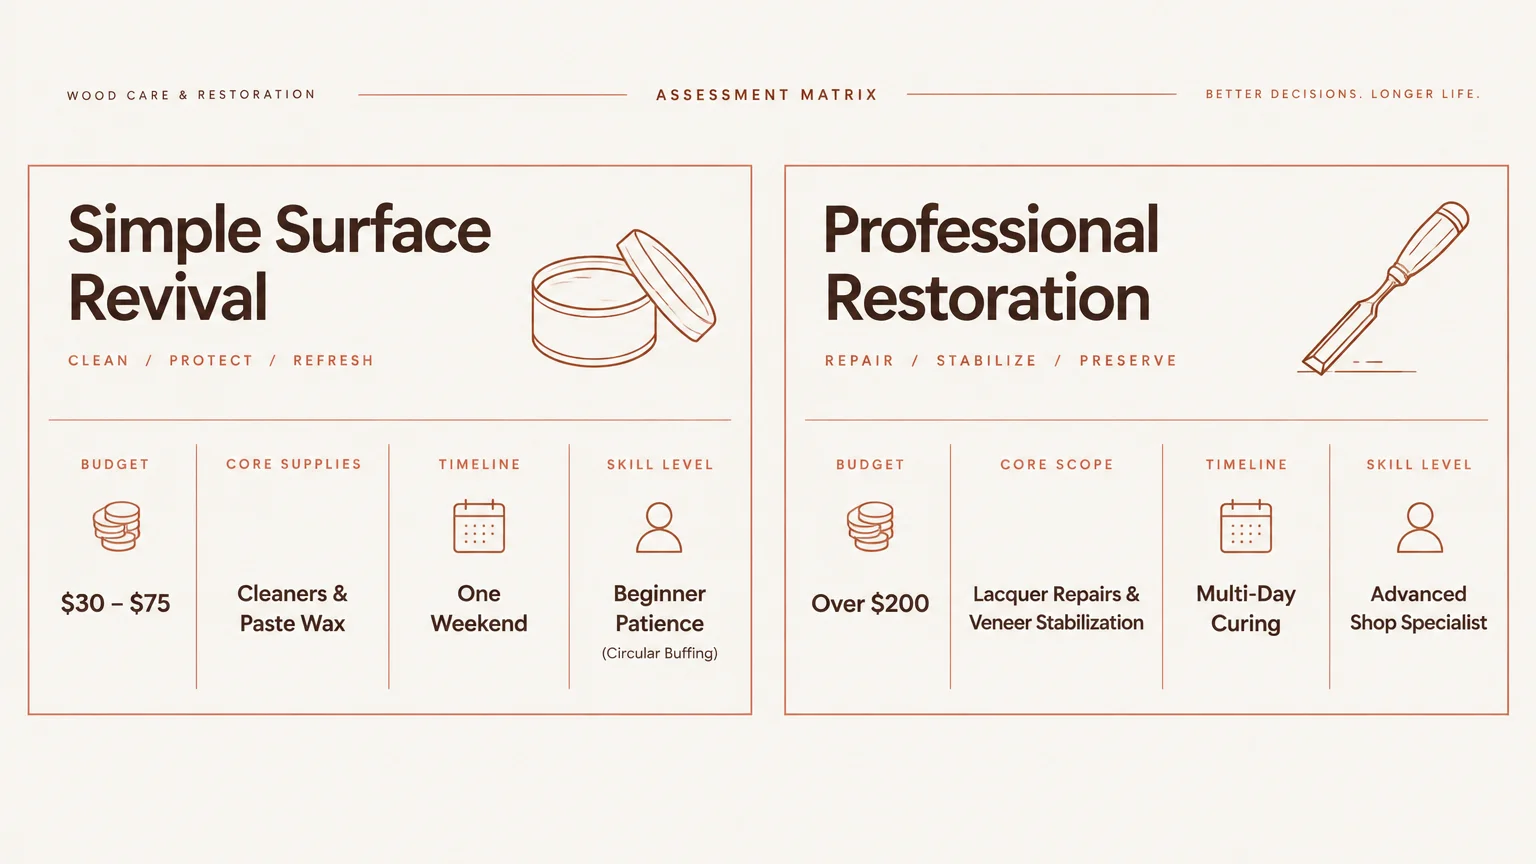
Planning Snapshot: Assessing Your Furniture Project
Evaluating a piece before altering it saves you both money and heartbreak. You should always balance financial commitment with the technical difficulty of authentic furniture restoration.
Simple surface revivals require a modest budget between thirty and seventy-five dollars for cleaners and wax. Professional lacquer repairs or veneer stabilization can push project costs over two hundred dollars.
Set aside a weekend for cleaning, drying, and treating wood surfaces. You must allow penetrating oils or paste wax adequate time to cure properly between coats.
Most wood restoration requires beginner patience rather than advanced shop skills. If you can rub paste wax in smooth circular motions, you can successfully revive vintage timber.
5 Types of Furniture You Should Never Paint
Painting over mass-produced modern composite wood makes sense when refreshing a bedroom on a budget. However, certain materials and historical periods lose their essence when submerged beneath opaque pigment.
1. Pre-1950s Antiques with Original Patina
True antique furniture carries decades or centuries of organic wear that collectors prize above all else. This accumulated oxidation, sunlight exposure, and gentle handling creates an irreplaceable surface glow known as patina.
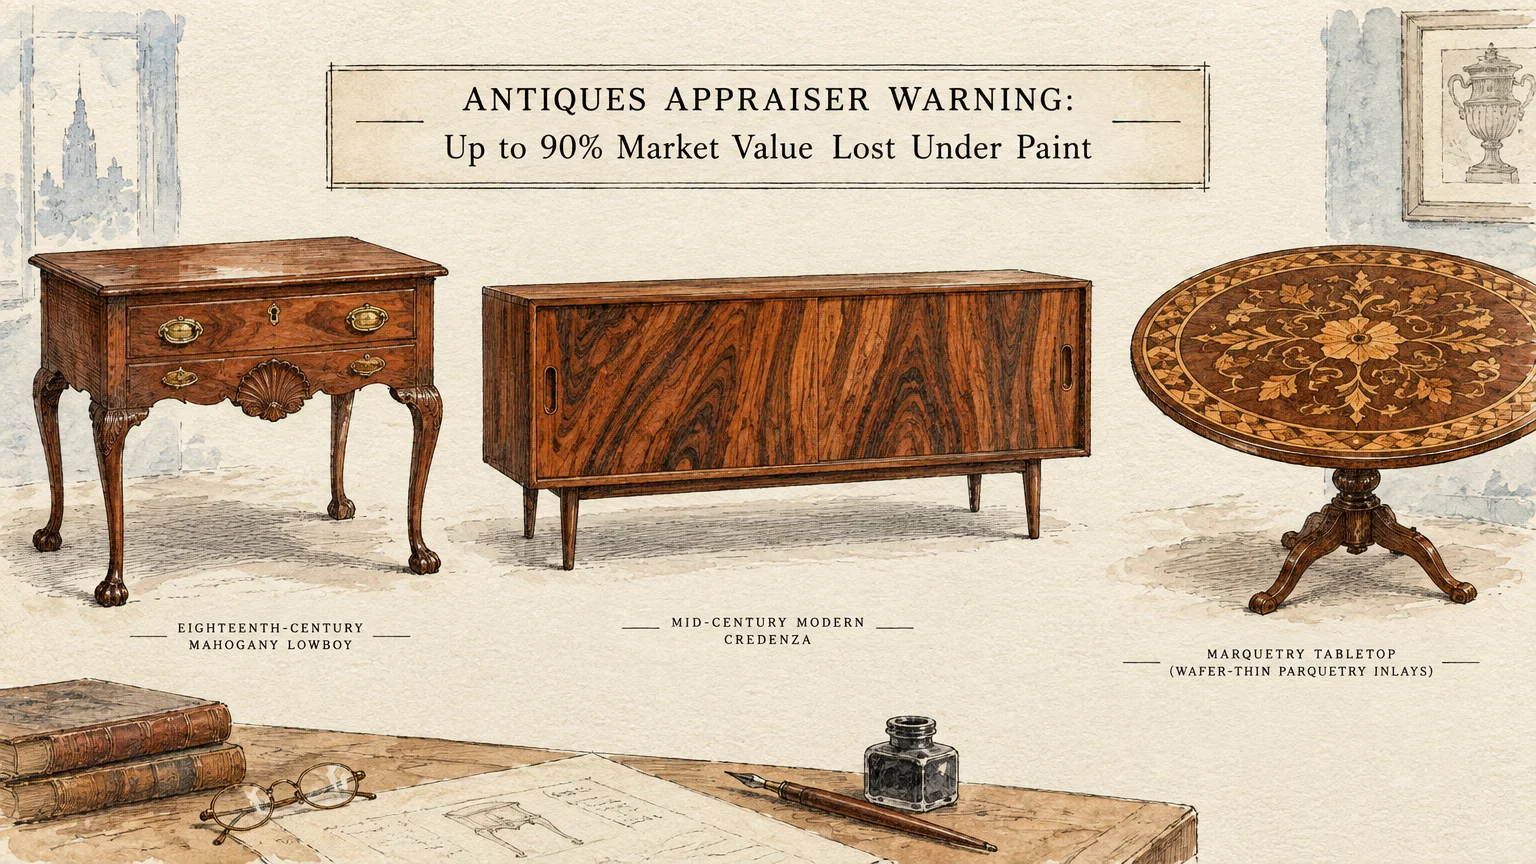
When you slather chalk paint over an authentic eighteenth-century mahogany lowboy, you obliterate its historical record. You instantly transform a valuable cultural relic into a generic, disposable decor item.
Appraisers from Antiques Roadshow appraisers warn that paint can slash an heirloom’s market value by ninety percent. Stripping that paint later requires caustic chemicals that permanently dissolve historic shellac and eat away delicate wood fibers.
If you inherit a genuine antique showing honest wear, leave the paintbrush in your toolbox. Clean the timber gently and allow its authentic age to serve as the visual centerpiece of your room.
2. Mid-Century Modern Teak, Walnut, and Rosewood
Mid-century modern design celebrates architectural lines, warm wood tones, and uncluttered geometry. Designers selected high-grade teak, walnut, and Brazilian rosewood specifically for their rich, flowing grain patterns.
Painting over a mid-century walnut credenza commits a major design mistake. According to vintage design authorities at Architectural Digest, genuine mid-century pieces command substantial resale premiums because old-growth teak and rosewood are heavily restricted.
Thick paint also ruins mid-century silhouettes by softening crisp beveled edges and clogging iconic recessed finger pulls. A heavy painted finish suffocates the minimalist craftsmanship that defines the entire aesthetic.
Instead of concealing mid-century walnut, refresh the dried finish with liquid teak oil or Danish oil. A single hour of gentle hand-rubbing restores that iconic golden-amber glow.
3. Intricate Marquetry, Parquetry, and Fine Veneers
Artisans craft marquetry and parquetry by fitting hundreds of wafer-thin slices of contrasting exotic woods into decorative mosaics. These patterns showcase prized materials like mother-of-pearl, ebony, walnut burl, and bird’s-eye maple.
Coating an intricate wood mosaic in opaque paint instantly erases months of meticulous handcraft. The vibrant contrast between pale boxwood and deep walnut vanishes behind flat color.
Thick paint also sparks severe structural damage across delicate decorative veneers. As humidity shifts, trapped moisture under a tight latex film causes thin veneers to bubble, blister, and lift from their core substrate.
If a veneered surface suffers from light checking or haze, never conceal it beneath paint. Revitalize the fragile wood through gentle cleaning and paste wax buffing instead.
4. Aromatic Cedar Chests and Wardrobe Linings
Cedar chests serve a vital functional purpose alongside their attractive appearance. The natural aromatic oils inside raw red cedar repel moths, silverfish, and mildew naturally.
Applying paint to aromatic cedar ruins the wood permanently. Paint forms an impermeable plastic barrier that seals in the aromatic vapors, completely neutralizing the cedar’s pest-repelling properties.
Furthermore, cedar wood contains high concentrations of natural terpenes. When you brush standard paint over cedar, these oils bleed through the finish, turning your paint yellow, blotchy, and blistered within months.
If your vintage cedar chest looks weathered, sand the interior lightly with fine sandpaper to reopen the wood pores. Polish the exterior panels with clear wax to preserve its rustic beauty.
5. Naturally Resinous and Oily Exotic Hardwoods
Dense species such as Burmese teak, ipe, and rosewood contain high concentrations of natural organic oils. These innate compounds protect the timber against rot, moisture intrusion, and decay.
While these natural oils make dense hardwoods practically impervious to water, they actively reject painted finishes. Paint requires an absorbent, oil-free surface to form an enduring mechanical bond.
Research from the USDA Forest Products Laboratory confirms that paints fail rapidly on oily woods without aggressive chemical degreasing. Migrating oils push beneath the paint film, causing cracking, alligatoring, and extensive peeling.
Celebrate the density of oily woods by treating them exclusively with breathable penetrating oils. A yearly wipe-down with specialized timber oil keeps the grain resilient without any flaking.
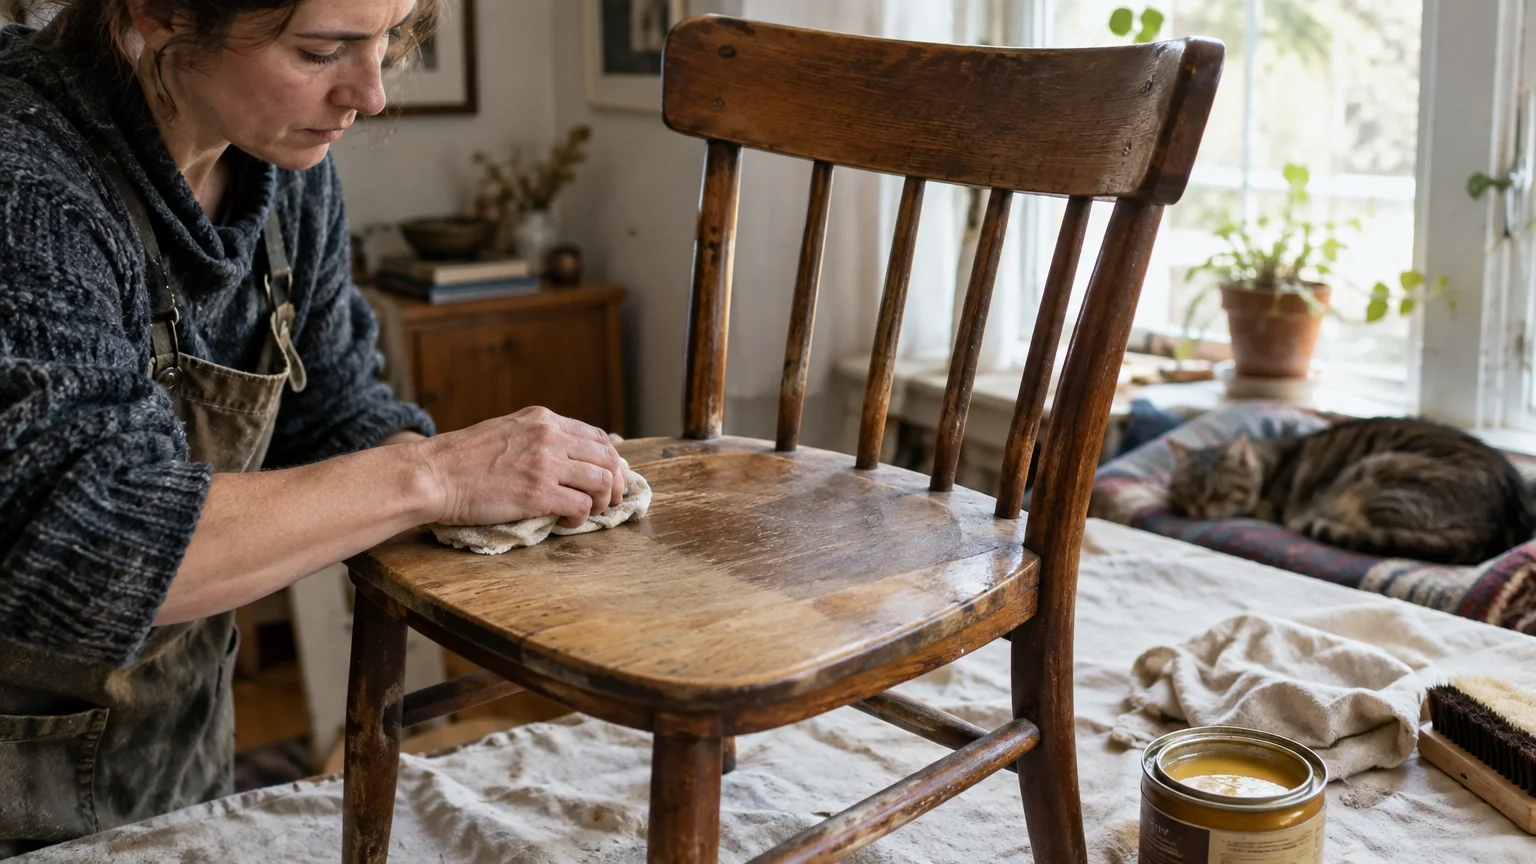
Step Framework: Restoring Natural Wood Without Paint
When you step away from the paint roller, you unlock the authentic soul of genuine timber. Follow this three-phase restoration workflow to rehabilitate tired furniture while preserving its intrinsic value.
Phase 1: Diagnostic Assessment and Deep Cleaning
Always diagnose the existing finish before applying any chemicals or abrasives. Dip a cotton swab in denatured alcohol and touch an inconspicuous corner underneath a drawer rim.
Historical shellac dissolves instantly under alcohol, while nitrocellulose lacquer softens slowly. This quick test tells you how gentle your cleaning must be.
Mix a few drops of mild dish soap into warm distilled water for your primary wash. Wipe the timber along the grain with a barely damp microfiber cloth to dissolve grime, drying immediately with a clean towel.
For stubborn wax accumulation, dampen a cloth with odorless mineral spirits. Mineral spirits lift old wax effortlessly without dissolving underlying shellac, lacquer, or cured varnish.
Phase 2: Surface Rehabilitation and Defect Repair
Once the surface dries completely, inspect the wood for superficial scratches and milky moisture rings. Many blemishes that tempt homeowners to paint disappear with basic conditioning.
Rub a raw walnut meat directly over shallow scratches in dark timber. The natural nut oils and matching pigments fill hairline blemishes and blend them invisibly into surrounding wood.
For cloudy white water rings left by drinking glasses, apply a thin dab of standard white toothpaste. Buff the white haze gently with soft cotton flannel until the trapped moisture releases.
If the clear finish appears dull, revive it using commercial wood restorer and grade 0000 steel wool. Work strictly along the wood grain using light pressure to avoid micro-scratches.
Phase 3: Protective Conditioning and Buffing
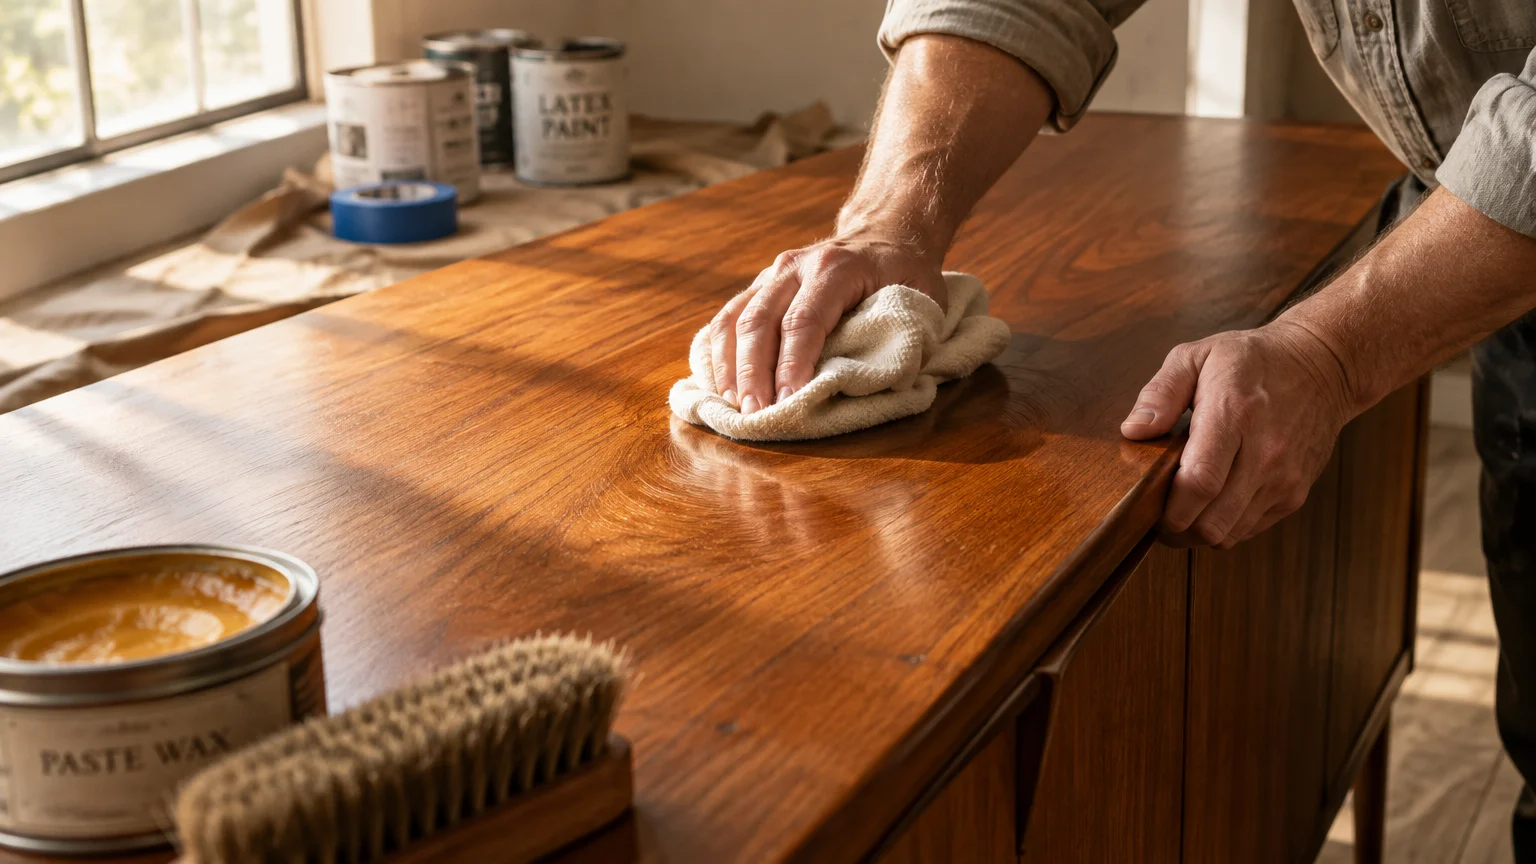
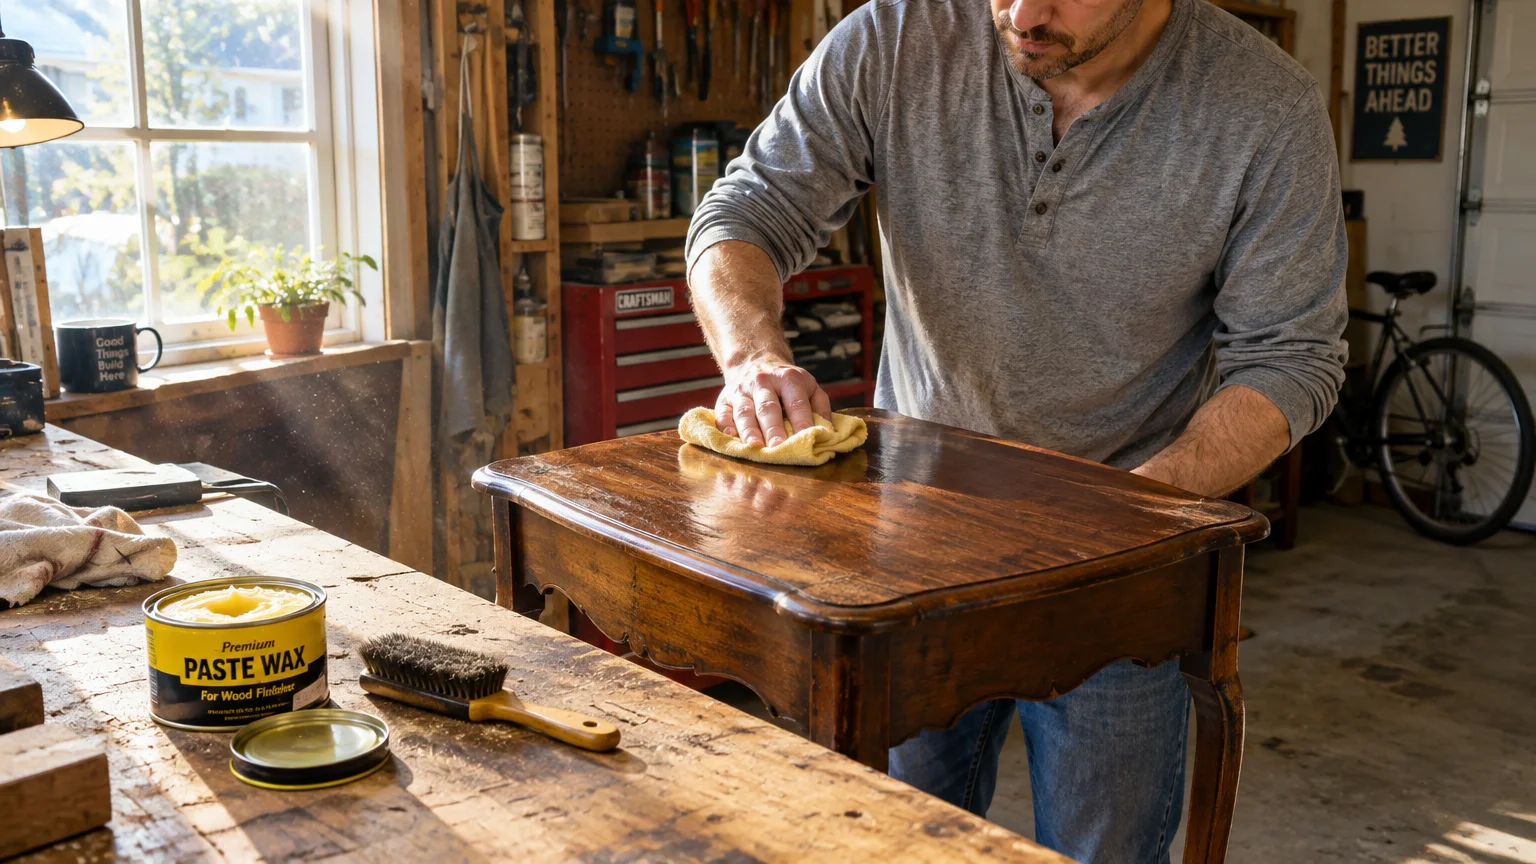
The final phase locks in moisture, enriches grain depth, and provides lasting protection against everyday wear. Select a high-quality paste wax containing carnauba and beeswax for a durable barrier.
Scoop a small portion of paste wax into a cotton rag and twist the fabric tight. The wax will squeeze evenly through the cloth fibers, preventing heavy blotches on the wood surface.
Apply the wax in tight, overlapping circular patterns across one section at a time. Allow the wax to haze over for twenty minutes until it feels dry to the touch.
Buff the surface briskly with a clean microfiber towel until a rich luster emerges. This hand-buffed wax layer repels water droplets, resists fingerprints, and shields natural wood grain for a full year.
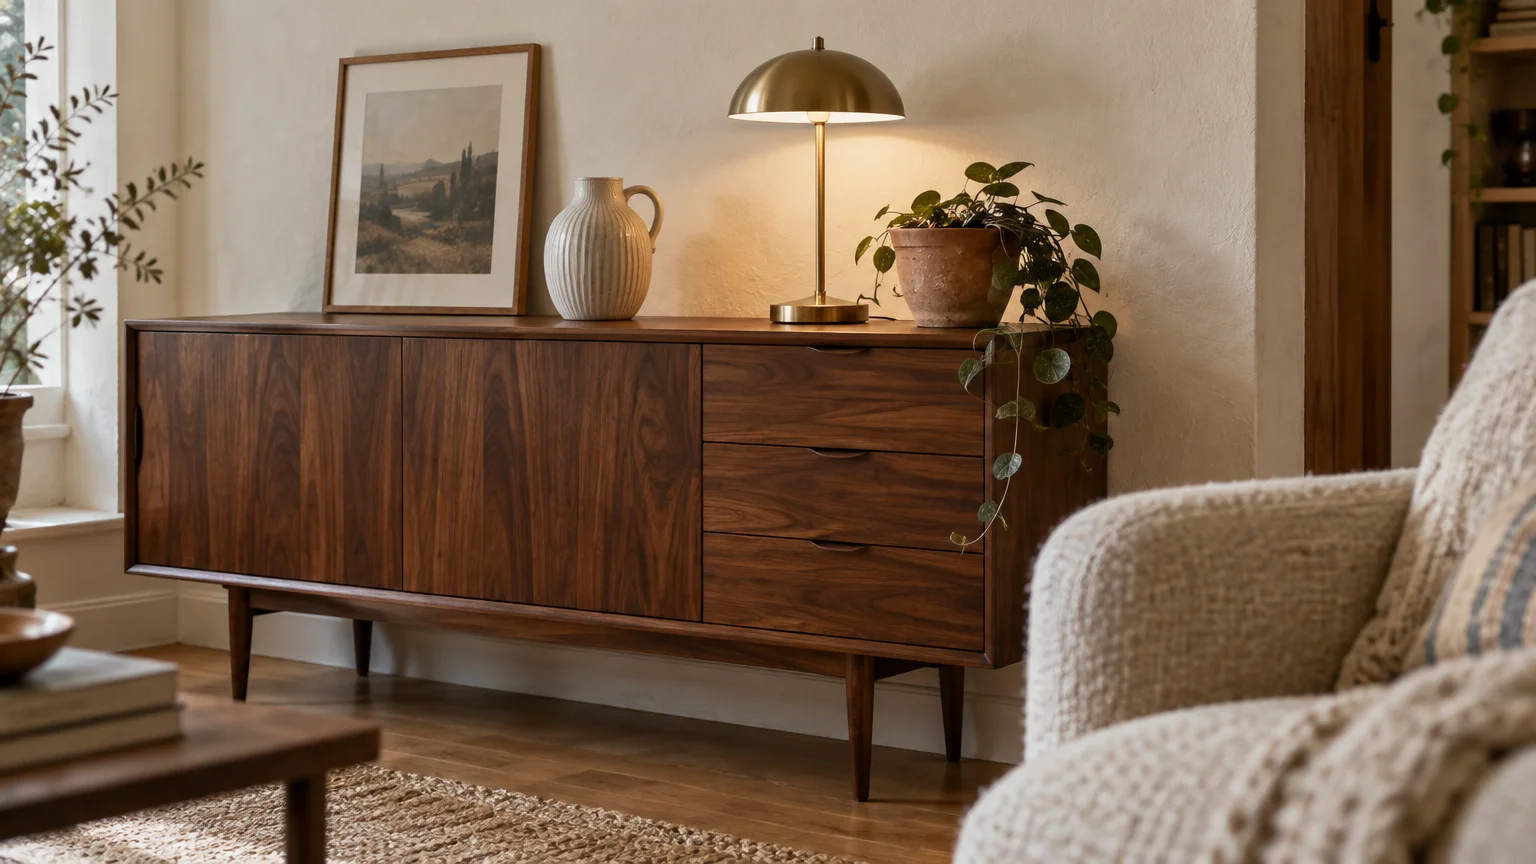
Styling and Personalization: Complementing Wood Tones
Many DIYers paint wood furniture because they fear brown timber looks dated in modern spaces. In reality, warm wood finishes add vital soul and tactile texture to crisp modern interiors.
Offset deep mahogany, walnut, or cherry finishes with light, neutral wall colors. Crisp warm whites, soft greys, and muted sage greens create high-contrast backdrops that showcase dramatic wood silhouettes.
Incorporate varied textures around unpainted wooden pieces to balance their solid visual weight. Pair a vintage oak sideboard with matte black metal accents, woven linen runners, and glazed ceramic vases.
Update tired hardware instead of touching the wood itself. Swapping tarnished, dated drawer handles for sleek brushed brass or minimalist matte black pulls modernizes a dresser in fifteen minutes.
Professional design consultants at HGTV design guides emphasize that mixing wood tones creates depth and personality in any room. Pair honey oak chairs with a dark walnut table to cultivate an intentional, collected aesthetic.
Troubleshooting and Upkeep: Long-Term Furniture Care
Maintaining unpainted wood furniture requires significantly less effort over decades than maintaining painted surfaces. Paint chips, dings, and scuffs easily, requiring frequent touch-ups and eventual full repainting.
Keep your fine wood furniture positioned away from direct, unfiltered sunlight. Harsh ultraviolet radiation breaks down cellular lignin and bleaches rich walnut into a pale, washed-out straw color.
Maintain balanced indoor humidity levels between thirty-five and fifty percent throughout the year. Wild humidity swings cause solid wood planks to warp, crack along glue joints, and bind inside drawer slides.
Never use aerosol furniture polishes containing silicone oils on unpainted wood. Silicone creates a rubbery synthetic film that attracts airborne dust and makes future finish repairs almost impossible.
Dust your furniture weekly using a dry microfiber cloth or a feather duster. When spills occur, blot them immediately with a dry cloth rather than wiping them across the table surface.
Frequently Asked Questions
What tools do I need to clean vintage wood furniture safely?
You only need a few inexpensive household supplies to clean vintage pieces without causing damage. Gather microfiber towels, mild dish soap, distilled water, odorless mineral spirits, and grade 0000 steel wool.
Never use stiff nylon scrub brushes, abrasive scouring pads, or ammonia-based household glass cleaners on raw or finished timber. These harsh tools strip protective clear coats and leave permanent scratches.
How do I determine if my furniture is solid wood or cheap veneer?
Examine the back edges, drawer fronts, and underneath surfaces of the piece. If you observe continuous end-grain flowing over the edges, the component is solid timber.
Look closely at identical repeating grain swirls across wide flat panels. Identical repeating patterns indicate book-matched veneer laid over secondary core woods or engineered substrate.
Where can I source authentic replacement hardware for antique furniture?
Search architectural salvage yards, vintage hardware specialty retailers, and reputable estate sales for period-correct pulls. Look for solid cast brass, hand-forged iron, or pressed glass that matches your piece’s era.
Measure the exact distance between screw holes before purchasing replacement hardware. Installing handles that fit existing holes prevents you from drilling new holes into irreplaceable vintage drawer fronts.
Can I safely paint a piece if the original finish is already ruined?
If the piece is a mass-produced modern item with irrecoverable gouges, painting is completely acceptable. Paint provides a wonderful second life for damaged mid-tier furniture that lacks collectible value.
However, if the damaged item is an authentic antique or mid-century designer original, consult a professional restorer first. Many historic pieces retain significant market value even with damaged lacquer.
Preserve Character and Elevate Your Space Today
Every time you choose preservation over a trendy coat of paint, you protect craftsmanship that modern factories cannot match. You celebrate the organic story of the timber while creating a richer interior home aesthetic.
Step into your living room tonight and take a fresh look at your vintage furniture collection. Pick up a can of paste wax, grab a clean cotton cloth, and give that glorious wood grain the revival it deserves.