Transforming discarded, scratched, or outdated wooden furniture into breathtaking centerpieces saves money while keeping high-quality materials out of local landfills. You can rescue castoff tables, vintage dressers, and thrifted chairs using a handful of professional refinishing techniques that restore natural grain and structural integrity. By mastering simple surface repair, deep cleaning, precise sanding, and protective topcoats, you unlock the ability to customize solid wood pieces to match any aesthetic. Taking on a DIY furniture makeover gives you complete control over color and finish while preserving historical craftsmanship. With the right tools and systematic prep work, you will turn overlooked second-hand finds into durable, heirloom-quality furnishings for your home.

Project Planning Snapshot and Market Realities
Restoring vintage furniture offers an extraordinarily high return on investment for hands-on homeowners. According to U.S. Environmental Protection Agency waste statistics, Americans generate over 12.1 million tons of furniture waste annually, with approximately 80.1% ending up in landfills and a mere 0.3% getting recycled. Rescuing sturdy older furniture combats this waste problem while allowing you to acquire solid hardwood construction at low prices. Today, wood accounts for 57% of global furniture material market share, yet new solid wood items carry premium price tags that drive buyers toward short-lived particleboard alternatives.
The financial case for refinishing old furniture continues to strengthen. Market researchers report that the global second-hand furniture market reached $25.4 billion in 2025 and will expand to $43.2 billion by 2034; concurrently, the global antique furniture market expands from $28.7 billion in 2024 toward $48.7 billion by 2033. Beginners can execute a full makeover on a modest budget of $50 to $150 in supplies. Most starter projects require six to twelve working hours spread across a single weekend.
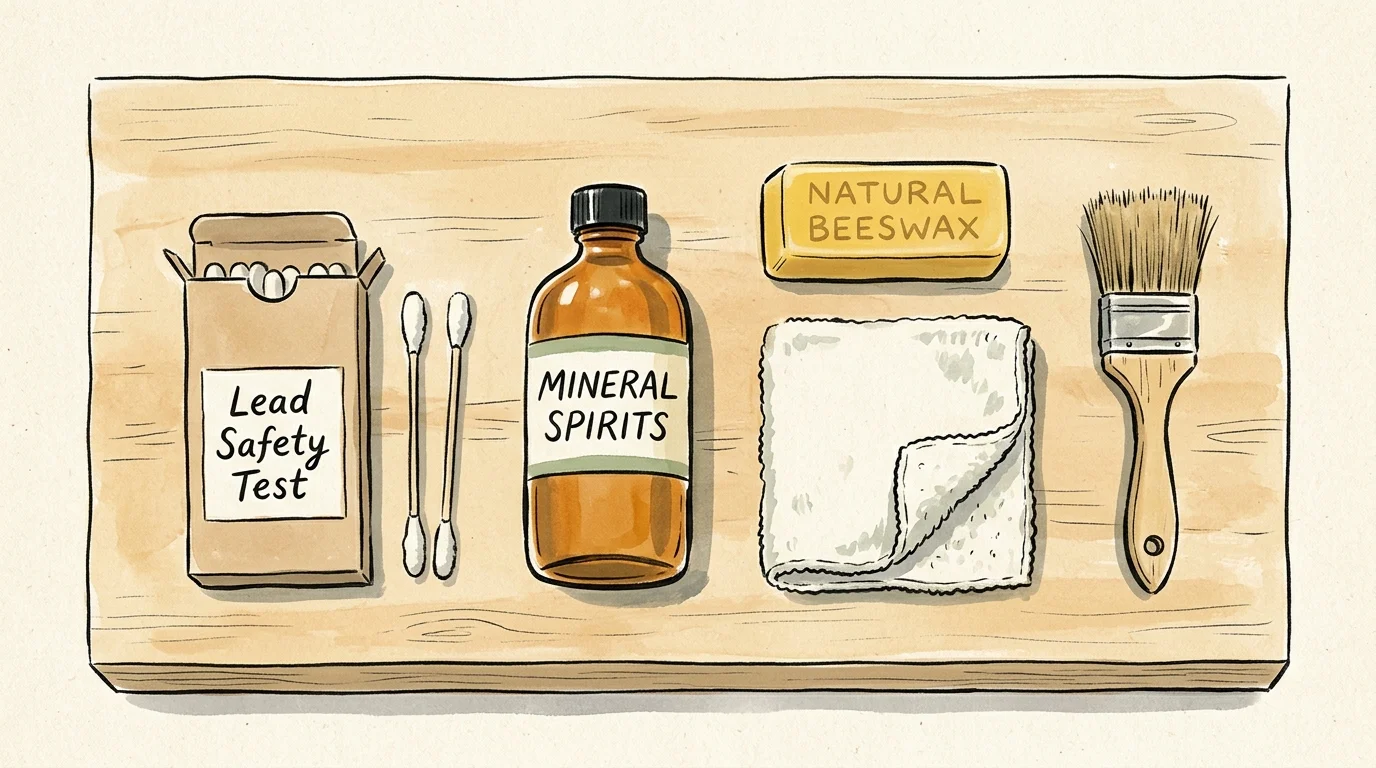
7 Expert Furniture Restoration Tricks
Trick 1: Deep Cleaning and Degreasing
Before reaching for power sanders or chemical strippers, you must thoroughly strip away decades of accumulated furniture polish, skin oils, dust, and grime. Sanding dirty wood forces surface oils deep into open wood pores, creating permanent dark smudges and uneven stain absorption later. Mix a few drops of dish soap or mineral spirits into warm water and scrub gently using a lint-free microfiber cloth or fine synthetic pad. For stubborn wax build-up on vintage wood, wipe down the piece using a rag dampened with mineral spirits, moving with the natural direction of the wood grain.
Never saturate real wood with excessive water during cleaning, as standing moisture causes delicate veneers to lift and solid wood planks to warp. Wipe away soap residue with a fresh damp towel, then allow the furniture to dry completely for at least four hours before attempting structural repairs.
Trick 2: Lead Safety Testing and Finish Identification
Safety must guide every restoration project involving older furniture. The federal government banned lead-based paint in residential products in 1978; therefore, you should test painted finishes on pre-1978 vintage furniture before sanding or stripping. Reviewing federal lead safety guidelines before starting helps you avoid inhaling toxic dust during surface preparation. Rapid swab test kits from home centers allow you to confirm whether paint layers contain hazardous lead in seconds.
Identifying the original topcoat on stained or clear-finished furniture helps you choose the correct removal method. Apply a few drops of denatured alcohol to a hidden area of the finish; if the coating dissolves into a sticky gel, you are dealing with traditional shellac. If denatured alcohol does not react, test a spot with acetone. Lacquer dissolves rapidly under acetone, whereas polyurethane varnish resists mild solvents, signaling that you need a heavy-duty chemical stripper or mechanical sanding.
Trick 3: Steam-Fixing Compressed Wood Dents
Dents in solid wood furniture rarely mean that wood fibers are missing; physical impact simply compressed the cellular structure downward. You can pull shallow to medium dents back to level ground using simple household steam before running sandpaper over the board. Dampen a thin cotton cloth with clean water, place it directly over the dented spot, and press the hot tip of a household clothes iron against the cloth for ten to fifteen seconds.
The combination of heat and localized moisture penetrates deep into timber, expanding compressed wood cells back toward their original shape. Check your progress frequently to avoid scorching the surrounding finish or loosening nearby glue joints. Repeat this short steaming cycle two or three times until the dent swells flush with the surface, then allow the wood to dry overnight.
Trick 4: Grain-Matching and Filling Damage
Deep gouges, missing chips, and split seams require structural filling materials that expand and contract alongside natural wood movements. Standard wall spackle cracks and pops out of furniture joints over time, so you must select specialized stainable wood fillers or two-part epoxy putties for heavy repairs. For deep edge damage or broken corners on dressers, mix a flexible two-part epoxy wood compound, mold it slightly oversized onto the damaged area, and allow it to cure fully before shaping.
When filling narrow surface scratches on raw wood that you intend to stain, mix fine wood dust harvested from your project’s actual sanding process with clear wood glue or shellac to create a seamless filler. This custom paste matches the natural color tone of your specific piece perfectly, making repairs vanish under topcoats.
Trick 5: Strategic Progressive Sanding
Aggressive sanding damages more vintage furniture pieces than almost any other mistake, especially when working on thin wood veneers. Always follow a strict progressive sanding sequence, starting with medium 120-grit paper to remove rough imperfections, advancing to 150-grit, and finishing with 180-grit or 220-grit for absolute smoothness. Never skip grit stages; each consecutive grit erases the microscopic scratches left behind by the coarser paper before it.
Always sand parallel to the natural direction of the wood grain to prevent deep cross-grain scratches that show up vividly under dark stains. When working on veneered surfaces, ditch orbital sanders in favor of manual sanding blocks to maintain delicate control. According to Purdue University Extension wood care research, proper surface prep dictates 80% of final finish quality, making patient hand-sanding worth every minute invested.
Trick 6: Gentle Chemical Stripping for Intricate Details
Removing thick paint layers or stubborn lacquer finishes from intricate wood carvings, turned table legs, and delicate moldings with sandpaper alone risks ruining fine historic detailing. Modern citrus-based or low-VOC chemical strippers soften old finishes safely without emitting the harsh fumes associated with older methylene chloride formulas. Apply a generous, thick layer of chemical stripper across the workpiece using an inexpensive natural-bristle brush, then cover the wet surface with plastic wrap to slow down evaporation and maximize chemical penetration.
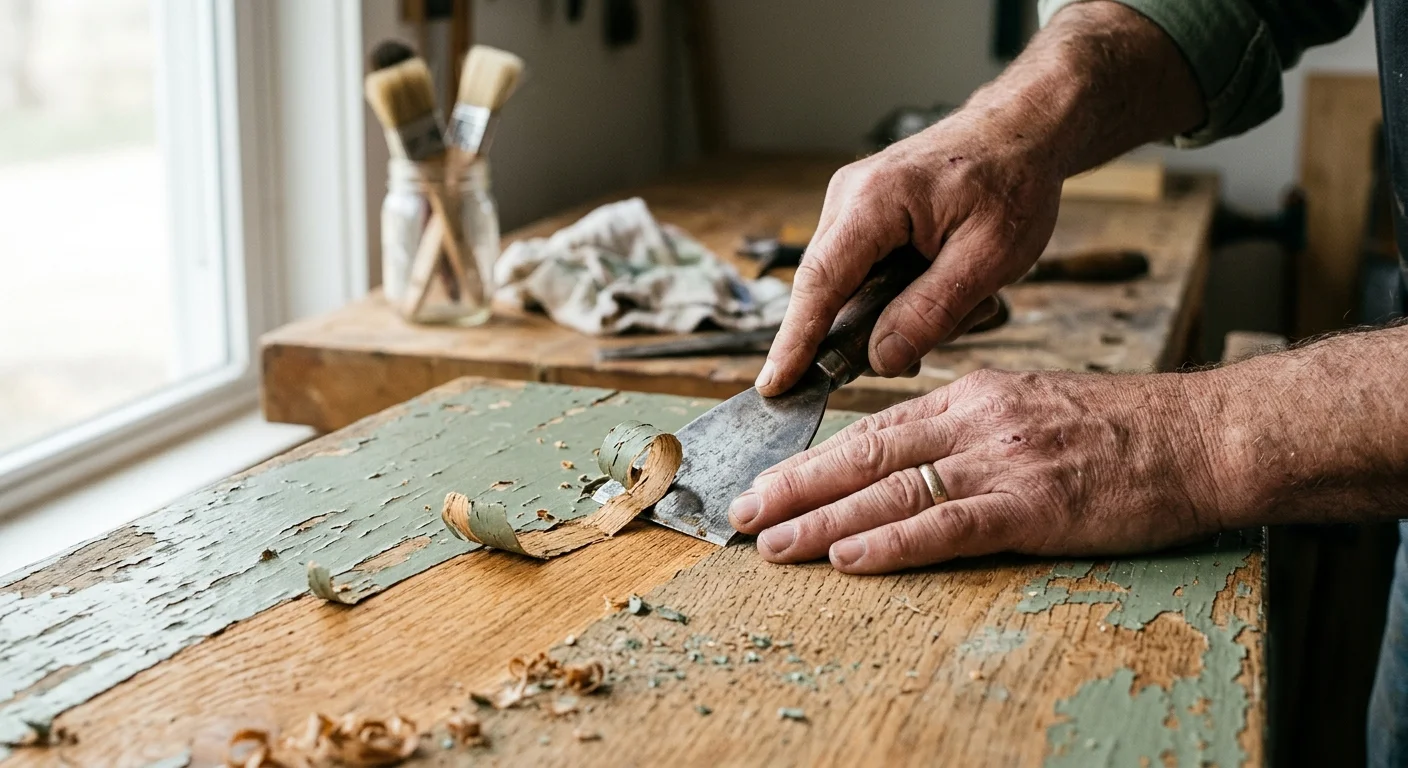
Allow the stripper to sit undisturbed for thirty to forty-five minutes until the old finish blisters and lifts away from the raw wood underneath. Scrape softened residue away using flexible plastic putty knives or soft brass wire brushes that contour around carved curves without gouging timber. Neutralize chemical strippers thoroughly by wiping down the bare wood with mineral spirits.
Trick 7: Layering Stains and Durable Topcoats
Selecting and applying the final finish transforms raw, repaired timber into an eye-catching focal point. If your project contains multiple wood species with varied grain patterns, apply a pre-stain wood conditioner before applying oil-based stains. Pre-stain conditioners prevent porous softwoods like pine or poplar from absorbing stain unevenly and developing dark, blotchy patches.
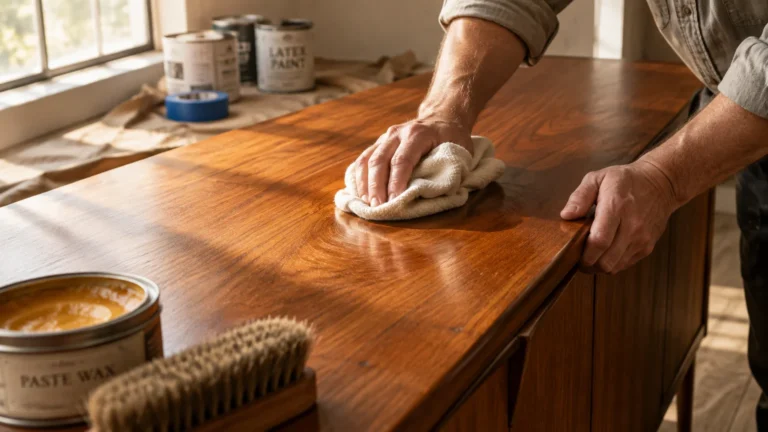
For the ultimate protective shell, apply thin coats of wipe-on polyurethane, clear satin lacquer, or traditional hardwax oil. Wipe-on finishes eliminate brush marks and air bubble defects by building thin, even layers that highlight grain depth rather than drowning it under thick film. Sand very lightly between fully cured topcoats using ultrafine 320-grit sandpaper or gray synthetic abrasive pads, wiping away dust before applying subsequent layers to guarantee a silky glass-smooth touch.
Styling and Personalizing Your Restored Piece
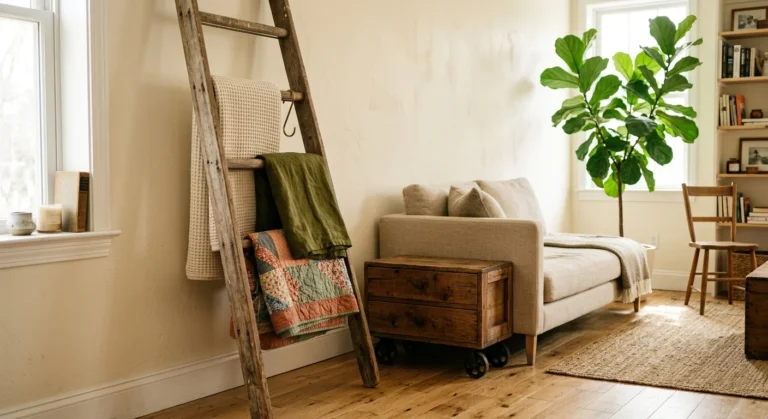
Restoration does not require you to recreate a museum reproduction; modern furniture makeovers thrive on creative juxtaposition. Combining natural bare wood tones with painted elements creates striking contrast that fits seamlessly into modern farmhouse, Scandinavian, or contemporary interiors. Consider leaving a beautifully grained solid oak or walnut tabletop natural while applying a sleek matte black or rich navy blue paint to the apron and legs.
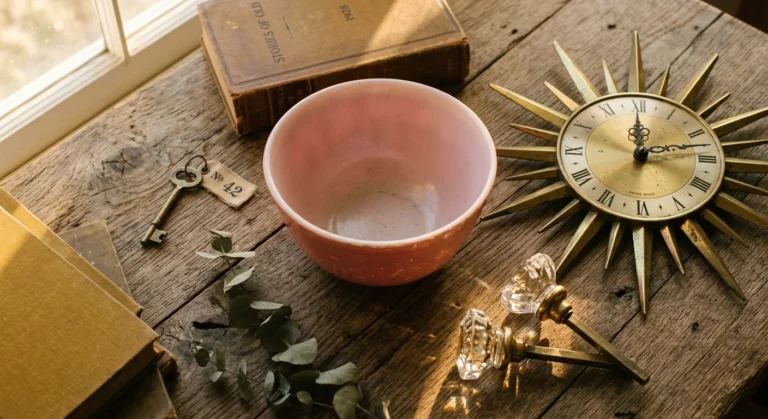
Updating functional hardware acts as the final jewelry for your restored dresser or credenza. Replace tarnished or broken handles with brushed brass, matte black, or hand-forged iron knobs that match your room’s existing metal accents. To ensure balanced proportions and high design appeal, consult Architectural Digest design recommendations on mixing vintage silhouettes with modern color palettes. Taking time to align hardware styles elevates an ordinary thrift store find into a bespoke statement piece.
Troubleshooting and Long-Term Maintenance
Even seasoned DIYers encounter unexpected hurdles during furniture restoration, but almost every issue has a straightforward solution. If your newly applied stain appears blotchy or dark in localized spots, wipe the wet surface down immediately with a cloth dampened in mineral spirits to lift excess pigment before it sets. If bleed-through tannin stains leak through fresh light-colored paint on vintage mahogany or oak, seal the area completely with a coat of dewaxed shellac primer before reapplying your topcoat.
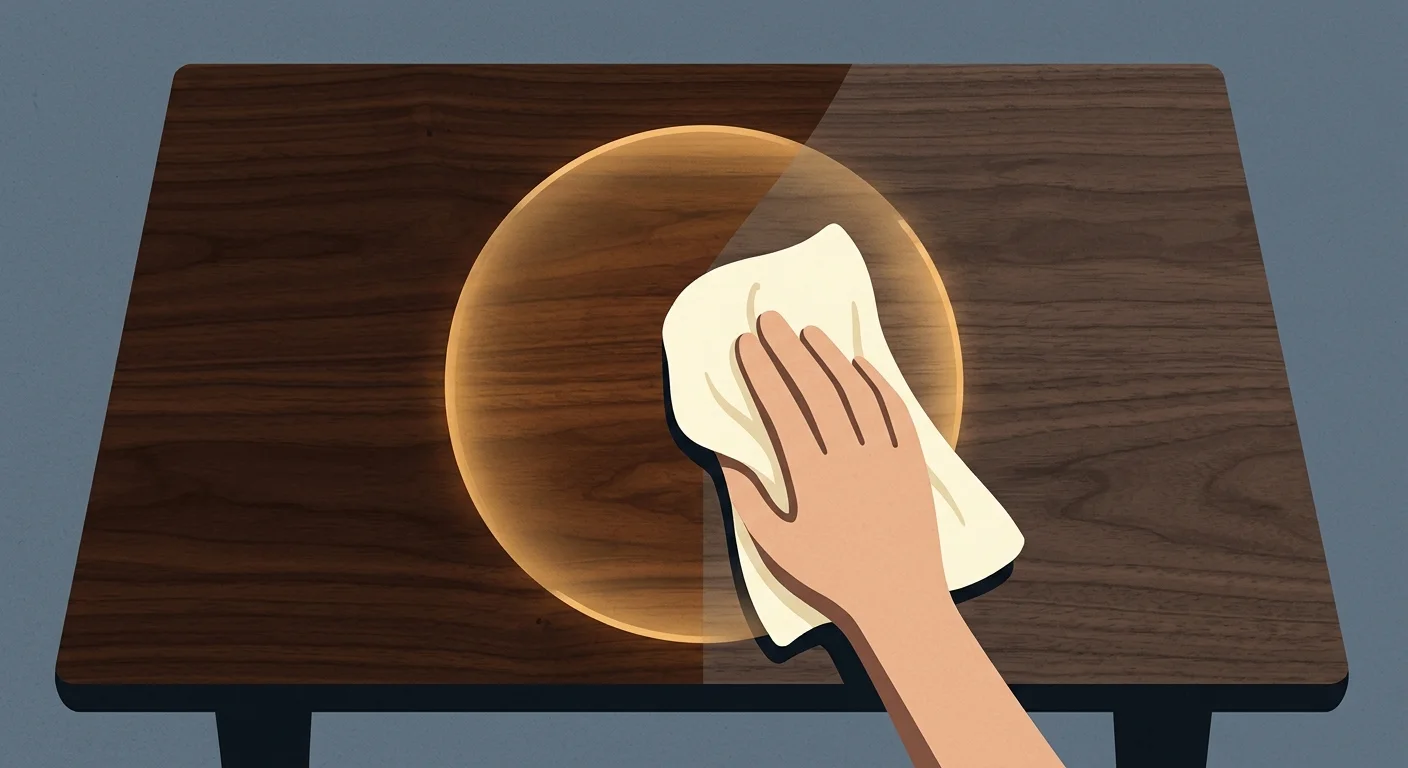
Maintaining your restored furniture requires minimal effort once protective topcoats cure completely over thirty days. Protect wood surfaces from water rings by using felt-backed coasters. Clean daily dust using a damp microfiber cloth, avoiding harsh aerosol sprays or silicone polishes that leave sticky films. Reapplying a light coat of high-quality furniture wax once a year keeps natural oil finishes looking rich and vibrant.
Frequently Asked Questions
What basic tools do I need to start refinishing old furniture at home?
You can complete your first refinishing project with a modest collection of accessible hand tools. Assemble a set of sanding blocks with varied grit sandpaper (120, 150, and 220 grit), plastic putty knives, a lead test kit, mineral spirits, microfiber rags, and synthetic paintbrushes. Adding a small detail hand sander speeds up larger flat surfaces, but manual sanding blocks work perfectly for smaller tables, chairs, and nightstands.
How can I tell if a piece is real solid wood or thin veneer before sanding?
Inspect the end grain on the edges of table boards and drawer fronts. Solid wood exhibits continuous growth ring patterns that wrap around corners and match top face grain seamlessly. Veneer pieces usually reveal a thin top layer applied over particleboard or medium-density fiberboard (MDF), often visible along drawer edges or back panels where chipping reveals pressboard underneath.
Where are the best places to source high-quality vintage furniture for restoration?
Local thrift stores, estate sales, flea markets, and online community marketplaces yield incredible vintage furniture candidates every day. Look for heavy pieces featuring dovetail drawer joints, solid wood back panels, and sturdy frame construction. Avoid pieces with severe structural rot, active insect damage, or major missing wood sections unless you possess advanced woodworking tools.
How do I choose between oil-based paint, milk paint, and wood stain for my project?
Choose penetrating wood stain when you want to highlight rich wood grain on high-grade hardwoods like walnut, cherry, or oak. Opt for milk paint or mineral chalk paint when working with lower-grade woods, damaged veneers, or when aiming for an antiqued, distressed patina on vintage farmhouse pieces. Use durable enamel paints for high-traffic surfaces like kitchen tables demanding chip resistance.
Take the First Step on Your Furniture Restoration Journey
Restoring old furniture connects you with historic craftsmanship while allowing you to express your personal design vision. Armed with deep cleaning techniques, lead safety precautions, precise sanding methods, and protective finishes, you hold the tools needed to rescue forgotten treasures from landfills. Find an approachable vintage piece at a local shop or pull that scratched family hand-me-down out of storage this weekend. Take your time with prep work, enjoy bringing hidden wood grain back to life, and take pride in creating custom furniture built to endure for generations.