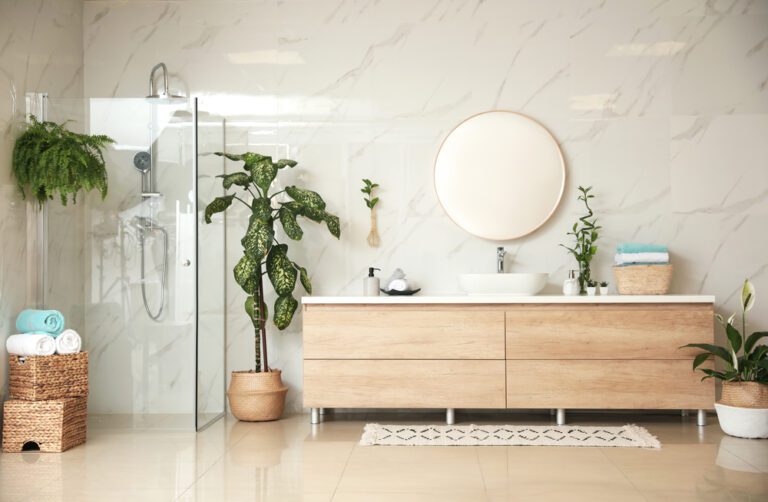
You wipe the counter and scrub the toilet bowl weekly, yet stubborn odors and hidden film still linger. Conquering unseen grime requires targeting the forgotten zones that collect damp moisture and airborne residue.
Deep cleaning your bathroom protects plumbing fixtures from early corrosion and restores real hygiene to your space. You can tackle these troublesome areas in a single afternoon using everyday household supplies.
Rolling up your sleeves transforms your sanctuary into a truly spotless environment. Here is how you can eliminate hidden grime from eight areas most homeowners overlook.
Planning Your Deep Clean Project
Timeline and Effort
You can execute this comprehensive bathroom cleaning checklist within two to three hours. Working systematically prevents you from backtracking across damp floors or tracking dust over freshly wiped counters.
The physical effort remains manageable for any homeowner or renter. You only need basic manual dexterity and enough patience to let specialized cleaning solutions dissolve stubborn deposits.
Budget and Everyday Supplies
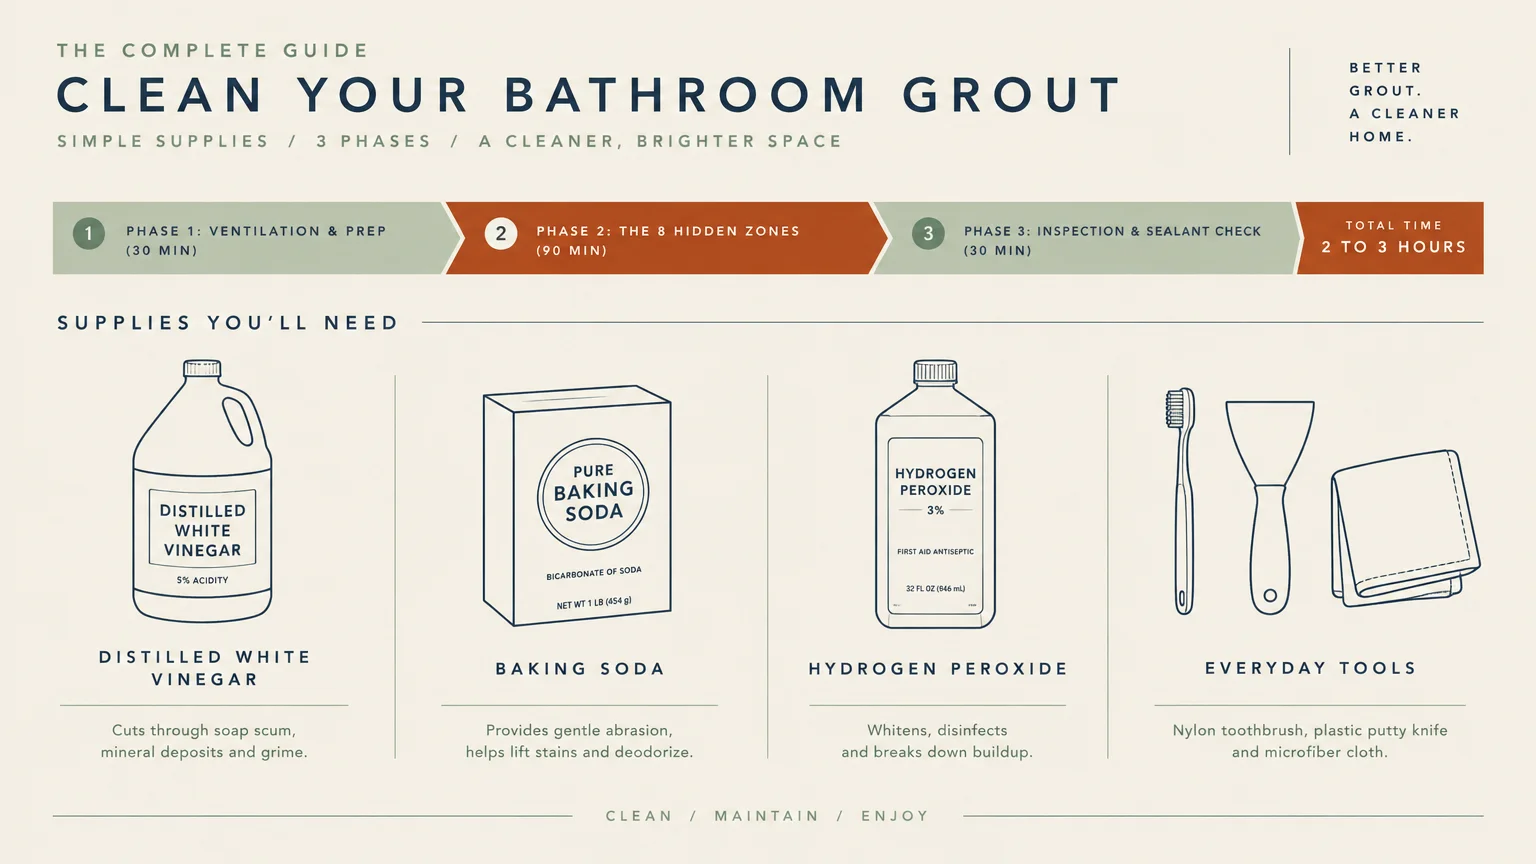
You do not need costly specialized chemical cleaners to achieve pristine results. Simple staples like distilled white vinegar, baking soda, hydrogen peroxide, and mild dish soap handle most bathroom challenges.
Equip yourself with microfiber cloths, an old nylon toothbrush, a utility scrub brush, and a plastic putty knife. These durable tools cost very little and protect delicate glazed surfaces from scratches.
Phase 1: Preparation and Ventilation Safety
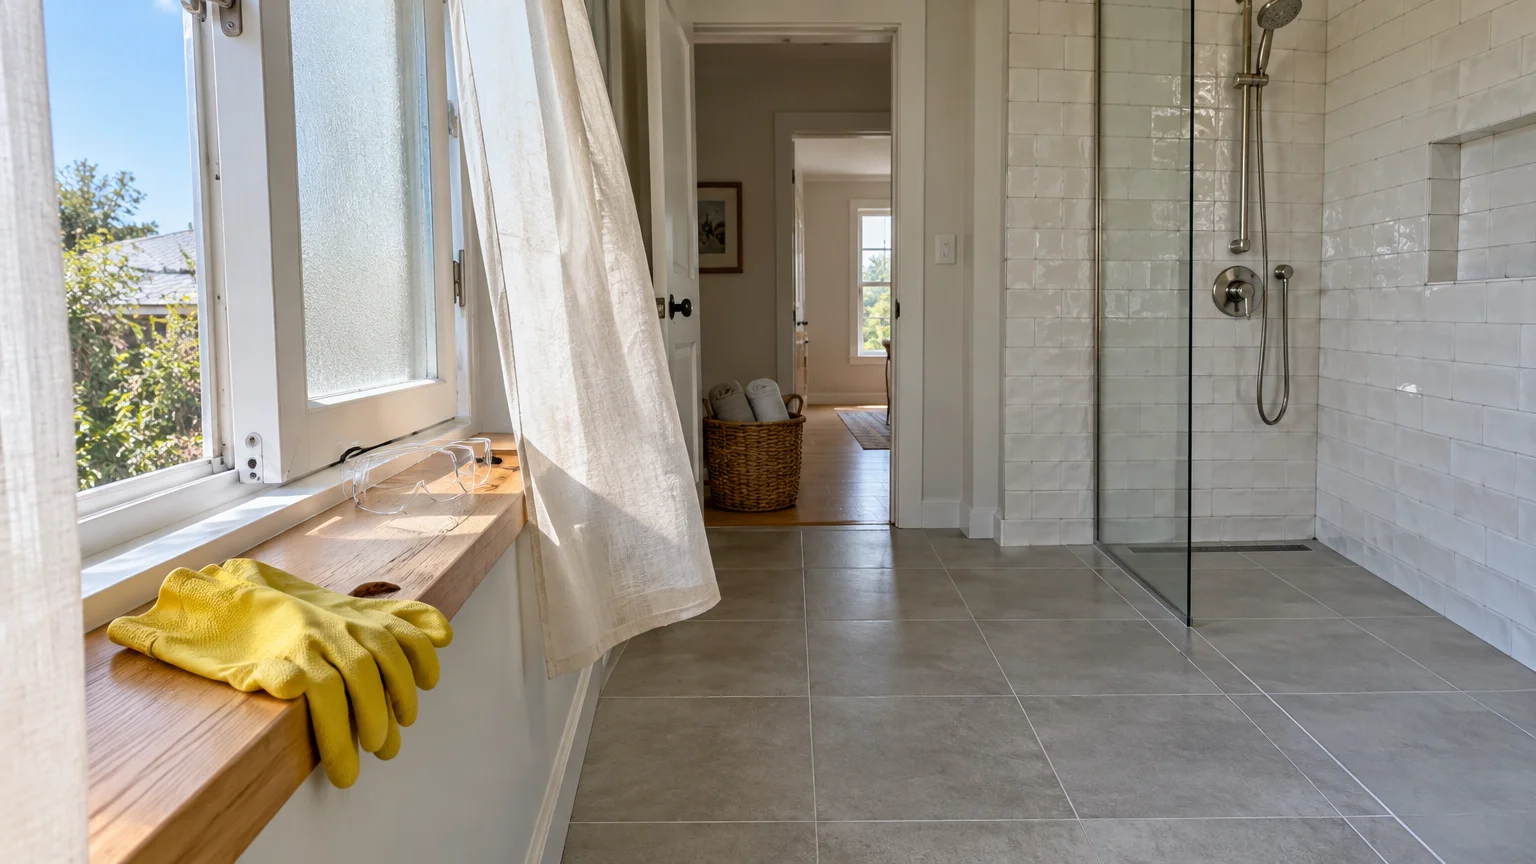
Before you spray a single cleaning agent, open your bathroom windows and turn on the exhaust fan. Good cross-ventilation keeps fresh air circulating and protects your respiratory system from concentrated vapors.
Slip on durable rubber gloves to shield your hands from drying detergents and abrasive mineral deposits. Eye protection also guards against stray splashes when you clean overhead fixtures like showerheads or ceiling vents.
Clear all movable items out of the room before you begin your deep clean. Relocating rugs, towels, and countertop toiletries frees up workspace and prevents airborne dust from settling onto clean fabrics.
Never mix cleaning chemicals during your deep clean routine. Combining chlorine bleach with vinegar or ammonia produces hazardous toxic gases, as highlighted by safety guidelines from the Centers for Disease Control and Prevention.
Inspect your caulking and grout joints while the surfaces remain dry. Catching cracked sealant or peeling silicone now allows you to schedule repairs before trapped moisture causes concealed subfloor rot.
Phase 2: The 8 Spots in the Bathroom That Rarely Get Cleaned
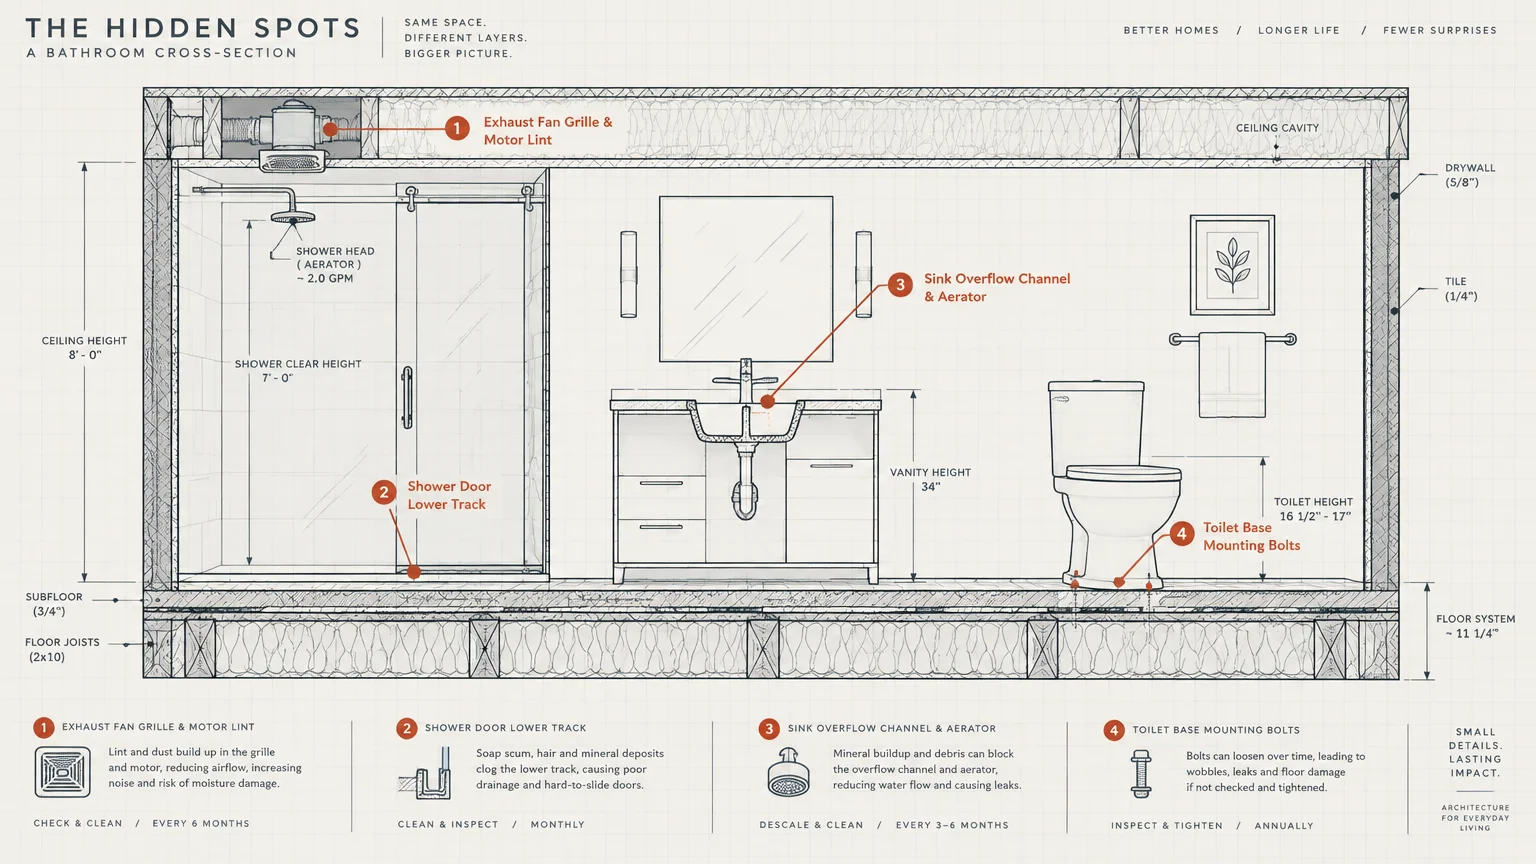
1. The Exhaust Fan Grille and Motor Housing
Your exhaust fan works hard to extract humid air, but dust and lint quickly choke its slotted cover. When airflow drops, excess humidity lingers on drywall and feeds hidden fungal growth.
Gently pull the plastic cover down until you reveal the spring clips on either side. Squeeze the tension wires together to release the grille completely from the ceiling housing.
Wash the plastic grille in warm, soapy water to dissolve the tacky film created by hairspray and airborne steam. Let the plastic dry completely on a towel before you reinstall it.
Use your vacuum cleaner hose and a soft brush attachment to extract fuzzy lint from the fan motor blades. Avoid pulling on internal wires while you clear this fire hazard from the housing.
2. The Underside and Base Mounting Bolts of the Toilet
Most people sanitize the toilet seat and upper rim but skip the porcelain contours near the floor. Urine splash and mop water pool around the bottom pedestal, creating lingering odors that defy routine scrubbing.
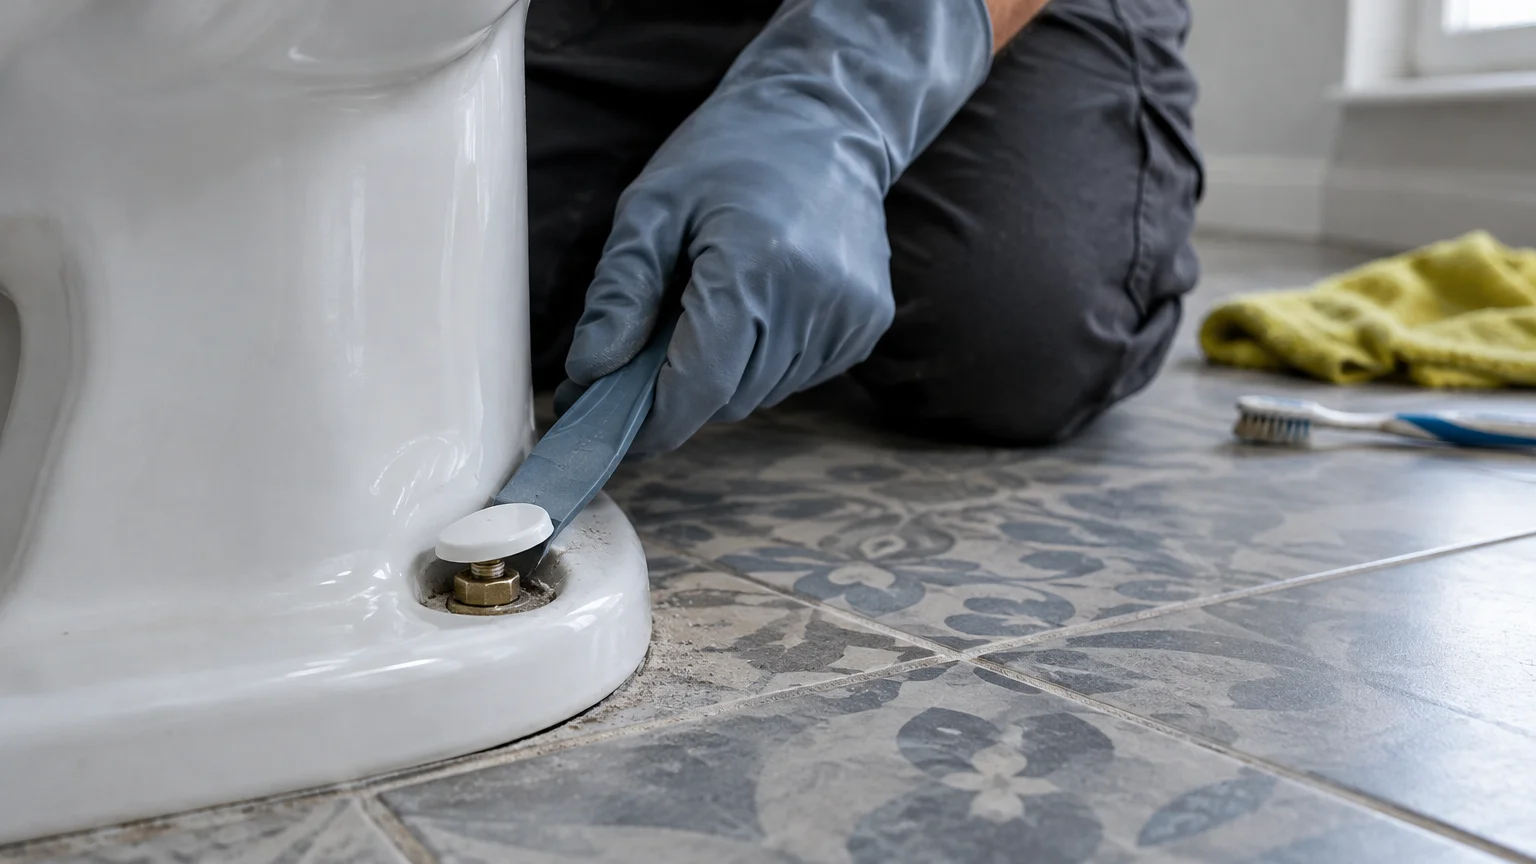
Pry off the plastic bolt caps at the toilet base using a stiff putty knife wrapped in a rag. These small covers conceal threaded brass bolts that trap stale, dark grime and rusted debris.
Spray the base and exposed bolt threads with an enzyme cleaner or oxygenated bleach spray. Work the solution around the crevices using a stiff nylon detail brush to lift stubborn residues.
Wipe the lower porcelain curved channels with fresh microfiber cloths soaked in hot water. Dry the perimeter thoroughly to ensure moisture does not seep beneath the toilet base.
3. The Shower Curtain Liner Hem and Hanging Rings
The lower edge of your vinyl or fabric shower curtain liner stays damp long after you turn off the water. This persistent dampness invites pink bacterial colonies and stubborn mildew along the weighted hem.
Hanging curtain rings also gather greasy steam and skin cell particles that form a sticky gray film. You touch these rings daily, which spreads residue across your fingers and the curtain rod.
Take the curtain and liner down from the rod for a thorough laundering cycle. Running fabric liners through your washing machine with warm water and gentle detergent easily strips away scum.
Wipe down vinyl liners in your bathtub using baking soda paste and a non-scratch sponge. Rinse the surface with clean water, and wipe the curtain rings before rehanging everything to dry.
Proper moisture control prevents mold colonies from taking hold on bathroom textiles, a precaution emphasized by the Environmental Protection Agency. Keep the curtain drawn closed after every shower so damp folds can air out rapidly.
4. The Sink Overflow Hole and Pop-Up Stopper
That small cutout near the upper rim of your vanity basin keeps water from spilling onto the floor. However, its dark interior channel rarely sees running water and collects toothpaste splatters, soap scum, and mold.
Unscrew or unhook the drain pop-up stopper from beneath the sink basin to expose the drain throat. Pulling out this assembly reveals tangled hair and black slime that slow down your drainage.
Insert a flexible bottle brush coated in foaming cleaner directly into the overflow opening. Scrub back and forth vigorously to dislodge clinging organic build-up from the hidden ceramic passage.
Flush the channel by pouring boiling water or a diluted hydrogen peroxide solution through a funnel into the hole. Reinstall your cleaned stopper to restore rapid drainage and eliminate musty sink smells.
5. The Toothbrush Holder Interior and Countertop Trays
Toothbrush tumblers sit right beside your sink, catching dripping water after every brushing session. This stagnant moisture collects at the container bottom, creating a breeding ground for hidden bathroom germs.
Countertop decorative trays face the same fate, trapping soapy water beneath lotion pumps and soap dishes. Over time, this trapped wetness produces slimy rings that can stain natural stone or wood vanity surfaces.
Empty all holders and wash them thoroughly with hot water and grease-cutting dish soap. If your ceramic or glass holders are dishwasher-safe, run them through a sanitizing cycle for effortless sterilization.
Soak plastic holders in a mixture of warm water and white vinegar to dissolve mineral crusts. Let every container dry completely on a rack before you place your toothbrushes back inside.
6. The Crevices Around Faucet Handles and Spout Aerators
Water constantly splashes against the base of your faucet handles and pools along the escutcheon plate. As this water evaporates, it deposits chalky minerals and dark mildew in the narrow seam against the countertop.
Your faucet aerator screen also traps sediment and pipe scale inside the spout tip. Clogged screens reduce water pressure and harbor biofilm that touches every cup of water you draw.
Unscrew the aerator by hand or use tape-wrapped pliers to avoid marring the finish. Soak the tiny mesh screen in warm vinegar for thirty minutes to dissolve crusty mineral scale.
Dip a stiff nylon detail brush in vinegar paste and scrub the tight seams around the handle bases. A wooden toothpick or plastic dental pick safely dislodges stubborn crust from decorative metal joints.
7. The Toilet Tank Interior and Flush Components
Most cleaning sessions focus strictly on the toilet bowl, leaving the reservoir tank untouched for years. High humidity inside the closed tank promotes rusty mineral staining, algae growth, and fungal deposits on rubber flappers.
Lift the heavy ceramic tank lid carefully and set it aside on a thick folded towel. Inspect the interior water level and the condition of the rubber flapper, fill valve, and lift chain.
Shut off the water supply valve behind the toilet and flush the handle to drain the reservoir completely. Pour a generous splash of white vinegar across the porcelain tank walls and bottom floor.
Scrub the interior porcelain surfaces with a long-handled scrub brush to strip away iron scale and slimy biofilm. Avoid harsh bleach tablets inside the tank, as concentrated chlorine deteriorates rubber seals and triggers chronic leaks.
Turn the water supply valve back on and allow the clean water to refill the reservoir. Flush twice to rinse away all loosened debris and restore fresh, clear water through the system.
8. The Baseboards, Walls Behind the Toilet, and Door Jambs
Air currents carry microscopic droplets and lint across the bathroom, depositing invisible residue onto vertical surfaces. The wall behind the toilet pedestal and lower door jambs accumulate sticky residue that traps ambient dust.
Baseboards gather damp fibers from towels, creating a fuzzy, grimy border around your entire room. Routine vacuuming often skips these low ledges or merely smudges the dust against moist paint.
Mix warm water with a few drops of dish soap and a splash of white vinegar in a wash bucket. Dip a microfiber cloth into the cleaning solution and wring it out until damp rather than dripping.
Wipe the entire wall behind the toilet from mid-height down to the baseboard with firm pressure. Pay special attention to the base of door jambs where mop heads often push dirty water into corners.
Dry the painted surfaces immediately with a clean, plush towel to protect your drywall and woodwork from moisture damage. This quick wipe-down eliminates persistent bathroom odors at their primary hiding place.
Phase 3: Finishing Touches and Quality Checkpoints
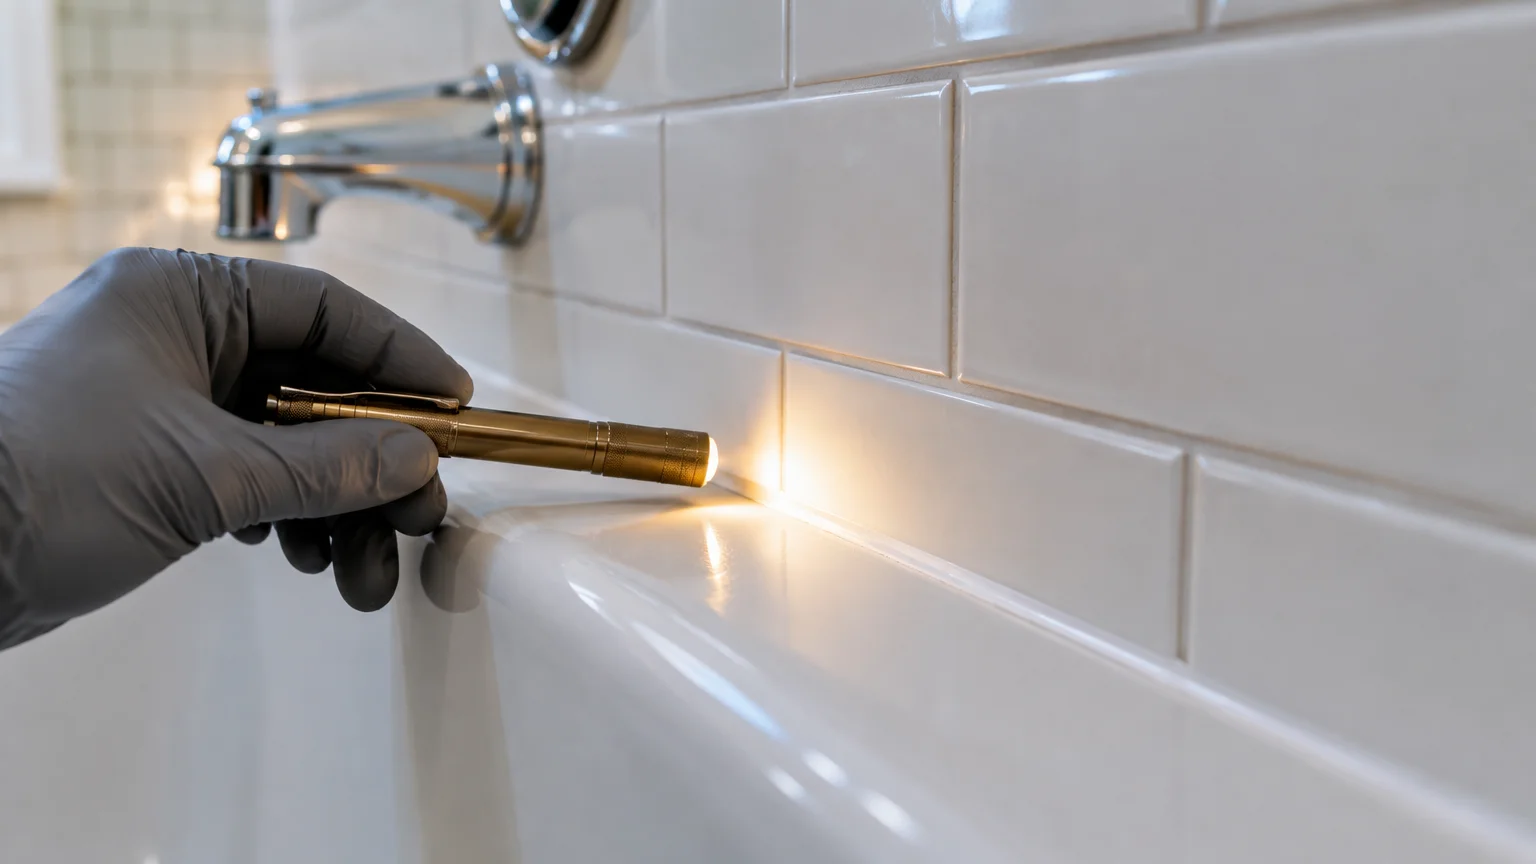
Once you tackle these eight hidden zones, step back and conduct a thorough quality inspection. Shine a bright work light or flashlight into dark recesses to verify that all mineral residue has vanished.
Check that all plumbing connections and aerators remain tight and leak-free after your cleaning. Running your fingers along the underside of faucet fittings confirms that no unseen drips are forming.
Mop your bathroom floor working from the furthest corner toward the doorway. This exit strategy prevents you from stepping across wet tile and leaves a uniform, streak-free surface behind you.
Wash all your cleaning cloths in hot water with laundry sanitizer to kill gathered bacteria. Hang your scrub brushes to air dry before packing them into your utility caddy.
Styling and Personalizing Your Refreshed Bathroom
A thoroughly cleaned space gives you the perfect blank canvas for functional design upgrades. Elevating your storage solutions keeps surfaces clear and prevents grime from returning to your countertops.
Decant commercial liquid hand soaps and lotions into matching amber glass or ceramic pump bottles. Coordinated dispensers reduce visual clutter and prevent colorful branded plastic bottles from dominating your vanity.
Incorporate small wooden or marble risers to elevate your soap dishes and tumblers above the countertop. Elevating these accessories allows air to circulate underneath, stopping moisture pooling and soap ring formation.
Streamlined storage baskets help declutter cabinets and maintain visual harmony, a concept often highlighted by organizational pros at HGTV. Woven baskets keep spare toiletries grouped and prevent hidden cabinet shelf spills.
Introduce rich organic textures by swapping synthetic bath mats for quick-drying slatted bamboo duckboards or waffle-weave linen towels. Natural materials dry faster than heavy plush cotton, reducing ambient bathroom humidity between showers.
Thoughtful design choices keep small bathrooms functional and visually serene, a principle frequently championed in modern interior features by Architectural Digest. Minimalist accessories simplify your weekly maintenance routine and keep surfaces easy to wipe.
Install a sleek floating shelf above the toilet to store decorative reed diffusers and rolled hand towels. Moving decorative items onto the wall keeps the toilet tank clear and accessible for routine maintenance.
Troubleshooting Common Bathroom Grime Issues
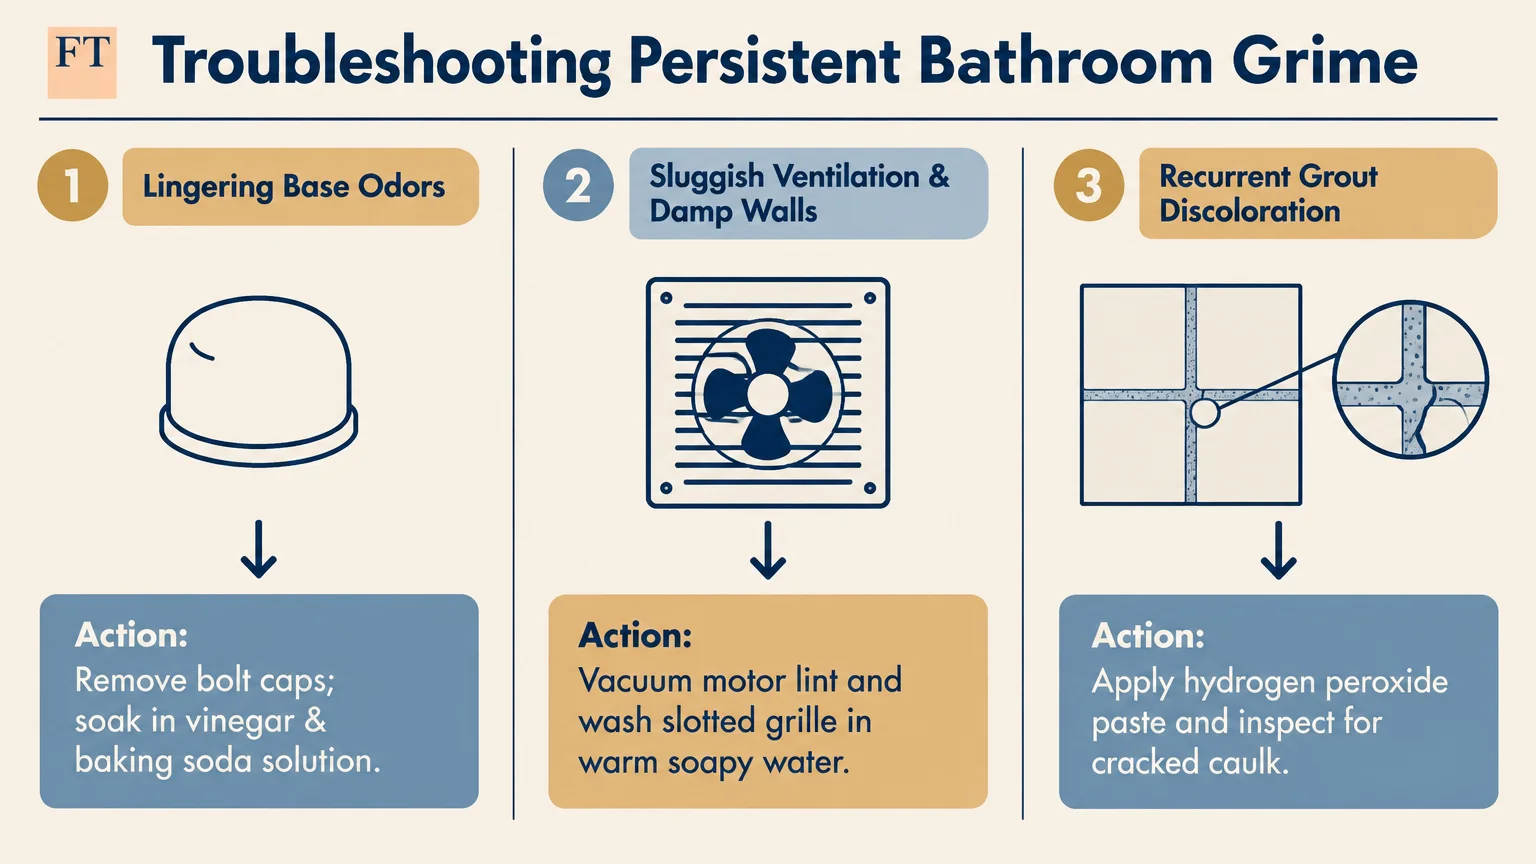
If musty odors persist after your deep clean, your floor drain or shower trap might hold decaying organic sludge. Pouring half a cup of baking soda followed by hot vinegar clears hair and grease build-up safely.
Stubborn hard water crust around chrome fittings often resists gentle scrubbing. Wrap a vinegar-soaked paper towel tightly around the encrusted joint and let it soften the scale for an hour before wiping.
For mineral deposits on delicate fixtures, university extension programs like Colorado State University Extension recommend mild organic acids like citric acid over harsh abrasives. Citric acid dissolves calcium deposits without etching polished metal plating.
Persistent pink stains on grout and shower pans are actually caused by an airborne bacterium called Serratia marcescens. Disinfect these areas with a mild hydrogen peroxide solution to kill the colonies and prevent immediate recurrence.
Set a recurring calendar reminder to inspect these eight spots every three to four months. Periodic spot checks keep grease, dust, and soap scum from solidifying into difficult maintenance projects down the road.
Frequently Asked Questions
How often should I clean these hidden bathroom spots?
Most of these eight spots need attention once every three to four months during a seasonal deep clean. However, clean toothbrush holders and sink overflow passages monthly to maintain safe, hygienic daily conditions.
What is the safest cleaner for vintage porcelain and chrome?
A solution of mild dish soap and warm water remains the gentlest choice for vintage plumbing fixtures. Avoid bleach and coarse scouring powders, which scratch antique porcelain glaze and strip delicate chrome plating.
How can I source the best brushes for tight bathroom gaps?
You can find narrow detail brushes, bottle brushes, and crevice scrubbers at local hardware stores or restaurant supply retailers. Stiff-bristle nylon grout brushes and recycled soft toothbrushes work exceptionally well for zero extra cost.
How do I adapt these steps for a compact powder room?
Powder rooms lack shower humidity, so you can skip curtain liners and heavy mildew treatments. Focus your efforts on the toilet base, faucet seams, door hardware, and the wall surrounding the hand towel bar.
Reclaim Your Fresh Bathroom Today
Transforming your bathroom from superficially tidy to deeply sanitary requires only a few targeted techniques and simple tools. Addressing these overlooked spots eliminates lingering smells, stops mold in its tracks, and prolongs fixture life.
Grab your utility gloves, assemble your cloths, and pick just one or two forgotten zones to tackle this afternoon. You will love the rewarding feeling of stepping into a truly pristine, sparkling sanctuary.