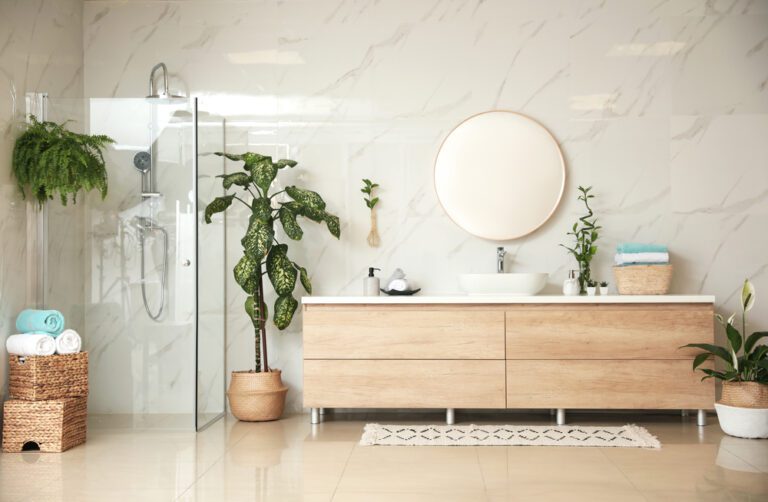
You can transform your outdated bathroom into a spa-like retreat without spending thousands on a full contractor overhaul. A few targeted, budget-friendly updates—such as refreshing stained grout lines, painting worn cabinetry, and swapping dated brass fixtures—deliver dramatic visual impact for a fraction of the cost. Most homeowners complete these high-yield projects in a single weekend using standard hand tools and affordable off-the-shelf materials. By focusing your time and budget on strategic surface upgrades and cohesive hardware finishes, you elevate your space’s functional performance while building lasting home equity. Take control of your home improvement goals today with nine practical DIY fixes that look remarkably high-end.
Planning Your High-Impact, Low-Cost Refresh
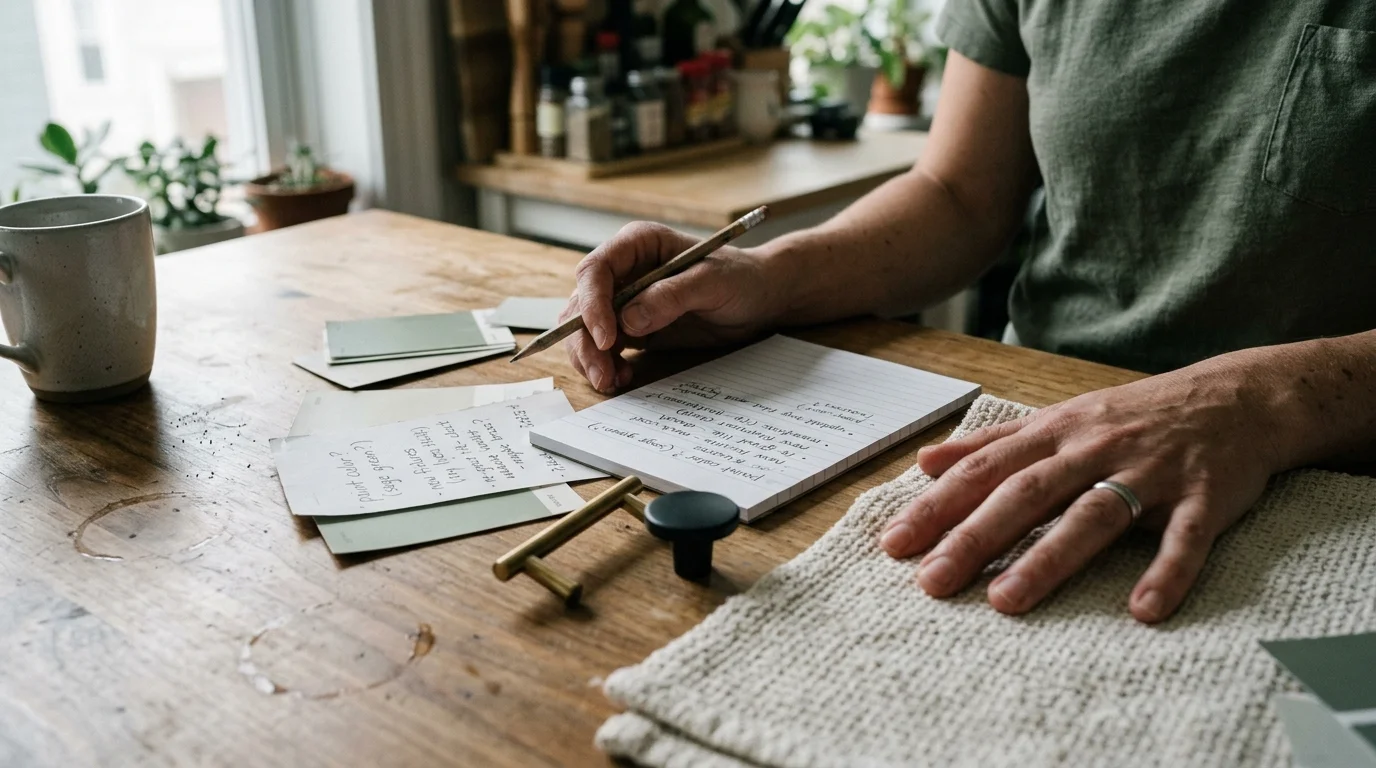
Before opening a single paint can or unboxing new hardware, map out your project schedule and budget. A comprehensive cosmetic refresh costs between $150 and $400 total when you select materials thoughtfully. You can complete most of these individual projects in two to four hours, allowing you to tackle them progressively over a couple of weekends or execute them all in one concentrated project window. Gather essential hand tools early—a caulking gun, cordless drill, precision screwdriver set, utility knife, and painter’s tape form your baseline toolkit.
Safety remains paramount even on low-budget cosmetic projects. Always shut off water supply valves before disconnecting plumbing fixtures, and turn off electrical breakers at your main panel prior to swapping light fixtures. Protect your lungs and eyes by wearing safety glasses and an N95 respirator whenever sanding cabinet doors or applying high-VOC tub coatings. Adequate ventilation, created by running the exhaust fan or opening windows, ensures safety and proper drying times for paints, adhesives, and sealants.
Nine Budget Bathroom Upgrades That Look Custom
1. Frame Builder-Grade Plate Glass Mirrors
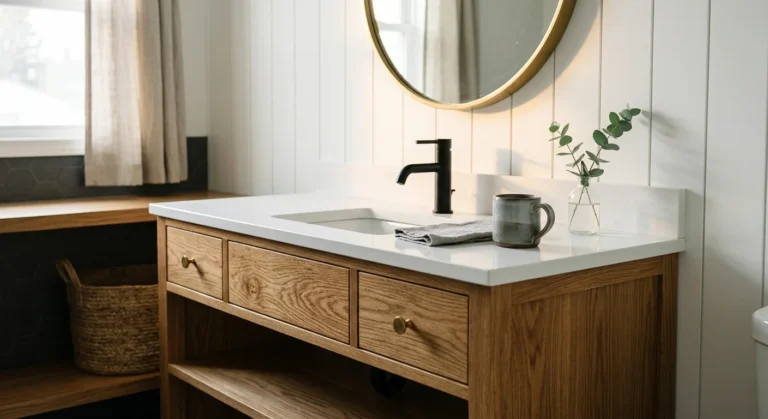
Plain, unframed sheet mirrors often make a bathroom feel utilitarian and unfinished. You can elevate standard glass into an architectural feature by building a custom wood or MDF frame directly over the mirror edges. Measure your glass dimensions, cut lightweight decorative trim or 1×3 pine boards with mitered corners, and seal all sides with moisture-resistant primer and semi-gloss paint. Fasten the assembled frame to the glass surface using heavy-duty construction adhesive designed for mirrors, securing it with painter’s tape while it cures for 24 hours. This simple $30 project hides desilvering edges and gives your vanity area a tailored, built-in presence.
2. Refinish the Vanity Cabinet and Upgrade Hardware
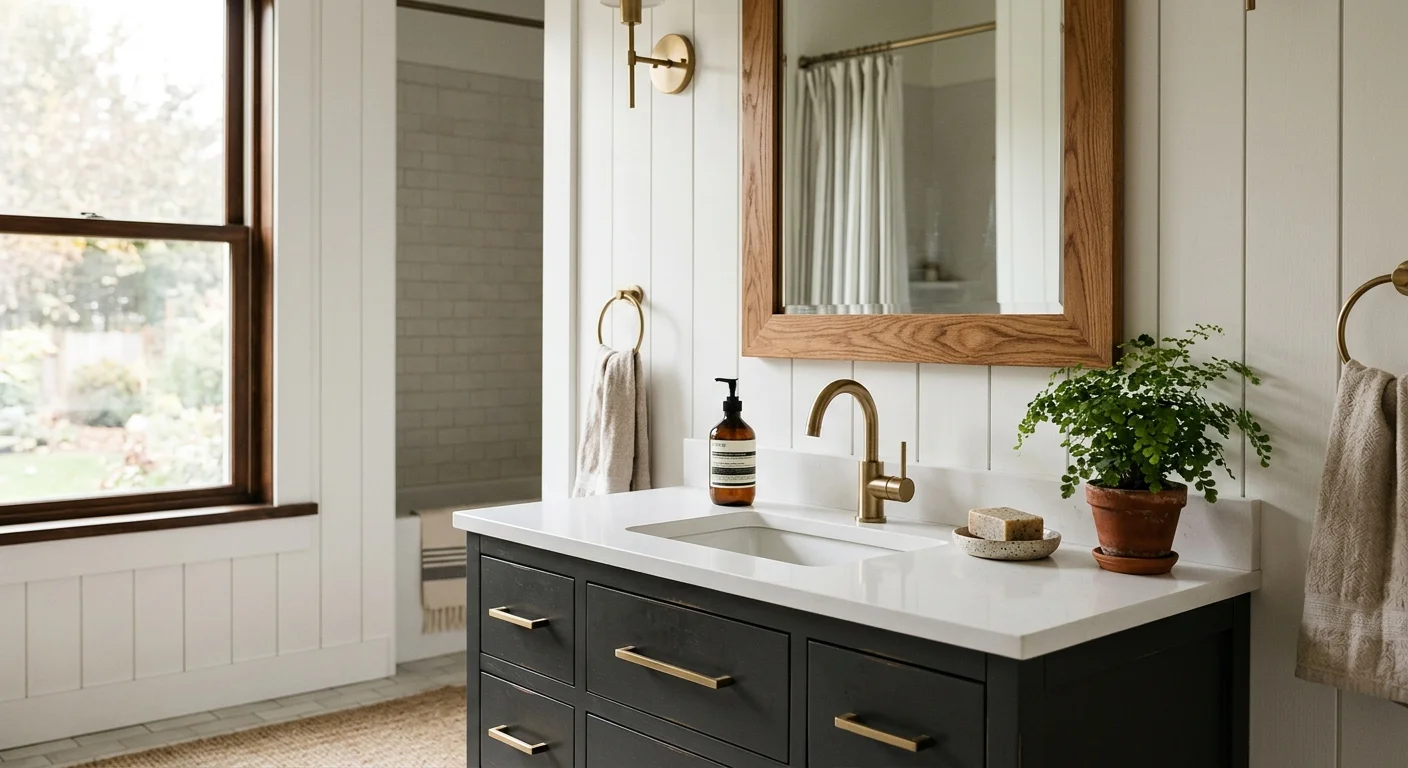
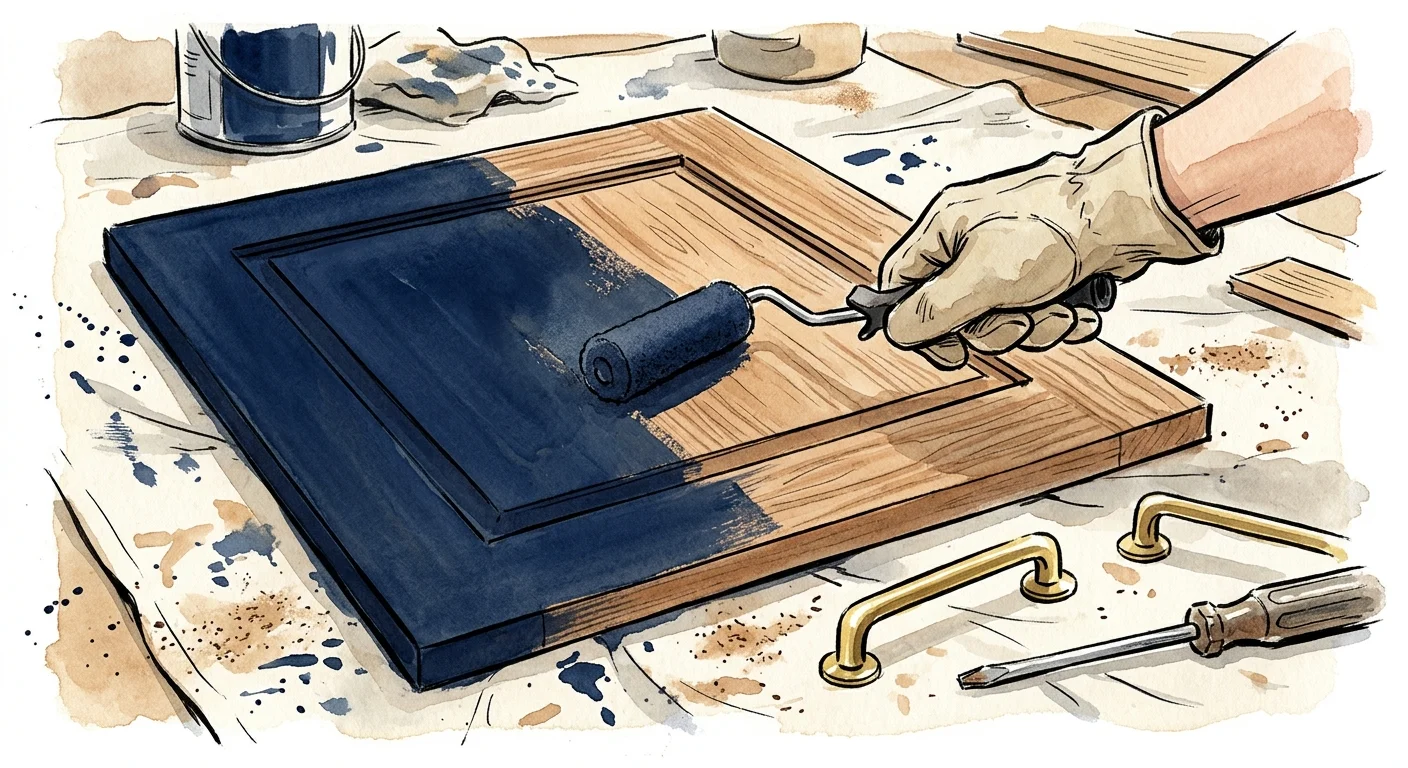
Replacing a solid bathroom vanity drains your budget quickly, but refinishing your existing cabinet yields a custom look for under $60. Remove cabinet doors, sand surfaces lightly with 120-grit sandpaper to break the factory sheen, and apply a coat of stain-blocking bonding primer. Finish with two coats of durable water-based urethane alkyd enamel paint in rich hues like charcoal, deep navy, or warm taupe. Complete the transformation by installing modern drawer pulls and cabinet knobs in brushed brass or matte black. Helpful project breakdowns on HGTV demonstrate how dark paint cabinets instantly anchor small spaces and create high-end visual contrast.
3. Recaulk Fixtures and Refresh Stained Grout
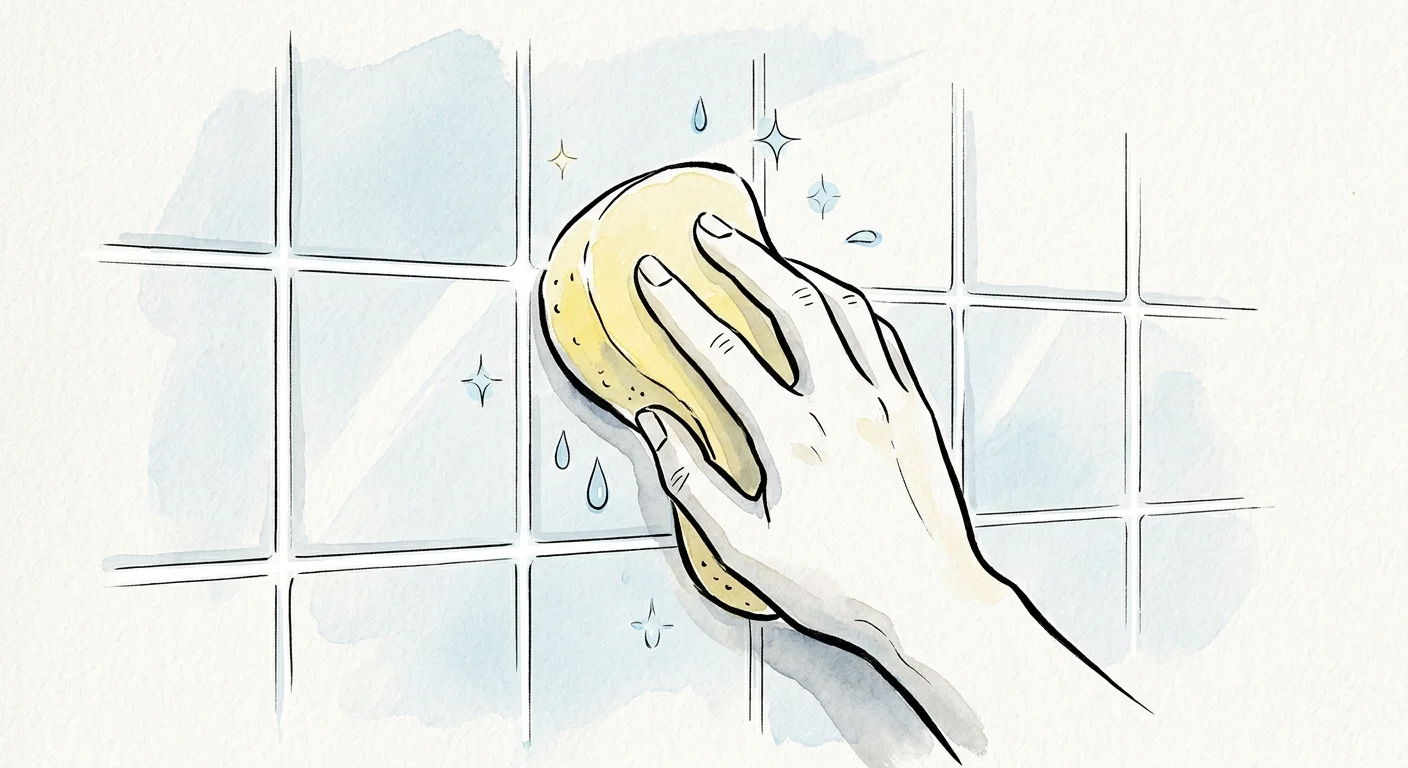
Dismal, mold-stained caulk and dark grout lines immediately signal wear and neglect. Strip away cracked, old caulk along your tub, sink, and shower seams using a plastic scraper and caulk remover solvent. Clean the joint with rubbing alcohol, apply a fresh bead of 100% silicone sealant containing mildew resistance, and smooth the bead with a damp gloved finger or caulking tool. Next, restore tile grout using a grout colorant or deep-cleaning oxygen bleach solution. Coating faded grout lines with a white or pale gray grout pen brightens walls instantly and forms a durable barrier against future moisture penetration.
4. Swap Faucets and Eco-Friendly Showerheads
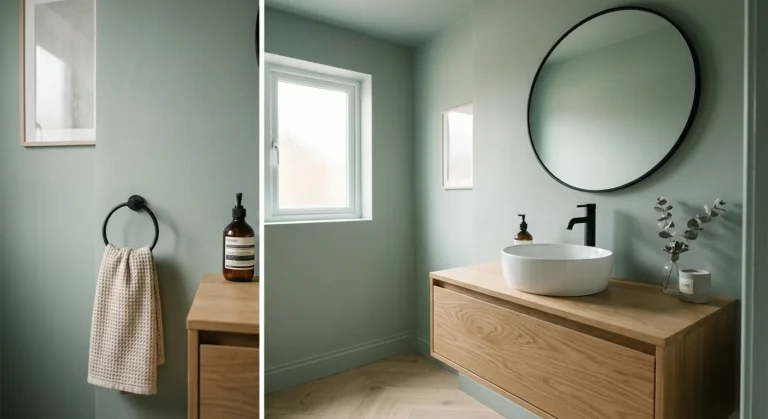
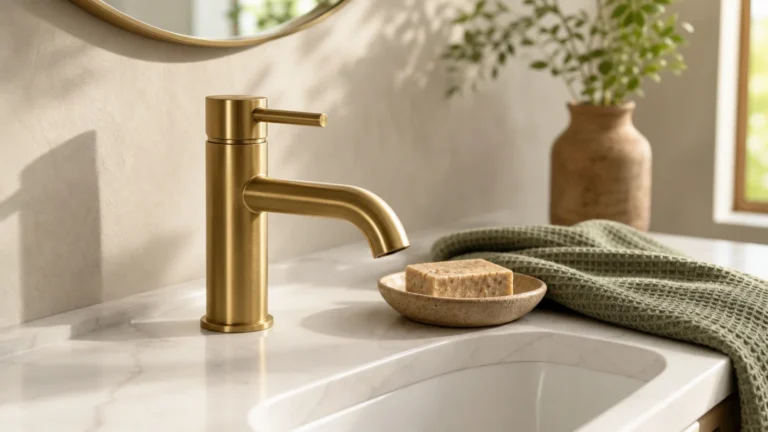
Outdated chrome faucets with worn washers degrade both functionality and style. Installing a sleek single-handle faucet or a rainfall showerhead instantly modernizes your plumbing footprint without demanding complex pipe re-routing. Modern WaterSense-certified fixtures reduce overall household water consumption by up to 20 percent without sacrificing water pressure, offering immediate utility savings alongside aesthetic gains. Review water-saving standards directly on the Department of Energy portal to understand flow rates and efficiency gains. A crisp matte black or brushed nickel faucet creates a focal point that transforms the entire vanity basin.
5. Replace Fixtures and Bulbs for High-CRI Illumination
Harsh overhead fluorescent lighting flattens colors and accentuates imperfections in tile and skin tones. Replace builder-grade Hollywood bulb strips with modern wall sconces or a sleek multi-light vanity bar. Select LED fixtures offering a Color Rendering Index (CRI) of 90 or higher, paired with a warm color temperature between 2700K and 3000K. Quality illumination eliminates unflattering shadows, softens room surfaces, and brings out the rich undertones in your freshly painted cabinets and accent decor.
6. Add Peel-and-Stick Tile or Board-and-Batten Walls
Empty drywall leaves small bathrooms feeling flat and cold. Create architectural dimension by installing a board-and-batten accent wall using inexpensive PVC or MDF strips spaced 12 to 16 inches apart. Paint the entire lower wall section in a cohesive shade to simulate high-end custom millwork. Alternatively, apply moisture-resistant peel-and-stick vinyl tiles over plain splash zones behind your vanity. These self-adhesive tiles mimic authentic marble or encaustic cement patterns, offering renter-friendly style that holds up remarkably well against daily splash contact.
7. Install Floating Wooden Shelves for Vertical Storage
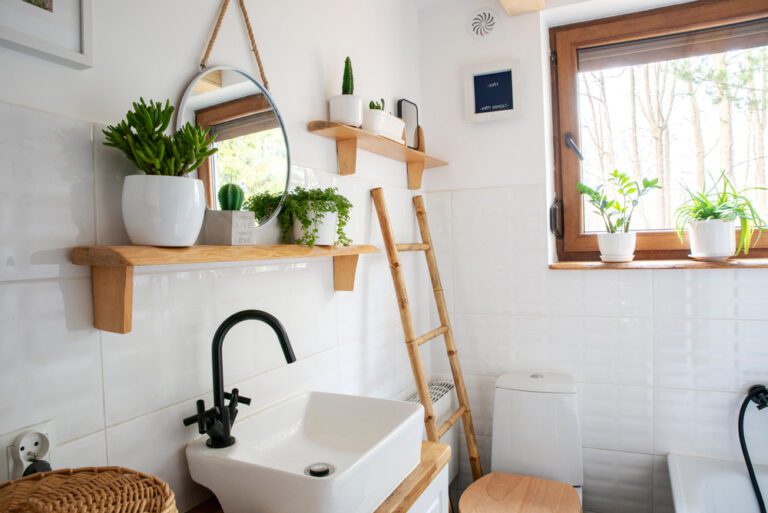
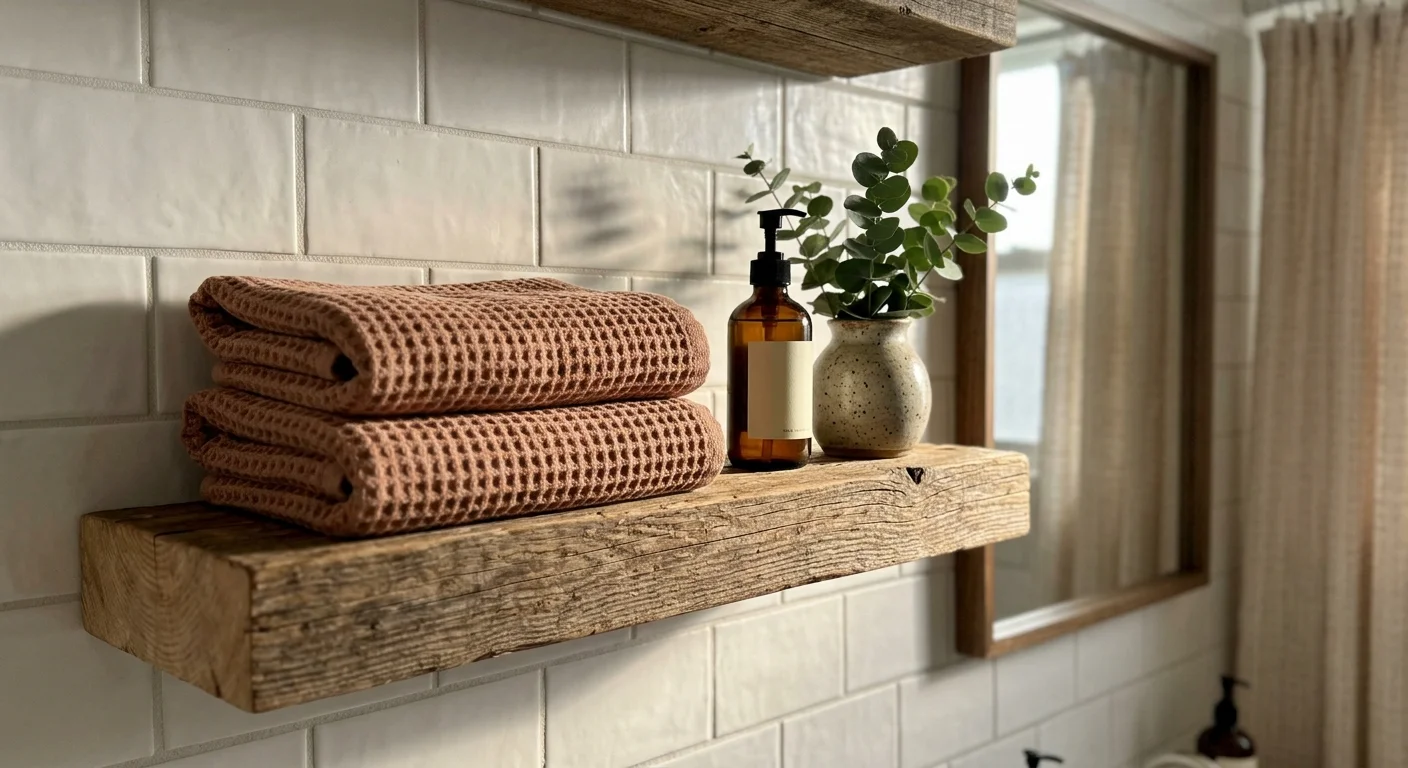
Floor space comes at a premium in compact bathrooms, making vertical storage essential. Install two or three thick, real-wood floating shelves above the toilet or adjacent to the vanity area. Secure heavy-duty hidden steel brackets directly into wall studs or use toggle bolts rated for heavy loads. Coat natural wood shelves with a clear polyurethane seal to protect the grain from swelling in high-humidity environments. These open shelves organize rolled hand towels, apothecary jars, and small potted plants while adding warm organic textures to hard tiled surfaces.
8. Unify Towel Bars, Rings, and Accessories
Mismatched accessories disrupt visual harmony and make a bathroom feel cluttered. Replace disparate towel rods, toilet paper holders, and robe hooks with a coordinated hardware collection that matches your new faucet finish. Industry design resources such as Architectural Digest emphasize that consistent metallic finishes across hardware elements tie disparate room zones into a single, cohesive design narrative. Mount towel bars at comfortable heights—typically 48 inches above the floor—and align robe hooks neatly near shower exits for optimal functional convenience.
9. Refinish Porcelain or Tub Surfaces with Epoxy Kits
Replacing a yellowed or chipped cast-iron bathtub requires expensive plumbing, demolition, and tile work. You can resurface worn tubs and porcelain sinks yourself using a two-part acrylic epoxy refinishing kit for roughly $50. Clean the surface rigorously with an etching cleaner to remove soap scum, sand the gloss, and spray or roll two thin coats of tough epoxy finish. Allow the surface to cure completely for 48 hours before exposing it to water. The resulting ultra-smooth, glossy white surface looks brand-new and withstands years of daily bathing.
Styling, Texture, and Personalization
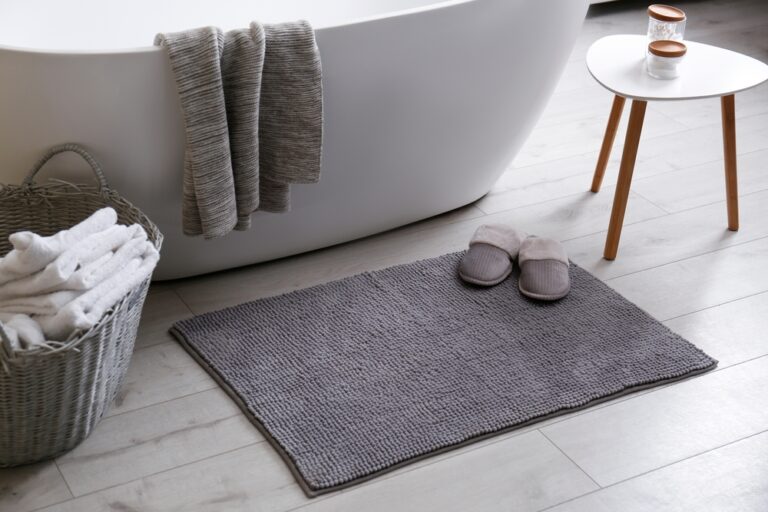
Once your functional upgrades are complete, elevate the space with strategic decorative layers. Balance hard ceramic surfaces with soft, touchable textiles like waffle-weave cotton towels, plush memory foam bath mats, and a linen shower curtain hung near the ceiling line to visually heighten the room. Incorporating organic elements—such as a small potted pothos or eucalyptus stem—introduces vibrant color while thriving in humid bath environments.
Color selection plays a critical role in small space perception. Light monochromatic palettes featuring soft whites, subtle greys, and muted sage greens reflect natural light and create an open, airy feeling. If you prefer bold design choices, restrict rich dark paint to lower wall sections or vanity cabinets while keeping upper walls light. This grounding technique creates visual stability without overwhelming compact floor plans.
Troubleshooting and Long-Term Maintenance
Executing DIY projects occasionally presents unexpected hurdles, particularly in moist environments. If you discover stubborn black mold beneath old caulking, spray the area with straight white vinegar or a specialized bleach cleaner, letting it soak for 30 minutes before scrubbing clean. Allow substrate surfaces to dry completely for a full 24 hours before applying fresh caulk or paint; trapped moisture guarantees premature adhesion failure and recurring mold growth under new finishes.
Maintain your refreshed surfaces with gentle, non-abrasive household cleaners. Harsh scrub powders and abrasive pads scratch re-glazed tubs, dull fresh cabinet paint, and strip protective coatings off hardware. Consult moisture control guidelines from university extension programs such as Penn State Extension to understand proper ventilation strategies that prevent structural humidity buildup and preserve surface finishes for years.
Frequently Asked Questions
Can I execute these bathroom updates in a rental unit without losing my security deposit?
Yes, several of these fixes are fully reversible and landlord-friendly. Focus on peel-and-stick vinyl backsplashes, removable wallpaper, temporary vanity cabinet knobs, and modern showerheads. Save all original fixtures in labeled storage bins so you can easily reinstall them before your lease ends and taking your upgraded components to your next home.
What basic toolkit do I need before starting these DIY projects?
You can complete most cosmetic bathroom fixes with a core set of affordable hand and power tools. Keep a cordless drill with driver bits, a multi-bit manual screwdriver, a 9-inch caulking gun, a utility knife with sharp blades, a tape measure, a torpedo level, a stud finder, painter’s tape, and medium-grit sanding sponges ready in your workspace.
How do I match metal finishes across different manufacturers?
Finish names like matte black or chrome remain remarkably consistent across brands, but brushed nickel and champagne bronze vary widely. When purchasing items from separate manufacturers, buy sample pieces or physical hardware to compare tone and undertones side by side under your bathroom lighting before completing major fixture installations.
How long does a DIY tub refinishing kit last compared to professional replacement?
A properly applied DIY epoxy tub refinishing kit lasts between three and five years with correct surface preparation and non-abrasive care. Professional reglazing lasts five to ten years, while complete tub replacement lasts decades. DIY refinishing serves as an exceptional low-cost bridge that dramatically improves aesthetics while you save for future major renovations.
Start Your Weekend Bathroom Transformation
You do not need a massive contractor budget or months of construction disruption to cultivate a luxurious, functional bathroom. By taking a methodical approach to targeted surface updates—such as refreshing tile joints, framing mirrors, refinishing cabinetry, and coordinating hardware—you convert an outdated room into a modern sanctuary. Choose two or three fixes that align with your current comfort level, gather your supplies, and start building the home space you deserve this weekend.