
If you’ve ever been interested in frosted glass, you should know that it’s really not that complicated to do it yourself, and the needed supplies are actually incredibly cheap.
You will need a few items from the hardware store, alongside some basic supplies you might already have in your home.
If you want to learn how to frost the glass yourself, you’ll learn here everything about the benefits, and differences of mirrored glass, and how to properly apply it to your doors and windows. In fact, you’ll also find a couple of images for inspiration. So, what are you waiting for?
What is frosted glass?
Frosted glass is also known as mirrored glass in some marketing materials, even if the terms are usually interchangeable. The frosting is basically a graphic technique that will give you a commercial and residential glass or reflective material a special diffused-reflection finish, which resembles a “light fog” on the surface.
Let’s see what are the benefits of having frosted glass in your home!
It adds a little bit of mystery to your glass
If you’ve ever seen frosted windows, then you must know just how intriguing they can look. It is basically impossible to see what’s behind those doors, which creates a certain sense of mystery.
It gives the feeling of something very significant hiding beneath those doors, but you can’t really see what, unless you’re invited inside.
It gives an upscale look to your windows
The frosted glass effect is ideal for creating an upscale appearance. Even the smallest window might turn into something amazing with this easy treatment.
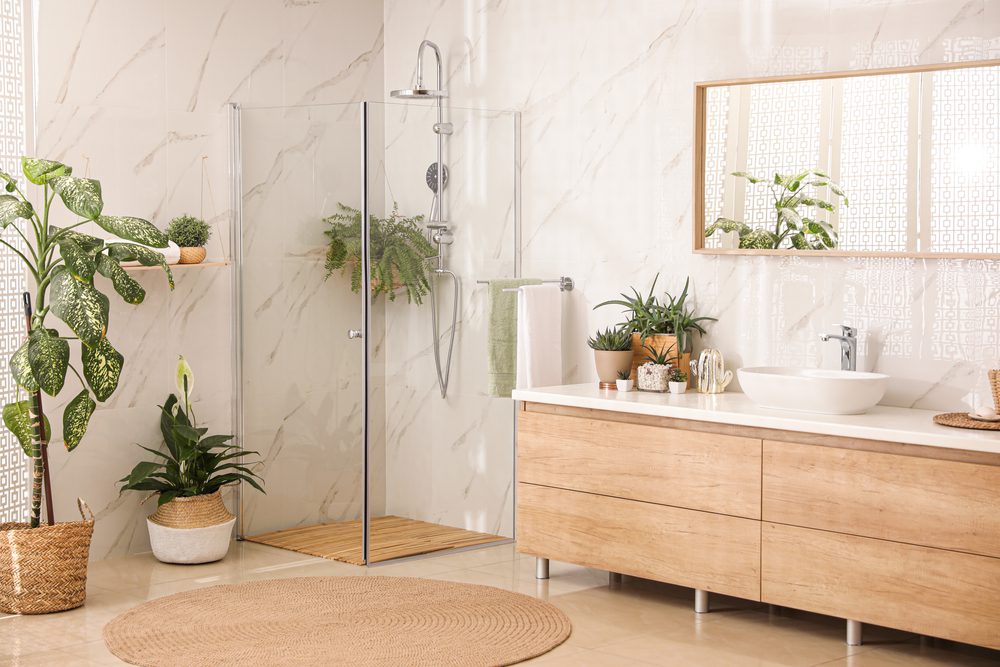
It is also a great choice for your bathroom windows, especially if you want to maintain a sense of privacy.
It gives the appearance of expensive decor, without being too expensive
Frosted glass is a wonderful choice, especially when you want to enhance your home, without spending a lot.
You can easily create the same look as professionally tuned glass. Besides that, you will save a lot of money on home decor.
It adds more privacy
Privacy is key when it comes to frosted glass. However, it also has another benefit: security. You’ll never worry again about anyone peeking through your windows, as the glass won’t allow it!
Is frosted glass reflective?
Frosting glass diffuses the light, instead of reflecting it as a plain mirror would. The frosted, textured, and reflective privacy films might appear the same in all lighting conditions, but they’re not interchangeable for all uses.
If you want to decide whether or not your DIY project needs frosted glass or mirrored glass, it’s highly important to understand first all of its unique qualities.
What is frosted glass made of?
Frosted refers to textured glass, which is usually made by sandblasting or acid etching. Even so, some frosting products might use etched like silver or even gold to diffuse the light.
Frosted glass is a particular type of low-emissivity coated glass, which is used to diminish the amount of infrared radiation that penetrates the window, while still letting in some visible light.
Unlike the good old clear float or soda-lime glass, frosted glass is treated with a coating of one or even more materials, which scatter the light in many directions, rather than simply allowing it to pass straight through.
This is how the “frosted” look is made. The surface treatment that’s been used on the translucent glass will help you determine whether you bought a mirrored film or a frosted glass product.
For instance, you might vision that the frosted glass texture goes well in a shower enclosure, in which case you have to go for a water-resistant and frost-resistant product.
Frosted glass vs. Mirrored glass
Focusing on privacy is highly important for many homeowners and businesses. That’s why frosted glass is a top-notch choice when it comes to privacy, especially since it doesn’t sacrifice natural light, as it would do with mirrored glass.
The frosting also hides unwanted fingerprints and other unwanted blemishes on the glass, which makes it a more desirable option for heavily used surfaces. However, mirrored glass might create a complex, ethereal, and very dramatic effect in the right environment.
How to frost glass
You don’t need to look for a professional if you want to apply frost glass on your doors and windows unless you have a bigger project in your mind that requires precision, such as covering garage doors with adhesive film.
You can do it yourself! There are three main ways to get that frost glass texture you wish for: spray paint, window film, and etching cream.
Frost glass spray paint
Step 1 – Choose the frost glass paint you like
Before you initiate this project, you should first pick and buy your favorite frosted spray paint. You only have to make sure it’s specifically designed for use on glass.
If not, you might end up with nothing but a mess on your hands. You can try Rust-Oleum because it’s an excellent example.
Step 2 – Clean the glass
First, you have to check if the glass is clean before applying any frost paint. This will allow the color to stick to the surface more efficiently.
If there’s any dirt or dust on the glass, it will be much more difficult to remove after the paint has been already applied. You can also use a standard glass cleaner or vinegar and water to clean the surface.
Step 3 – Start spray-painting
One of the most efficient ways to frost the glass is to initiate from the middle and work your way out. If you do this, the paint is evenly distributed all over the surface.
Another important aspect is not to overload the spray bottle if you’re using low-grade paint, as overloading the bottle might cause the paint to splatter, which will make it more difficult to control the coverage.
Step 4 – Let it dry
Once you finished frosting the glass, make sure you let it dry completely, as the paint might take a couple of hours to fully dry, so you have to be patient. Once it is completely dried, you can start using your newly frosted glass.
Step 5 – Re-frost as needed
Your glass might start to slowly lose its effect after a while. When this happens, try to reapply the paint and then let it dry again. Don’t worry, you won’t have to wait – if you’re unhappy with the level of opacity, you can simply reapply the paint.
Step 6 – Clean up
After you’re done making your new frosted glass, take some paper towels or an old shirt to clean up all the excess paint that’s left outside the bottle. This is very important because if you let too much paint build up on the outside, it will lead to messy drips.
Frost glass film
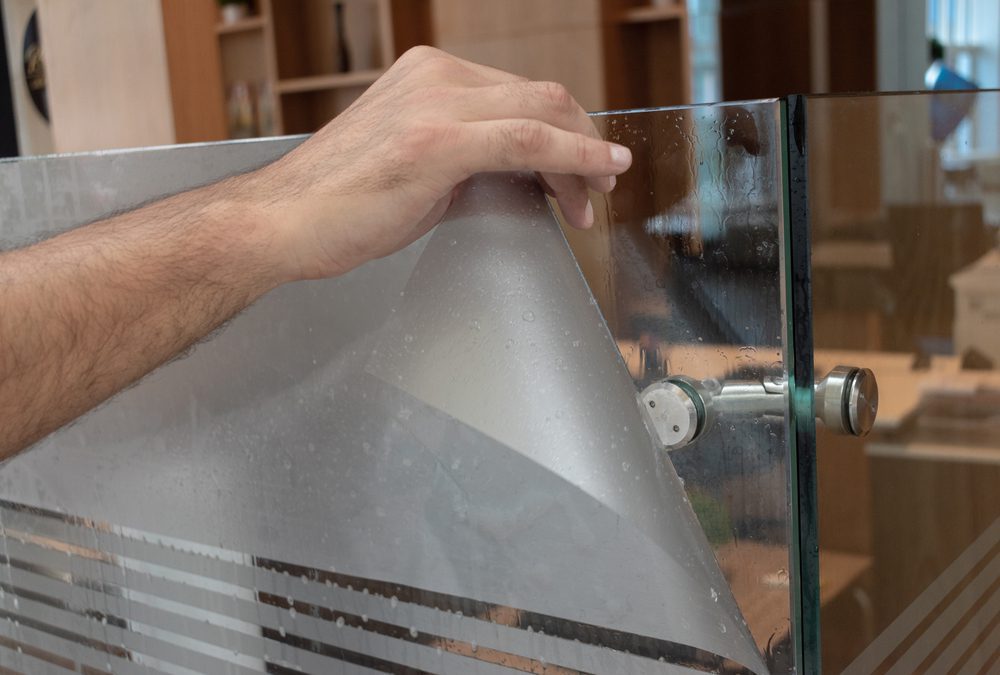
Window film can be a great choice for frost glass, as it doesn’t make it too opaque. The process it requires is rather simple, and it will only take you a couple of minutes.
Step 1 – Clean the window
You can use a glass cleaner and a rag or lint-free cloth to properly clean the window and prepare it for the film. If you don’t do this, the film might not stick to the surface. Also, make sure the surface is fully dried before proceeding.
Step 2 – Measure and cut
The first thing you need to do is to start measuring the window that you want to modify. The window film comes in a very large sheet, so you’ll need the exact dimensions (height and width of the window, but also the desired thickness of the frosted film).
After doing that, you can cut the film to the measured sizes, but make sure you leave a bit of extra room on all sides (around 1 inch), so you can easily apply it to the window.
Step 3 – Lightly spritz the glass
Peel back a couple of inches of tape on all four sides of the window. Next, you need to do is to prepare the water and soap solution in a spray bottle (that’s already empty), so you can lightly spritz the glass with a thin mist. It will help the film stick better.
Step 4 – Attach the window film
Peel off the backing from the frost glass film and slowly attach it to the window. You can use a credit card to smooth out any unwanted air bubbles or wrinkles in the film.
Step 5 – Cut the excess film
Last, trim around the space with a utility knife, if you have one. You can fold down the excess piece of film, then spray a bit of soapy water onto it.
If you found this article to be useful, you might also want to try: Your Old Furniture Can Look Stunning With These 8 Hacks
Leave a Reply