
Are you looking for hardware makeover ideas but don’t know where to start? You’ve come to the right place! We know that everybody doesn’t want to spend an arm and a leg on changing the furniture in their house, but changing the old knobs or painting it with a lively fresh coat can make a big difference.
Think of replacing old crystal knobs on a snoozy nightstand or opulent leather pulls on a plain dresser to give it gloss. And these adaptable accents can also be used to unify a space. Mismatched furniture is instantly brought together by coordinating hardware to form a whole set.
Are you ready to give worn-out cabinets and drawers a much-needed makeover? To show you how simple it is to transform your furniture from ordinary to extraordinary, keep reading because we’ve compiled 10 helpful how-tos that are super easy to make on your own.
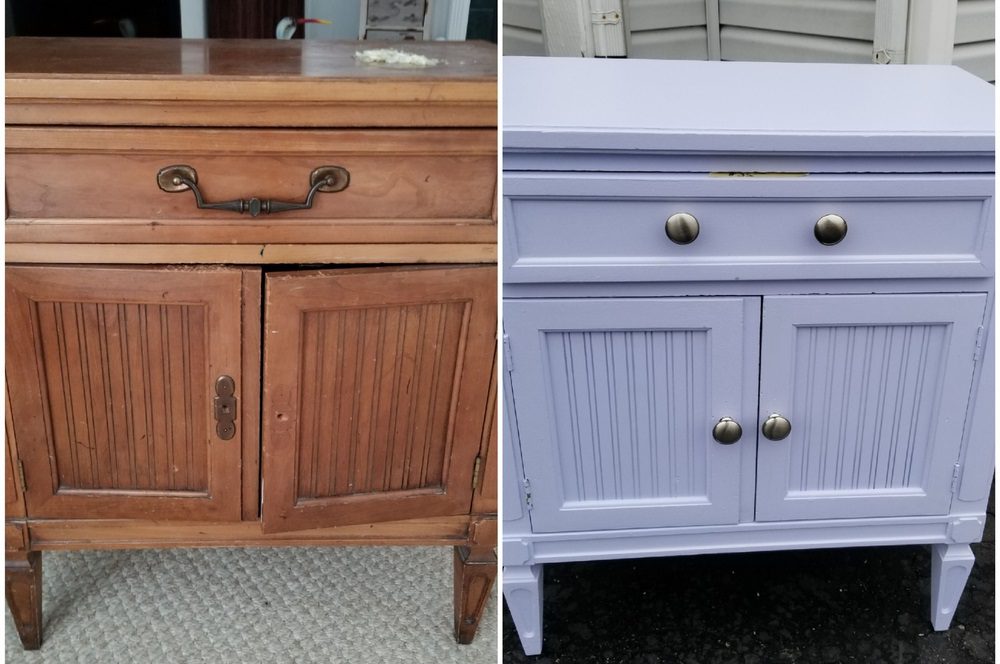
1. Refinish and paint
If your dresser appears to be worn and deteriorated and isn’t worth being rescued, don’t be afraid to try out a new layer of paint. This will hide most of the flaws the furniture has, plus it is going to be super easy to do it on your own.
But before anything else, take off all the hardware and smooth out any surface blemishes using sandpaper. Wipe away any remaining dust with a medium- to fine-grained sandpaper. After this, we move forward to the next step, which is painting. You can either choose a spray to cover the old paint or the basic method of painting with a brush.
If you go with the second option, make sure to get a high-quality spray paint that will minimize brush strokes and evenly cover any fine carvings or embellishments. In case the paint needs another layer, wait until the first one is completely dry to avoid any ugly drips!
In the picture above, you can see how an old and bland closet can look completely new with only small improvements. Would you try this hack? Tell us in the comments.
2. Ribbon drawer pulls
Built-ins are excellent for organizing but frequently lack personality. Most of them come with drab handles in odd colors and patterns. If you want to try a totally different look, you’re going to love this awesome and easy technique.
For the ribbon drawer pull, you only need four things: a ribbon of your choice, a screwdriver, two flat washers per drawer, and scissors. First of all, remove the old drawer pulls that you want to replace. Then cut a piece of ribbon (in my case, I cut it 12″ long), but this depends on how many pulls you have to change.
Small tip: always cut the pieces longer because they are easier to adjust in case they don’t fit compared to short ones that are hard to work with! After that, tie a knot in a ribbon around the flat washers. I did a pretty good job of keeping the ribbon from fraying over time. Then, on the inside of each drawer, start mounting the ribbon pulls, and by the end of the process, tie the other end of the ribbon as tight as the other one. That’s it! You have the cutest and fanciest drawer pulls ever!
From the entire list of hacks, this one is probably my favorite! It’s super easy to make; it only took me one hour to replace all the handles. This will definitely improve and refresh the look of old hardware. If you’re going to try it, let us know in the comments!
3. Copper and concrete pulls
Concrete and copper are definitely a winning duo that you must try for at least one piece of your household hardware if you want to upgrade its look on a budget. In my case, I really wanted to try out a combination that I saw in different Instagram and TikTok stories lately: copper and gray for bold white hardware. These two elements combined create a really striking, contemporary appearance. They are the ideal do-it-yourselfers for giving your house an industrial chic look!
Don’t worry about drilling because if your drawer already has holes, all you have to do is make new handles the same size as the old ones! All you need for this low-budget project are: one tube of acrylic paint; regular concrete mix; a long stick ice cube tray (available at any hardware store); and a medium-small paint brush.
After mixing the cement powder according to the directions on the box, put it in the ice cube tray, and after 1 minute, insert the heads of the screws. 24 hours later, after the mixture has perfectly dried, carefully pull your new handles outside the tray. If needed, you can sand the edges a bit for a smooth look. Then, using your acrylic paint, divide them in half. Voila! In case you decide to try this idea, be sure to leave us a comment with your opinions.
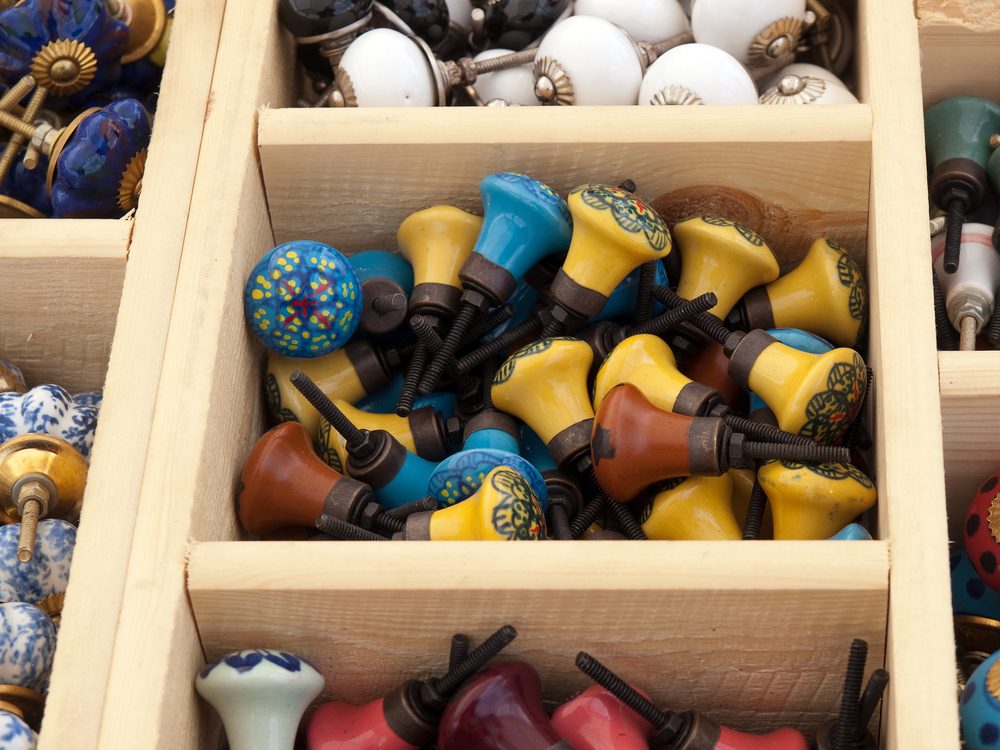
4. Embellished knobs
We all know what a small piece of decoration can do to a piece of furniture. And if you want to try something new that won’t wreak havoc on your budget, embellished knobs for your media console or any other hardware in the room are a perfect choice. In case you have an old nightstand, a media console, or even a drawer that needs a boost, you can try this hack.
First, you need to know that nobody is going to send you shopping for new knobs, you can absolutely use the ones that you have. In my case, because I like to do a lot of crafty things and I enjoy spending my time on DIY projects, I decided to paint the old knobs for both my cheap-looking Ikea nightstand and my old stand from the living room. I removed all the knobs by simply unscrewing them one by one before painting them. If the color of your hardware is darker, you can choose to paint the knobs yellow.
What you have to remember is that for any type of metal handle or knob that’s made of metal, you must use a painting spray that’s designed for this purpose only. This will adhere better to this material compared to other supplies like acrylic paint. Don’t forget to use an “enamel”-designated spray paint for a glossy, long-lasting finish. Applying the paint in the same manner as the priming is recommended.
5. Maps and leather handles
This idea will be right up your alley if you enjoy traveling just as much as I do. Are you tempted to add some international flair to your room? This project will assist you in giving your dresser a more, shall we say, geographical aesthetic by transforming its dated and plain appearance.
For example, if you bought most of your furniture from Ikea, you know that most of it looks a bit “unfinished.” That’s why a lot of people want to do makeovers or even change the color. But if you don’t like to make a mess or you’re simply not handy, relax, because I have the perfect project for you.
What you’ll need: a large world map, scissors, a good wood adhesive, and a few leather stripes (these will be used as drawer handles, so make sure they have enough material to grip).
Next, make the decoupage by cutting out the map. I wanted the drawer fronts to resemble an entire global map. To make sure this occurred, I took the draws out of the hardware, put them all together face down on the map, and drew a circle around them. After this, glue the pieces of the map onto the drawers carefully to fit the entire surface.
Let them dry completely, and meanwhile, prepare the handles. Cut your leather into pieces. I forgot to mention that I used an old belt, so for six drawers I didn’t need too much of it. I replaced the old handles with the leathery ones, and I fixed them with two small screws each.
If you want more free home tips and tricks, contact the Captain, Crafty Captain! If you like what you’re reading, you may want to subscribe to our page. It’s completely free, and we promise to deliver the best content to your inbox every day.
You may also like: How to Maximize Your Attic Storage Space (Free Guide: 10 Tips).