
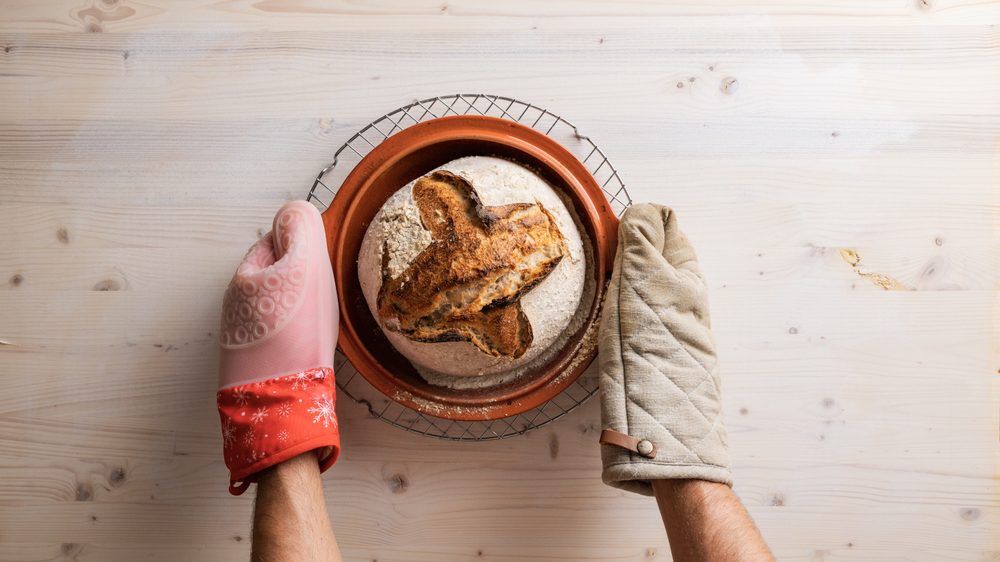
Wouldn’t it be nice to have your own DIY kitchen mitts? It would be a wonderful way to add a little bit of flair to your kitchen. Besides being extremely useful for hectic cooking afternoons, you can also customize the fabric of the oven mitt to match the rest of the kitchen design scheme.
This way, if you’ll prefer hanging your oven mitt instead of simply storing it in a drawer, it will instantly coordinate with its surroundings. This particular DIY oven mitt shouldn’t need more than one hour to make.
It’s also a wonderful project for a confident beginner who wants to learn basic sewing and quilting techniques. It’s also great if you want to practice your sewing skills on. These oven mitts can end up being a great personalized gift, especially if you pair them with other colorful kitchen items, like a potholder or an apron.
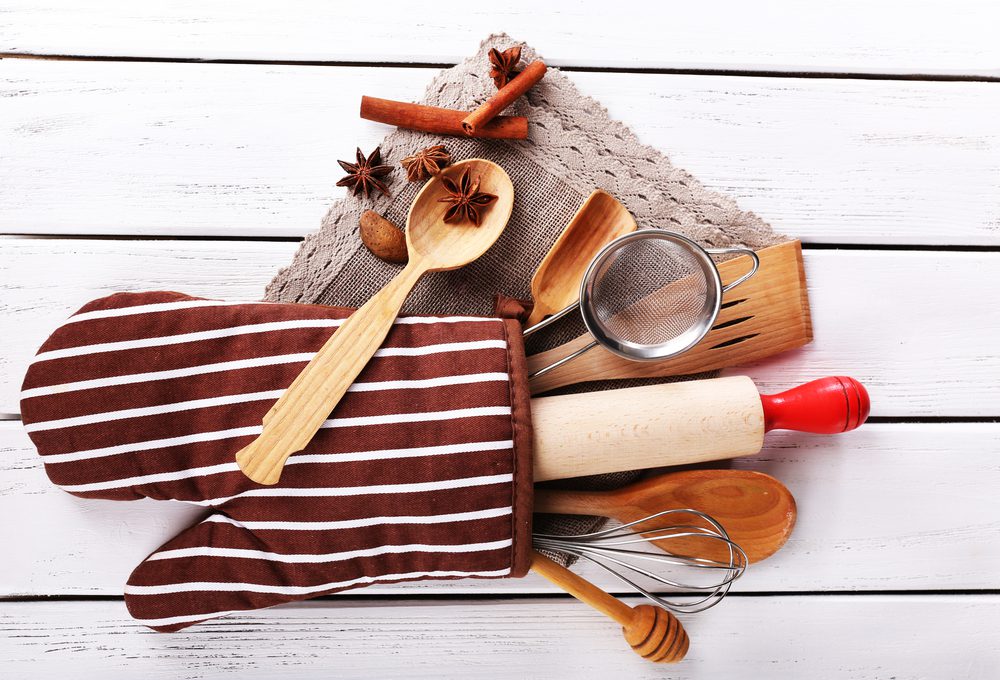
This is what you’ll need:
Equipment & Tools:
- scissors
- sewing machine
- walking foot
- tracing pen & pencil
- safety pins & basting spray
- sewing pins & clips
- pencil & fabric turner
- iron & ironing board
Materials:
- Cotton, canvas, or even a home decor fabric for the outside (as long as there are two pieces, 10 inches by 13 inches each)
- For the lining, you’ll need some cotton fabric (2 pieces of it, 10 inches by 13 inches each)
- Insulated batting (another 2 pieces, 10 inches by 13 inches each)
- Double-wide bias tape
- Matching thread
- Oven mitt pattern template
How to Make Your Own Kitchen Mitts:
Make a Quilt Sandwich
First, you need to add a simple quilt to your oven mitt. This way, it will hold everything together, but also incorporate a couple of nice details into the finished mitt. It is much easier to do the quilting before you cut out the entire shape of the oven mitt.
First, you need to make a quilt sandwich, so here’s how you need to layer the fabric and the batting: line the fabric right side down, then insulate the batting shiny side up, and place the exterior fabric right side up.
Baste all the layers together, by simply using a couple of safety pins and basting spray. You have to make sure that everything is smoothened and there aren’t any wrinkles. Then, repeat the whole process to have a second quilt sandwich for the other side of the oven mitt.
Quilt the layers
Take the quilt sandwiches to the sewing machine, and machine quilt both sides as you like. You can either make your quilting in a simple way or as detailed as you please. We preferred quilting a straight diagonal line, then we used the walking foot as our guide to quilting the parallel lines.
It’s a classic method of quilting design, that looks amazing in any kitchen. You will get great results as long as you start quilting right in the middle of the fabric, then work your way out. You have to make sure that everything stays smooth as you quilt, then remember to take the pins out as you continue.
Trace the pattern
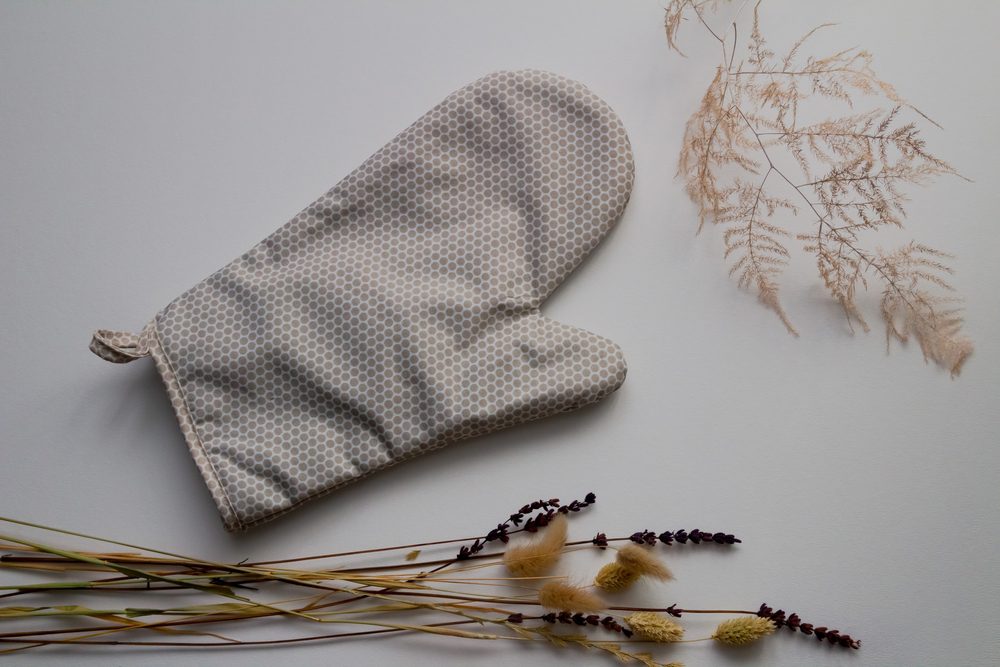
Take the two quilted pieces, then place them right sides together. Then, simply place the oven mitt template (that you printed at 100%) on top of your fabric, and trace around it. You can use some safety pins or even a basting spray, in order to keep everything together as you trace and sew.
Sew the quilt sandwiches together
If you don’t have the walking foot attached to the sewing machine, you might want to do that now. These are super thick layers, and your machine definitely needs the extra traction so it can properly sew over them. Sew all the way close to the marked oven mitt template line, but make sure you miss the bottom line.
This might need to stay open, so your hands can easily fit through the mitt. Make sure to backstitch right at the beginning and the end, so everything will remain securely together. Pivot as much as you can along the curves, moving carefully as you navigate the turns.
Cut out the oven mitt
Remove those pins, and then cut the sewn oven mitt, while making sure you give yourself a 1/4-inch seam allowance. You have to make sure you don’t cut through your stitching. You could add a couple of small clips in the seam allowance along the curves, as it will keep everything nice and smooth once you turn it.
Turn and press
Turn your oven mitt right side out, by using a colored pencil or fabric turner to get it fully turned. Take your time by using your finger to turn each side of the oven mitt. Then, give it a good press with your iron, to make sure you get any wrinkles out.
Make and then attach the loop (it’s optional)
If you would prefer a hanging-over mitt, you could easily make a simple loop out of bias tape. Just cut a 5-inch piece of bias tape, then fold it in half. Pin or clip the right sides together at one of those oven mitt seams, then have the raw edges lined up. Sew to attach everything.
Prepare the binding
Just cut a 16-inch strip of that bias tape, open the long edge of the binding, and carefully place it around the bottom of the oven mitt. When you get to the loop, make sure you enclose it along with the bottom of your oven mitt in the binding.
When you have finished with the pinning, you will have extra binding, just leave it like that for now. Stitch 1/4 inch away from the top of your bias tape until you almost get to the end of it, backstitching at the beginning.
Make sure you sew around the bottom of the oven mitt, don’t just sew the bottom of the mitt together. It might be a bit difficult, so you need to take your time. If the sewing machine has a detachable base, you could look into taking that off, in order to sew around more comfortably.
Stop sewing around 2 inches before you come right back to where you started attaching the binding. Also, cut off the extra bias tape, and leave 1 inch of excess to naturally overlap where you started. Then, open the short end of the bias tape you already trimmed. Then, fold the raw edge into that binding, then carefully fold the binding back. You’ll end up with a nice finished edge, then clip or pin if you feel like it.
Finish the oven mitt
Finish sewing on the binding, but make sure that the finished short end will cover the raw edge of the binding where you initiated. Backstitch to secure.
Even if various styles and materials depend on personal preferences, what’s most important is that they’re efficient when it comes to protecting your hands from the heat of the oven and any other hot pan you might use.
Even if oven mitts are found in almost any household around the world, we don’t really give so much attention to these essential safety equipment items. Decorative mitts might add to aesthetics, but the pain of grabbing something out of the oven is way more important.
As far as we’re concerned, we know that many kitchen items, such as baking trays and pots can be awkwardly large. Others might be heavy, which makes the grip even more difficult. Choose what’s best for you, but make sure you keep comfort in mind when you start your own DIY project.
If you enjoyed reading this piece, we have many other DIY articles you’d definitely want to read, including this one: Free Weekend? 10 DIY Projects To Try!






Leave a Reply