
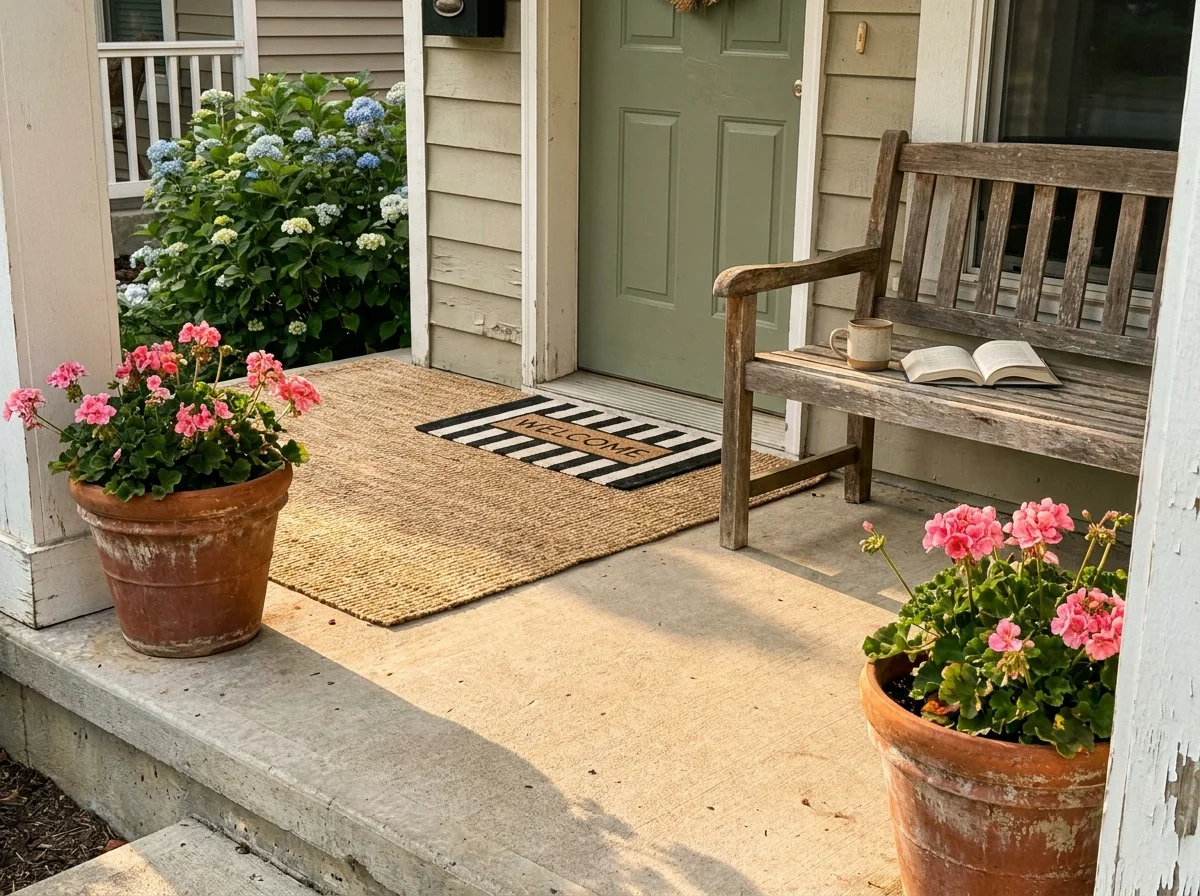
Transforming your outdoor space elevates curb appeal and creates a welcoming transition between the busy world and your private sanctuary. You do not need a massive remodeling budget or a general contractor to achieve a stunning exterior upgrade. Simple weekend efforts—like refreshing house numbers, layering durable textiles, and introducing vibrant plant life—breathe immediate energy into a tired entrance. Whether you rent a compact city apartment or own a sprawling suburban home, these foundational design principles adapt beautifully to any footprint. By committing just a few hours and utilizing basic household tools, you can turn a neglected walkway into an inviting, stylish outdoor room that greets guests with undeniable warmth.
Planning Your Porch Transformation
Assess Your Budget, Timeline, and Skill Level
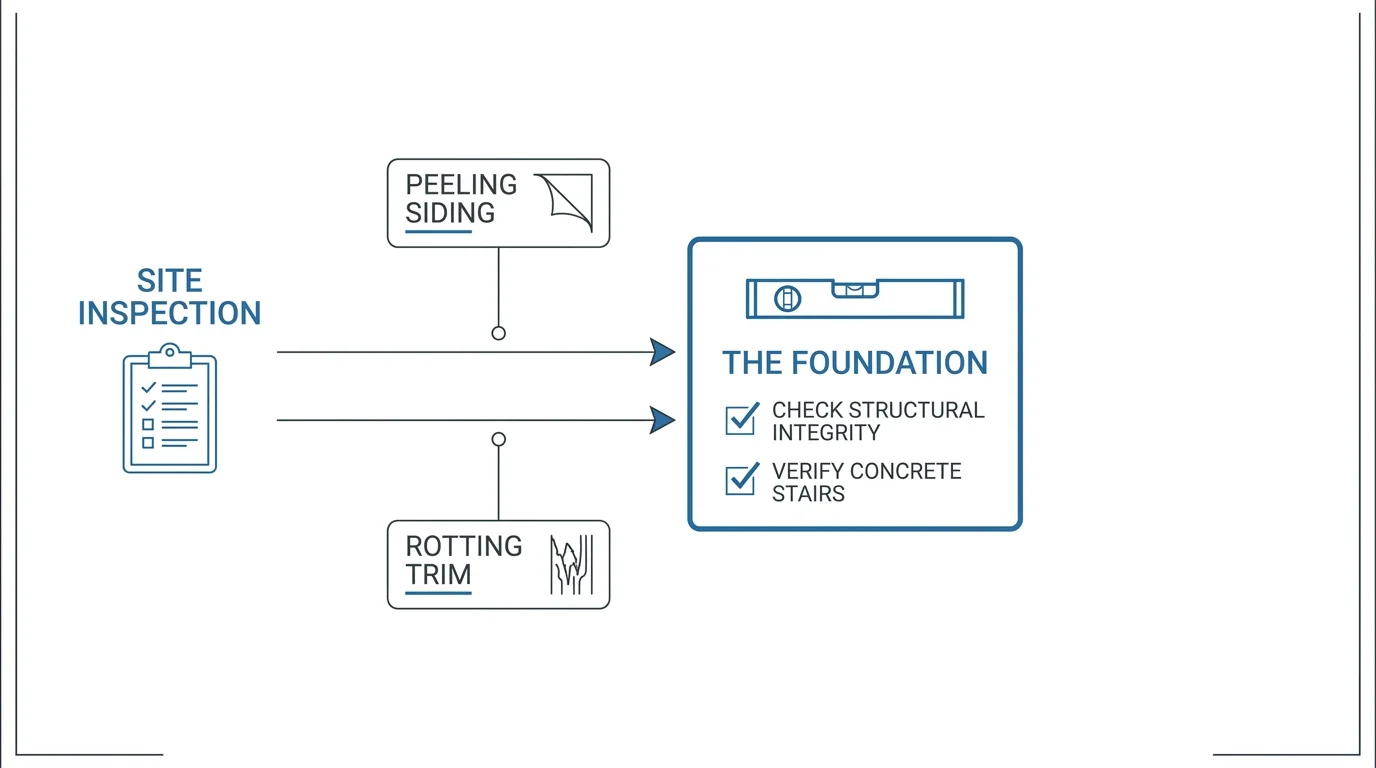
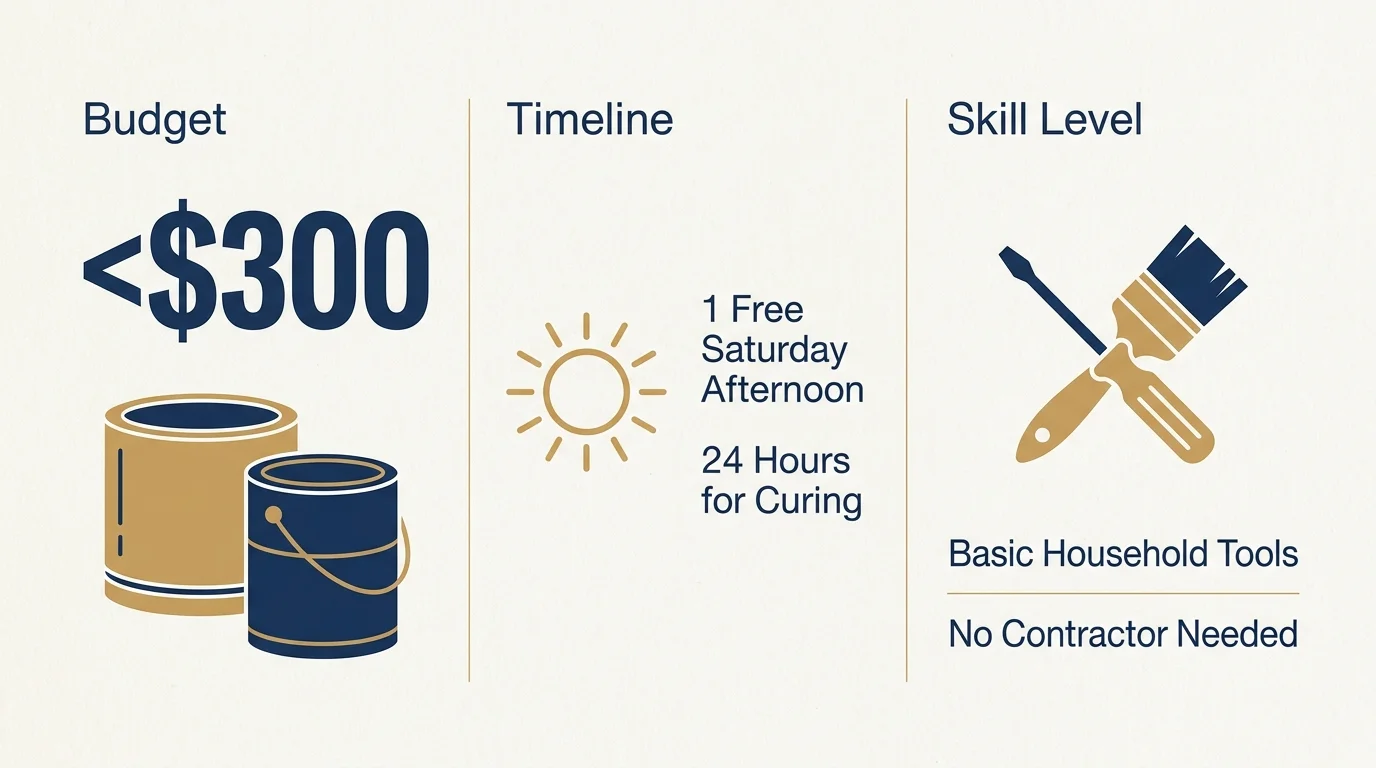
Before you purchase a single can of paint or order new brass hardware, you must establish a clear strategy for your exterior upgrade. Assessing your current layout allows you to prioritize which DIY front porch projects will deliver the highest return on your investment of time and money. Begin by closely inspecting your architectural features for structural integrity. You must address peeling siding, rotting trim, and uneven concrete stairs before applying any purely decorative elements. Once you secure a sound physical foundation, draft a realistic budget. Most porch makeover ideas require an initial outlay of fewer than three hundred dollars, especially if you repurpose existing terra cotta planters or utilize leftover exterior paint from previous home renovations.
Determine your project timeline by reviewing your local weather forecast; exterior primers, paints, and protective sealants require specific temperature ranges and low humidity environments to cure correctly. Evaluate your personal comfort with basic household tools as well. While installing a hardwired smart doorbell requires turning off breakers and understanding electrical wiring, layering new outdoor entryway decor demands nothing more than an artistic eye and a single free Saturday afternoon. By matching your planned projects to your available weekend hours, you guarantee a stress-free and satisfying creative process.
Phase 1: Preparation and Foundational Upgrades
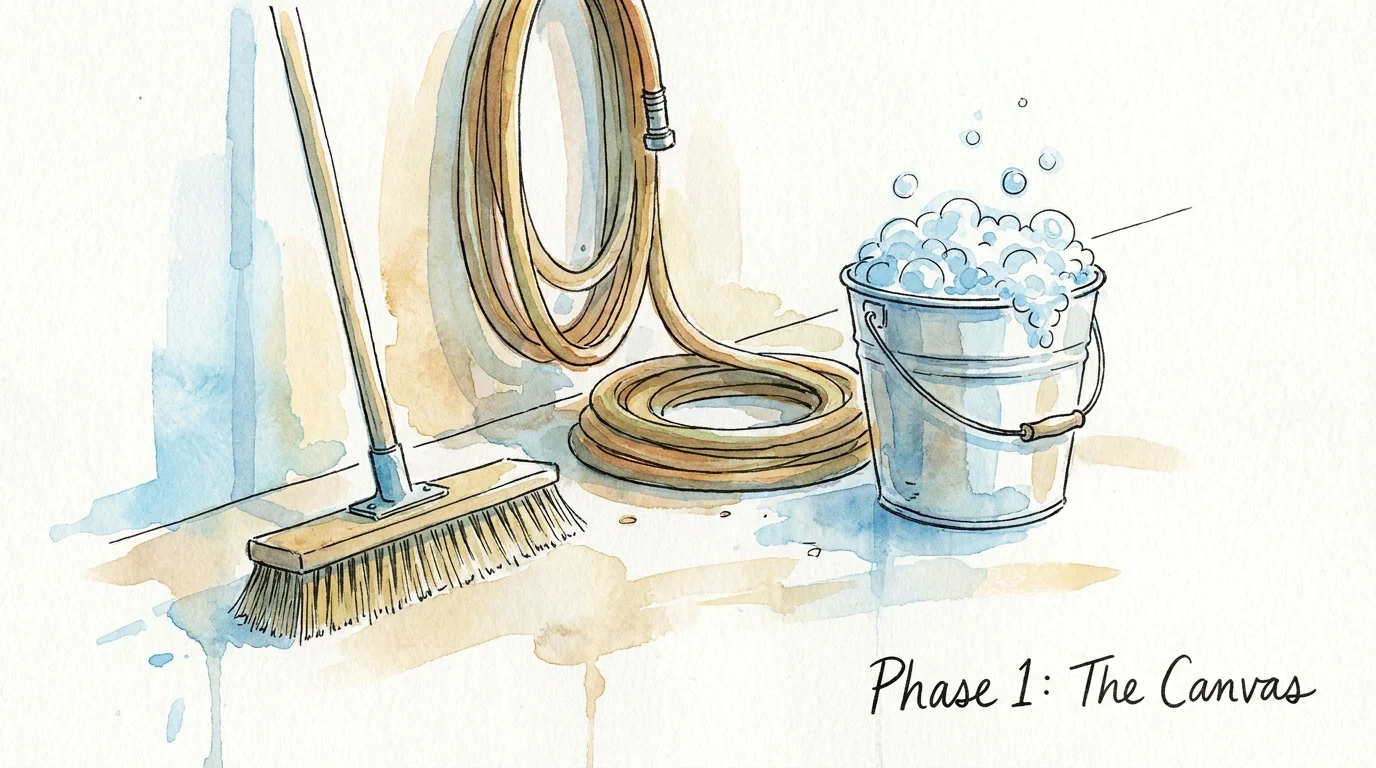
The secret to professional-looking curb appeal upgrades lies entirely in the preparation phase. Skipping the deep cleaning or rushing through the necessary structural repairs will only highlight the flaws in your space once the new decor goes up. Take the time to create a blank, pristine canvas.
Project 1: Deep Clean and Restore Surfaces
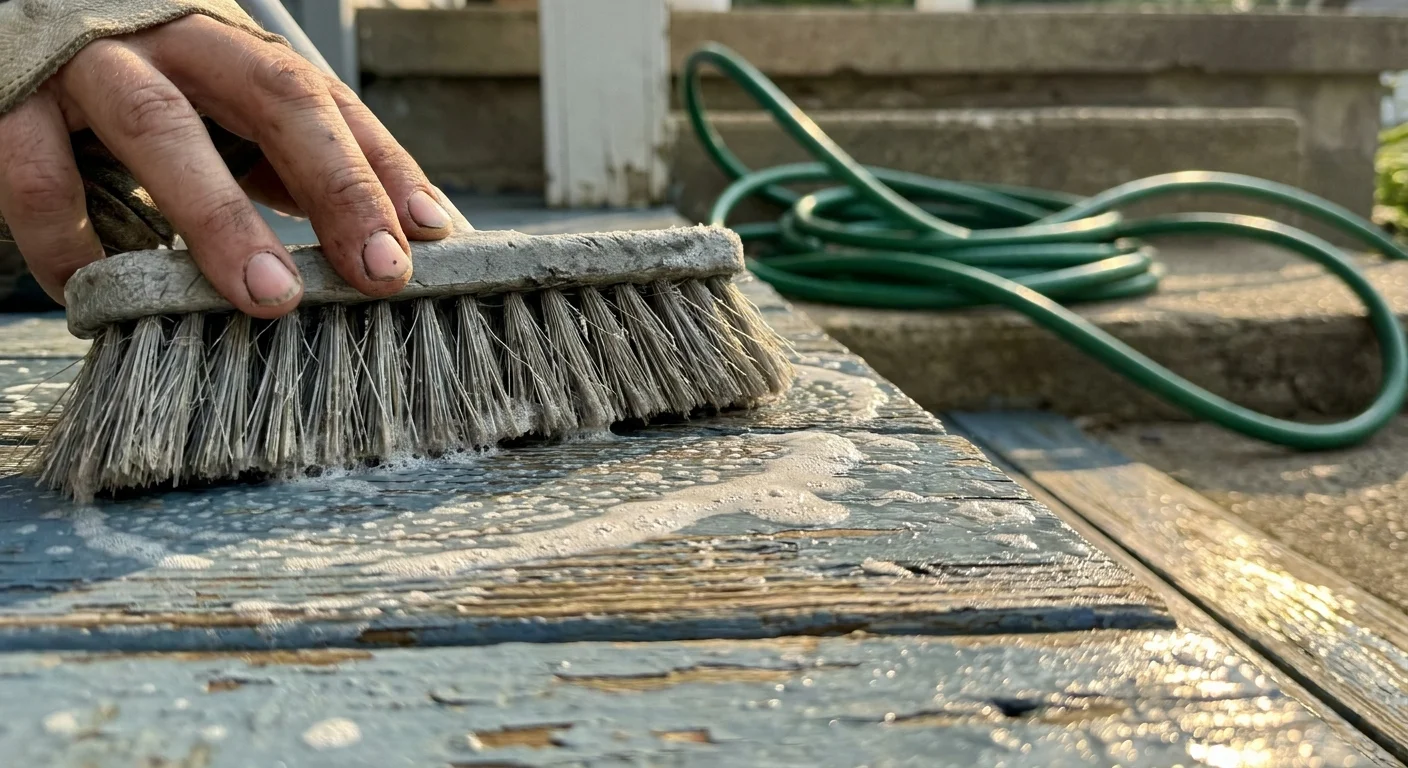
Begin your transformation by removing all existing furniture, old welcome mats, and dead potted plants from the area. Sweep the ceiling corners, window frames, and floorboards with a stiff-bristled push broom to dislodge stubborn cobwebs and accumulated dust. For concrete or brick flooring, rent or purchase a medium-duty power washer to blast away years of embedded grime, algae, and weather stains. If you have a painted wood deck, skip the high-pressure washer—which can strip the finish and splinter the boards—and instead scrub the surface using a gentle mixture of warm water, mild dish detergent, and a soft-bristle deck brush. Rinse the area thoroughly with a standard garden hose and allow the entire space to dry completely for at least twenty-four hours.
Project 2: Upgrade Your House Numbers
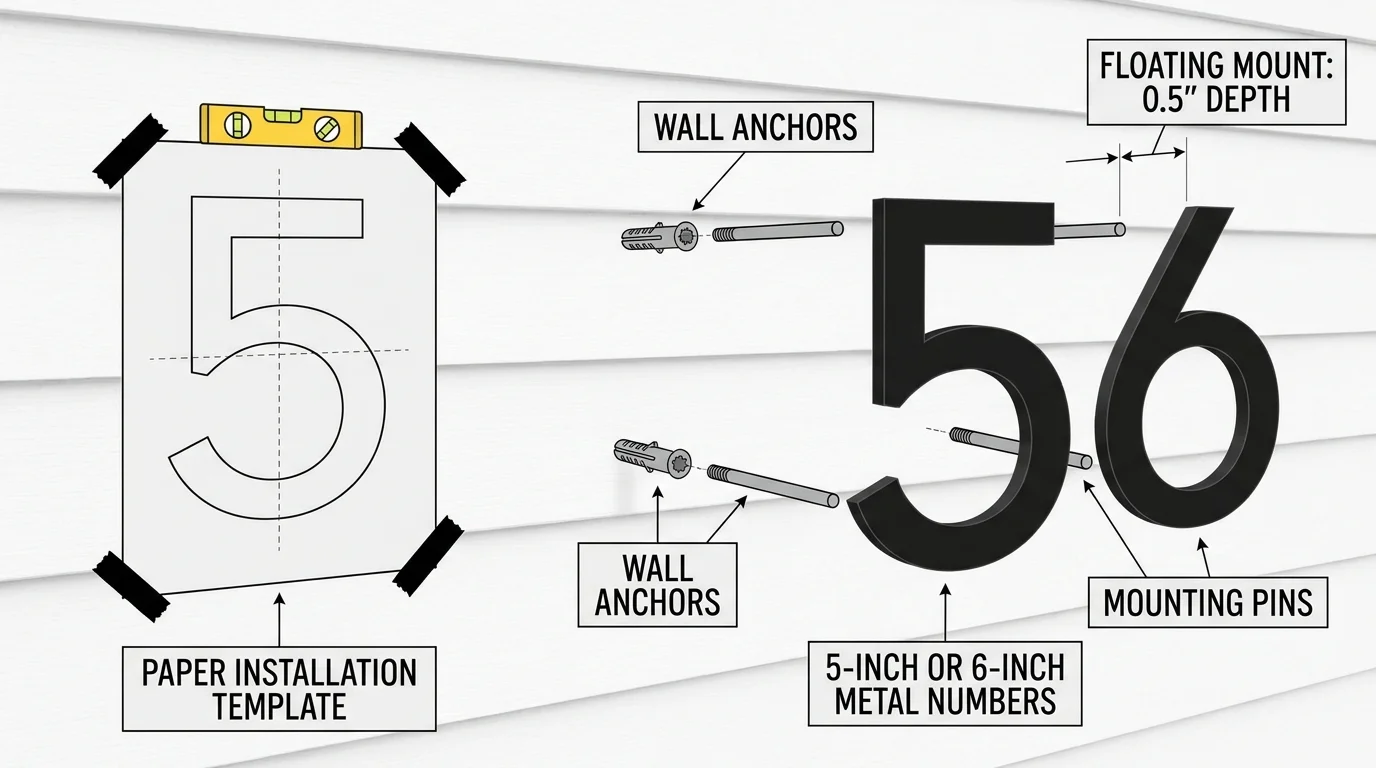
Removing faded, builder-grade address plaques provides an immediate modernization to your entryway. Purchase five-inch or six-inch floating metal numbers in a finish that contrasts sharply with your exterior siding, such as matte black hardware against white clapboard or brushed brass against dark painted brick. Tape the paper installation template provided by the manufacturer directly to the siding, utilizing a bubble level to ensure perfect horizontal alignment. Drill your pilot holes directly through the paper template using a quarter-inch masonry or wood drill bit, depending on your exterior material. Tap the provided plastic anchors gently into the holes using a rubber mallet, apply a small bead of clear exterior silicone inside each anchor to prevent water intrusion, and press the metal numbers firmly into place.
Project 3: Install an Oversized Statement Planter
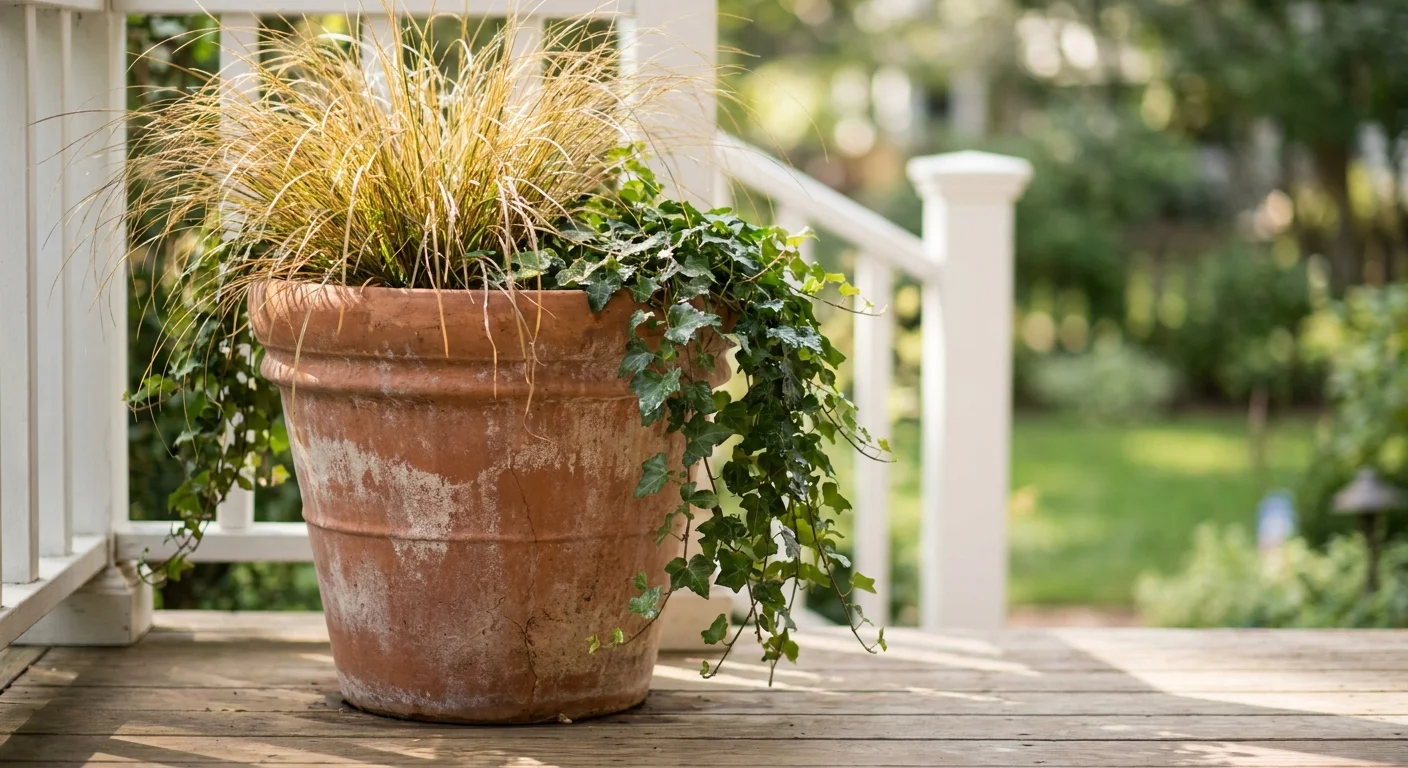
A single, massive planter delivers far more visual impact than a clustered group of tiny, mismatched pots. Select a twenty-four-inch lightweight resin planter that mimics the heavy look of cast stone or concrete without the back-breaking weight. To save money on premium potting soil and keep the finished arrangement easy to move, fill the bottom one-third of the container with empty, capped plastic water bottles or upside-down nursery pots. Cover this filler layer with landscape fabric to prevent dirt from settling to the bottom, then fill the remainder of the pot with a moisture-retaining soil blend. Plant a hardy, low-maintenance evergreen shrub that thrives in your specific climate; you can easily determine your local growing conditions by checking the USDA Plant Hardiness Zone Map online.
Phase 2: Execution and Building Curb Appeal
With a clean foundation and modernized hardware in place, you can now inject dramatic color and tactile texture into your outdoor space. This execution phase shifts the focus from simple maintenance to genuine architectural styling.
Project 4: Paint the Front Door a Bold Accent Color
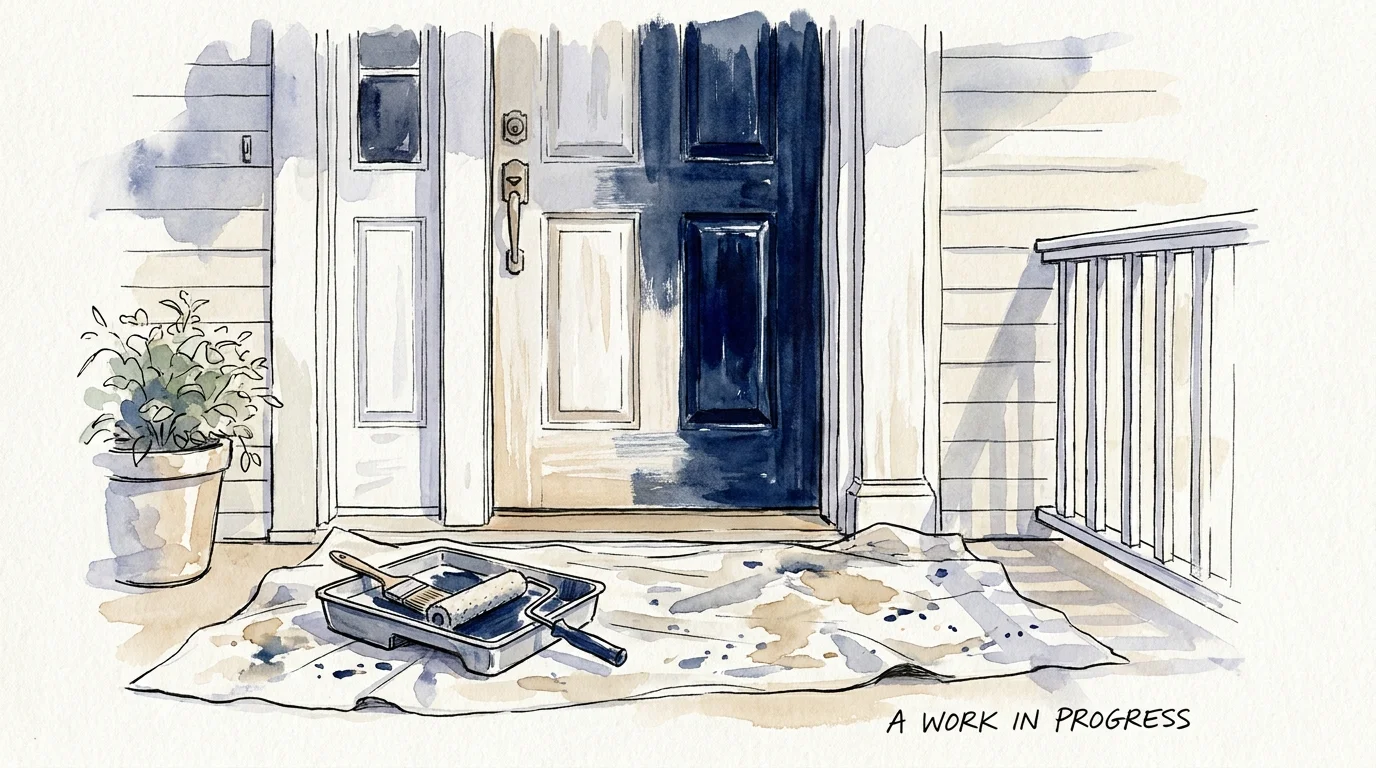
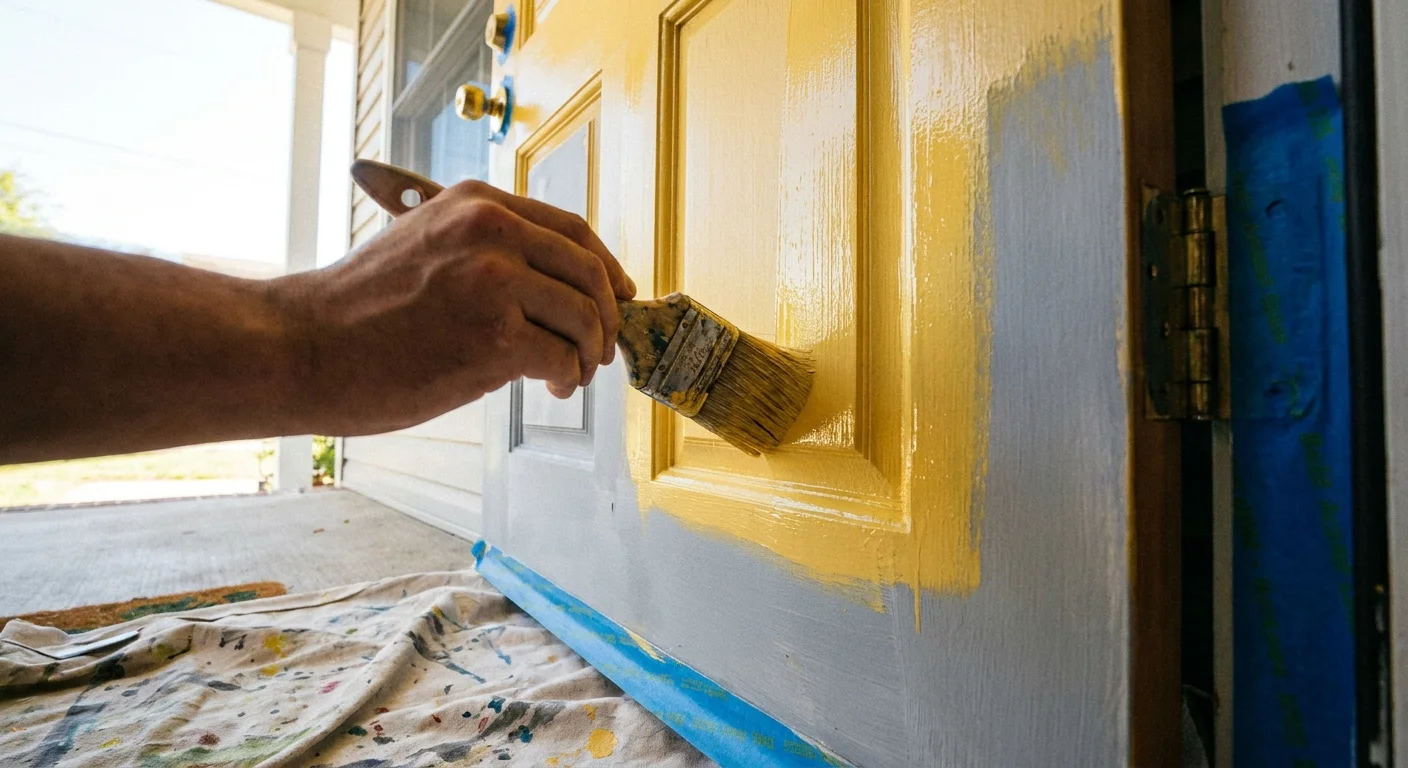
Your front door serves as the natural focal point of your home’s exterior, making a fresh coat of paint the most powerful aesthetic choice you can make. Remove the doorknob, deadbolt, and any decorative knocker to prevent accidental drips. Lightly sand the entire door surface using 120-grit sandpaper to break the existing glossy finish and promote paint adhesion. Wipe the door clean with a damp microfiber cloth to remove all fine dust particles, then apply a high-quality exterior bonding primer. Once the primer dries completely, apply two coats of premium semi-gloss exterior paint using a high-density foam roller; the foam material prevents unsightly brush marks and delivers a factory-smooth finish. If you need help choosing a shade, researching proper surface preparation techniques and classic exterior color palettes will guide you toward a hue that complements your existing siding.
Project 5: Layer Weatherproof Rugs
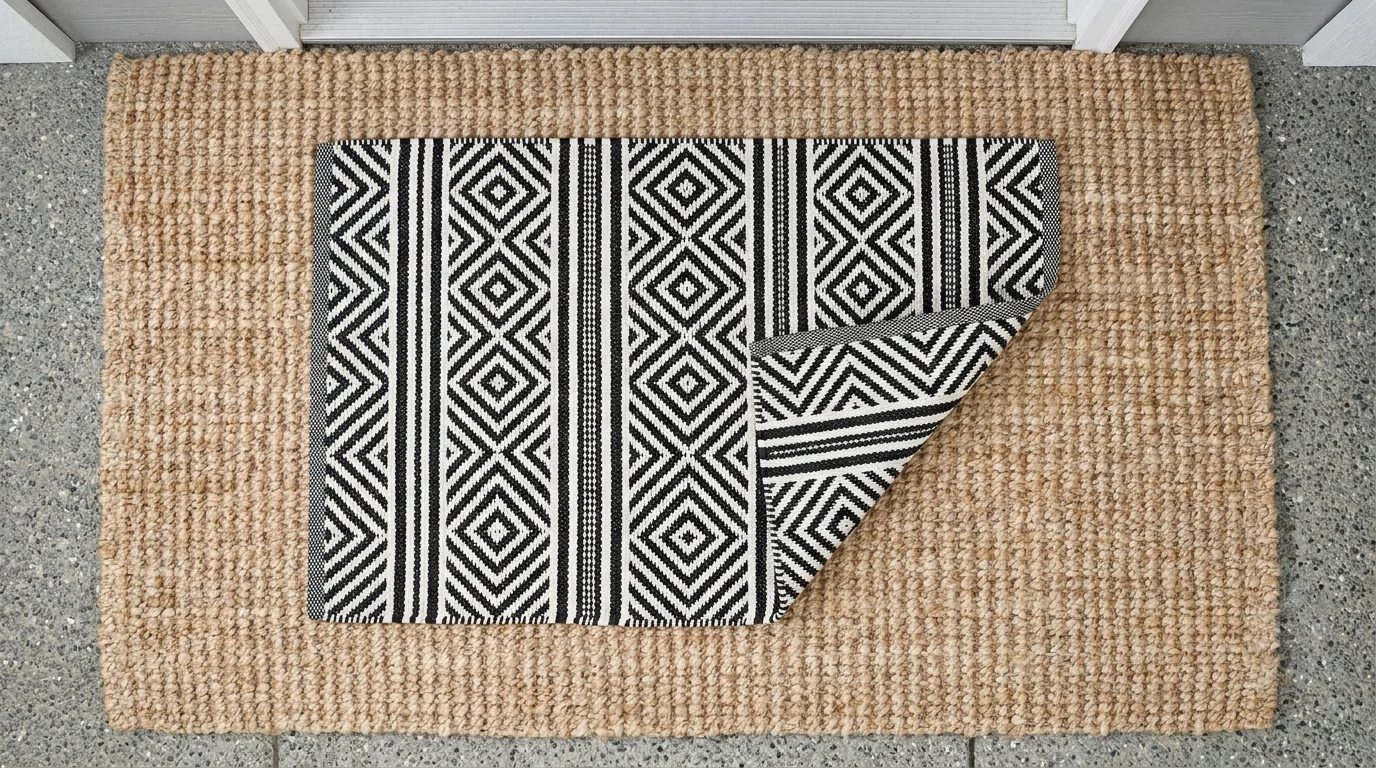
Introduce a sophisticated, interior-design feel to your porch by layering multiple exterior textiles. Start by laying down a woven polypropylene indoor-outdoor rug measuring at least three feet by five feet; choose a bold geometric pattern or a classic wide stripe to anchor the space visually. Directly on top of this base layer, center a standard two-foot by three-foot natural coir welcome mat. The synthetic base rug frames the entryway and adds a wide swath of color, while the bristly coir mat provides the heavy-duty scraping action required to keep muddy shoes from tracking dirt into your hallway. Secure the corners of the base rug with heavy-duty double-sided outdoor carpet tape to prevent dangerous tripping hazards on windy days.
Project 6: Build a Custom Wood Doormat
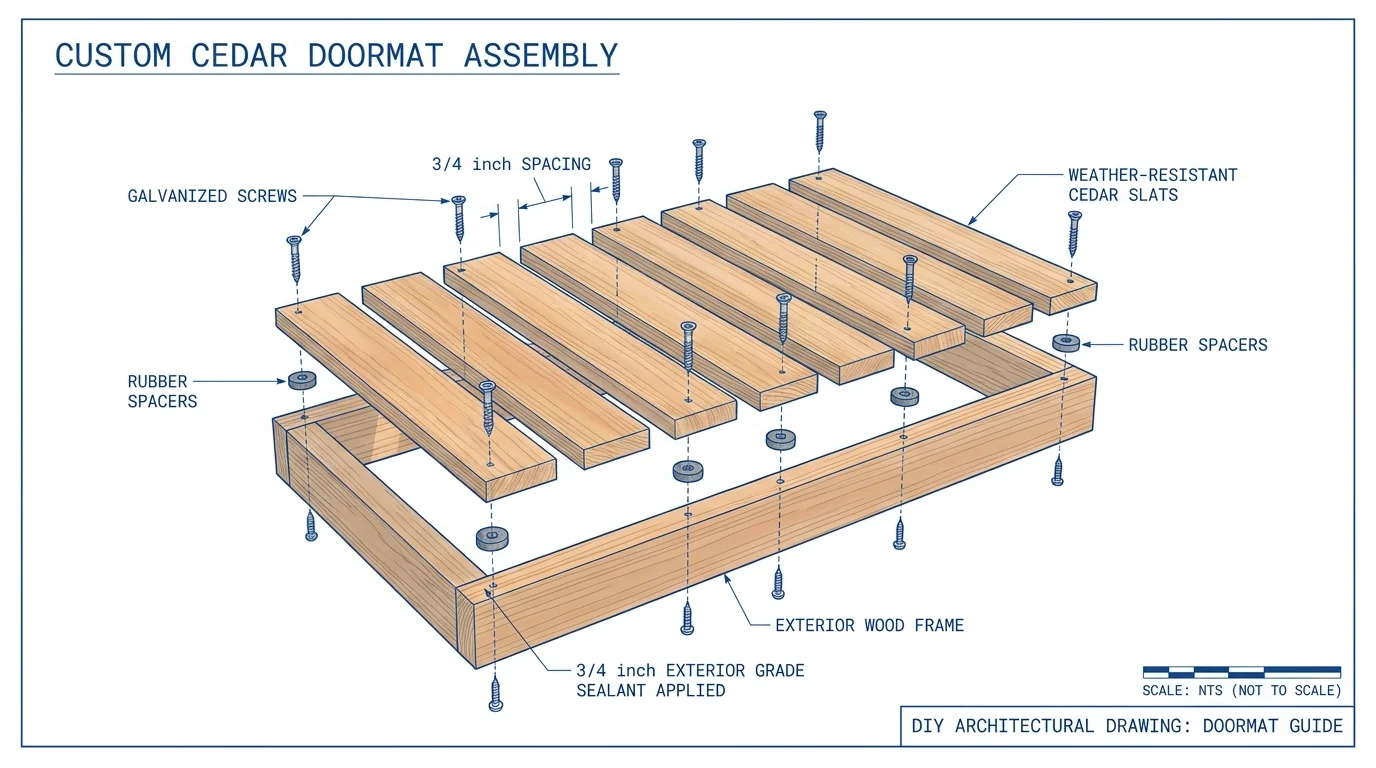
If you prefer an architectural, organic look over traditional woven rugs, constructing a slatted wooden doormat requires only beginner carpentry skills. Purchase several six-foot lengths of naturally rot-resistant cedar or teak lumber. Cut the boards into equal thirty-inch sections using a standard miter saw or circular saw. Drill a half-inch hole exactly two inches from the end of every board. Thread a thick, marine-grade nylon rope through the drilled holes, sliding a galvanized metal washer between each wooden slat as you pull the rope tight. These metal washers act as precise, uniform spacers that allow rainwater to drain freely through the mat. Tie thick, secure knots at both ends of the rope, trim the excess with sharp utility scissors, and seal the entire wooden assembly with a clear exterior marine varnish.
Project 7: Install Smart Path Lighting
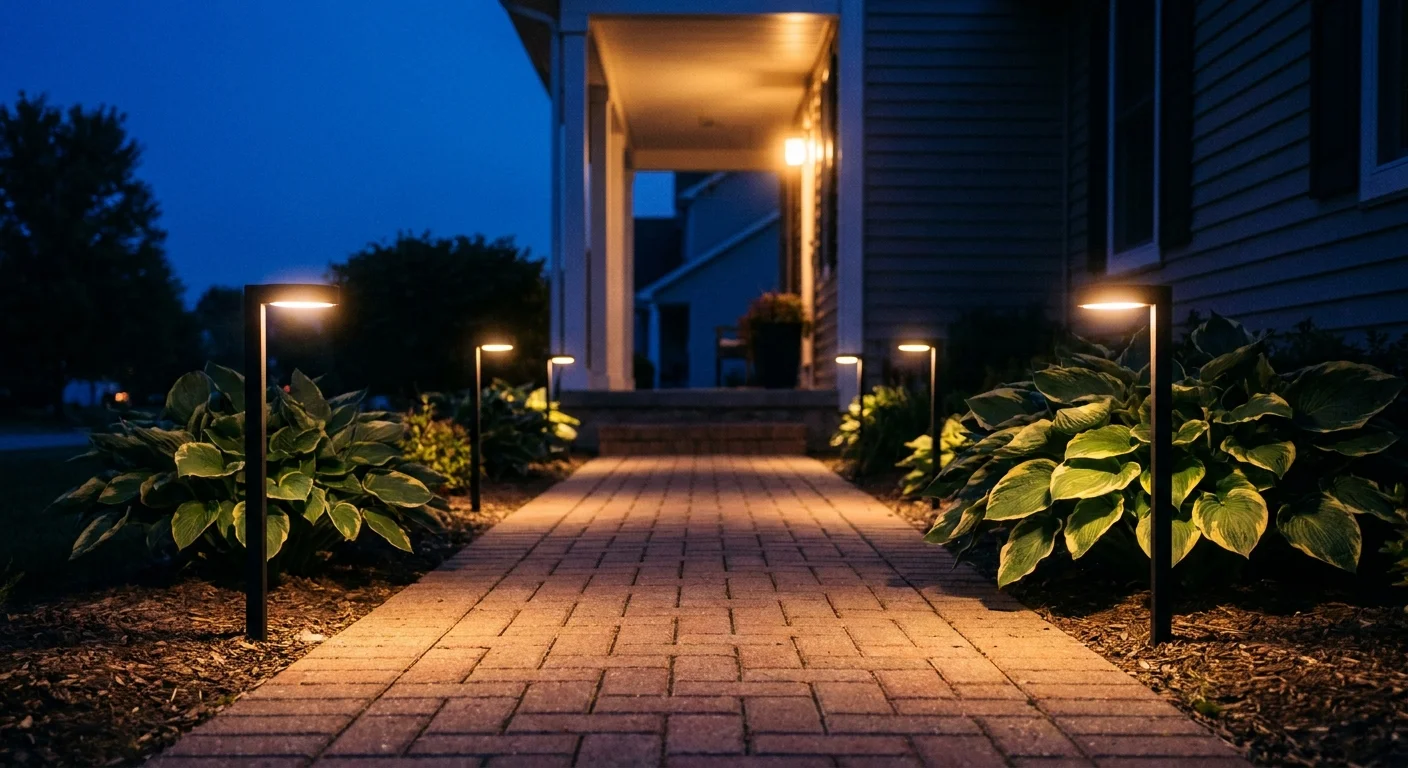
Strategic illumination transforms your walkway from a hazardous dark path into a welcoming, safely guided approach. Push solar-powered LED pathway stakes directly into the soil along your front walkway, spacing them approximately thirty-six inches apart to create overlapping pools of light. When purchasing outdoor fixtures, always read the packaging specifications to confirm the bulbs feature a 2700K color temperature; this specific rating produces a warm, inviting amber glow rather than the harsh, sterile blue light commonly associated with cheap LEDs. Upgrading your exterior illumination is a proven method for enhancing security, and consulting resources focused on energy-efficient outdoor lighting solutions can help you choose fixtures that reduce your monthly utility bills.
Phase 3: Finishing Touches and Styling
The final layer of your porch transformation involves arranging the decorative elements that make the space feel intentionally designed, cozy, and distinctly yours. Focus on balance, seasonality, and comfort.
Project 8: Create a Symmetrical Topiary Display
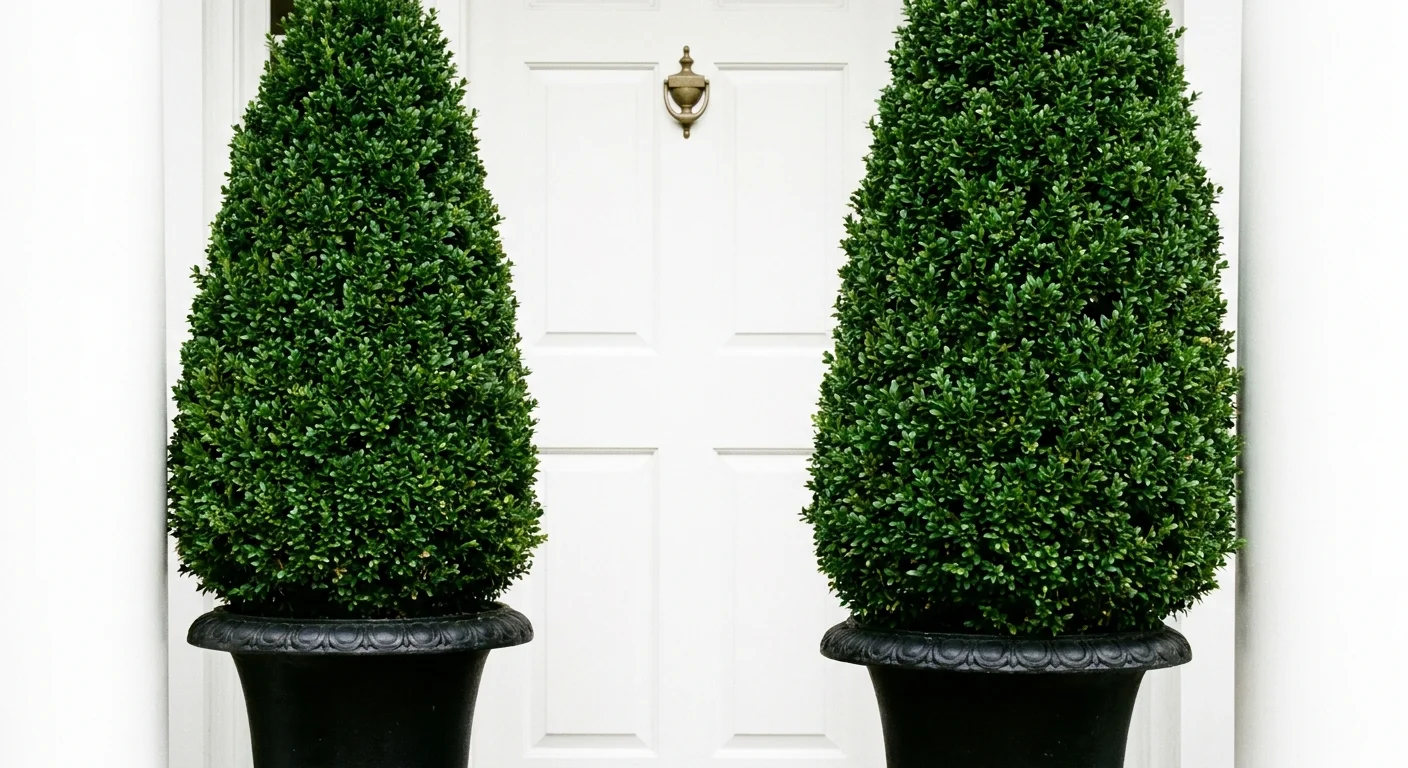
Human eyes naturally gravitate toward symmetry, making paired botanical displays an incredibly effective trick for framing an entrance. Place two identical tall, slender planters on either side of your front door. If your entryway sits under a deep overhang that receives zero natural sunlight, invest in high-quality, UV-protected faux boxwood spheres or artificial cedar spirals. Modern artificial exterior plants look remarkably realistic and require absolutely no watering, trimming, or sweeping up dropped needles. If you prefer living plants, pot two matching dwarf Alberta spruces and rotate them a quarter-turn every week to ensure even growth on all sides.

Project 9: Hang a Seasonal Wreath with Ribbon
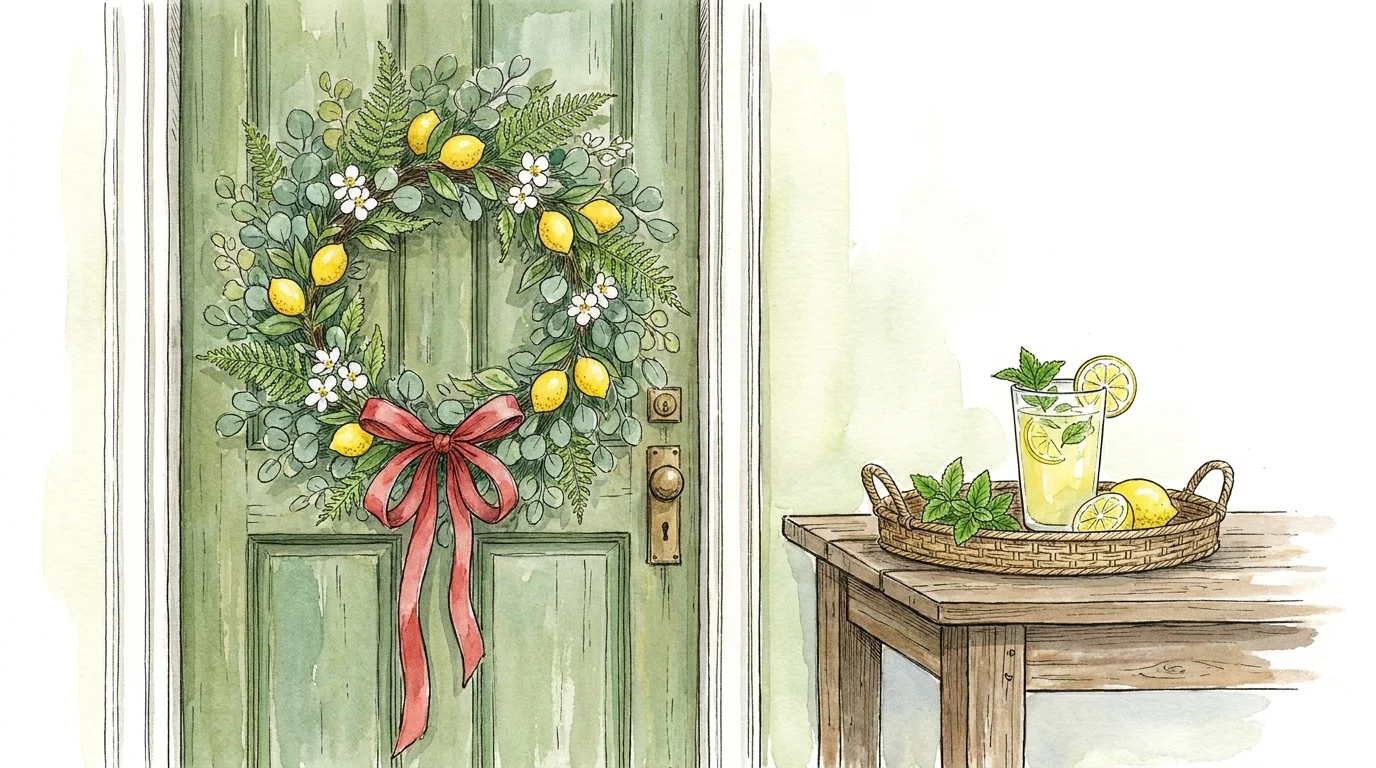
A beautiful wreath adds instant seasonal charm, but driving a nail directly into your newly painted front door invites moisture damage and wood rot. Instead, clean a small patch of glass or wood on the interior side of your door using rubbing alcohol. Attach a heavy-duty, removable adhesive hook upside down on this interior surface. Cut a long length of wide, wire-edged velvet ribbon, loop it securely through the top of your decorative exterior wreath, drape the ribbon straight over the top edge of the door, and catch the loop on the inverted interior hook. This damage-free method allows you to swap out faux eucalyptus in the spring for vibrant dried citrus slices in the summer.
Project 10: Arrange a Cozy Seating Nook
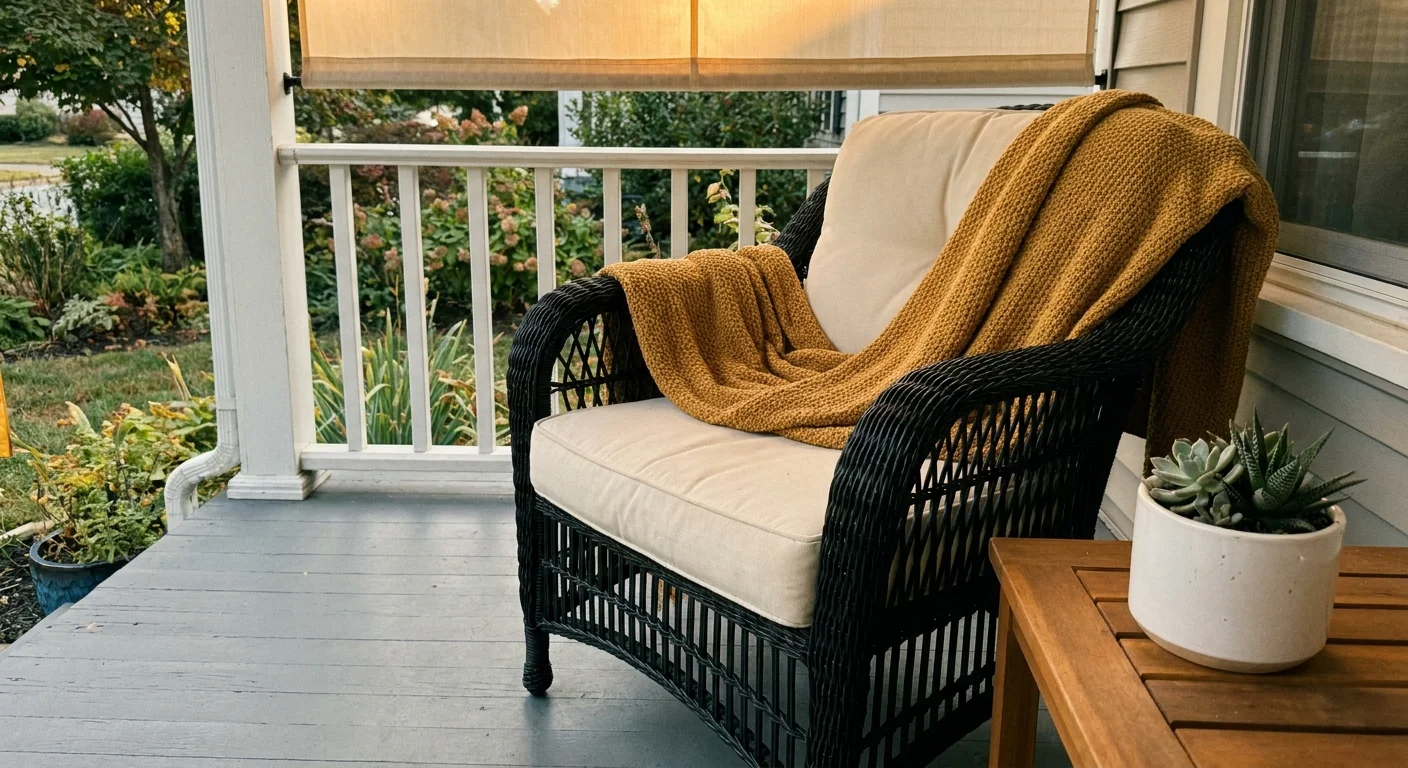
If your footprint allows for even a few square feet of extra space, carve out a functional seating area. A brightly painted powder-coated steel bistro chair tucked into an empty corner invites neighbors to pause and chat. Soften the hard metal seat by adding an outdoor-rated lumbar pillow woven from solution-dyed acrylic fabric, which aggressively resists sun fading and mildew growth. Place a small glazed ceramic garden stool next to the chair to serve as a convenient, weather-proof side table for setting down a morning cup of coffee or a stack of mail. Reviewing foundational architectural design principles will inspire you to treat this outdoor nook with the same styling care you give your interior living room.

Styling, Color, and Texture Considerations
As you gather your materials, adhere strictly to a cohesive color palette to prevent the porch from looking cluttered or chaotic. Limit your primary design scheme to three colors: a dominant neutral shade for the walls or floor, a secondary color for the door or large planters, and a bright accent color introduced through throw pillows, flowers, and ribbons. Mix textures intentionally to build visual interest. Pair smooth, glossy ceramic pots with rough, rustic wooden doormats; contrast the soft velvet ribbon of your wreath against the rigid, sharp lines of your metal house numbers. Repeating finishes—such as matching the matte black of your new house numbers to the metal frame of your bistro chair—creates a highly curated, professionally designed aesthetic.
Troubleshooting and Long-Term Upkeep
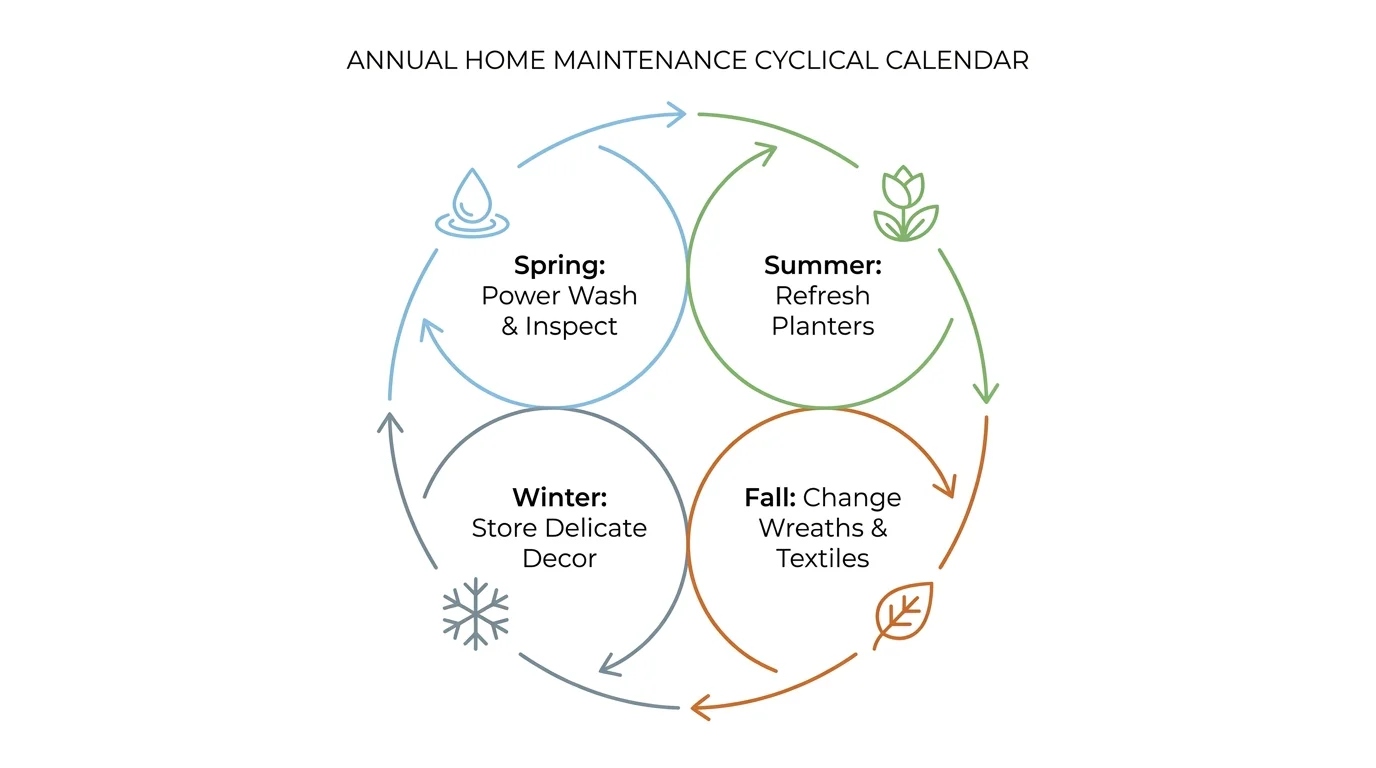
Maintaining your newly upgraded entryway requires minor, consistent effort to protect your investments from harsh weather conditions. Sun fading acts as the primary enemy of front porch decor ideas; combat this by treating all fabric pillows and artificial greenery with an aerosol UV-blocking fabric spray at the beginning of each season. Strong storm winds easily topple topiary displays, so drop a heavy landscaping brick or a sealed heavy-duty zip-top bag filled with playground sand into the bottom of your tall planters before adding the decorative moss. Finally, keep your layered rugs looking fresh by vigorously shaking out the top coir mat weekly and hanging the synthetic base rug over a sturdy fence rail once a month to let it dry completely out, which prevents stubborn mildew from staining your porch floorboards.
Frequently Asked Questions
What kind of paint is best for an exterior front door?
You must always use a premium exterior-grade paint formulated specifically to withstand fluctuating temperatures, high humidity, and direct ultraviolet sunlight. A 100-percent acrylic latex paint with a semi-gloss or high-gloss finish offers the best durability; the glossy sheen creates a hard, protective shell that naturally repels rainwater and makes wiping away muddy fingerprints incredibly easy. Never apply interior wall paint to an exterior door, as it will inevitably chalk, peel, and crack within a single season.
How can I decorate an incredibly small or narrow entryway?
When decorating a very compact stoop or a narrow city apartment landing, you must utilize vertical space to build your curb appeal. Focus your entire budget on upgrading the door paint, installing high-end modern house numbers, and changing out the lighting fixture. Instead of placing wide, floor-hogging planters that trip your guests, mount a sleek, dark metal window box directly below your front window or hang a vibrant, seasonal wreath. Every element must earn its footprint by being highly functional.
Are outdoor rugs truly waterproof?
Outdoor rugs made from synthetic fibers—like polypropylene or recycled PET plastic—are highly water-resistant, but they are not entirely waterproof. While the plastic fibers themselves will not absorb moisture or rot, rainwater can easily pool beneath the backing of the rug and remain trapped against your porch floor. You must actively lift the rug after heavy rainstorms and allow both the rug backing and the wood or concrete flooring underneath to dry thoroughly in the sun to prevent mold growth and wood rot.
Where should I place my house numbers for maximum visibility?
You should position your house numbers in a location that remains totally unobstructed by mature landscaping, overgrown porch columns, or parked vehicles. The most effective placements include horizontally above the front door, vertically aligned on the primary structural pillar nearest the stairs, or directly next to the doorbell at eye level. Always ensure the numbers are generously illuminated by an overhead porch light or an angled solar spotlight so emergency responders and delivery drivers can easily identify your home at night.
Empower Your Exterior
Refreshing your entryway proves that you hold the power to dramatically alter how your home greets the world. You do not need to wait for a massive budget surplus or a long holiday weekend to begin making impactful changes. Start small this very weekend. Order a set of modern house numbers, pick out a bold paint color that brings you joy, or simply power wash the walkway to reveal the beautiful stone underneath. Each modest, deliberate upgrade compounds, gradually building an exterior space that radiates warmth, showcases your personality, and makes you genuinely proud to walk through your front door every single day.


Leave a Reply