
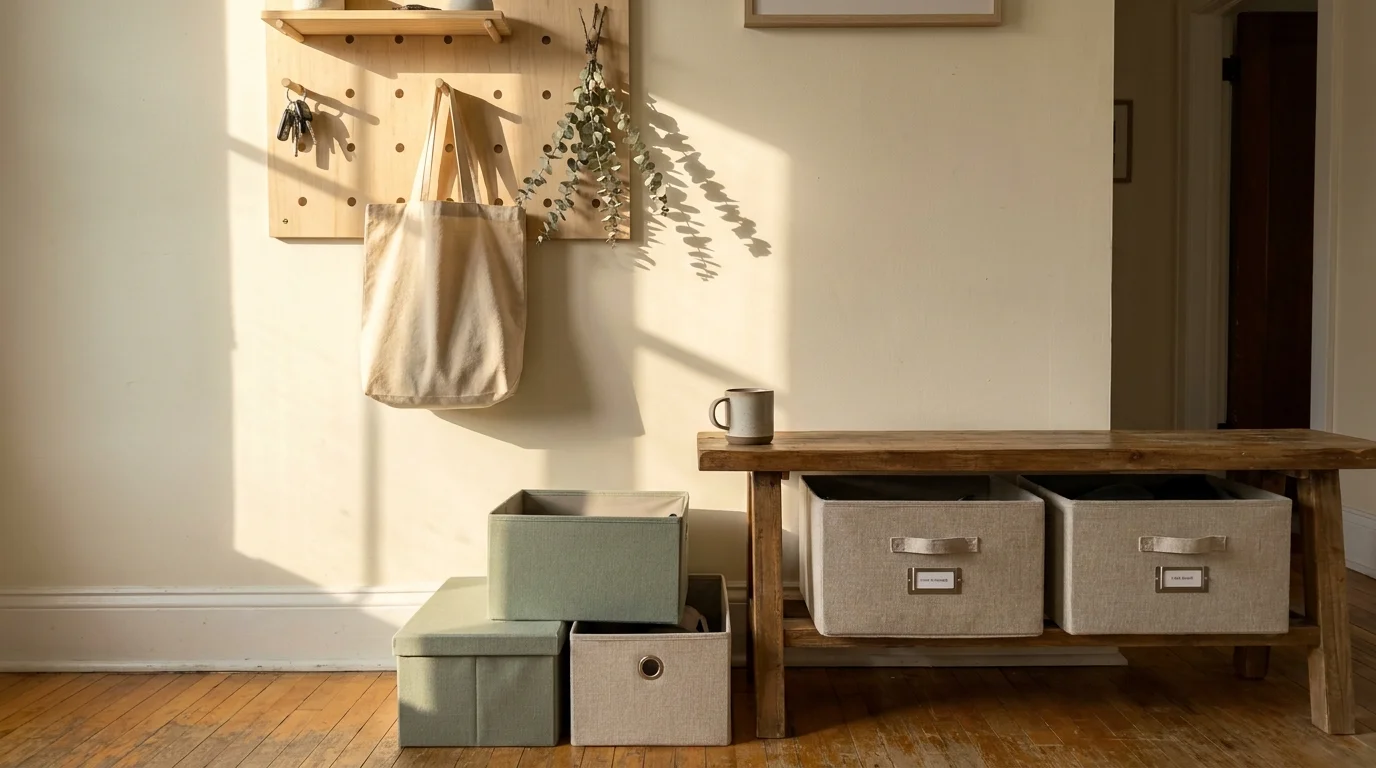
Cluttered countertops and overflowing cabinets drain your energy and make relaxing impossible. You can reclaim your home and lower your daily stress by building customized DIY storage ideas that actually fit your layout. Upcycling everyday materials into smart home organization crafts saves you hundreds of dollars compared to buying mass-produced plastic bins. Creating your own storage solutions ensures every tricky corner and awkward shelf serves a specific purpose. You do not need a professional workshop to pull this off; basic household tools are enough to transform household chaos into an efficient oasis. Roll up your sleeves and start clearing the visual noise.
Planning Your Storage Transformation
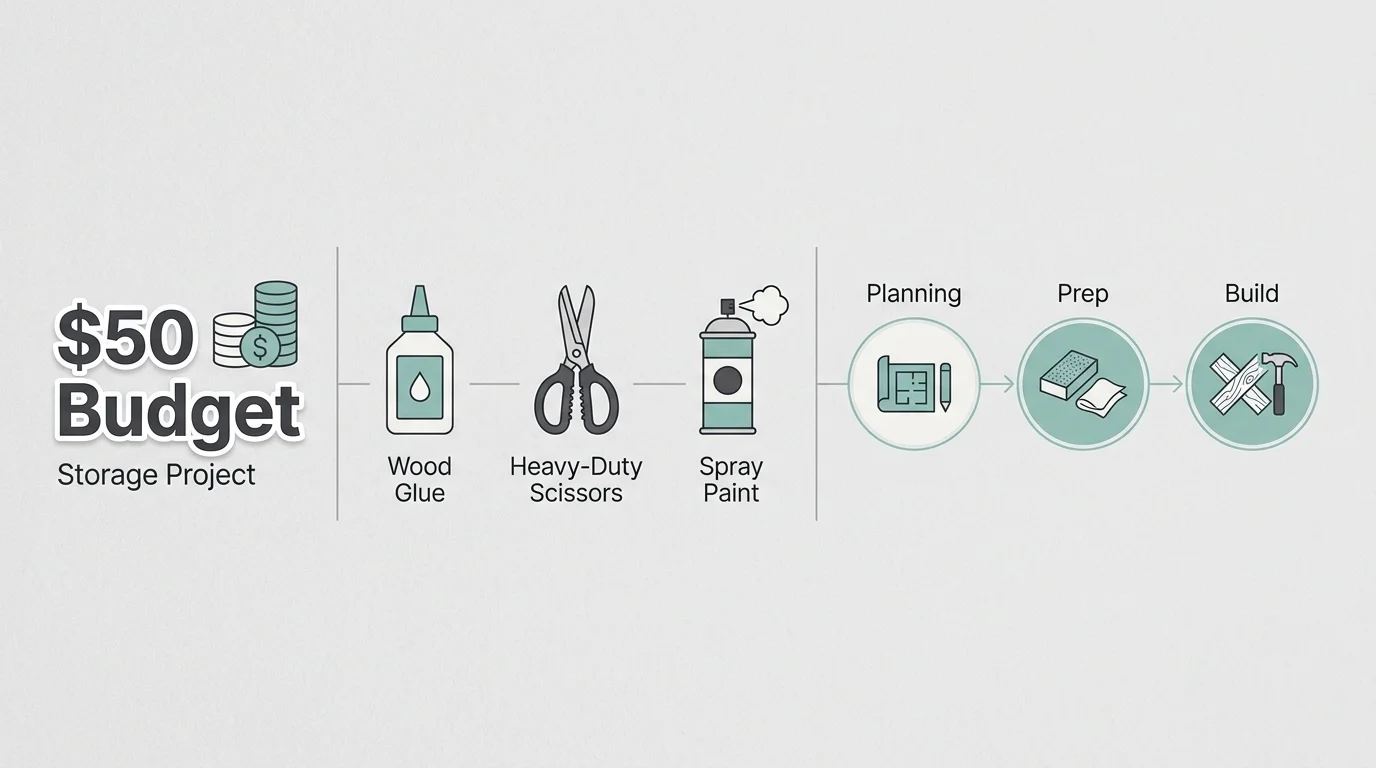
Before you pull out the glue gun, establish a realistic budget and timeline for your decluttering projects. Tackling the entire house in a single weekend seems tempting, but pacing yourself guarantees better craftsmanship and significantly less frustration. Start by allocating fifty dollars to grab essential crafting supplies like wood glue, heavy-duty scissors, and spray paint. Most organized home ideas outlined here rely heavily on upcycling items you already own, keeping your total expenditure remarkably low. Embracing modern home organization techniques streamlines your workflow before you even pick up a hammer. Assessing your skill level honestly prevents mid-project burnout; if you are new to DIY, stick to simple adhesive projects before trying wall-mounted builds. Setting aside dedicated crafting blocks allows you to focus completely on the task without outside distractions. Planning ahead means you avoid the chaotic trap of pulling everything out of a closet only to abandon the mess halfway through. Map out your target zones, measure the dimensions of your empty shelves, and gather your supplies so your momentum stays strong.
Phase One: Preparation and Decluttering
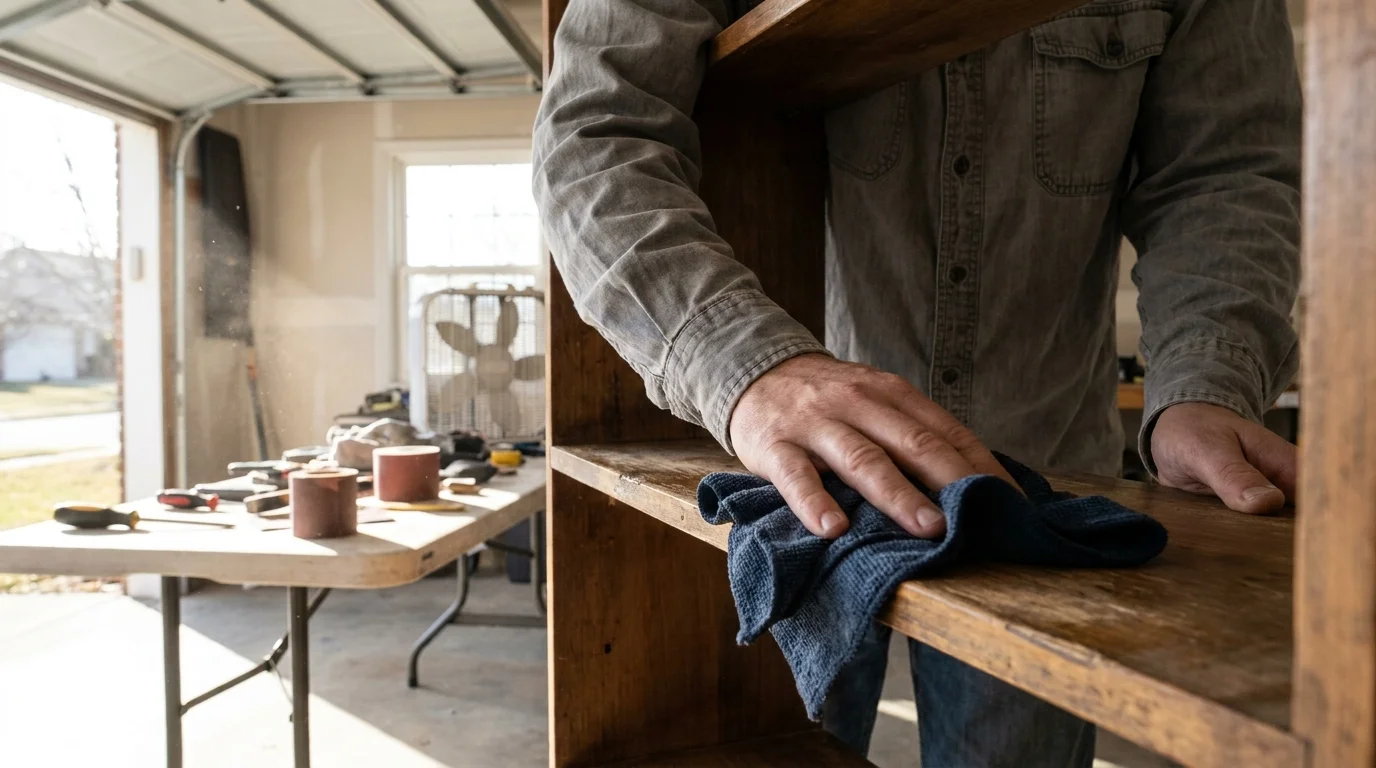
Clear the designated area completely before you begin constructing any DIY storage ideas. Emptying the closet or countertop gives you a blank canvas and forces you to confront exactly how much stuff actually requires housing. Wipe down every surface with a mild degreaser and inspect your walls for existing damage. If your planned storage solutions involve painting or applying strong adhesives, set up a dedicated workspace in a well-ventilated garage or patio. Taking the time to properly sand wooden elements and clean glass jars guarantees that your paint and glue adhere correctly. Working with varnishes and spray adhesives indoors requires careful attention to maintaining proper indoor air quality, so keep windows open and run a box fan to push fumes outside. Organize your tools on a large folding table so you never have to hunt for a screwdriver while holding two glued pieces together.
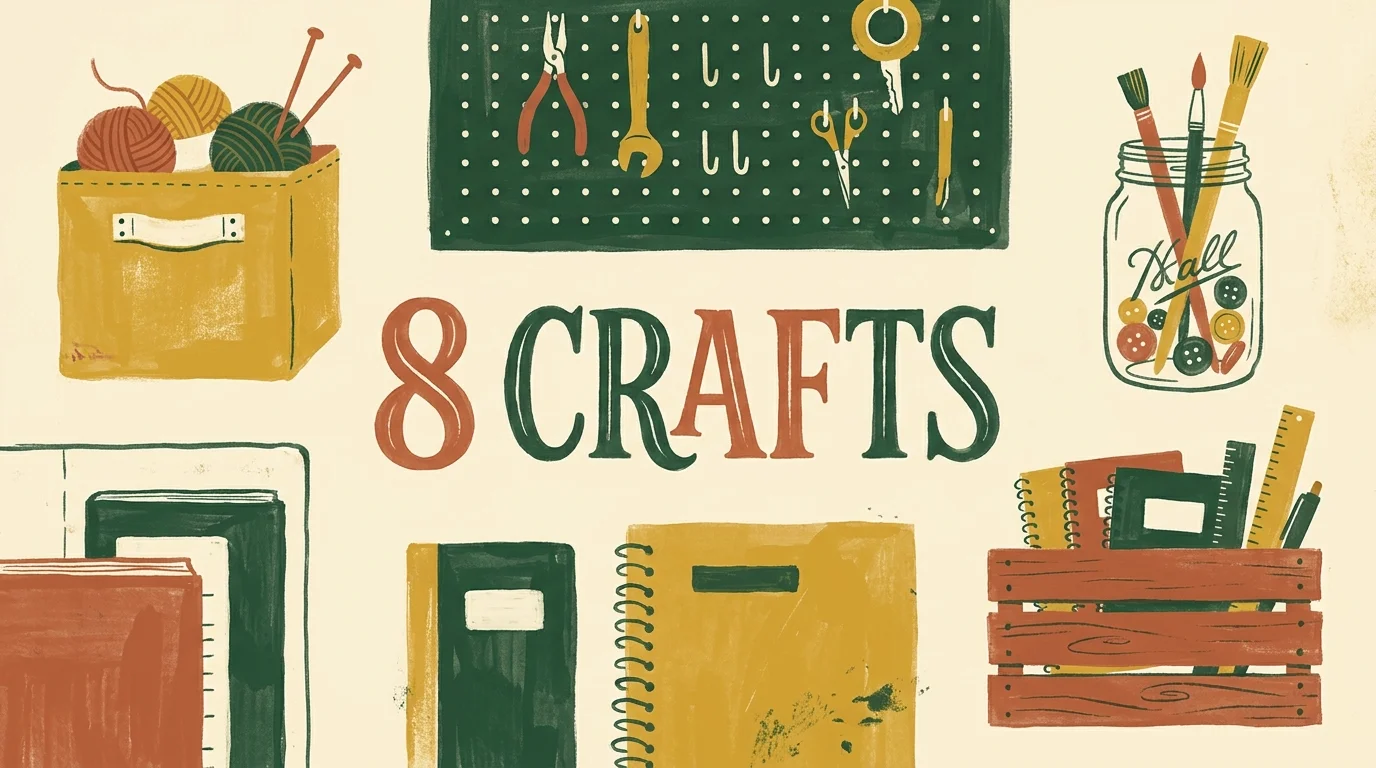
Phase Two: 8 Storage Crafts to Build Now
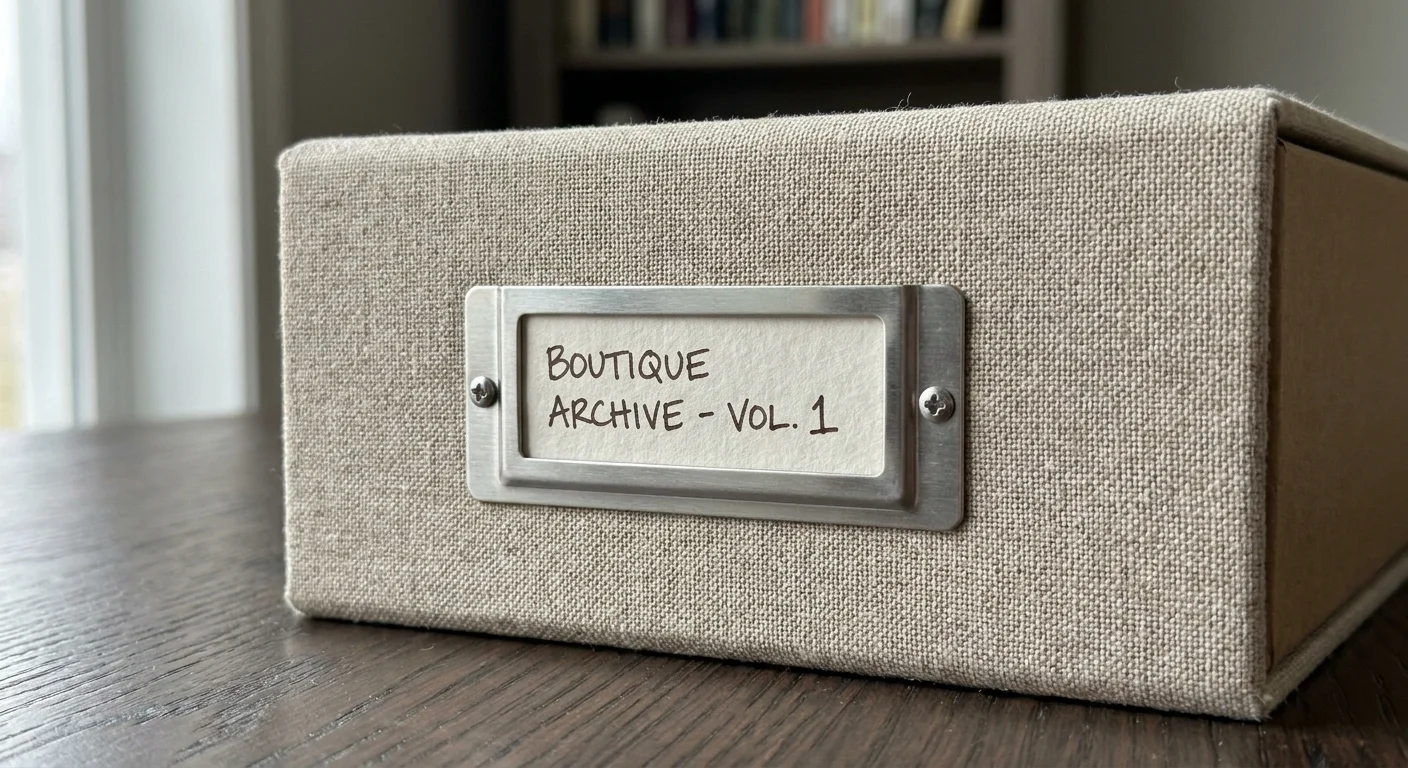
Fabric-Covered Cardboard Bins
Transforming flimsy shipping boxes into sturdy, high-end fabric bins serves as the perfect entry-level project. You simply cut off the top flaps of a clean, uncrushed cardboard box and spray the exterior with a high-tack spray adhesive. Carefully roll a piece of durable canvas, linen, or an old drop cloth over the sticky surface, smoothing out air bubbles as you work around the perimeter. Fold the excess fabric over the top rim and glue it securely to the interior walls for a polished look. Adding a customized metal label plate to the front elevates the design, making these homemade bins indistinguishable from expensive boutique alternatives.
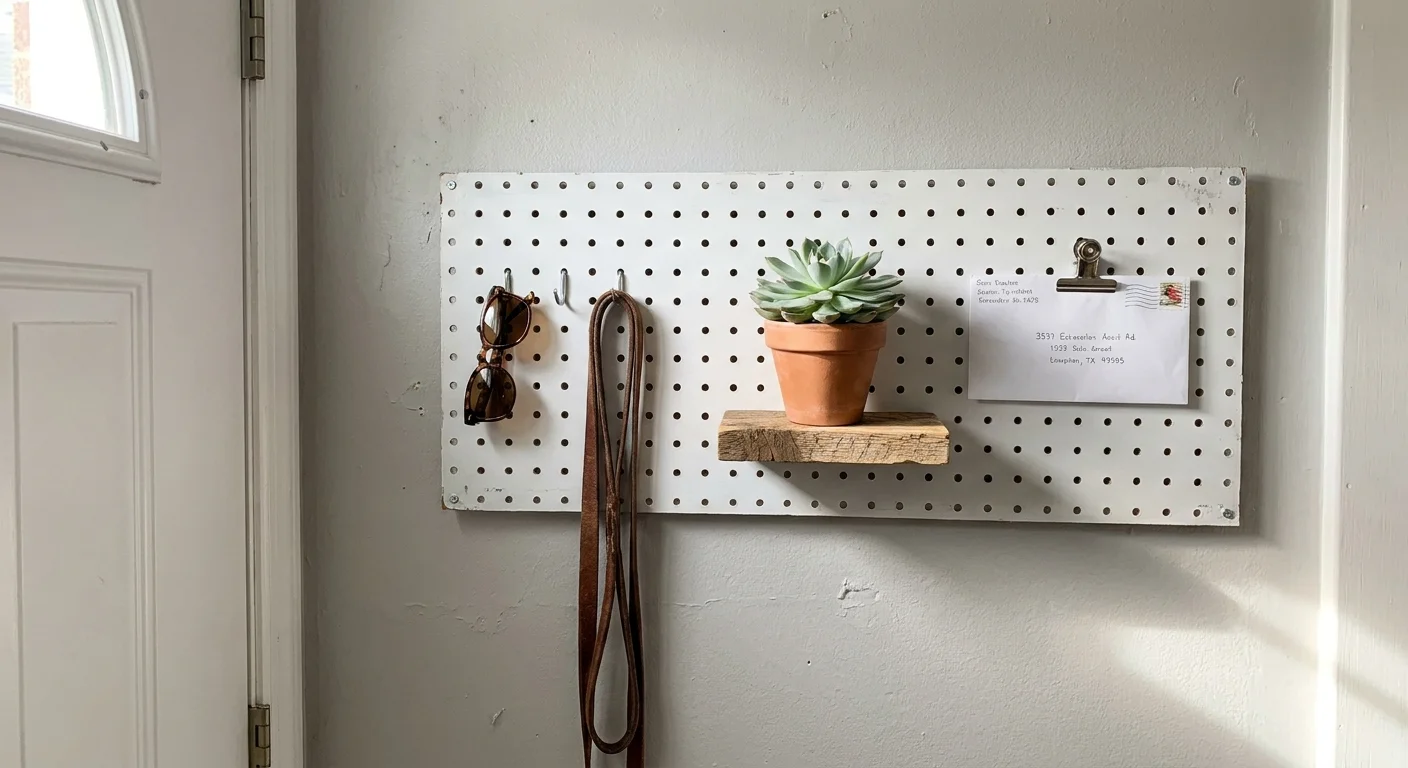
Pegboard Entryway Station
Take advantage of vertical space by installing a customized pegboard in your entryway or home office. Purchase a standard sheet of pegboard from a local hardware store and ask the lumber desk to cut it down to your specific dimensions. Paint the board in a vibrant accent color using a foam roller for a smooth, modern finish. Mounting the board requires using wooden spacers between the wall and the panel; this crucial step ensures the hooks have enough clearance to slide in easily. Mapping out your layout on the floor first helps you optimize the space before arranging metal hooks and small hanging baskets to hold daily essentials.
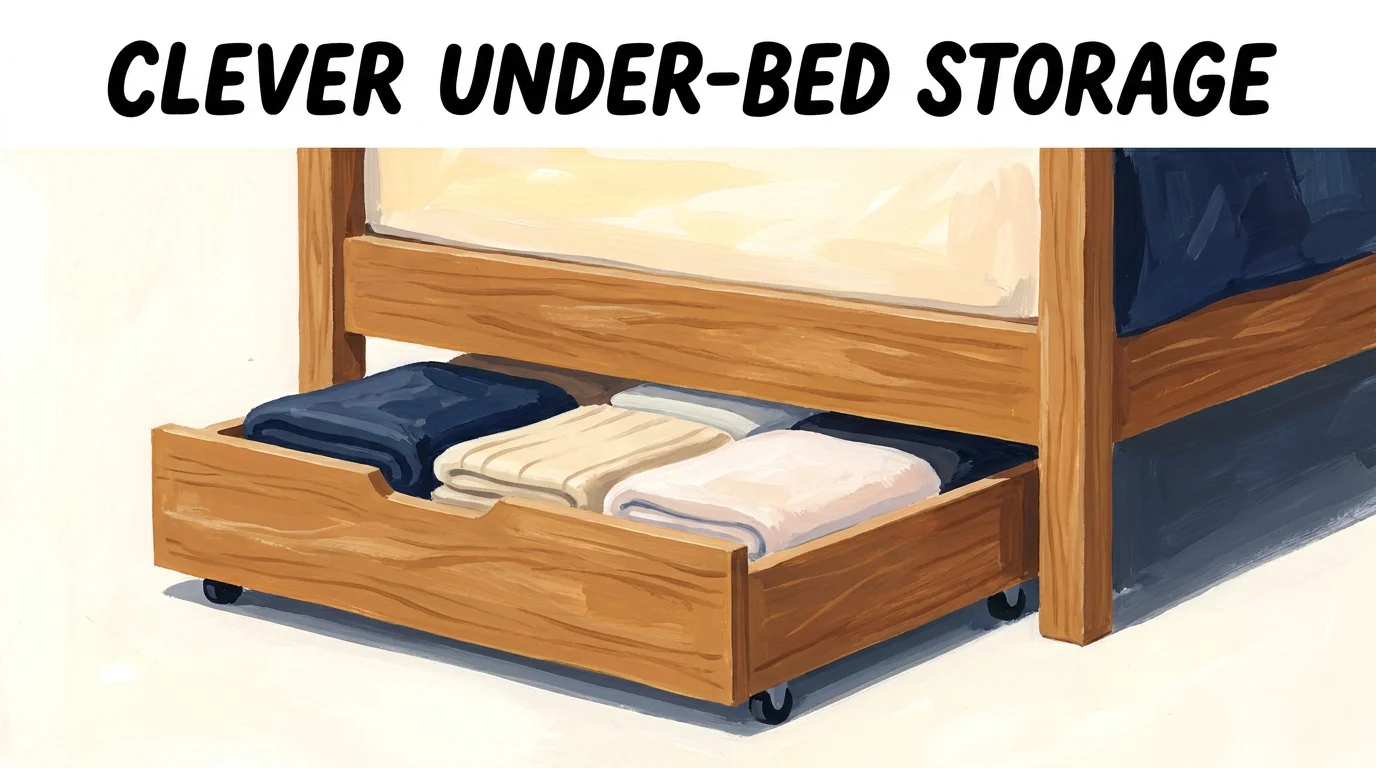
Repurposed Drawer Under-Bed Storage
Old dresser drawers provide an incredible foundation for hidden storage projects. You can easily find abandoned dressers at thrift stores or online marketplaces if you do not have spare drawers at home. Clean the wood thoroughly and attach four small, heavy-duty caster wheels to the bottom corners using wood screws. Painting the exterior to match your bedframe seamlessly integrates the drawer into your bedroom decor, while lining the interior with cedar paper naturally repels moths. Slide these rolling compartments underneath your bed to hold bulky winter sweaters or extra bed linens, instantly freeing up precious real estate in your primary closet.
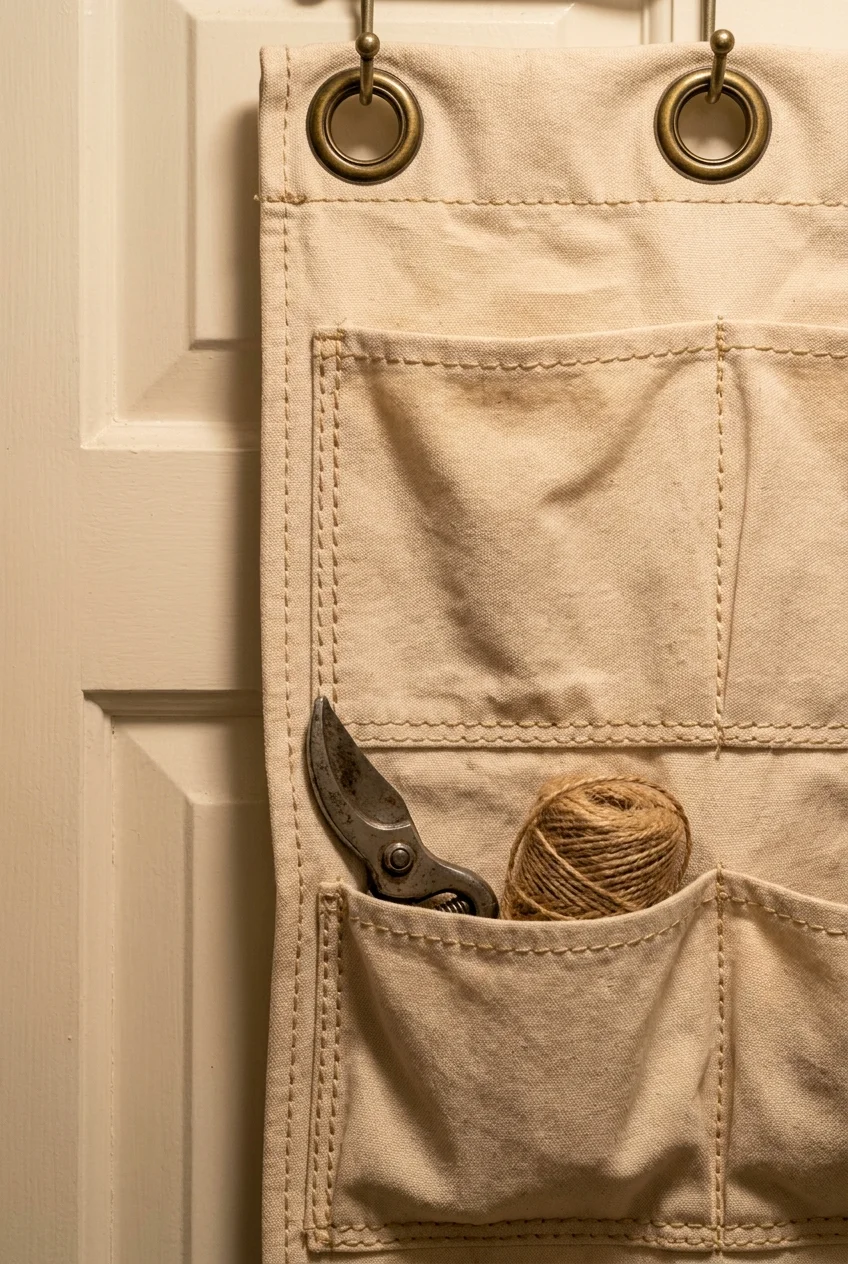
Hanging Canvas Pocket Organizers
Creating a minimalist pocket organizer pays massive dividends in small bathrooms or craft rooms. Select a heavy-weight cotton duck fabric and fold up the bottom edge to create a deep pouch, stitching vertical lines to divide the pouch into separate compartments. If you do not own a sewing machine, heavy-duty iron-on hem tape provides a permanent, no-sew alternative. Loop the top edge over a wooden dowel and secure it closed, then tie a thick leather cord to the exposed ends of the dowel for hanging. These flexible, lightweight storage solutions beautifully house rolled washcloths or makeup brushes directly on the back of your door.
Upcycled Mason Jar Organizers
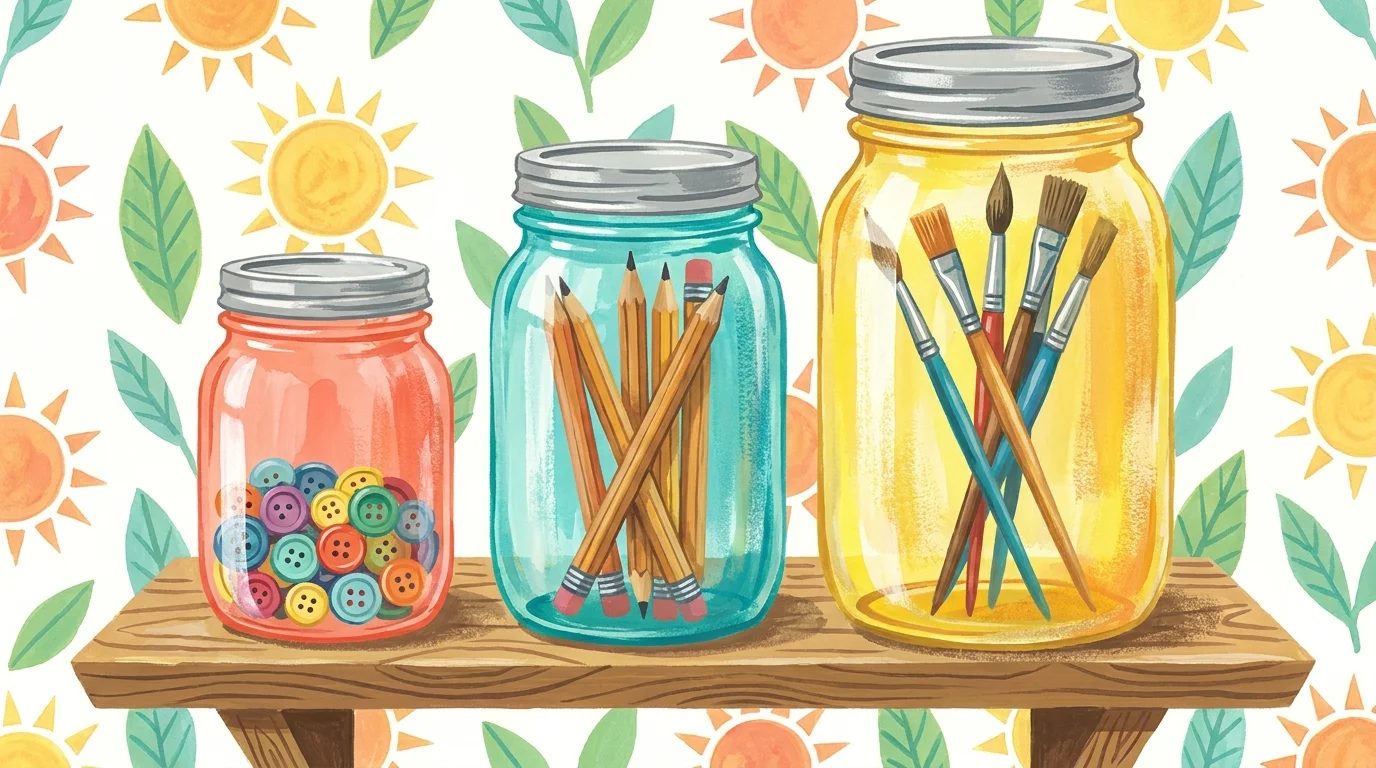
Repurposing empty pasta sauce or pickle jars tackles small-item clutter in workshops and kitchens. Clean the jars and thoroughly remove the adhesive labels using hot water and baking soda. Take the metal lids and secure them to the underside of a sturdy wooden shelf using two small screws per lid. Once you fill the glass jars with nails, buttons, or spices, simply twist the jars upward into their securely mounted lids. This clever suspension system keeps tiny items clearly visible while completely freeing up your workbench or countertop area.
Wooden Crate Shelving Unit
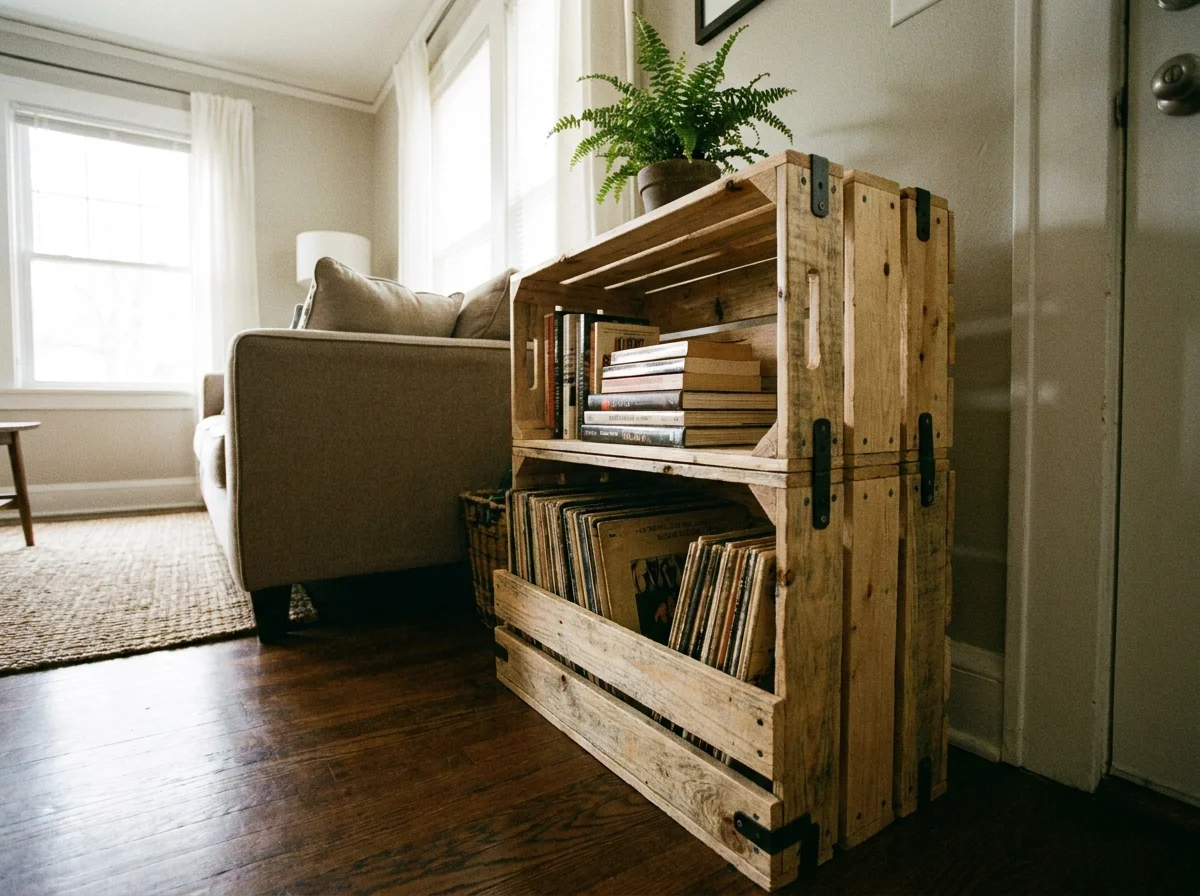
Stacking rustic wooden crates offers immense flexibility for growing collections of books or children’s toys. Lightly sand the interior and exterior of inexpensive craft store pine crates to eliminate splinters, finishing them with a natural wood wax to bring out the grain. Arrange the crates on the floor in a staggered, asymmetrical pattern until you find a layout that suits your visual taste. Bolt the adjoining sides together using short carriage bolts and wing nuts for stability. Always anchor the top crates directly to the wall studs to practice safe securing of heavy furniture and prevent dangerous tipping hazards.
Custom Drawer Dividers
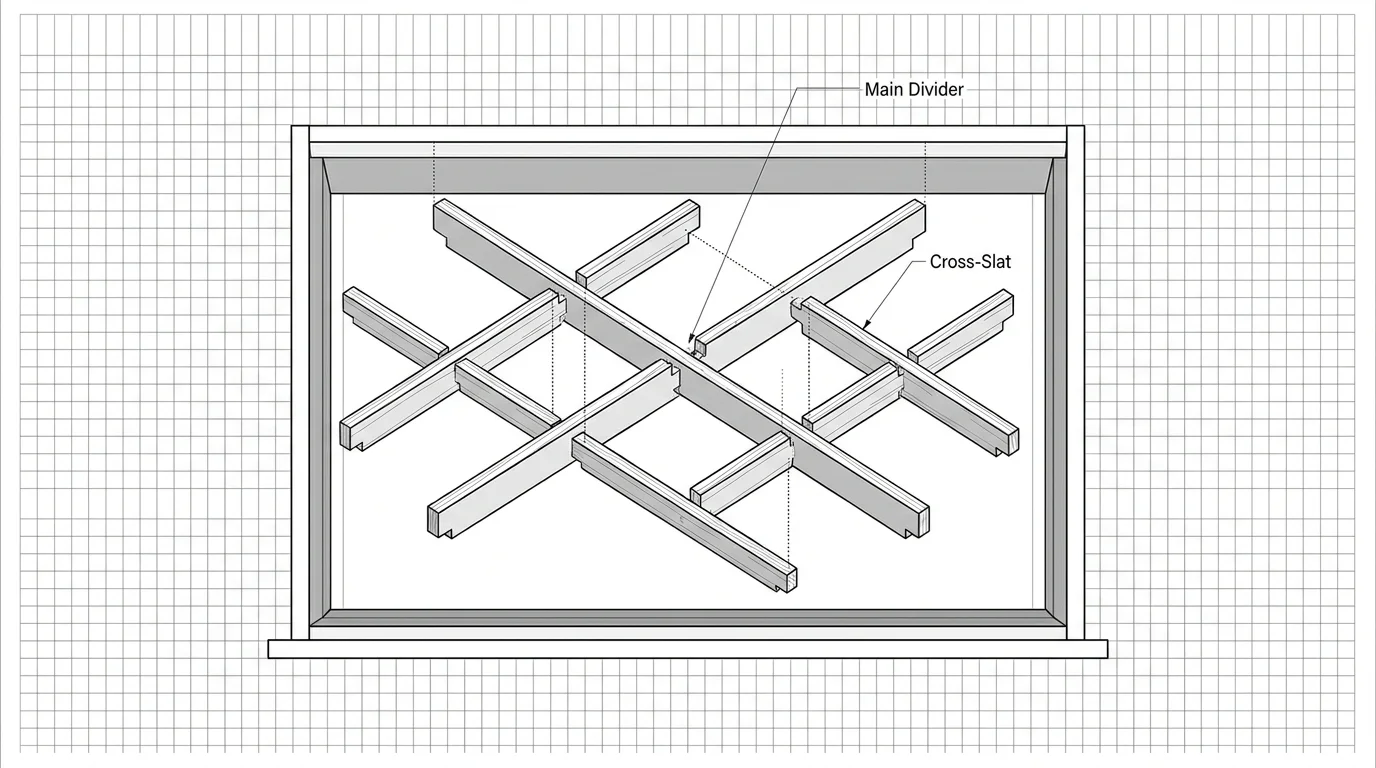
Conquering the infamous junk drawer demands customized compartments that stop items from migrating every time you pull the handle. Measure the interior depth and width of your drawer, then cut strips of lightweight balsa wood or sturdy foam core board to those exact dimensions. Cutting halfway through intersecting pieces allows them to slot together in a grid formation without requiring any glue or nails. You can adjust the sizes of individual squares to perfectly cradle specific items like spatulas or loose batteries, ensuring everything remains precisely where you left it.
Over-the-Door Ribbon Organizers
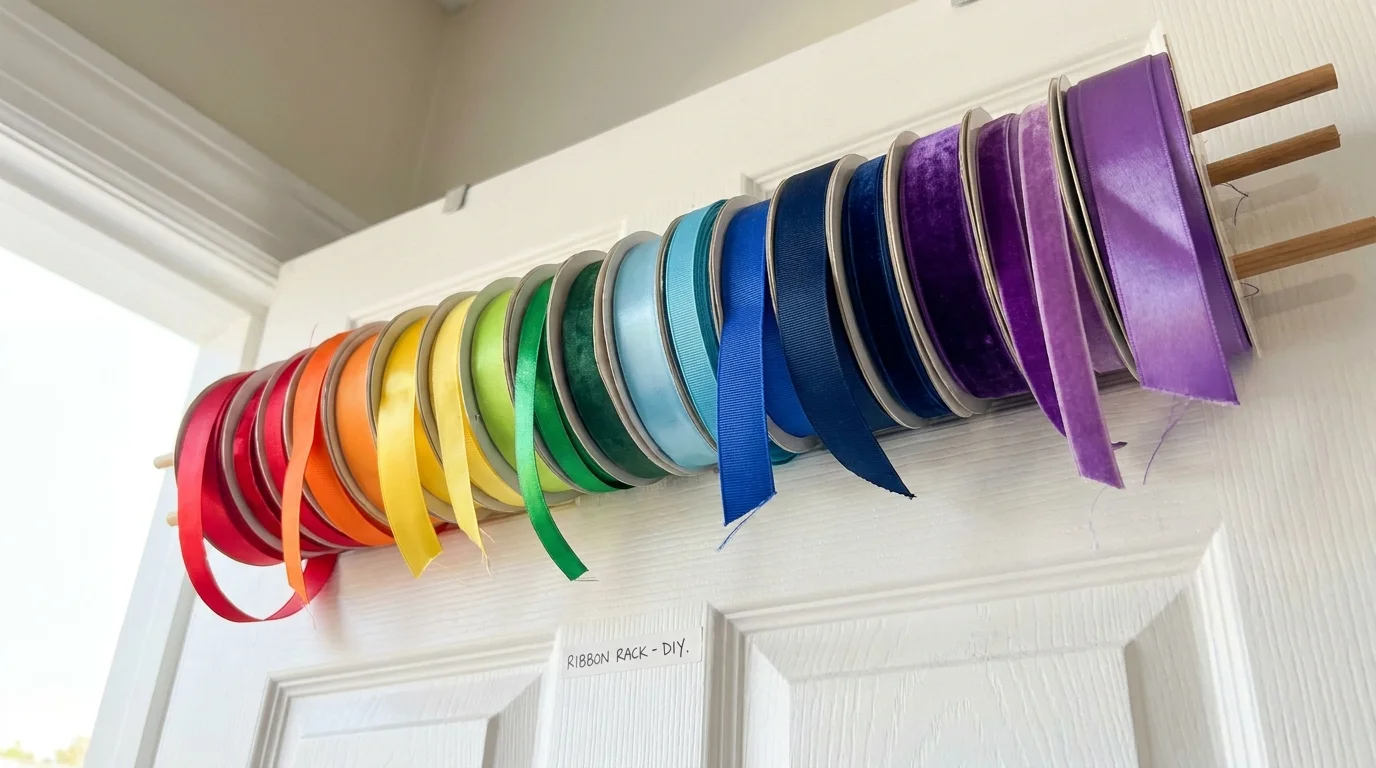
Hats, scarves, and sunglasses often lack a dedicated home, ending up tossed onto chairs or entryway tables. Construct a vertical ribbon organizer by cutting a long strip of heavy-duty grosgrain or velvet ribbon and folding over the top to create a loop for hanging. Sew small metal D-rings or heavy-duty clothespins at regular intervals down the length of the ribbon. Hang the main loop over a standard door hook, and use the clips to firmly hold your lightweight accessories. This highly customizable craft takes less than thirty minutes to execute and introduces immense functional value.
Phase Three: Finishing and Protecting Your Work
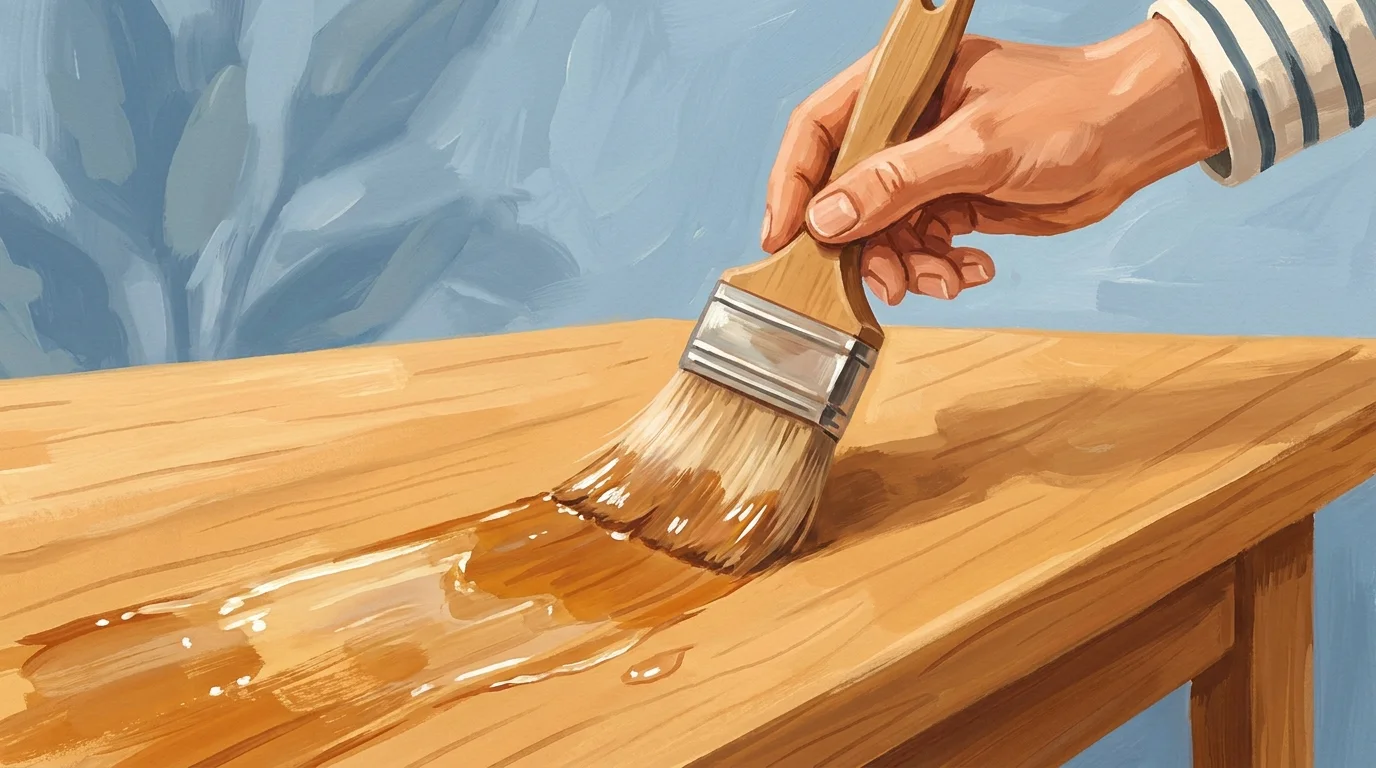
Applying the right finishing touches dictates whether your decluttering projects last a single season or serve you for years. Once you assemble your wooden components, seal them with a water-based polyurethane to protect against moisture and daily friction. Allow all paints and adhesives to cure for at least forty-eight hours before placing heavy items onto your new storage crafts. Rushing this curing process inevitably leads to sticky shelves or peeling fabric. Run your hands over every edge of your completed work to identify rogue splinters, sanding them down immediately. Verify that any wall-mounted storage solutions remain perfectly level and securely anchored. Taking these careful final steps elevates your DIY output from amateur crafting to reliable home infrastructure.
Styling and Personalizing Your Organized Space
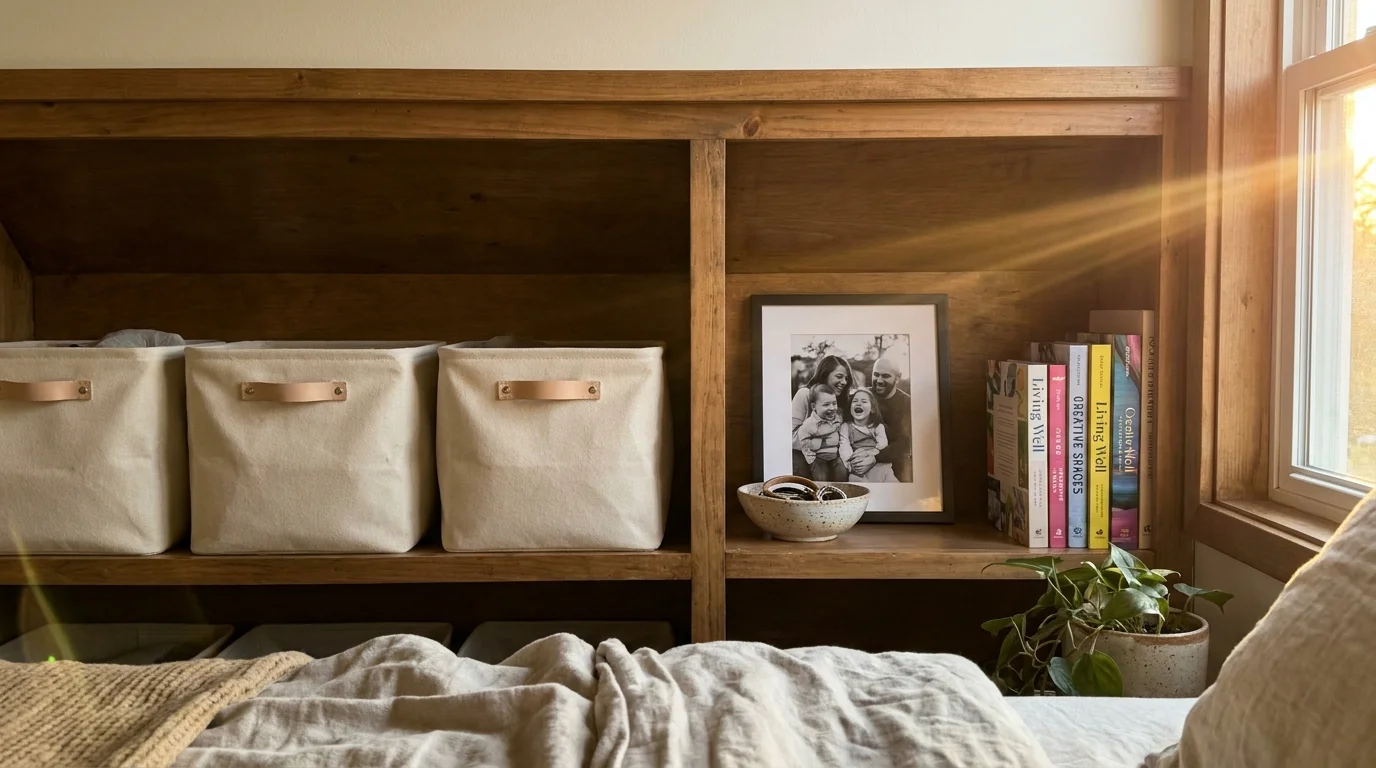
Functionality solves the clutter problem, but styling makes you actively want to maintain your newly organized space. Harmonize your storage pieces with your existing home decor by pulling accent colors from your rugs or curtains. Spray-painting the hardware, such as hinges and caster wheels, in a matte black or brushed brass finish immediately modernizes repurposed materials. Labeling plays a crucial role in household compliance; if your family knows exactly where items belong, the system sustains itself effortlessly. Consider brushing on chalkboard paint for labels that you can update frequently, or apply crisp vinyl lettering for a permanent look. Studying techniques for maintaining a cohesive aesthetic reveals that utilizing uniform materials creates visual calm and significantly reduces the feeling of chaotic clutter.
Troubleshooting Common Crafting Pitfalls
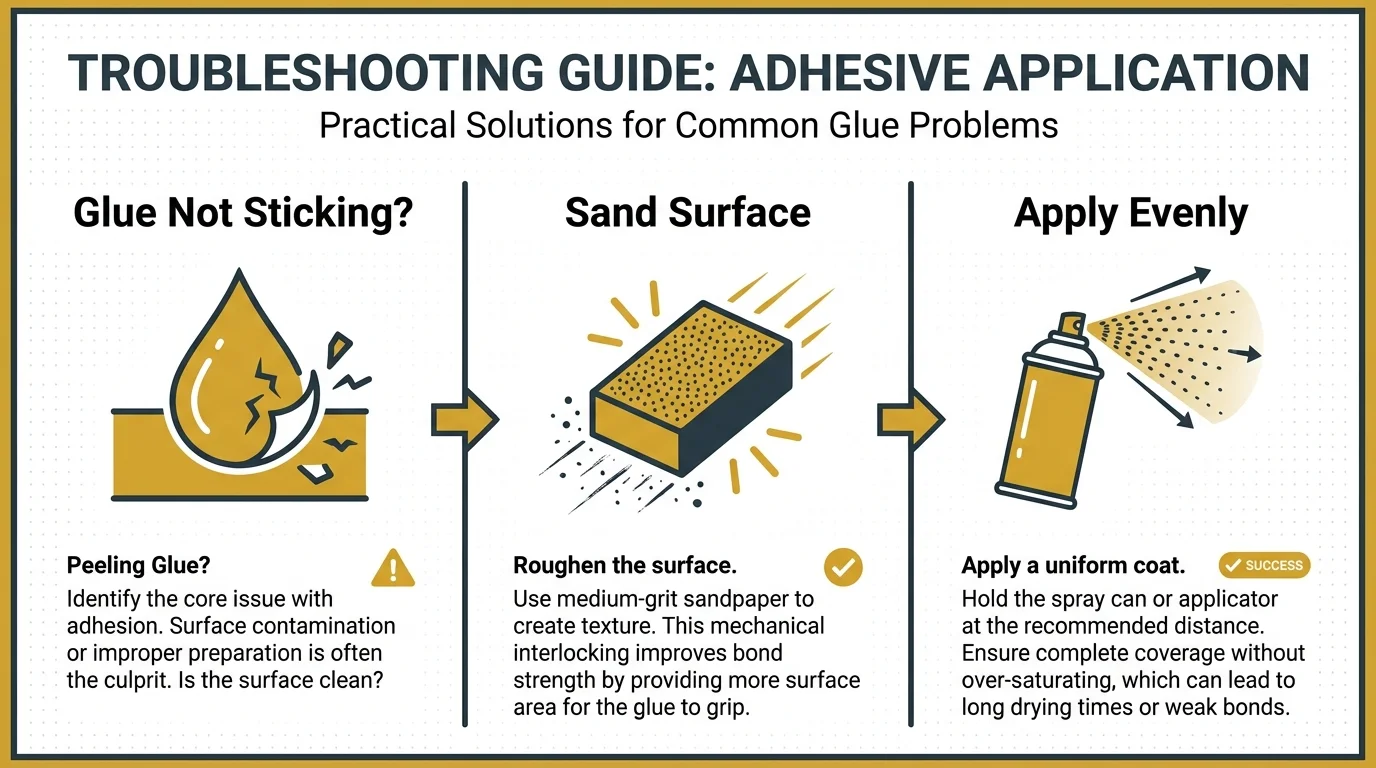
Even the most carefully constructed storage crafts occasionally require minor adjustments and ongoing maintenance. If you notice fabric peeling away from your cardboard bins, excessive humidity in the room often weakens the spray adhesive. Remedy this by using a high-temperature hot glue gun to tack down the stubborn corners permanently. Warping wood in your crate shelving indicates prolonged exposure to direct sunlight or moisture changes; rotate the crates occasionally and apply a fresh coat of protective wax annually. Drawer dividers may shift over time if slammed aggressively; applying small dots of clear silicone caulk to the bottom edges holds the dividers firmly in place without ruining the drawer interior. Address loose screws in your wall-mounted pegboards immediately, tightening them or swapping in heavy-duty drywall anchors.
Frequently Asked Questions
What is the most durable adhesive for fabric-to-cardboard projects?
High-tack aerosol spray adhesives perform best for covering flat surface areas because they provide an even coat without soaking the material. For interior corners where fabric tension pulls tight, supplementing the spray with hot glue ensures the seams will not separate.
How do I ensure heavy wooden crates remain safely attached to drywall?
You must bypass the drywall completely and drive three-inch screws directly into the wall studs. If stud placement does not align with your layout, use heavy-duty toggle bolts rated for at least fifty pounds rather than standard plastic anchors.
Can I build under-bed storage if my home has thick carpets?
Yes, you can utilize rolling drawers on carpeted floors, but you must select the correct hardware. Swap out small plastic wheels for larger, two-inch rubber spherical casters. These wider wheels distribute the weight evenly and glide smoothly over thick carpet fibers.
Where is the best place to source cheap materials for decluttering projects?
Check local online community boards, garage sales, and thrift stores for discarded furniture. Many people give away old dressers with broken frames but intact drawers. Hardware stores also feature cull lumber bins where you can purchase slightly imperfect wood at a massive discount.
Enjoying Your Newly Organized Home
Completing these practical storage crafts transforms the entire atmosphere of your home, replacing overwhelming messes with intentional, beautiful functionality. You no longer have to dig through avalanche-prone closets or stare at overflowing work surfaces. Every hour you spend upcycling a crate or securing a canvas pocket pays you back with simplified daily routines and a calmer mindset. Look around at the custom solutions you built with your own two hands and take genuine pride in your resourcefulness. Grab your tools, pick the project that excites you the most, and start building your beautifully organized home today.




Leave a Reply