
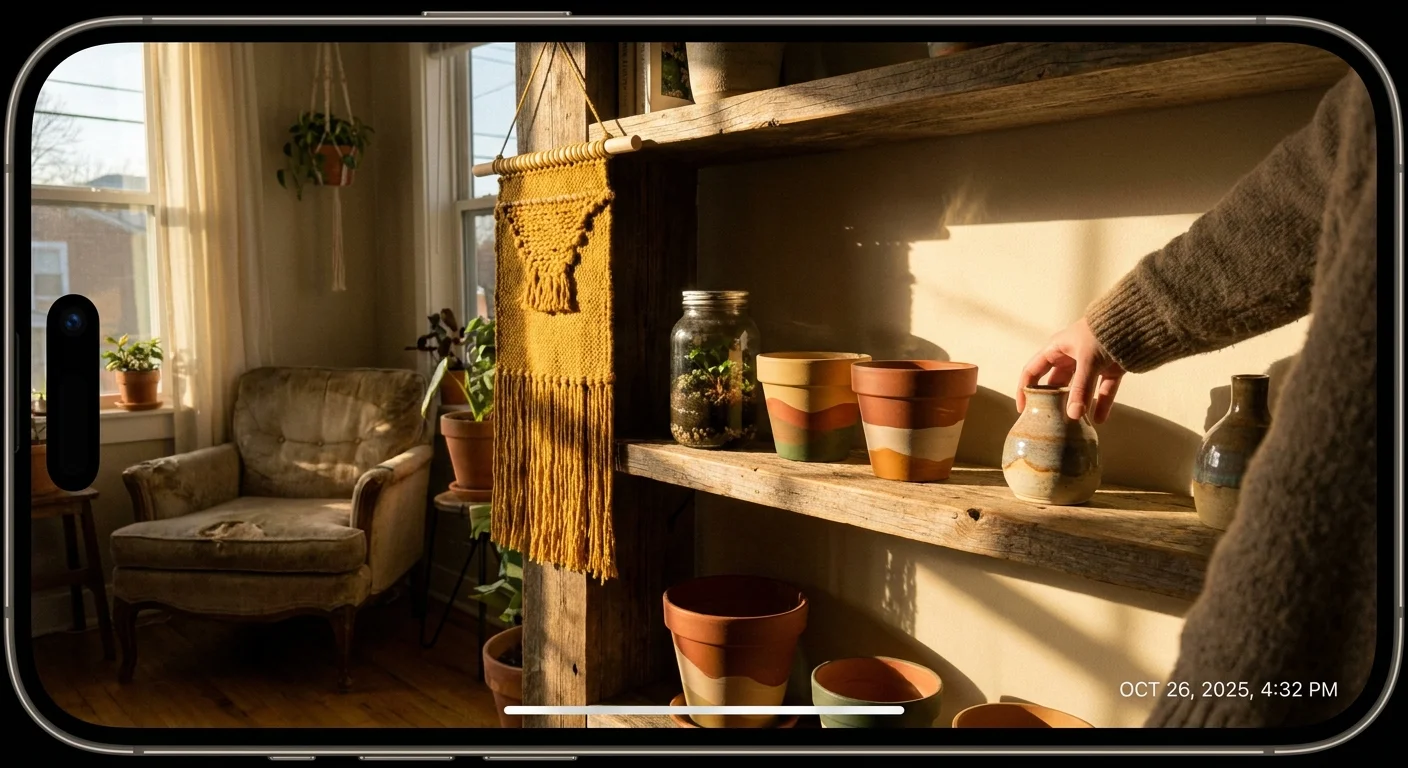
Transforming a bland room into a vibrant space requires nothing more than a free weekend and a willingness to tackle DIY decor crafts. You can bypass mass-produced store aisles and inject real character into your living areas with easy craft projects designed for any skill level. Whether you rent an apartment or own a spacious house, crafting personalized home decor allows you to control the colors and textures you bring indoors. Rather than spending a fortune on generic accessories, you will leverage basic supplies like paint, textiles, and natural materials to produce stunning creative home accents. Grab your favorite tools, clear a flat workspace, and prepare to elevate your environment with handmade touches.
Planning Your Creative Home Accents
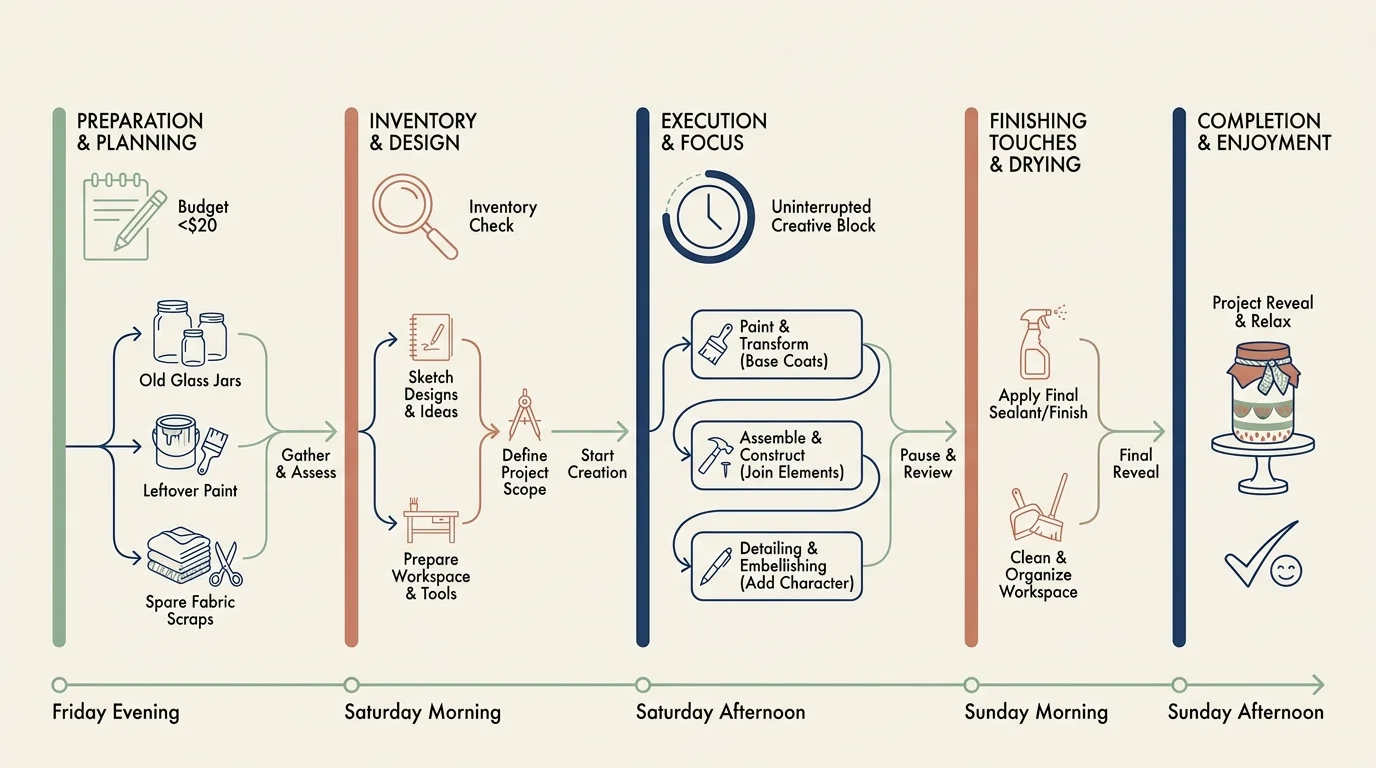
Determining your budget and timeline prevents half-finished projects from cluttering your home. You can execute most of these easy craft projects for under twenty dollars, relying heavily on items you likely already possess; old glass jars, leftover interior paint, and spare fabric scraps provide an excellent foundation. Dedicate a specific block of uninterrupted time over a weekend so you do not feel rushed during the creative process. Beginners will find these methods highly approachable, requiring absolutely no power tools or advanced woodworking expertise. Organizing your materials beforehand allows you to focus entirely on bringing your home decorating ideas to life.
Phase 1: Prepping Your Workspace and Materials
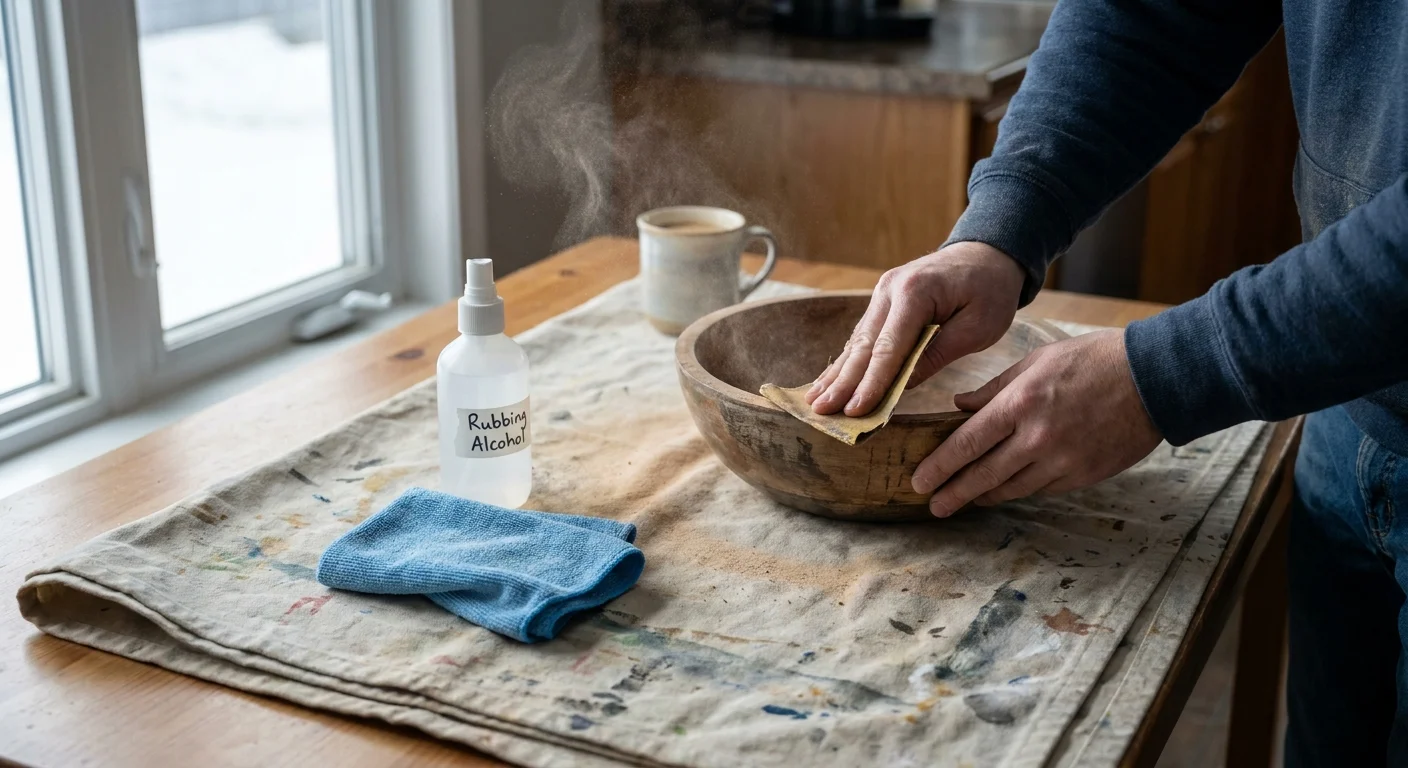
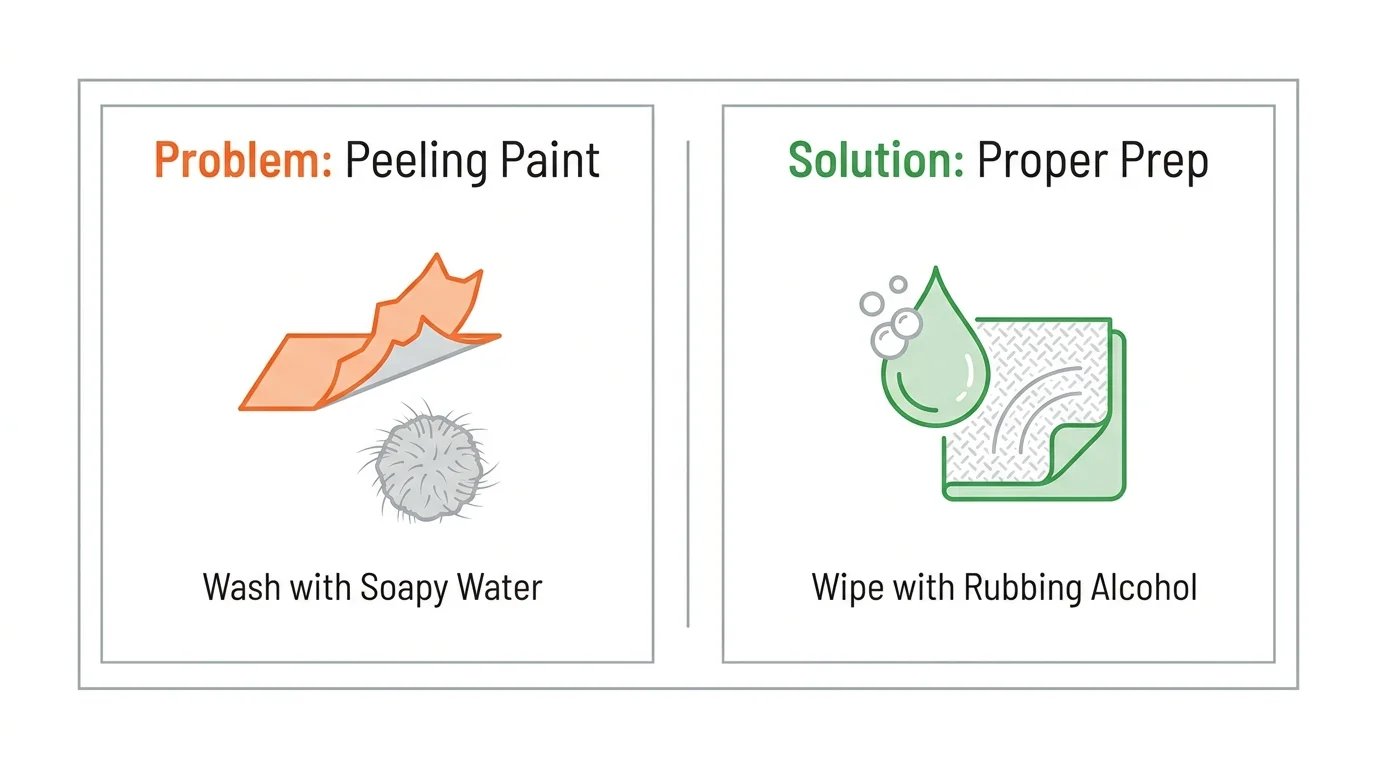
Proper preparation dictates the final quality of any customized piece you introduce into your home. Establish a dedicated, well-lit workspace near a window, covering your table with a thick canvas drop cloth to catch stray drips and debris. You must thoroughly clean any base materials before applying paint or adhesive; a microscopic layer of dust will inevitably cause topcoats to peel later. Wash glass and ceramics with warm soapy water, then wipe them down with rubbing alcohol for a pristine surface. Lightly sand wooden objects to open the grain and ensure maximum paint adhesion.
Phase 2: Executing Easy Craft Projects
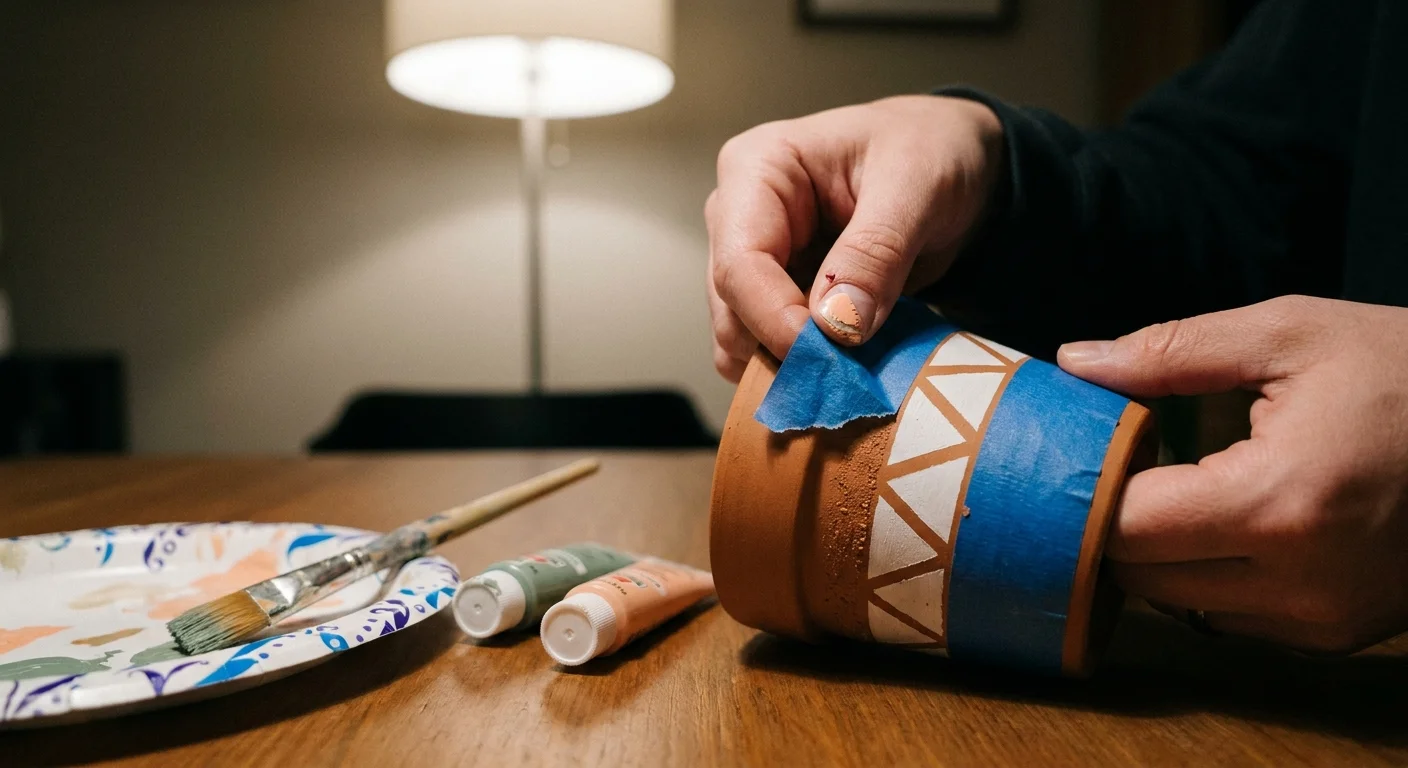
Painted Terracotta Plant Pots
Upgrading plain planters instantly brightens your indoor garden. Purchase inexpensive terracotta pots and customize them using vibrant acrylic craft paint. Apply strips of painter’s tape to create crisp geometric patterns, or freehand abstract shapes for a playful, organic aesthetic. Once dry, seal the exterior with clear acrylic spray to prevent water damage from ruining your design. Keep the interior unpainted to maintain the porous nature of the clay, which prevents root rot. Consult a university extension service guide on container planting to ensure your newly decorated vessels provide a consistently healthy environment for your growing greenery.
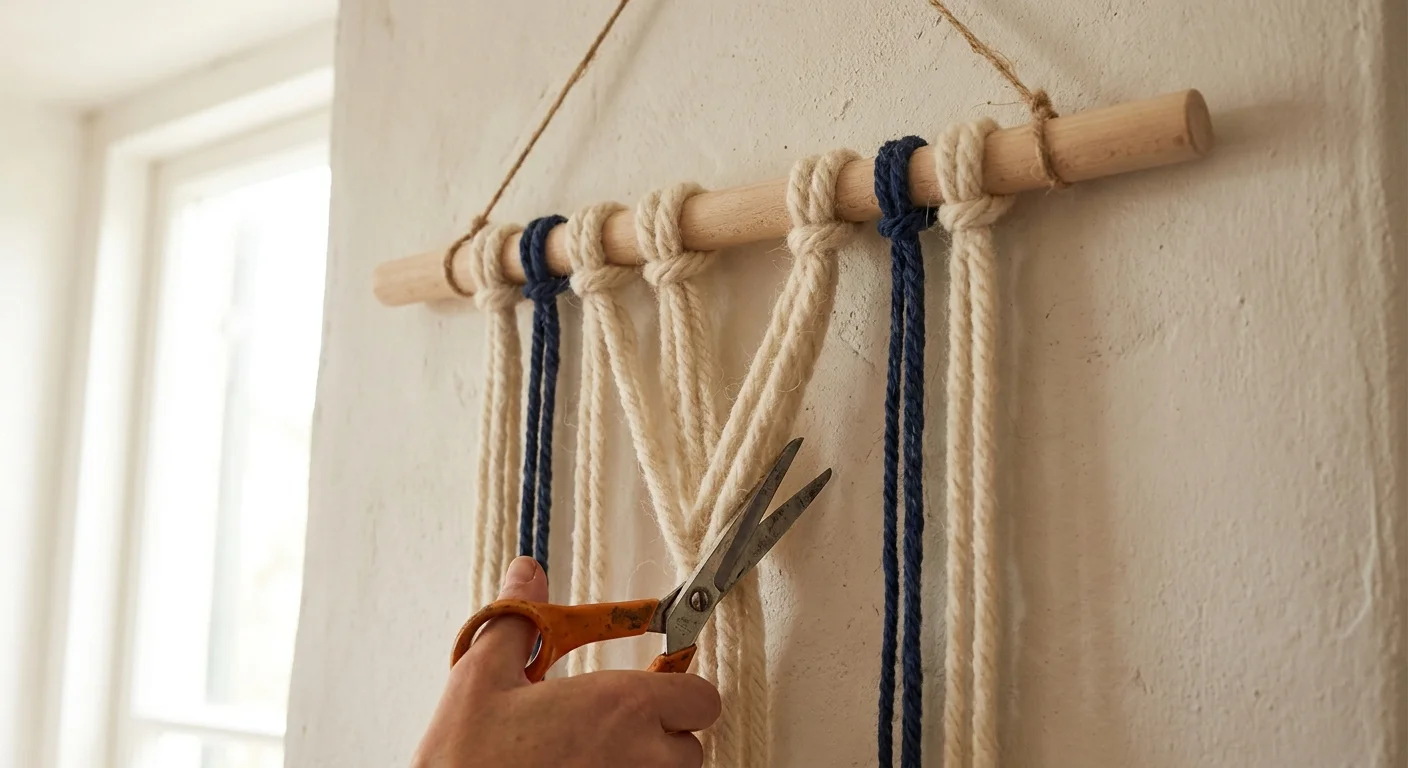
Custom Woven Wall Hangings
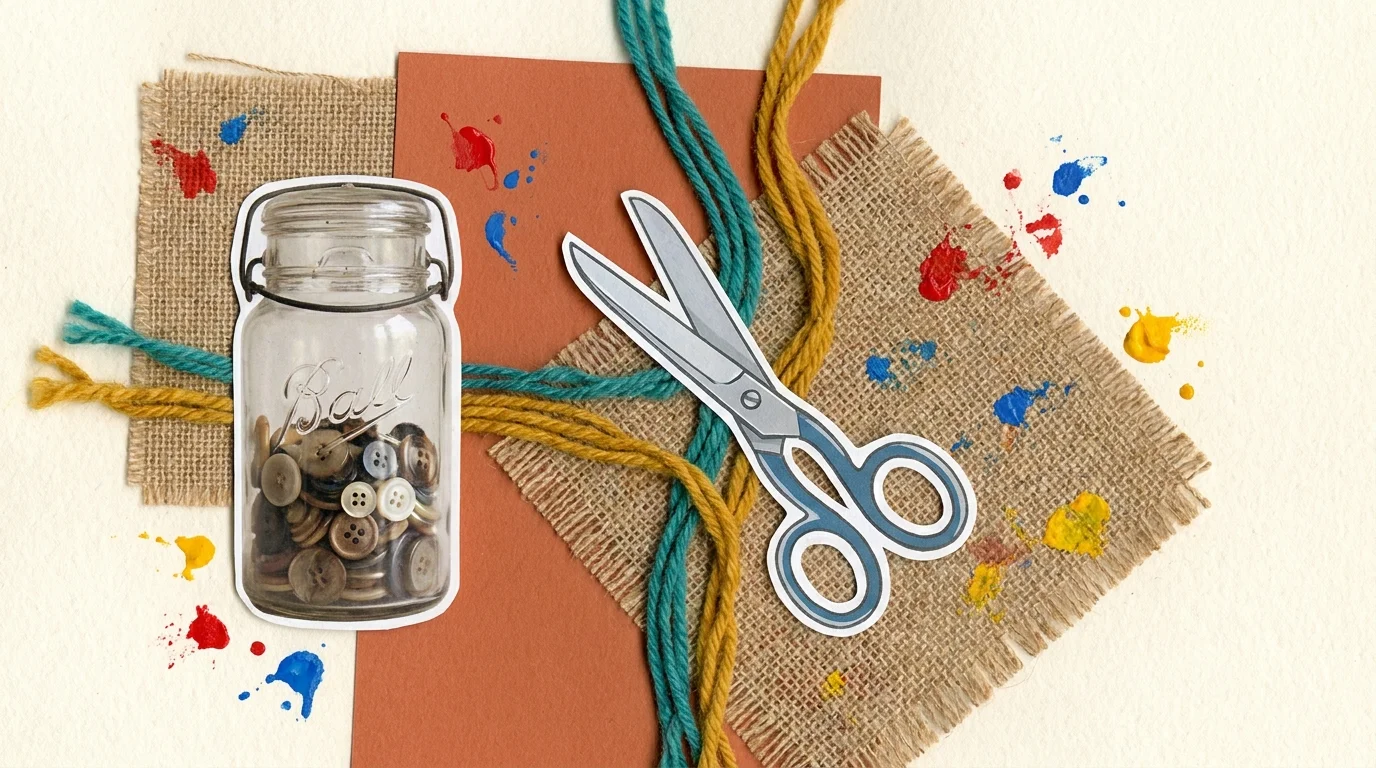
Textile art brings immense warmth to bare walls without requiring expensive framing. Create a stunning woven piece using a simple wooden dowel, fabric scissors, and various yarn skeins. Cut the yarn into identical lengths and attach them to the dowel using basic lark’s head knots. Mix thick, chunky wool with delicate cotton threads to establish striking visual contrast. Use sharp fabric scissors to trim the bottom edge into a sharp V-shape or a smooth diagonal slant. This straightforward technique produces large-scale, highly textured creative home accents for a mere fraction of high-end retail boutique prices.
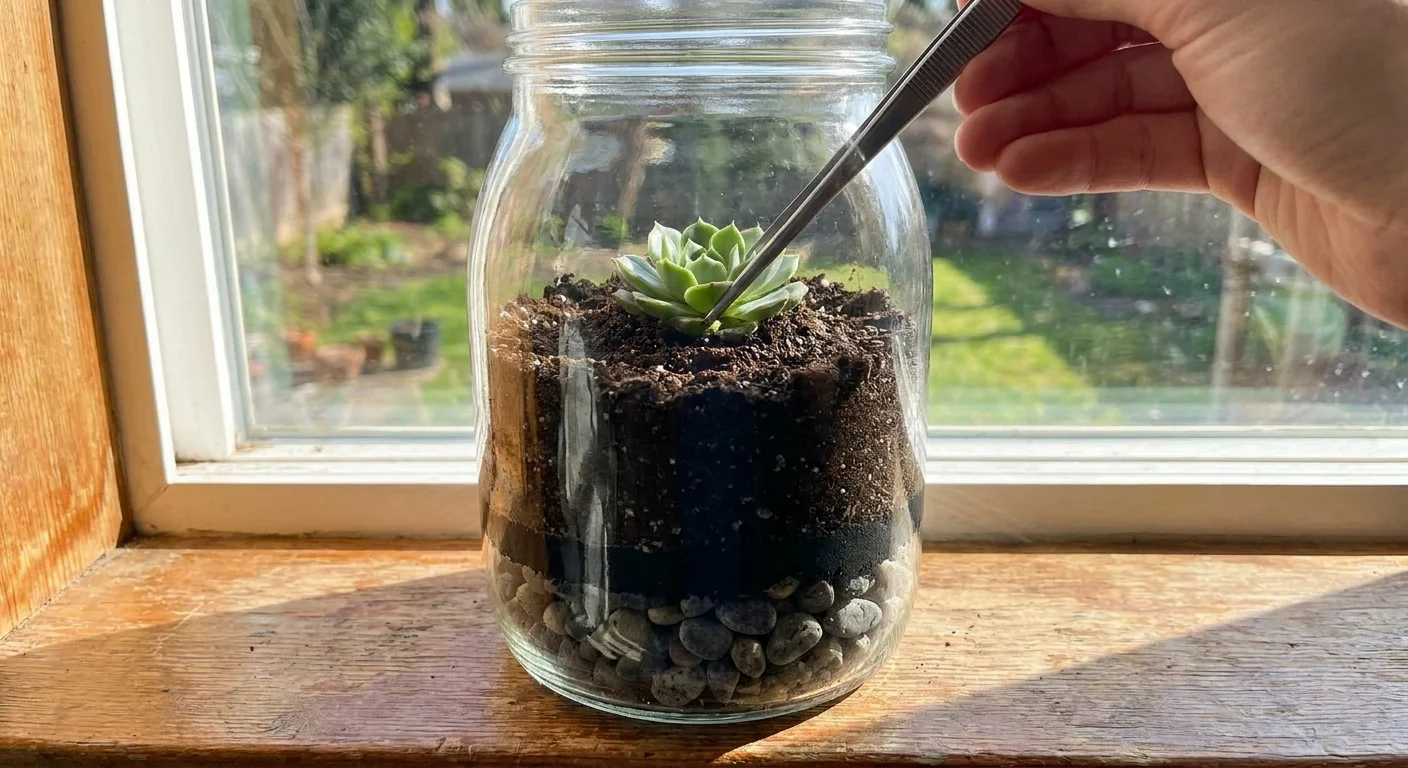
Upcycled Glass Jar Terrariums
Transforming empty pasta jars into miniature ecosystems offers a fantastic way to display nature indoors. Add a generous layer of small pebbles to the bottom of a clean glass jar to establish essential drainage. Add a thin layer of activated charcoal, followed by specialized, nutrient-rich potting mix. Use long metal tweezers to carefully plant small succulents, vibrant green moss, or delicate air plants. Arrange interesting miniature decorative rocks or tiny brass figurines among the foliage to build a whimsical tiny landscape. These self-contained botanical displays look gorgeous lined up along a sunny kitchen windowsill.
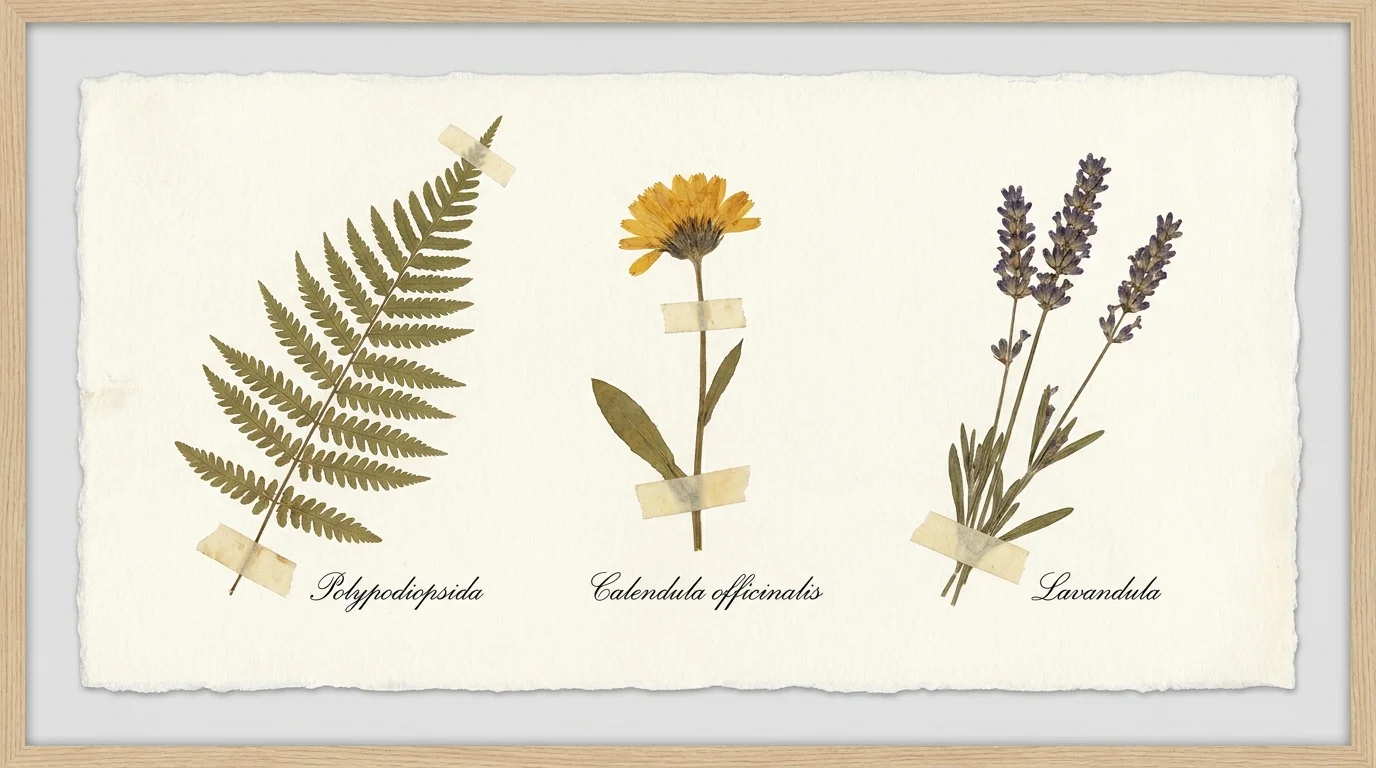
Pressed Botanical Framed Art
Preserving foliage connects your interior spaces directly to the surrounding environment. Gather vibrant leaves or flat-faced flowers and press them between the pages of a heavy book lined with parchment paper for two weeks. Once completely dry, position the fragile botanicals between two heavy panes of glass in a floating picture frame. Hanging these translucent, nature-inspired pieces near a window allows natural light to beautifully highlight the intricate structures of the leaves, resulting in effortless customized art.
Decorative Rope-Wrapped Baskets
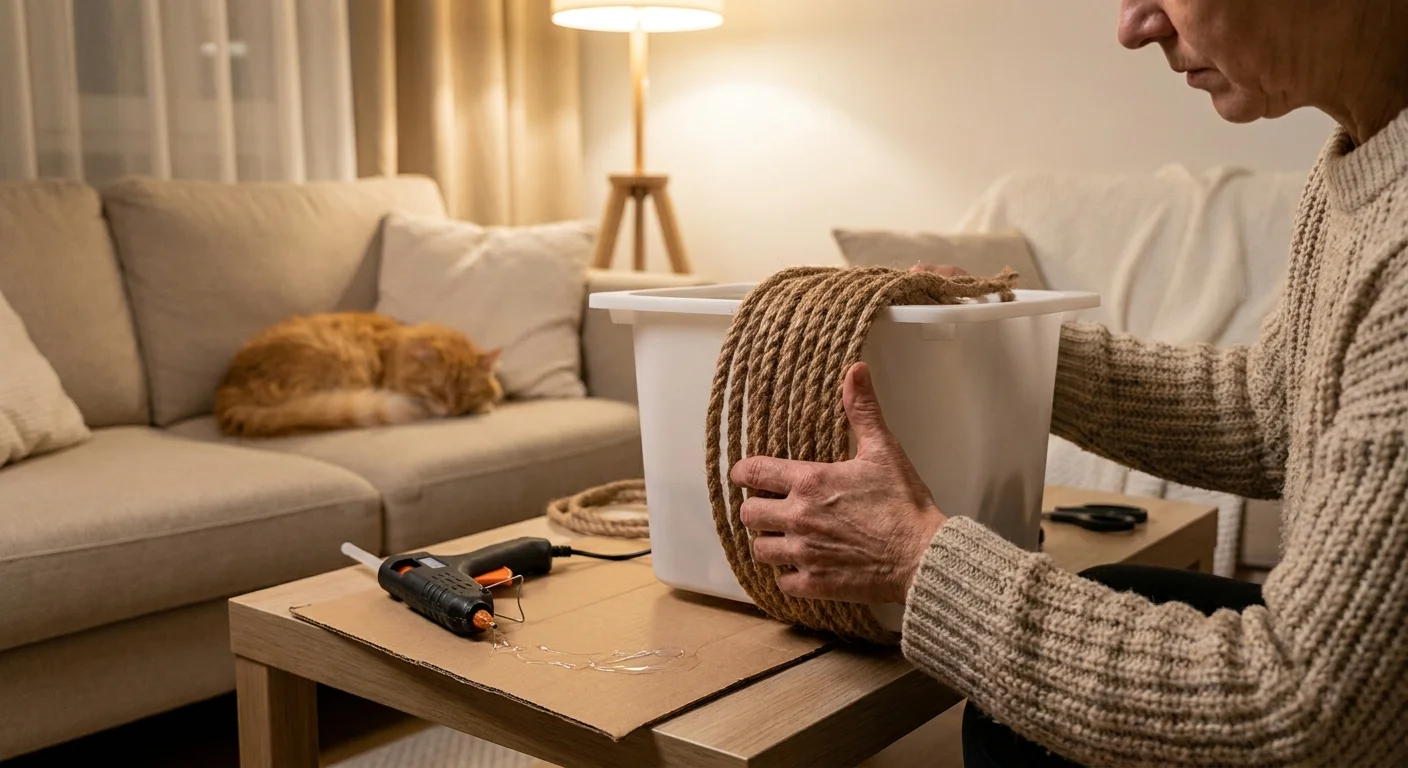
Concealing household clutter becomes much more appealing when you use stylish storage solutions. Upgrade inexpensive plastic bins by tightly wrapping them in thick jute or sisal rope. Starting at the bottom edge, apply a continuous line of hot glue and press the rope firmly against the container, winding your way upward. The rough, organic texture of the rope instantly introduces a relaxed coastal or rustic farmhouse element to your room. You can easily customize these woven baskets further by painting the bottom third with a bright neon or soft pastel acrylic paint to create a stunning, modern color-dipped effect that catches the eye.
Custom Fabric Notice Boards
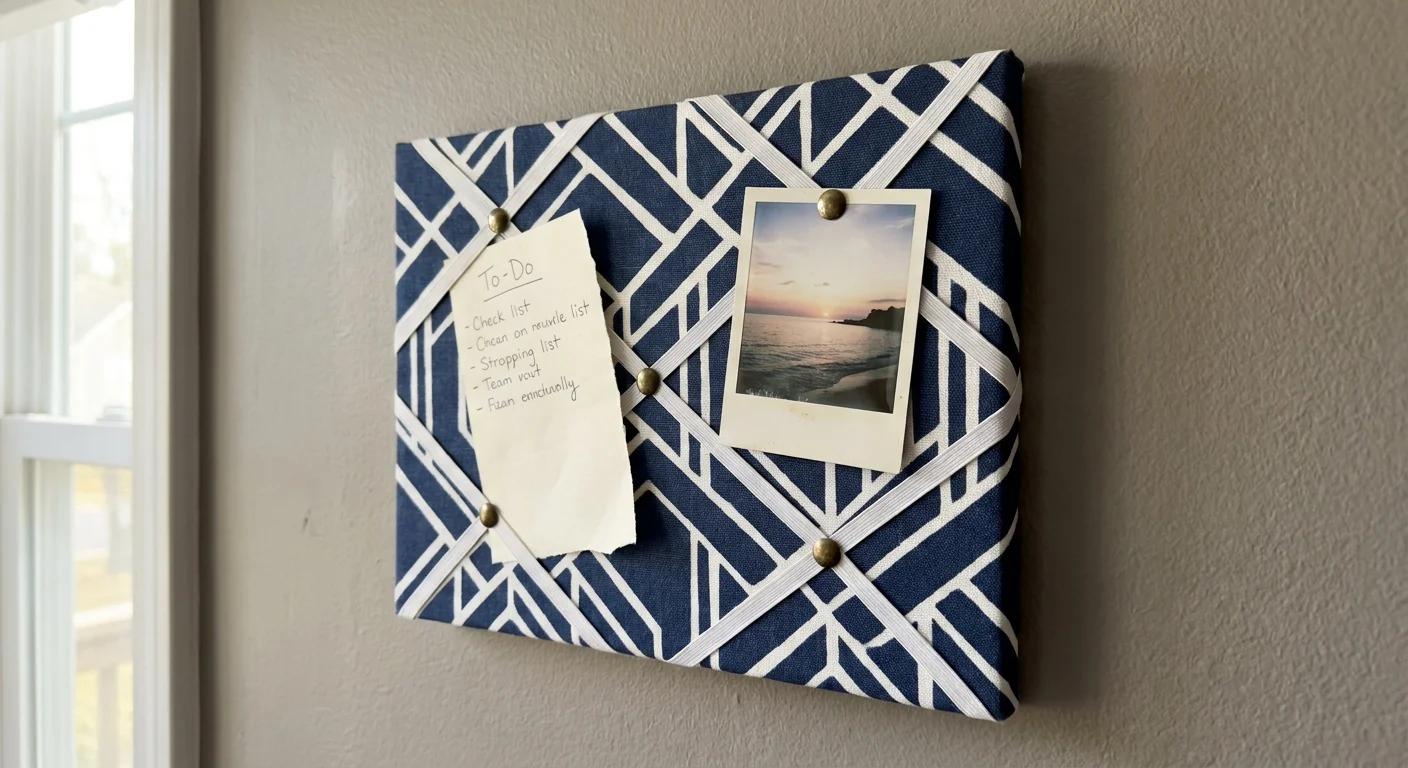
A standard corkboard rarely flatters a carefully curated home office, but you can easily elevate it with leftover fabric. Select a textile featuring a bold pattern or a rich, solid hue. Lay the fabric face down, position your corkboard over it, and use a heavy-duty staple gun to pull the material taut around the back edges. For a tailored, professional finish, stretch thin velvet ribbons diagonally across the front to create a classic diamond tufted pattern, securely pinning the ribbon intersections with decorative brass or matte black thumbtacks. This highly functional piece keeps your desk neatly organized while acting as a large, vibrant visual focal point in your workspace.
Gilded Seashell Catch-All Dishes
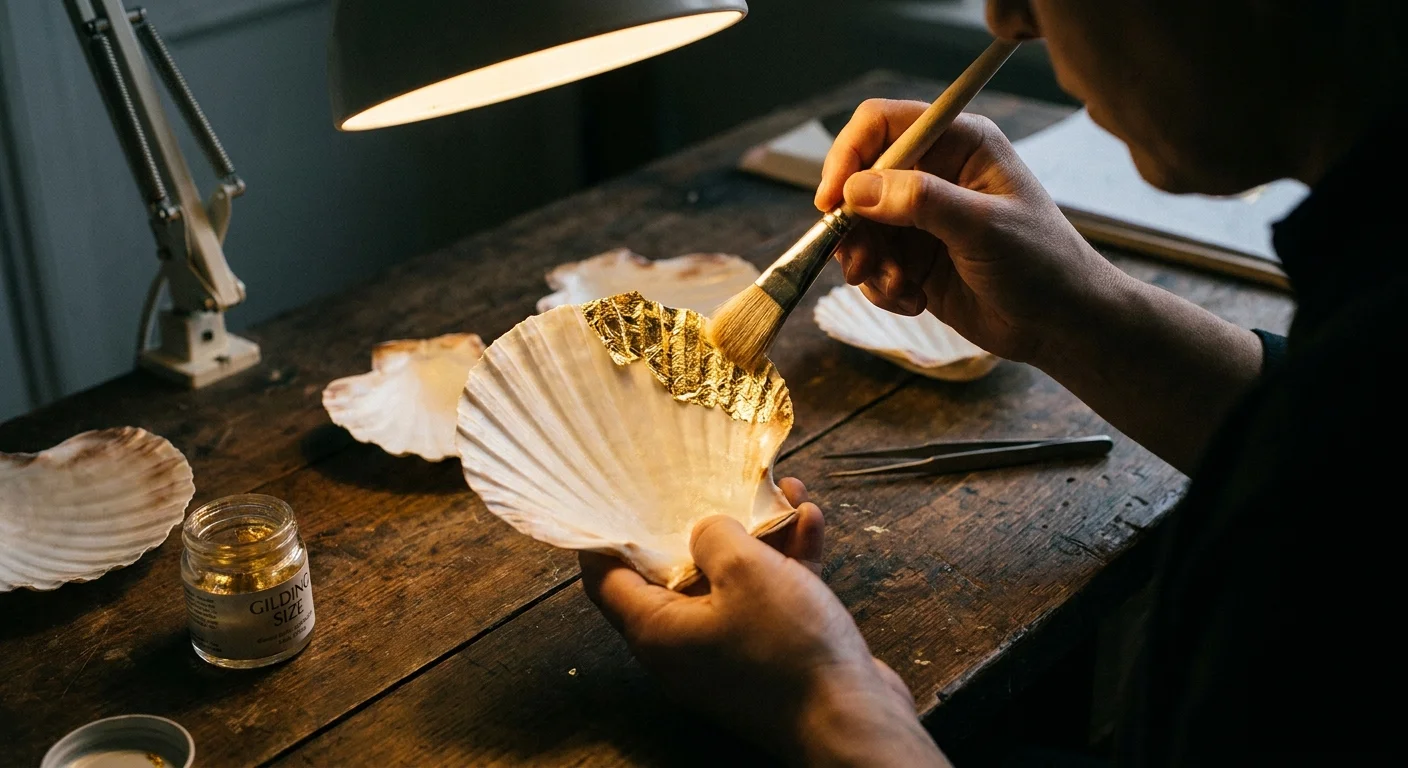
Creating a luxurious landing zone for your daily jewelry requires only oven-bake polymer clay and metallic leaf. Roll out the clay until it reaches a quarter-inch thickness, then press a textured object—like a lace doily or a deeply veined leaf—firmly into the surface. Cut the clay into a perfect circle or a flowing organic shape, gently lift the outer edges to form a shallow bowl, and bake it according to the exact package directions. Once completely cool, brush liquid sizing onto the highly textured areas and carefully apply delicate sheets of gold or copper leaf. The resulting metallic sheen catches the ambient room light beautifully on a bedside table.
Stenciled Wooden Serving Trays
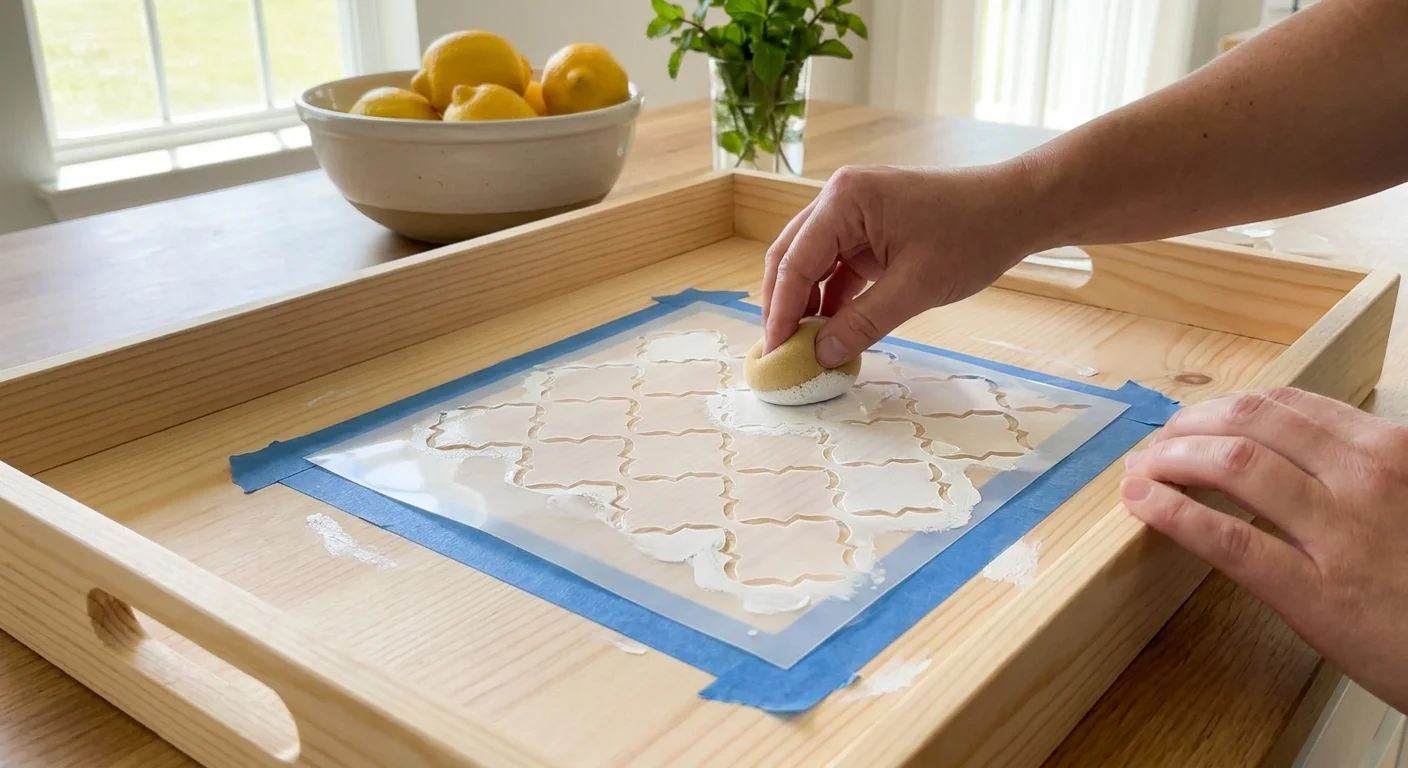
A decorative tray grounds small items on a coffee table while functioning as practical serveware. Purchase an unfinished wooden tray and sand away rough splinters. Apply a solid base coat of chalk paint. Secure a decorative geometric stencil over the flat interior surface using painter’s tape, then use a foam roller to apply a boldly contrasting paint color. Roll lightly and evenly to prevent bleeding. Once completely dry, attach sleek brass handles to dramatically increase the high-end feel.
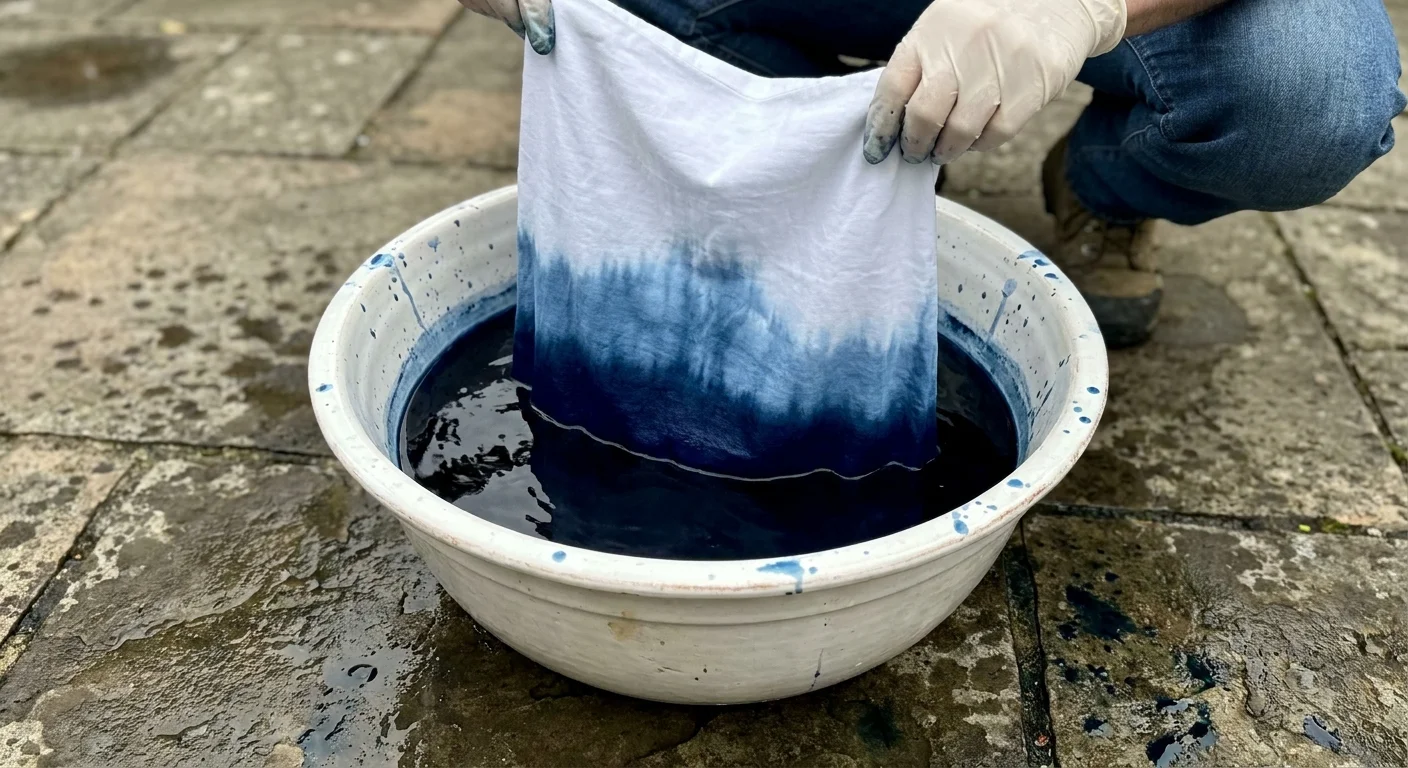
Dip-Dyed Cotton Throw Pillow Covers
Refreshing your living room seating demands nothing more than a batch of fabric dye and plain cotton pillow covers. Fill a large plastic bucket with hot water and mix in your chosen liquid dye. Dampen the pillow cover thoroughly, then slowly submerge the bottom third into the hot dye bath, holding it steadily in place for several minutes to achieve a deeply saturated base hue. Gradually pull the damp fabric upward, inch by inch, to create a beautiful, fading ombré effect. Rinse the cotton cover in cold water until it runs completely clear, washing and drying it normally to securely lock in the vivid color.
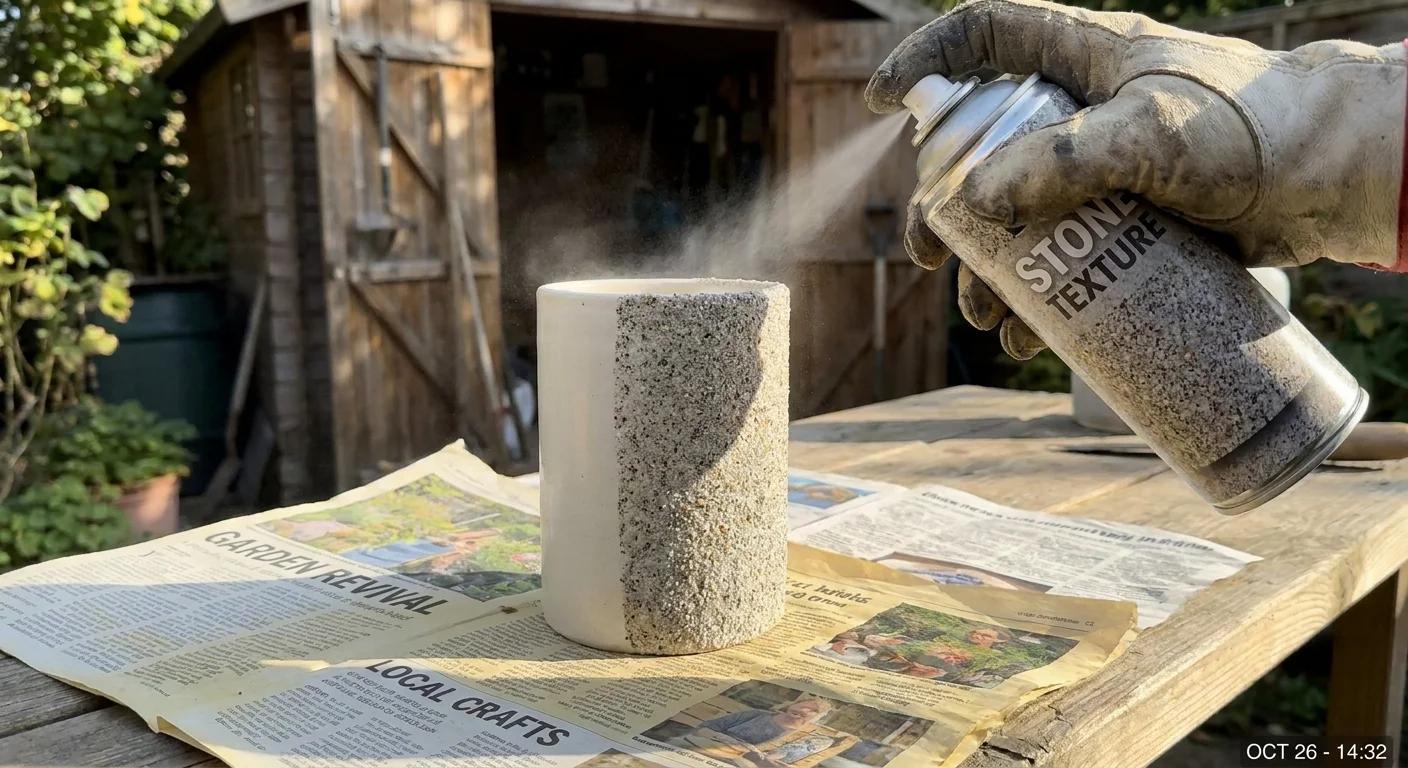
Faux Stone Ceramic Vases
You can rescue outdated, heavily patterned thrift store vases by replicating the look of artisanal matte ceramics. Mix standard acrylic paint with a generous spoonful of baking soda; the chemical reaction immediately thickens the paint into a gritty, plaster-like consistency. Use a wide, stiff bristle brush to heavily coat your old ceramic or glass vase, purposefully allowing the thick brushstrokes to remain visible for added authentic, handmade texture. The chemical baking soda mixture dries into a stunningly chalky, matte finish that perfectly mimics expensive cast concrete or heavy terracotta pottery. Fill your beautifully transformed vessel with tall dried pampas grass or structural branches for an immediate, striking room focal point.
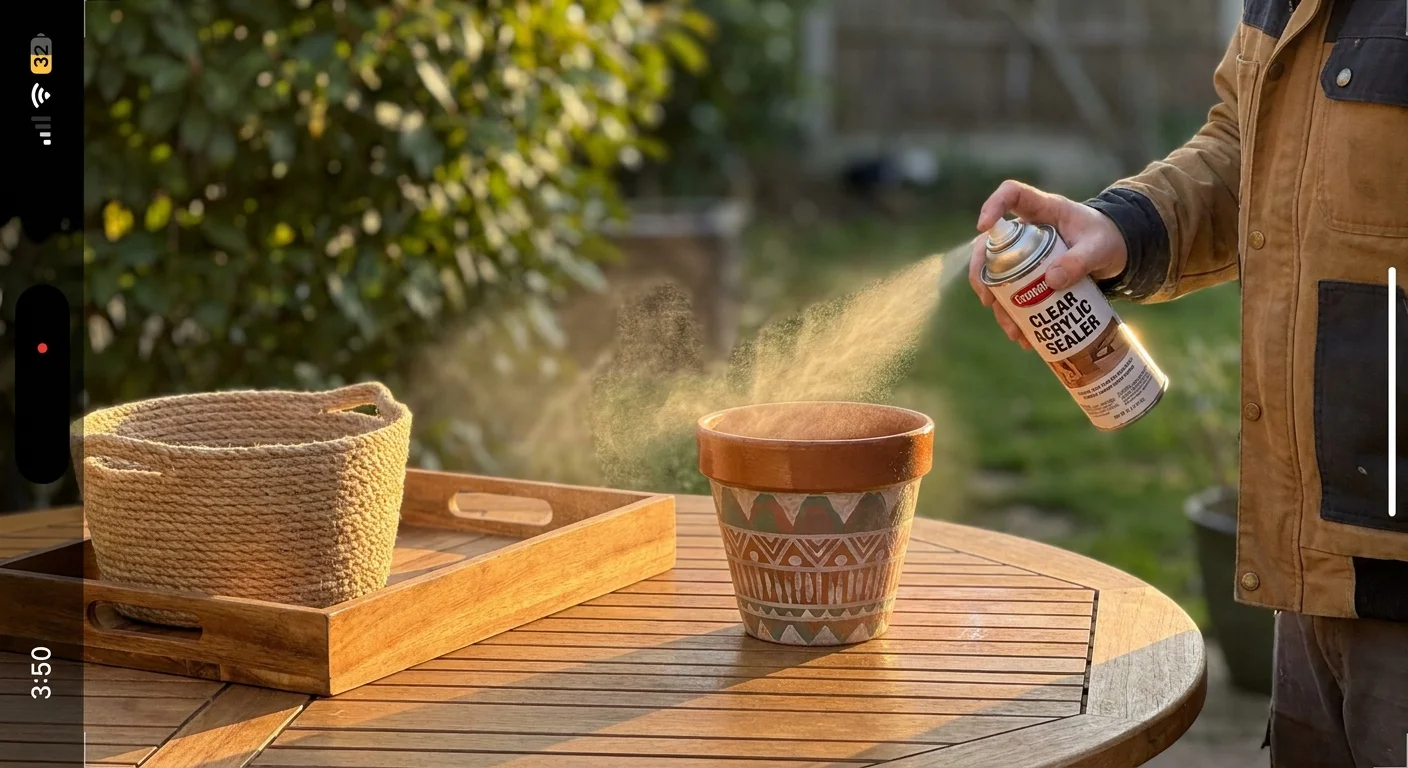
Phase 3: Curing, Sealing, and Polishing
Protecting your hard work ensures your creations easily survive daily wear and tear. You must apply a high-quality sealant to any painted or dyed surface that will experience frequent handling. Clear polyurethane varnishes work exceptionally well for wooden serving trays, while spray acrylic sealers strongly protect delicate metallic leafing from tarnishing over time. Always tackle this finishing phase outdoors or in a highly ventilated area. You can refer to Department of Energy guidelines on indoor air quality to fully understand the critical importance of proper airflow when working with chemical sealants. Allow every handmade item to cure completely for at least forty-eight hours before putting it to use.
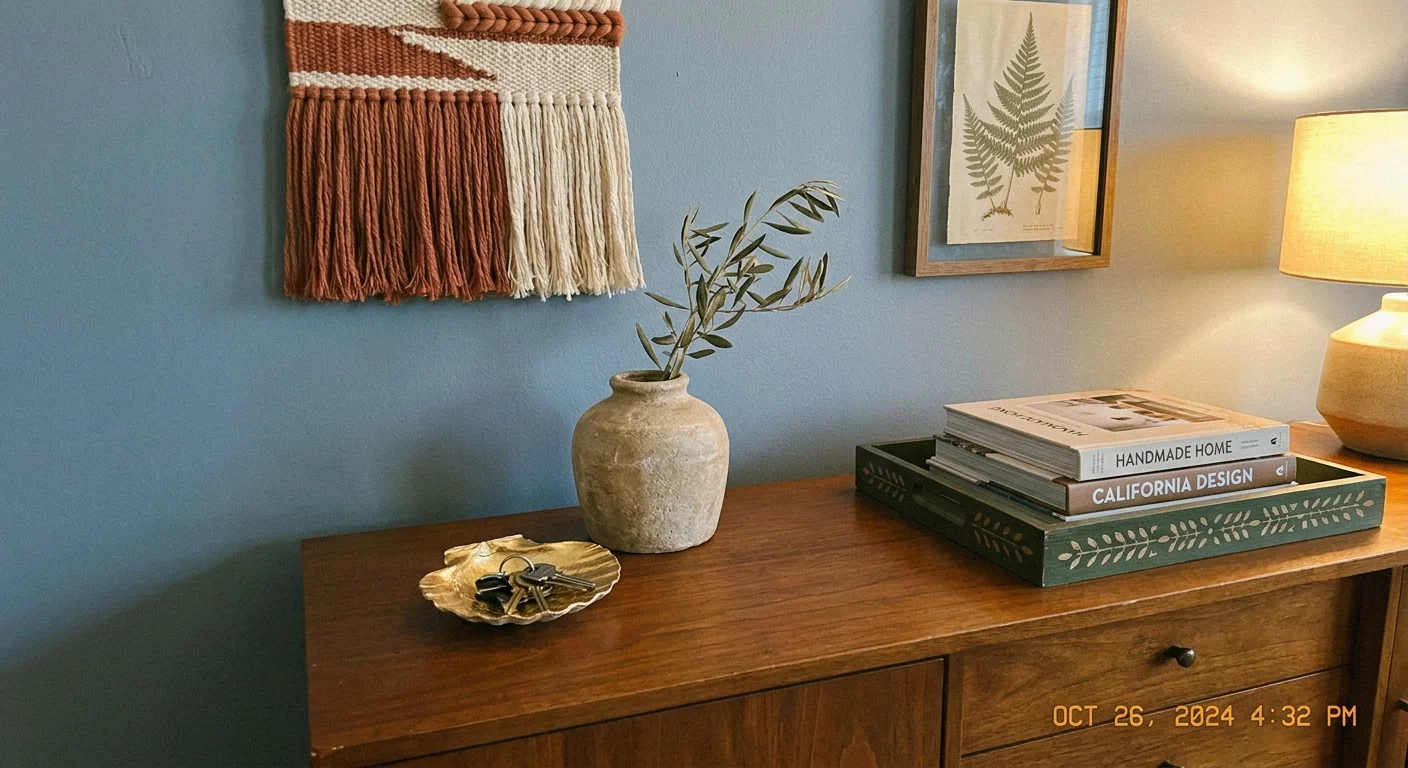
Styling and Personalization Ideas
Integrating your handmade pieces into your existing layout requires a thoughtful approach to visual balance. Avoid clustering all your newly crafted items tightly on a single shelf; instead, distribute them evenly throughout the room to create cohesive anchor points. Mix smooth surfaces with rougher textures to build dynamic visual interest that keeps the eye moving. When arranging small groupings of decor, remember the classic rule of threes to playfully prevent the display from looking visually cluttered or overwhelmed. For deeper, professional insights on building perfect vignettes, review Architectural Digest styling advice, which heavily emphasizes varying the heights and shapes of your decorative objects.
Troubleshooting Common Craft Pitfalls
Even the most meticulous crafters occasionally face minor setbacks during the creative process. If your painter’s tape accidentally pulls away the base coat on your terracotta pots, simply gently sand the flaked edge and carefully touch up the area using a tiny detailing brush. Should your fabric dye result in an uneven or splotchy finish, easily over-dye the piece with a darker color, such as navy or charcoal, to successfully mask the imperfections. Routine maintenance also keeps your DIY decor crafts looking fresh; use a simple feather duster for textured wall hangings and a lightly dampened microfiber cloth to safely wipe down sealed wood and ceramic pieces.
Frequently Asked Questions
How do I choose the right paint for different materials?
Matching the paint formula to your surface material dictates the longevity of your finish. Acrylic craft paint adheres beautifully to porous surfaces like raw wood and terracotta, but it easily chips off glass. For sleek surfaces, you must use specialized enamel paints or apply a dedicated bonding primer before adding your topcoat. Chalk paint offers incredible versatility for furniture because it requires minimal sanding and sticks securely.
Where can I source affordable supplies for DIY decor crafts?
You can find excellent, budget-friendly base materials by exploring local thrift stores, estate sales, and neighborhood swap groups. Outdated framed art and slightly chipped wooden trays cost mere pennies at secondhand shops but serve as perfect canvases. Shop the clearance aisles of major craft chains for high-quality varnishes and specialty tools. Buying primary colors and mixing your own custom paint shades also dramatically reduces your overall project costs.
How do I ensure my handmade items look professional rather than amateur?
Achieving a high-end look comes down to your preparation and finishing techniques. Rushing through the sanding process or applying thick layers of paint inevitably leaves a sloppy finish. You should always apply multiple thin, even coats of paint rather than one heavy layer. Investing in high-quality painter’s tape ensures razor-sharp lines, and applying a proper protective varnish removes the dull look of unfinished materials. Taking your time yields beautiful results.
What is the best way to adapt these home decorating ideas for small spaces?
When square footage is incredibly limited, you must prioritize vertical space and highly functional decor. Instead of crafting large floor baskets, scale the rope-wrapping technique down to customize small desktop organizers or hanging fruit baskets. Focus heavily on wall-mounted projects like woven hangings, custom pinboards, and pressed botanical frames, which add immense personality without consuming valuable tabletop real estate. You should also select a lighter, unified color palette for your crafts; reviewing HGTV resources on color theory provides excellent direction on making tight spaces feel visually expansive.
Time to Transform Your Space
Injecting your personality into your living space does not require a massive renovation budget. You possess complete control over the atmosphere of your home, and dedicating a few hours to hands-on creativity yields massive stylistic dividends. These accessible projects prove that a little paint and imagination drastically alter the mood of any room. Pick the project that excites you the most, gather your supplies, and start transforming your environment today.


Leave a Reply