You can rescue wilting greenery and reverse yellow leaves by mastering the science of hydration. Simple adjustments to your watering technique transform struggling houseplants into lush, vibrant focal points.
Most indoor plant deaths stem from preventable moisture errors rather than poor lighting or neglect. Overwatering plants suffocates delicate roots beneath soggy soil long before visible damage appears on the foliage.
By learning to read moisture cues and avoiding common watering mistakes, you protect your indoor jungle and save money on replacements. Here is how you can perfect your technique starting today.

Hydration Planning Snapshot: Time, Budget, and Skill
Refining your plant care routine requires minimal financial investment; most adjustments rely entirely on technique and patience. You can master proper assessment methods in an afternoon while spending under twenty dollars on basic supplies.
Skill level sits comfortably at beginner, making these habits accessible for any apartment renter or homeowner. Your primary investment is five minutes of observation every few days rather than frequent, hurried pourings.
A simple moisture meter, a long-spout watering can, and adequate saucers are the only tools you truly need. Upgrading your containers with drainage inserts guarantees immediate improvements without costly renovations.

The 8 Critical Watering Mistakes That Damage Houseplants
1. Following a Strict Calendar Schedule
Pouring water every Saturday morning ignores the dynamic microclimates within your living space. Evaporation rates fluctuate alongside seasonal sunlight, indoor humidity levels, and ambient room temperatures.
According to horticultural research from the Clemson Cooperative Extension, plants consume water based on active growth phases rather than human calendar intervals. Check the soil moisture first before reaching for the pitcher.
Dormant plants in dim corners require far less hydration than actively growing specimens set near bright southern windows. Let environmental demand dictate your hydration cadence instead of a rigid routine.
2. Overlooking Drainage and Letting Pots Sit in Water
Planters without drainage holes trap standing water at the base, drowning lower root structures in stagnant moisture. Deprived of oxygen, beneficial root microbes perish, giving harmful anaerobic pathogens the upper hand.
Decorative cachepots pose a similar danger when excess runoff pools inside the outer container after watering. Always empty drip trays and decorative vessels twenty minutes after irrigating your containers.
Design authorities at HGTV recommend using functional plastic nursery pots with drainage nested inside decorative outer vessels. This setup allows effortless removal during hydration sessions while maintaining your curated interior aesthetic.
3. Wetting the Foliage Instead of Soaking the Soil
Showering foliage from above creates stagnant moisture pockets on delicate leaves, inviting fungal blights and bacterial leaf spots. Powdery mildew spores thrive on persistent dampness, especially in rooms with minimal air circulation.
Direct your watering can spout beneath the leaf canopy, applying water evenly over the potting substrate. Roots absorb the moisture your plant needs; foliage merely suffers under damp, cloudy indoor conditions.
If dusty leaves require cleaning, wipe them down gently with a damp microfiber cloth instead. Reserve overhead drenching for outdoor gardens where sunlight and breezes dry leaves quickly.
4. Shallow Surface Sipping
Giving your plant tiny sips of water moistens only the top half-inch of soil mix. Lower feeder roots starve as moisture evaporates from the surface before penetrating the root ball.
This habit encourages weak, shallow root systems that cannot support heavy top growth or resist heat stress. Incomplete watering also causes fertilizer salts to accumulate inside the substrate, burning root tips.
Apply water thoroughly across the entire surface until liquid flows freely from the drainage holes. This deep flushing hydrates every root tier while washing away excess mineral buildup.
5. Pouring Shocking Cold Tap Water
Filling your watering vessel directly from the cold tap exposes delicate tropical root systems to thermal shock. Sudden temperature drops stun roots, causing sudden foliage drop in sensitive species like Ficus and Calathea.
Municipal water often contains chlorine, chloramines, and fluorides that cause unsightly brown leaf margins over time. Spider plants and dracaenas display pronounced leaf-tip burn when exposed to concentrated municipal tap chemicals.
Let tap water sit at room temperature for twelve hours before application to stabilize temperatures and dissipate chlorine. Alternatively, collect clean rainwater or use filtered water for your most sensitive tropical cultivars.
6. Disregarding Seasonal Dormancy Shifts
Indoor plants dramatically reduce their metabolic activity during shorter winter days, entering a natural rest period. Continuing your heavy summer watering schedule through December saturates resting roots, quickly sparking decay.
As daylight hours decrease, photosynthetic activity slows down, reducing overall water consumption by half or more. Monitor your pots more conservatively from late autumn through early spring.
Resume more frequent deep soakings once new spring shoots emerge and daylight hours expand. Matching hydration levels to ambient sunlight cycles keeps root systems energized year-round.
7. Guessing Moisture by Surface Appearance Alone
Potting soil often looks dry and pale on top while remaining dangerously waterlogged deep around the root zone. Judging hydration solely with a quick glance invites accidental overwatering.
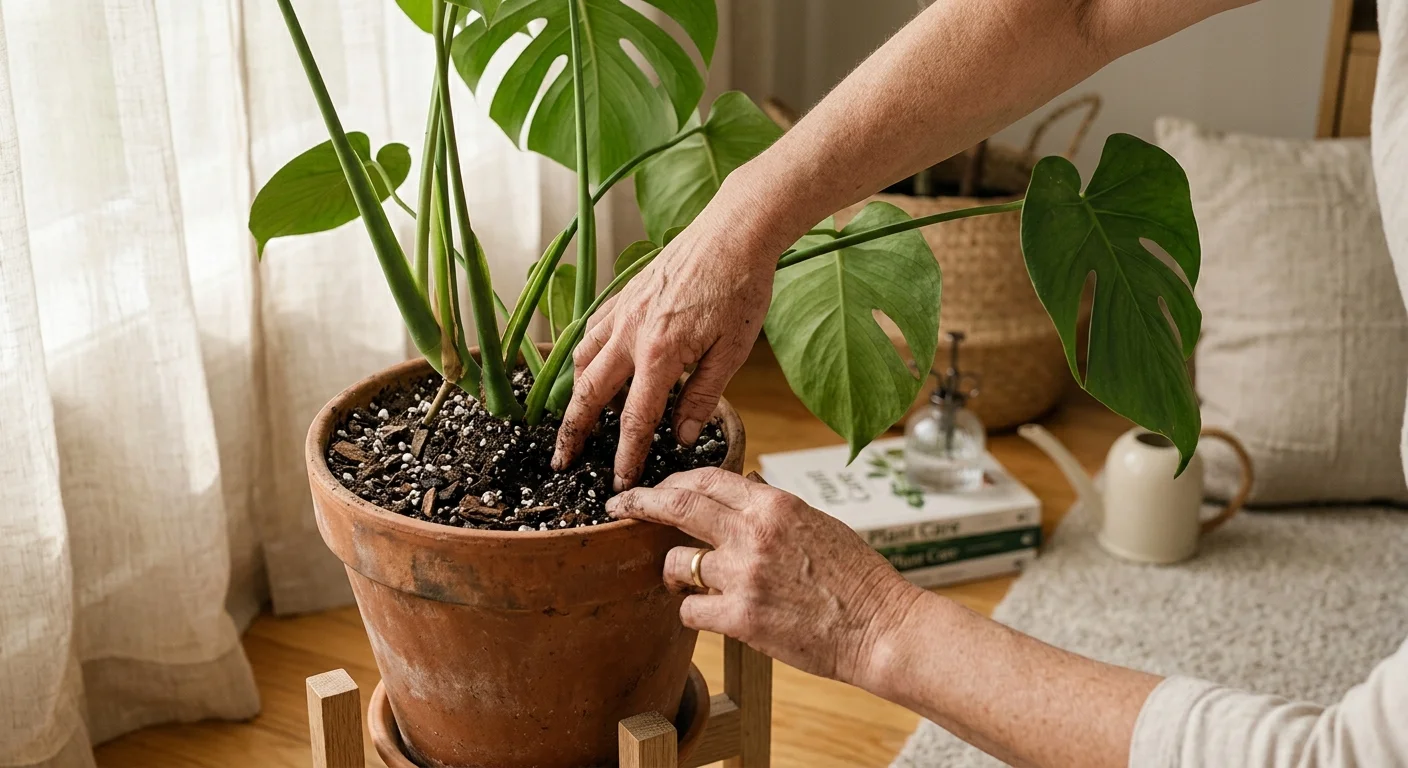
Insert your finger two inches into the substrate to evaluate moisture levels before adding water. If the soil feels cool and damp beneath the crust, postpone watering for another two days.
You can also assess moisture by lifting the pot to gauge its overall weight. A thoroughly dry pot feels surprisingly light, whereas saturated soil feels noticeably heavy in hand.
8. Using Dense Garden Dirt in Indoor Containers
Outdoor topsoil contains heavy clay and silt particles that compact tightly inside container environments. Compacted soil eliminates essential air pockets, trapping moisture and suffocating root hairs.
Container houseplants require porous, well-aerated potting media formulated with peat moss, perlite, and pine bark chips. Chunky substrates retain necessary moisture while allowing surplus water to drain away within seconds.
Amend dense commercial potting soil with perlite and orchid bark to boost oxygenation. Your roots will expand rapidly through the open spaces, absorbing water efficiently without rotting.

The Three-Phase Proper Plant Watering Guide
Phase 1: Preparation and Root Zone Inspection
Begin your hydration session by clearing fallen leaves and debris from the surface of the soil. Inspect the base of the stems for softness or discoloration before deciding to add moisture.
Insert a clean wooden chopstick into the soil ball, leaving it in place for three minutes. If the wood emerges clean and dry, your plant is ready for a thorough drenching.
Gather your room-temperature water in a narrow-spout watering can to maintain complete pouring control. Ensure your workspace or saucer can accommodate surplus drainage runoff without overflowing onto furniture.
Phase 2: Executing a Controlled Deep Drench
Pour water slowly around the perimeter of the pot, working in concentric circles toward the center. This steady pace prevents water from carving channels down the sides without saturating the soil core.
Pause when moisture pools on the surface, giving the potting mix time to absorb the liquid. Add additional water until you see steady streams exiting the bottom drainage openings.
For hydrophobic peat that repels water, try bottom watering by placing the pot in three inches of tepid water. Allow the soil to wick moisture upward for thirty minutes, then remove it immediately.
Phase 3: Drainage Finishing and Maintenance
Allow the container to drain freely over a sink or large collection tray for twenty minutes. Tilting the nursery pot slightly dislodges trapped water clinging to the bottom edge.
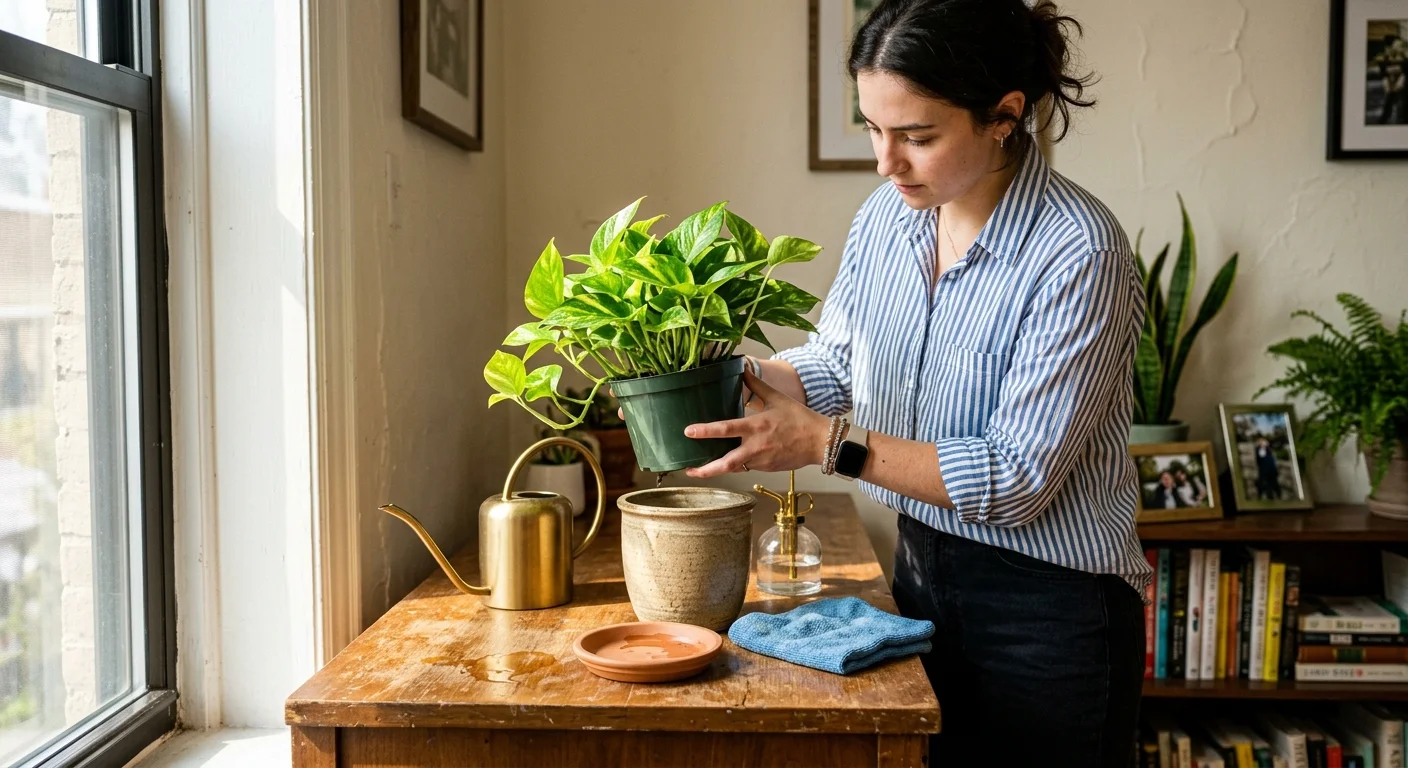
Wipe the underside of the container dry before returning it to its decorative tray or saucer. Never leave standing liquid in decorative saucers, as capillary action pulls unwanted moisture back upward.
Log the watering date on a discreet pot sticker or digital plant care tracking application. Recording your actions builds confidence and reveals seasonal absorption trends across your collection.
Styling and Personalizing Your Plant Hydration Setup
Transform functional plant maintenance into an intentional design feature by selecting handsome watering accessories. Displaying polished brass or matte ceramic watering cans turns utilitarian tools into sculptural shelf accents.
Interior stylists at Architectural Digest highlight the visual impact of matching cachepots with natural materials. Pair unglazed terracotta vessels with sleek glazed saucers to create rich textural contrast in modern living rooms.
Use decorative river stones or leca pebbles inside drainage trays beneath your potted specimens. This technique keeps pot bottoms elevated above runoff water while boosting localized humidity through natural evaporation.
Coordinate ceramic colors with your interior palette, using warm earthy tones to highlight lush green foliage. Thoughtful planter styling unites plant health with refined residential aesthetics.

Troubleshooting Signs of Overwatered Plants and Root Rot
Recognizing the early warning signs of overwatered plants allows you to intervene before root systems collapse completely. Lower leaves turning yellow while feeling limp and watery indicate an urgent moisture surplus.
Plant pathology experts at Penn State Extension note that Pythium and Phytophthora root rots thrive in persistently saturated potting soil. Affected roots turn dark brown, mushy, and emit a sour compost odor.
If root rot strikes, slide the plant from its container and inspect the root system immediately. Prune away all blackened, decayed roots with sterilized shears, saving only firm, white root tissue.
Repot the trimmed plant into fresh, aerated potting substrate and hold off on watering for four days. Moving the recovering specimen into gentle, bright indirect light encourages fresh root regeneration.
Persistent swarms of tiny fungus gnats also point directly to damp, decaying organic matter near the surface. Let the top two inches dry thoroughly between waterings to eradicate their larval habitat naturally.
Frequently Asked Questions
Which moisture meters work best for beginners?
Simple analog probe meters featuring a dual-probe design offer reliable soil moisture readings without requiring batteries. They provide instant measurements across dry, moist, and wet zones throughout the entire container depth.
Wipe the metal probes clean after every use to prevent mineral oxidation and inaccurate future readings. Alternatively, a simple wooden skewer remains an exceptionally accurate, zero-cost diagnostic tool.
Can I use filtered tap water for sensitive tropicals?
Standard carbon drinking water filters remove chlorine and heavy metals, making tap water much gentler on tropicals. However, basic filters do not eliminate dissolved salts or fluorides that cause tip burn.
For sensitive varieties like Calathea or carnivorous plants, use distilled water, reverse osmosis water, or collected rainwater. Your tropical cultivars will reward you with pristine leaf margins free of browning.
Where can I source high-grade soil amendments locally?
Independent garden nurseries and specialty hydroponic shops carry coarse horticultural perlite, pumice, and aged pine bark. Avoid big-box garden soil bags that contain pre-mixed chemical fertilizers or moisture-retention crystals.
Mixing your own custom substrate with raw components provides complete control over container drainage and aeration. A simple mix of equal parts potting soil, perlite, and orchid bark suits most tropicals.
How do I adjust watering routines for high-humidity bathrooms versus dry living rooms?
Warm bathrooms with steam from daily showers dramatically reduce soil moisture evaporation rates from containers. You will need to water bathroom plants significantly less often than specimens in other spaces.
Conversely, living rooms with active forced-air winter heating pull moisture rapidly from both foliage and soil. Monitor living room plants more frequently and consider setting up pebble trays to stabilize humidity.
Cultivate a Healthier Indoor Garden
Successful plant parenting does not rely on mysterious innate talent or flawless luck. Cultivating thriving greenery comes down to understanding drainage dynamics, recognizing moisture signals, and honoring natural plant cycles.
Take time today to inspect your containers, verify drainage openings, and feel the soil around your favorite plants. Minor adjustments to your watering technique will breathe fresh vitality into every leaf, stem, and root.