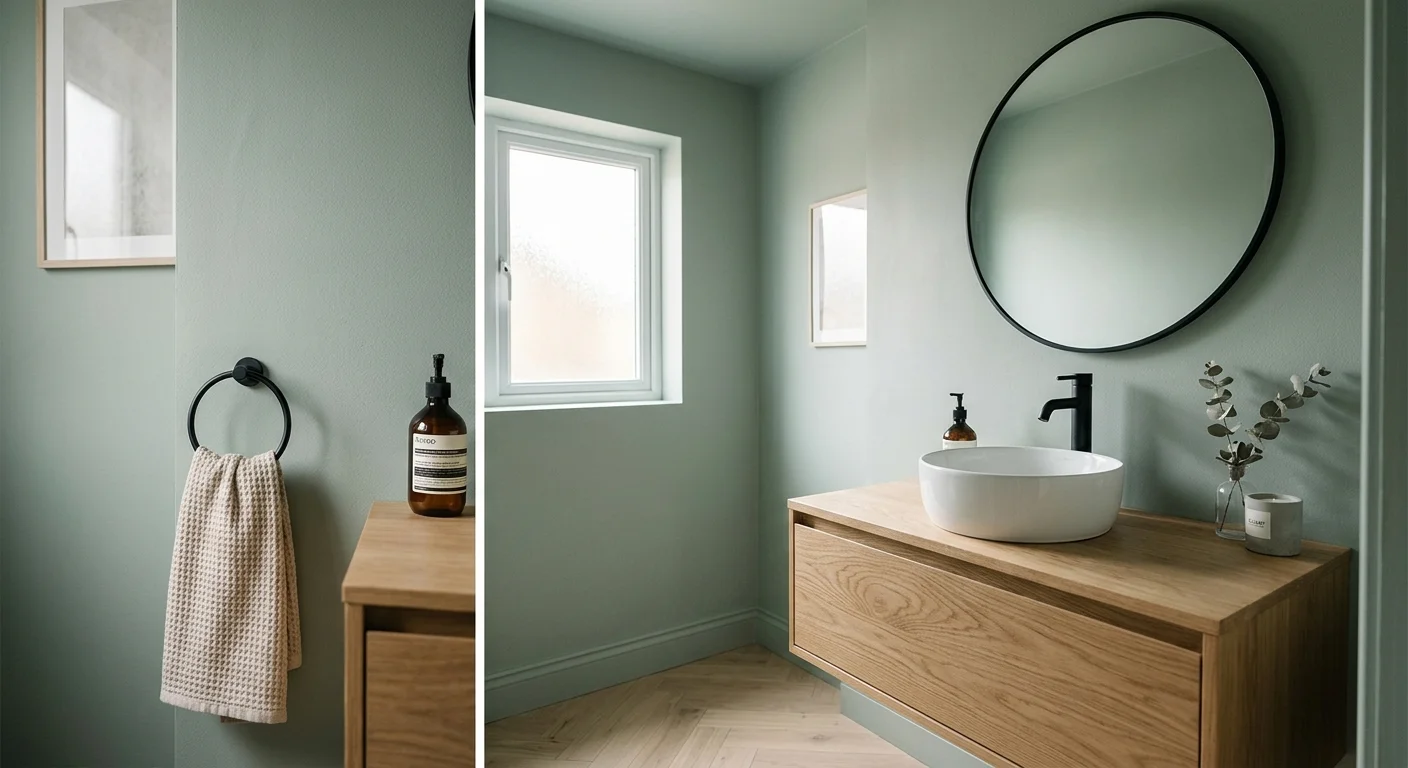
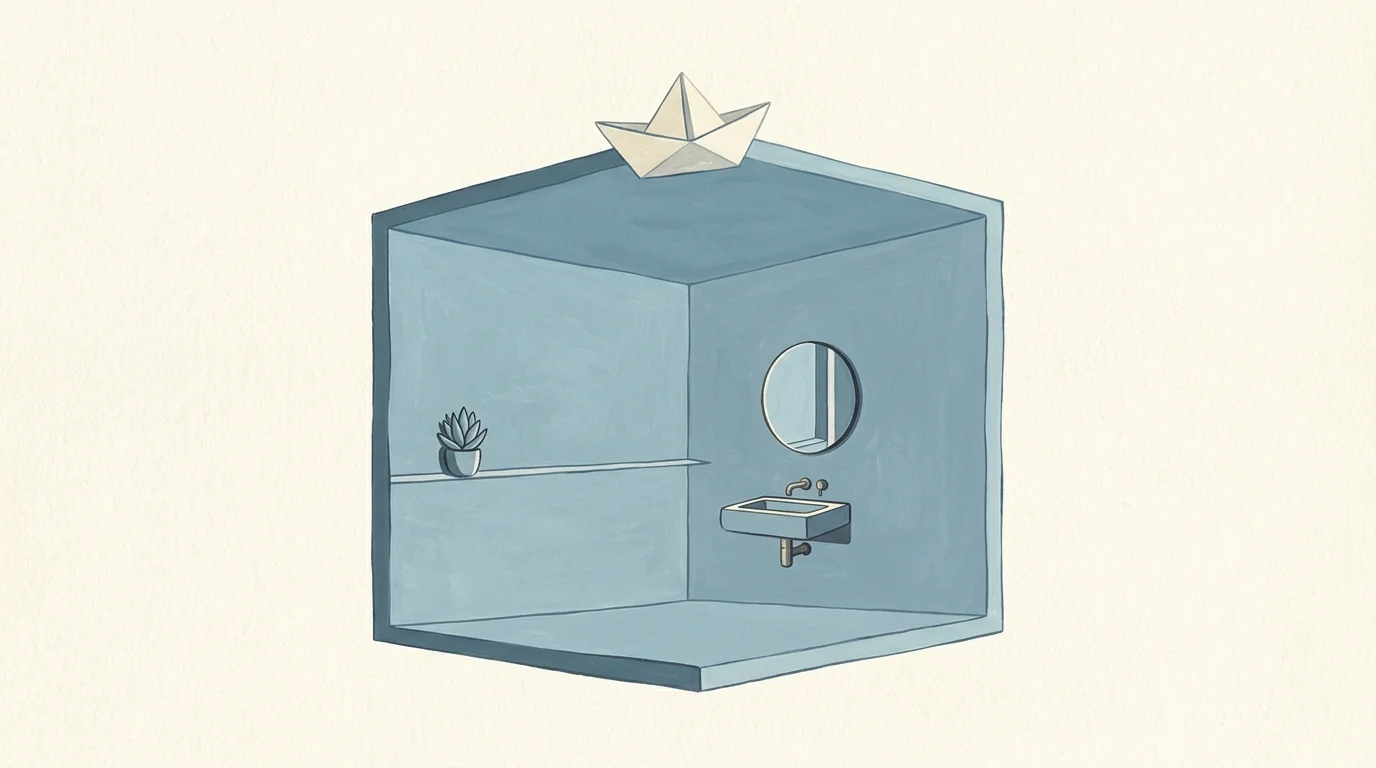
Transform your cramped half-bath into a serene, expansive oasis using the transformative power of paint and strategic color placement. You can make the most claustrophobic layout feel twice as big by understanding how light, contrast, and undertones visually manipulate human perception. Choosing the right small bathroom colors goes far beyond simply grabbing the brightest white off the hardware store shelf; it requires a thoughtful approach to ceilings, trim, and accents. Through clever interior decorating techniques like tonal layering and unexpected dark hues, you can trick the eye, hide awkward architectural quirks, and create an illusion of boundless space without moving a single wall.
Planning Your Color Transformation
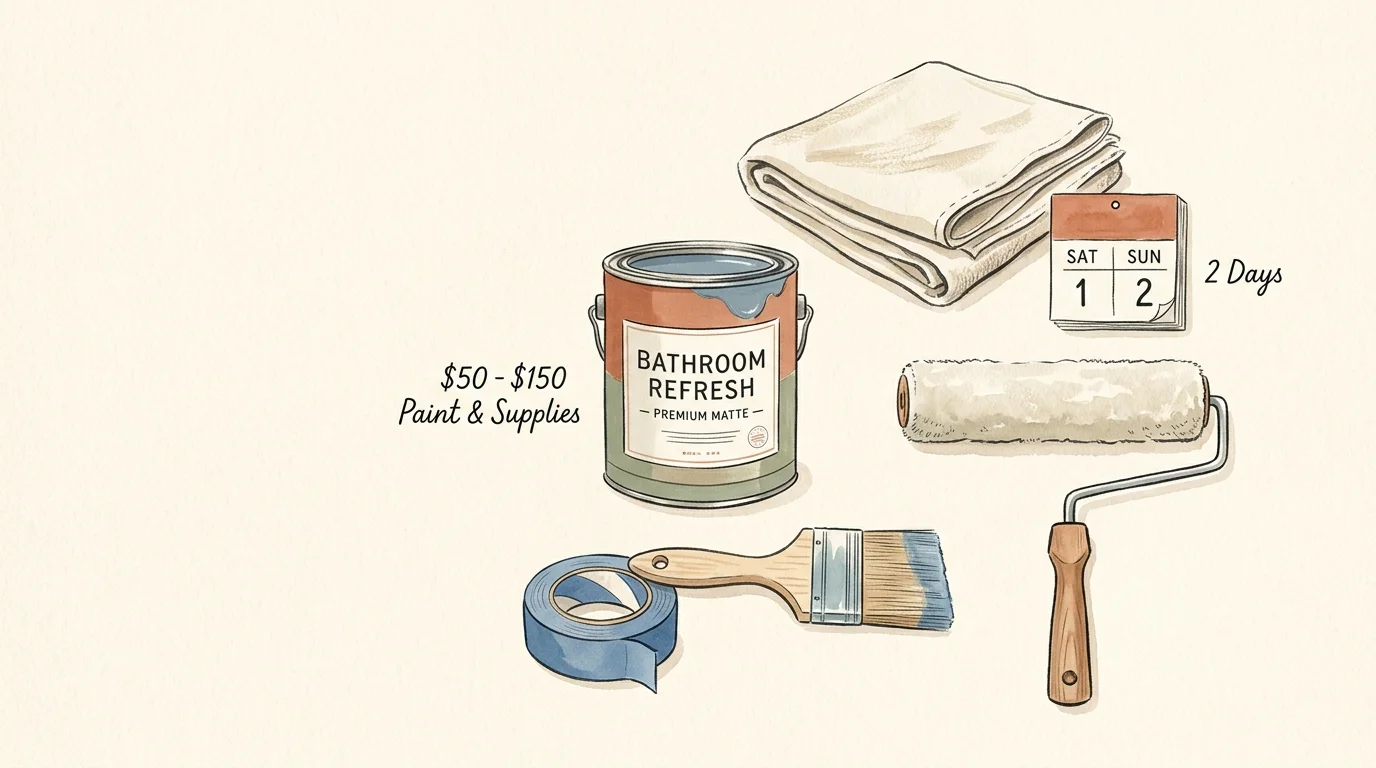
Paint serves as the most cost-effective renovation tool in your arsenal when tackling ambitious space-saving ideas. Expect to spend between fifty and one hundred and fifty dollars on premium bathroom-grade paint, high-quality microfiber rollers, angled brushes for cutting in, professional painter tape, and heavy-duty drop cloths. A standard powder room or guest bath typically requires only one gallon of paint, making this a highly budget-friendly weekend project. You should budget two full days for the entire endeavor; proper preparation, meticulous taping, and adequate drying time between coats dictate your timeline far more than the actual physical process of rolling the walls. Anyone possessing basic DIY ambition can master these bathroom paint ideas without calling in an expensive professional. You do not need specialized carpentry skills or advanced plumbing knowledge to dramatically alter your space, just patience and a steady hand for edging cleanly around the sink, mirror, and vanity.
Preparation: The Foundation of a Flawless Finish
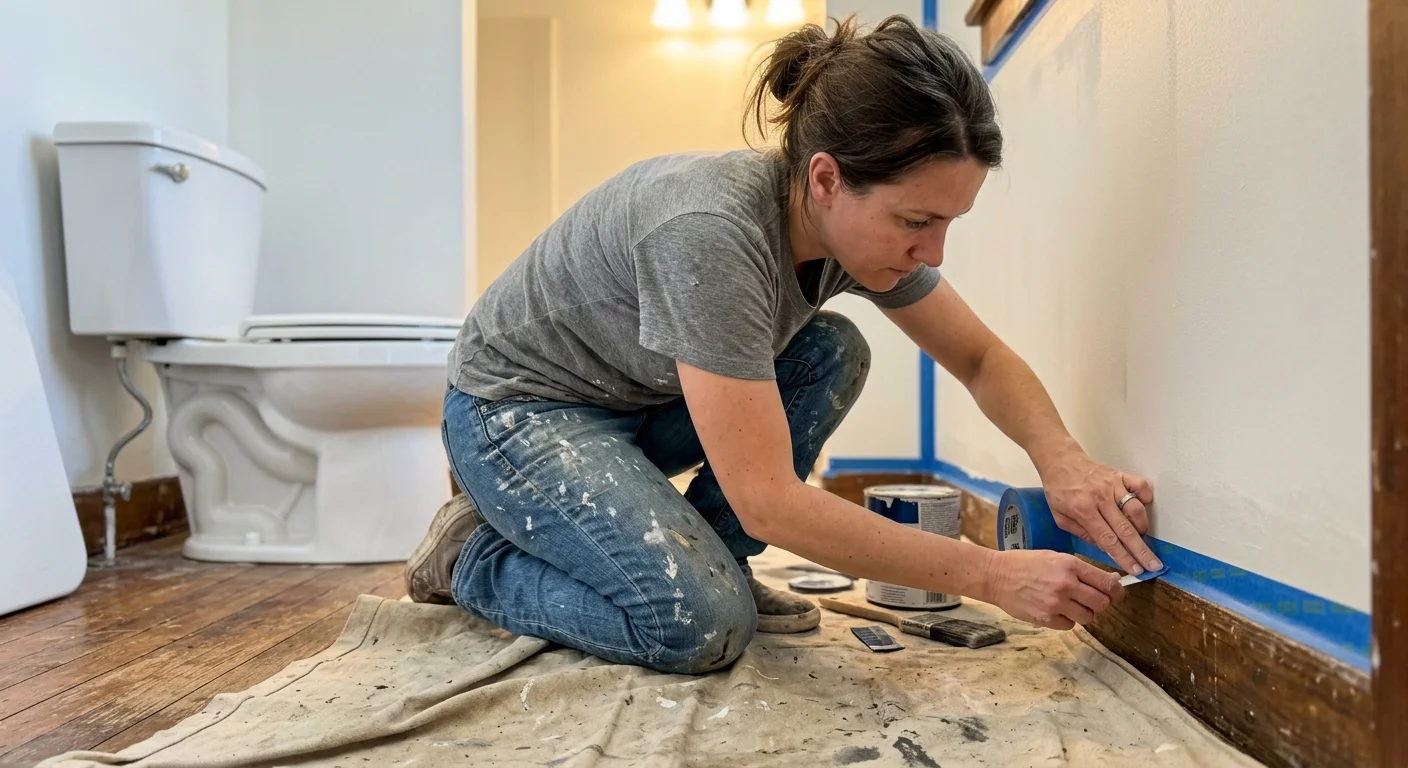
Preparing a bathroom for paint demands meticulous attention to detail because the environment constantly battles aggressive moisture, high humidity, and drastic temperature shifts. Start your project with a rigorous cleaning regimen using a heavy-duty degreasing agent to strip away invisible soap scum, aerosol hairspray residue, and stubborn mildew that actively prevents fresh paint adhesion. Scrub every square inch of the drywall and trim, paying special attention to the highly vulnerable areas directly above the shower surround and tightly behind the toilet tank. Once the surfaces dry completely, repair any drywall imperfections caused by old towel bars, toilet paper holders, or historical moisture damage using a lightweight, water-resistant spackling compound. Sand these patched areas perfectly smooth, wipe away the fine dust with a damp microfiber cloth, and apply a high-adhesion, moisture-blocking primer.
Primer seals the porous drywall and creates an optimal canvas, ensuring your new small bathroom colors adhere properly and resist peeling under the immense stress of hot daily showers. Protect your vanity, toilet, and flooring with heavy-duty canvas drop cloths. This Old House heavily advises utilizing durable canvas rather than cheap plastic sheeting, which quickly becomes dangerously slippery when damp and allows spilled paint to pool rather than safely absorb. Use premium edge tape to mask off the baseboards, window casings, and plumbing fixtures, firmly pressing the delicate edges down with a flexible plastic putty knife to prevent unsightly paint bleed. Taking these safety and quality checkpoints seriously guarantees a professional-grade result that will endure years of heavy daily use.
Execution: 7 Clever Color Tricks to Expand Your Space
With your rigorous prep work complete, you are ready to purposefully manipulate your room dimensions using strategic visual trickery. These seven interior decorating strategies harness the profound power of light reflectance and optical illusions to instantly expand your footprint.
Trick 1: Embrace Color Drenching
Color drenching involves painting your walls, baseboards, door frames, window casings, and even the ceiling the exact same, unbroken shade. When you deliberately eliminate contrasting white trim, you effectively remove the rigid visual borders that tell your brain exactly where the wall ends and the ceiling begins. This uninterrupted flow of color forces the eye to travel continuously around the room, making the tight space feel significantly taller and notably wider. Implementing this highly popular technique with medium-toned, earthy hues creates a rich, enveloping atmosphere that beautifully distracts from the minimal square footage.
Trick 2: Harness High-Gloss Reflection
While standard matte paint finishes effectively hide minor drywall flaws, they heavily absorb precious light and make tight quarters feel oppressive, dim, and flat. You should opt for satin, semi-gloss, or dramatic high-gloss paint finishes to maximize crucial light reflection in a confined layout. High-gloss surfaces act remarkably like mirrors, aggressively bouncing ambient window light and artificial vanity illumination around the room to create a luminous, airy atmosphere. According to Architectural Digest, harnessing highly reflective finishes remains a paramount interior decorating strategy for amplifying natural light and faking impressive architectural volume in traditionally windowless spaces.
Trick 3: Lean Into Dark, Dramatic Hues
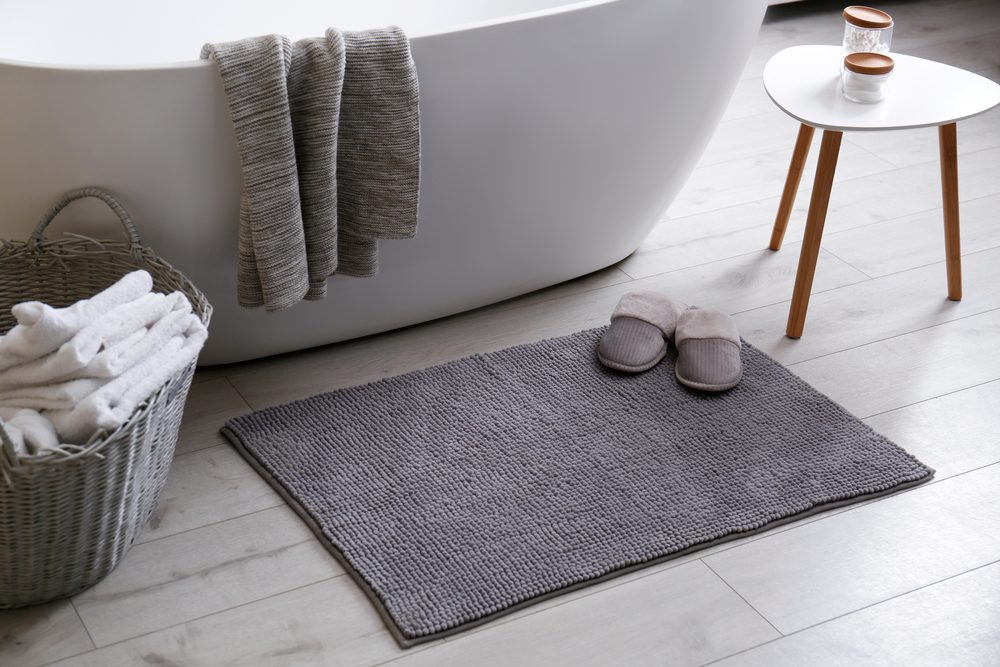
Contrary to widespread, outdated design myths, dark colors do not automatically shrink a room into a tiny box. Deep navy blue, rich charcoal gray, or moody forest green inherently possess receding visual qualities, meaning the walls magically appear to fall away into the shadows rather than aggressively close in on you. When you intentionally pair a remarkably dark wall color with brilliant white plumbing fixtures, crisp white towels, and highly polished chrome hardware, the resulting high-contrast aesthetic adds profound architectural depth to the room. This bold approach successfully transforms a cramped utility space into a sophisticated, moody jewel box that commands immediate attention.
Trick 4: Match the Walls to the Tile
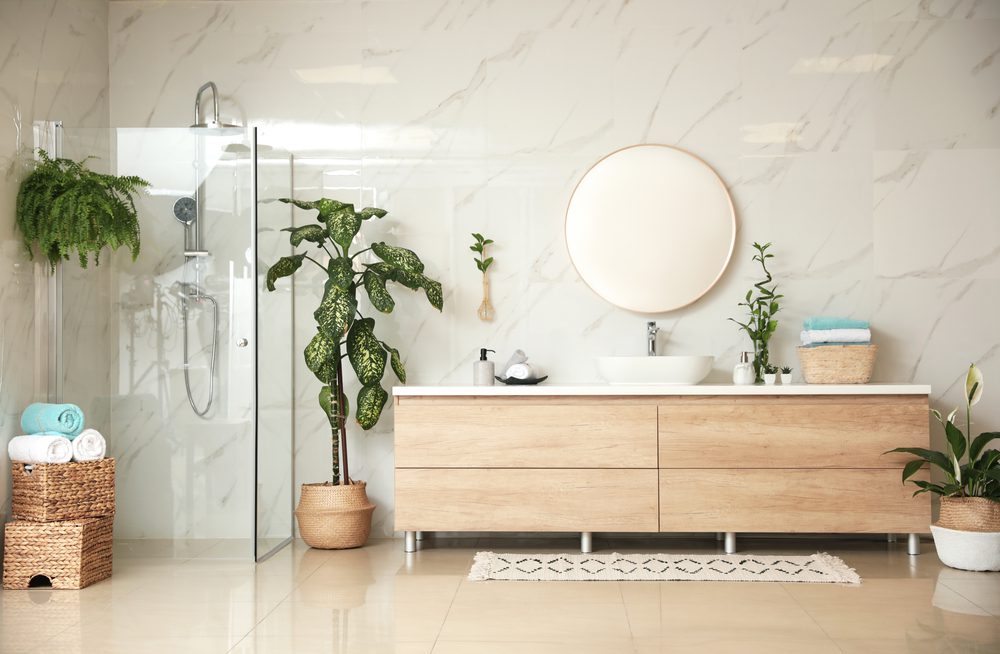
Visual fragmentation serves as the ultimate enemy of effective, space-enhancing small bathroom design. If your bathroom features a prominent tile wainscoting, intricate beadboard, or an expansive, dominating shower surround, you can easily double the perceived footprint by accurately matching your upper wall paint to the primary tile color. Creating a visually seamless monochromatic palette dramatically minimizes the harsh horizontal lines that aggressively chop a room in half. Tone-on-tone color matching allows the entire architectural background to recede softly, letting your decorative mirror or custom vanity serve as the striking focal point instead of loudly highlighting the awkward room dimensions.
Trick 5: Deploy Strategic Ceiling Tones
If you vastly prefer traditional contrasting trim and crisp white baseboards, you can still artificially elevate the perceived ceiling height through clever optical illusions. Paint the ceiling a deliberate shade that is exactly fifty percent lighter than your primary wall color. This subtle, gradient-like graduation effortlessly mimics the natural, expansive sky, smoothly pulling the viewer upward and creating a vast, breathable canopy overhead. Alternatively, painting the ceiling a bold, unexpected accent color while keeping the surrounding walls crisp white purposefully draws the eye directly upward, beautifully distracting your guests from the narrow, restrictive floor plan immediately below.
Trick 6: Opt for Receding Cool Undertones
Human perception processes color temperatures in distinct, biologically hardwired ways; warm colors physically advance toward the viewer, while cool colors inherently pull away. You can effectively make a narrow, hallway-like bathroom feel significantly wider by deliberately selecting hues with distinct blue, green, or violet undertones. Icy pale blues and soft, muted sage greens easily trick the brain into sensing physical distance, gracefully mimicking the endless expansiveness of the horizon line. You can confidently consult academic resources like the Utah State University Extension for comprehensive, research-backed breakdowns detailing exactly how color psychology and specific light reflectance values actively manipulate spatial perception in residential design applications.
Trick 7: Paint the Vanity to Blend In
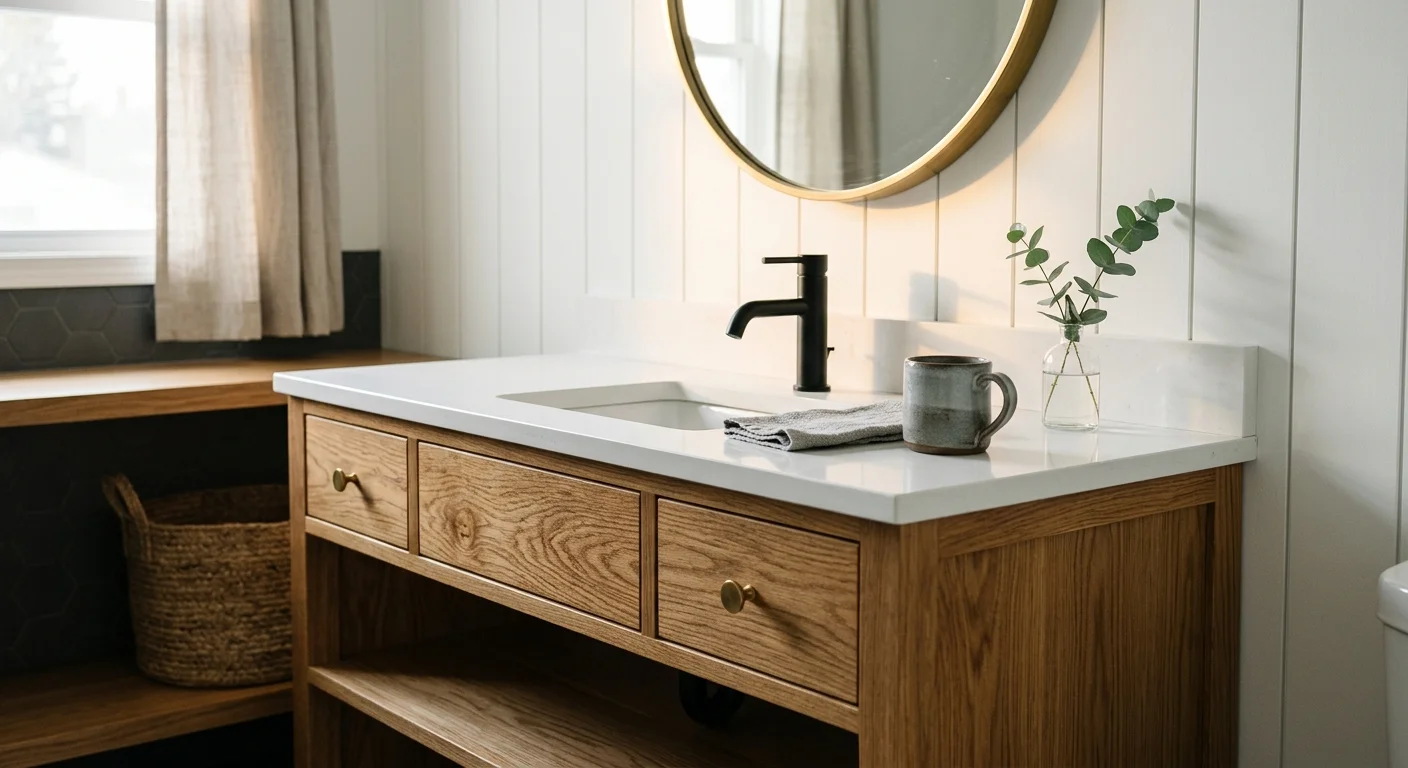
Bulky cabinetry often visually dominates limited square footage, easily creating a cluttered, top-heavy, and crowded feeling in a small bath layout. You can drastically reduce the cumbersome visual weight of an oversized vanity by painting the cabinet base the exact same color as the walls directly behind it. This incredibly clever camouflage technique gracefully allows the heaviest, blockiest piece of furniture in the room to visually disappear right into the surrounding architecture. By removing the stark, jarring contrast of a dark wood cabinet pushed aggressively against a light wall, you instantly recover perceived visual floor space and streamline the entire room.
Styling and Personalization
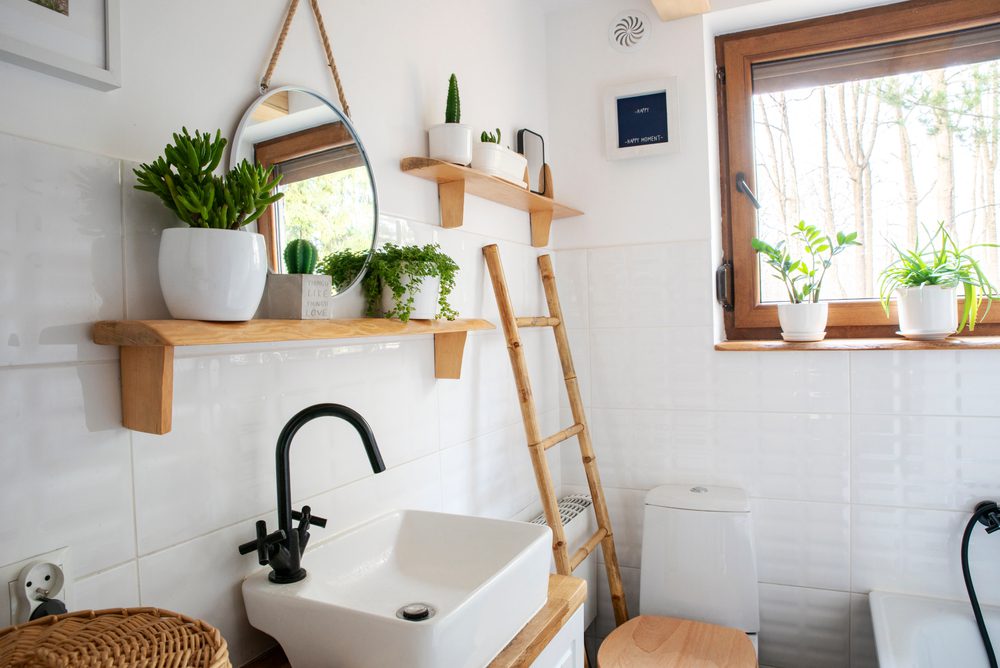
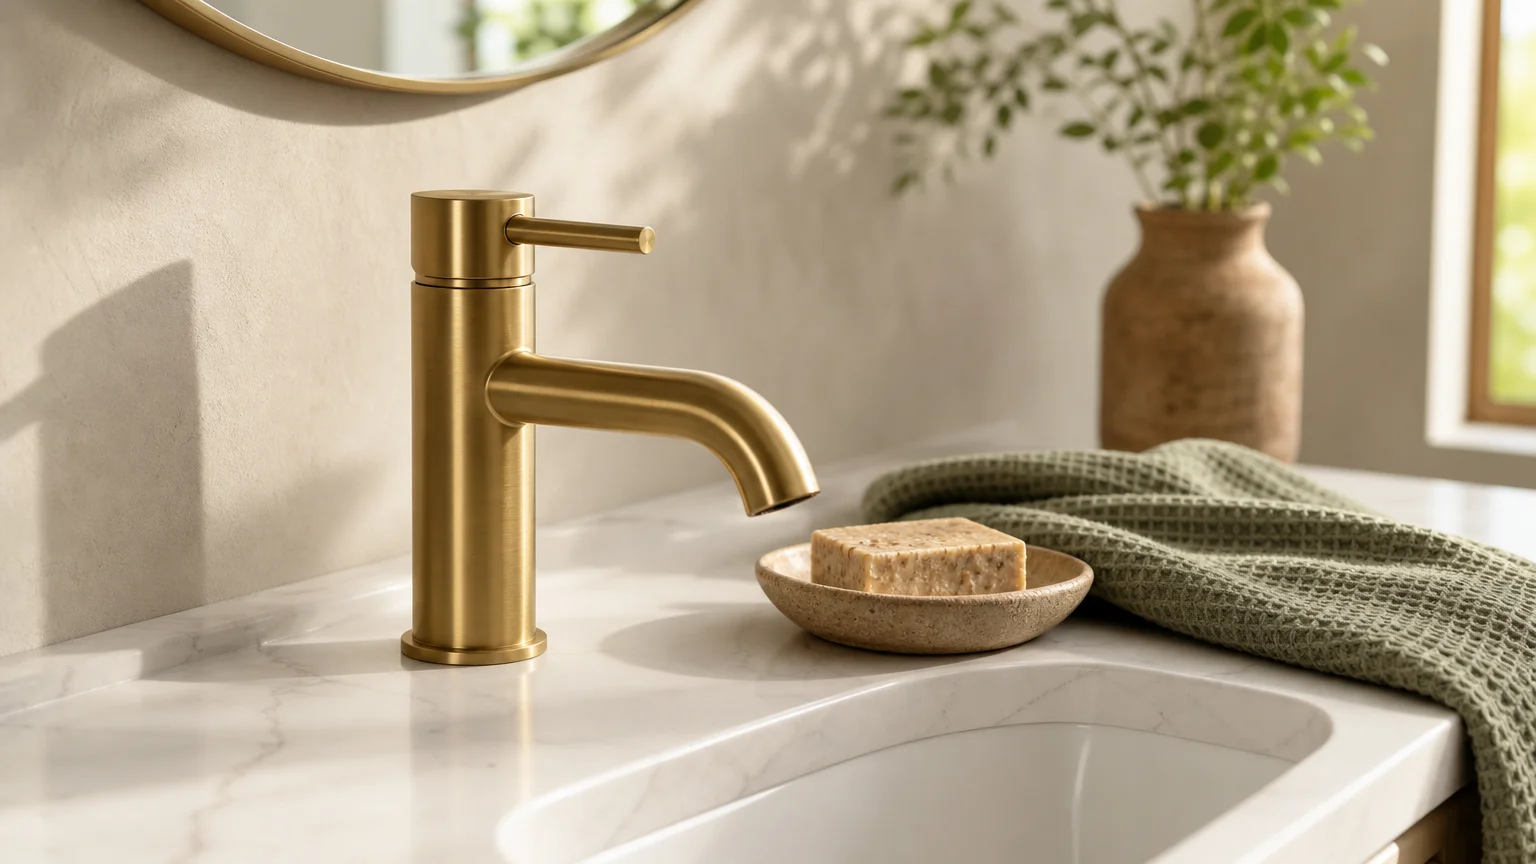
Completing the rigorous paint job represents only the very beginning of your comprehensive bathroom design journey. You must thoughtfully curate your hardware, carefully select your textiles, and intentionally upgrade your lighting to fully enhance your newly applied color scheme. If you boldly selected a moody, dark paint color, intentionally introduce warm metallic finishes like unlacquered brass or brushed gold to provide a luxurious, luminous contrast. These highly reflective metallic elements brilliantly catch the ambient light and add vital visual warmth to deep, cool-toned walls. For light, airy, and pale spaces, matte black fixtures beautifully anchor the room with sharp, defining lines that stop pale colors from totally washing out the architecture.
Introduce heavily organic textures to keep the freshly painted space feeling grounded, intentional, and inviting. A woven jute bath rug, a heavily textured linen shower curtain, or a raw wood floating shelf actively adds vital tactile interest to the room without demanding a single inch of extra square footage. Pay exceptionally close attention to your lighting fixtures; inadequate or harsh illumination thoroughly ruins even the most strategically executed bathroom paint ideas. Swap your harsh, outdated builder-grade vanity bulbs for daylight-balanced LED options to ensure your fresh paint colors render cleanly without a sickly yellow cast. For authoritative guidance on correctly selecting the proper lumens and ideal color temperatures for highly reflective wet environments, the Department of Energy provides excellent technical guidelines on maximizing energy-efficient residential lighting upgrades.
Troubleshooting and Long-Term Upkeep
Even meticulously executed painting projects inevitably face unique long-term challenges when continuously subjected to high-moisture environments. The absolute most common pitfall eager homeowners encounter is surfactant leaching, a frustrating chemical reaction where steamy showers cause brown, sticky, sap-like streaks to suddenly appear on freshly painted walls before the formula fully cures. You can easily prevent this unsightly issue by strictly keeping the bathroom completely dry and aggressively well-ventilated for at least forty-eight to seventy-two hours after applying the final topcoat. Utilize your ceiling exhaust fan constantly and leave the bathroom door wide open to significantly expedite the vital chemical curing process.
If you notice peeling or bubbling paint emerging around the shower edge several months down the line, excess moisture has unfortunately breached the protective acrylic barrier. You must scrape away the failing paint completely, apply a specialized mold-killing primer to the raw drywall, and carefully repaint the affected area, ensuring you thoroughly re-caulk the vulnerable seam where the wall ultimately meets the tile. Maintaining your brilliant new small bathroom colors requires simple but highly consistent cleaning habits. Wipe down the walls monthly with a slightly damp microfiber cloth and a heavily diluted mild detergent to safely remove sticky condensation residue and aerosol hair product buildup. Avoid aggressive abrasive scrub brushes entirely, as these rough tools rapidly degrade the protective sheen of your paint and permanently dull the luminous finish over time.
Frequently Asked Questions
What is the best type of paint for a poorly ventilated bathroom?
You should always choose a premium acrylic latex paint specifically formulated and chemically balanced for bathrooms and extreme high-humidity environments. These advanced specialty paints contain active mildewcides and robust moisture-blocking resins that aggressively prevent dangerous mold growth while easily withstanding frequent, extreme temperature fluctuations. While standard interior flat paint might temporarily save you a few dollars at the hardware store initially, it will rapidly blister, streak, and peel when consistently exposed to regular shower steam, forcing you to redo the entire project prematurely.
How do I test paint colors without making my walls a mess?
Instead of painting messy, permanent swatches directly onto your pristine bathroom drywall, you can easily purchase large peel-and-stick paint samples online or paint your own custom swatches onto heavy, warp-resistant watercolor paper. Move these highly movable swatches around the room constantly throughout the day to carefully observe how the specific color visually shifts under varying natural morning light and artificial evening vanity lighting. This cautious testing method perfectly preserves your smooth wall surface and successfully prevents dark, stubborn sample patches from awkwardly flashing through your final, lighter topcoats.
Can I paint over ceramic wall tile to save money?
You can absolutely successfully paint over severely dated ceramic tile if you rigorously use the correct preparation methods and invest in specialized epoxy or urethane acrylic products. You must thoroughly degloss the slick, shiny tile surface with a strong chemical deglosser, deeply scrub the porous grout lines, and apply an extreme-bonding, high-adhesion primer before ever rolling on your durable topcoat. Highly regarded instructional platforms like HGTV provide exceptionally detailed, step-by-step tutorials on safely achieving a durable, factory-like finish on ceramic surfaces, offering a remarkably budget-friendly alternative to a full, chaotic demolition.
Will a dark color make a bathroom with no windows feel like a cave?
A windowless bathroom painted in a dark, dramatic hue will absolutely not feel like a restrictive cave if you masterfully execute the lighting and styling phases correctly. Embrace the total lack of natural light by intentionally creating a moody, sophisticated, and enveloping atmosphere. You must actively counteract the dark paint by installing high-quality, layered lighting, including exceptionally bright vanity sconces and a powerful overhead ambient fixture. Furthermore, you should smartly utilize a massive, highly reflective mirror to bounce that artificial light forcefully throughout the room, creating brilliant artificial depth.
Transform Your Space Today
Your cramped, outdated bathroom holds incredible, largely untapped architectural potential just waiting to be completely unlocked by a simple, affordable gallon of premium paint. By confidently applying these highly strategic small bathroom colors and thoroughly mastering the visual trickery of light, reflection, and tone, you hold the ultimate power to completely redefine your daily routine. Stop letting awkward room dimensions aggressively dictate your interior decorating choices. Gather your premium supplies, meticulously tape those baseboards, and enthusiastically start rolling your way toward a beautifully expansive, custom-designed retreat right in your own home. You already possess the exact knowledge and the specialized tools required to successfully execute a truly flawless room transformation this very weekend.
Leave a Reply