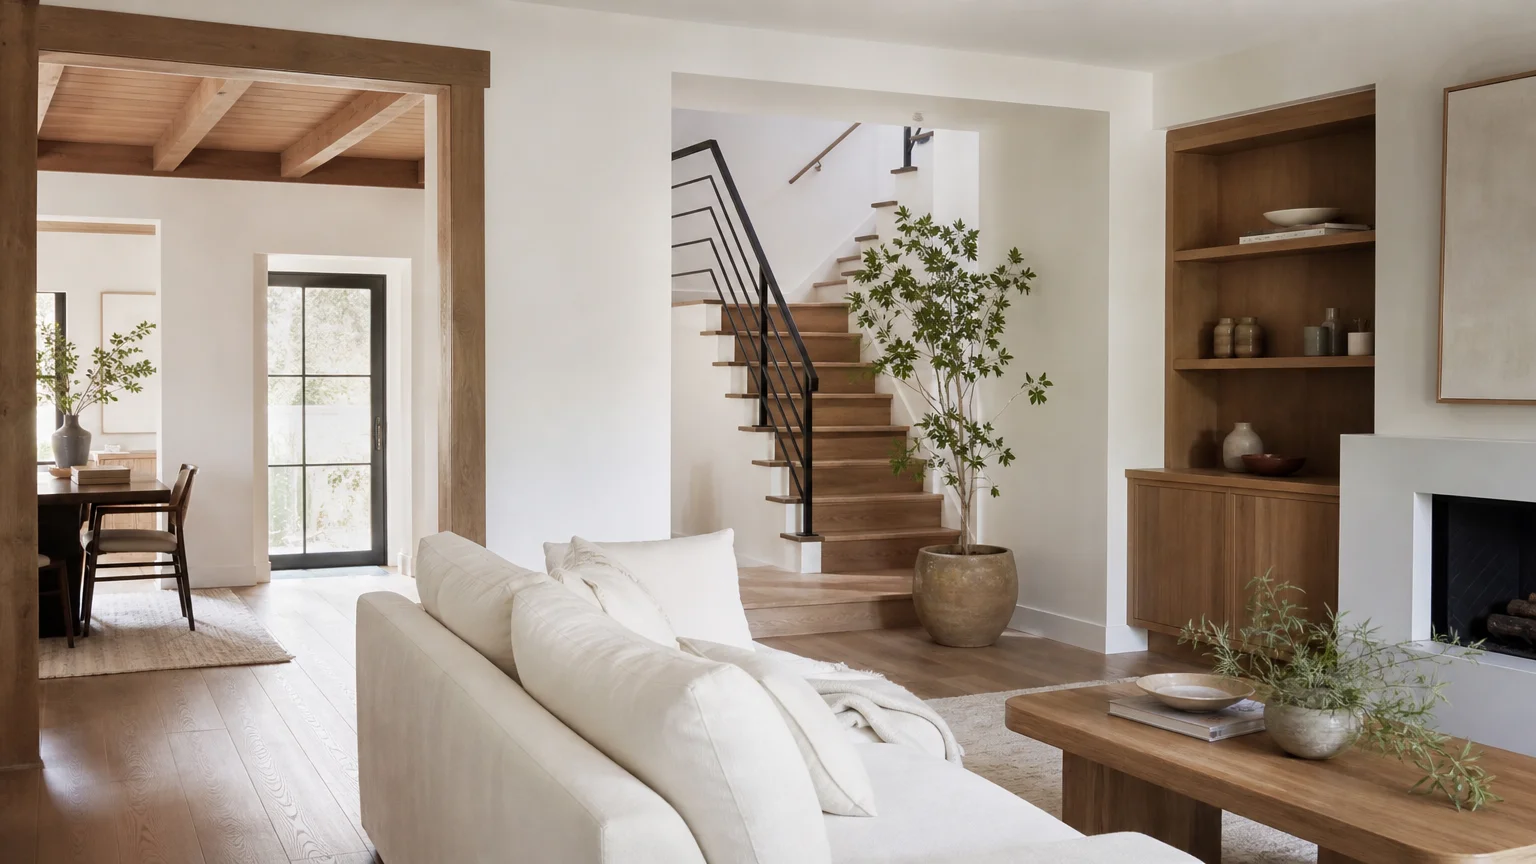
Combining crisp white paint with natural wood grain instantly transforms a sterile room into a warm, inviting retreat that balances modern elegance with organic comfort. You want a home that feels both fresh and timeless, but choosing the right textures often feels overwhelming when staring at endless paint swatches. By examining how nine distinctly styled rooms master the balance of white and wood interiors, you discover practical strategies for applying this dynamic duo. Whether you plan to install floating oak shelves against an alabaster wall or refinish mahogany furniture to ground a bright bedroom, this guide provides the exact execution and styling techniques you need to confidently bring this classic design pairing to life.

Planning Your Project Snapshot
Before buying your first gallon of primer or stacking lumber in your driveway, you need a realistic view of what this project demands. Combining white and wood decor looks effortless, but achieving that seamless contrast requires deliberate planning, accurate budgeting, and realistic timeline expectations.
Establishing your budget determines the materials you select. If you want to keep costs low, choose high-quality birch plywood with iron-on edge banding rather than solid hardwood slabs; this approach delivers the visual impact of authentic grain at a fraction of the price. Expect to spend a weekend installing simple accent elements like floating shelves or trim, whereas building custom mudroom benches or wrapping architectural beams demands a full week of steady work. Skill requirements for these projects range from confident beginner to intermediate woodworker. You must feel comfortable operating a miter saw, finding wall studs, and applying smooth coats of paint. Always purchase sample pots of your chosen white paint and test them directly beside your wood materials in the actual room, as natural daylight drastically shifts how these two surfaces interact.

Phase One: Prepping Your Canvas and Materials
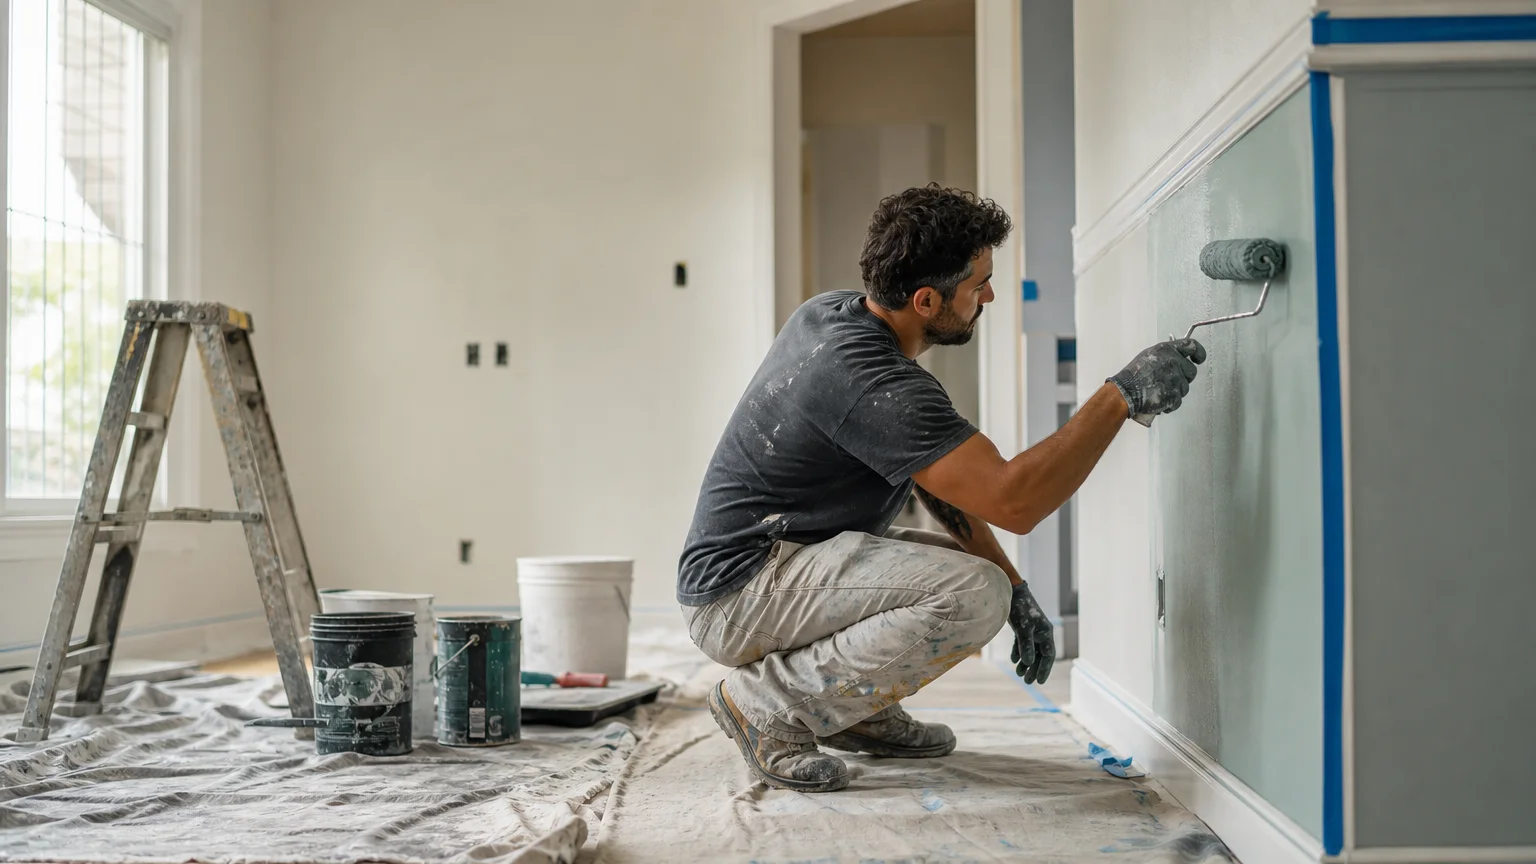
Preparation dictates the durability and professional appearance of your finished space. You cannot simply brush white paint over old drywall and expect it to complement premium lumber; you must meticulously prep the canvas. Start by patching every nail hole, sanding the compound flush, and wiping the walls with a damp microfiber cloth to remove residual dust. Apply a high-quality, stain-blocking latex primer to seal the drywall and create a uniform surface that allows your white topcoat to shine without flashing.
Selecting the precise shade of white requires understanding Light Reflectance Value—a metric detailing how much light a color reflects. Rooms lacking natural sunlight benefit from warm whites carrying subtle yellow or pink undertones, preventing the space from feeling clinical. Conversely, south-facing rooms flooded with sunlight handle cool, crisp whites beautifully. For an in-depth dive into matching undertones to your specific lighting conditions, reviewing understanding how to choose white paint from Architectural Digest provides an excellent foundation.
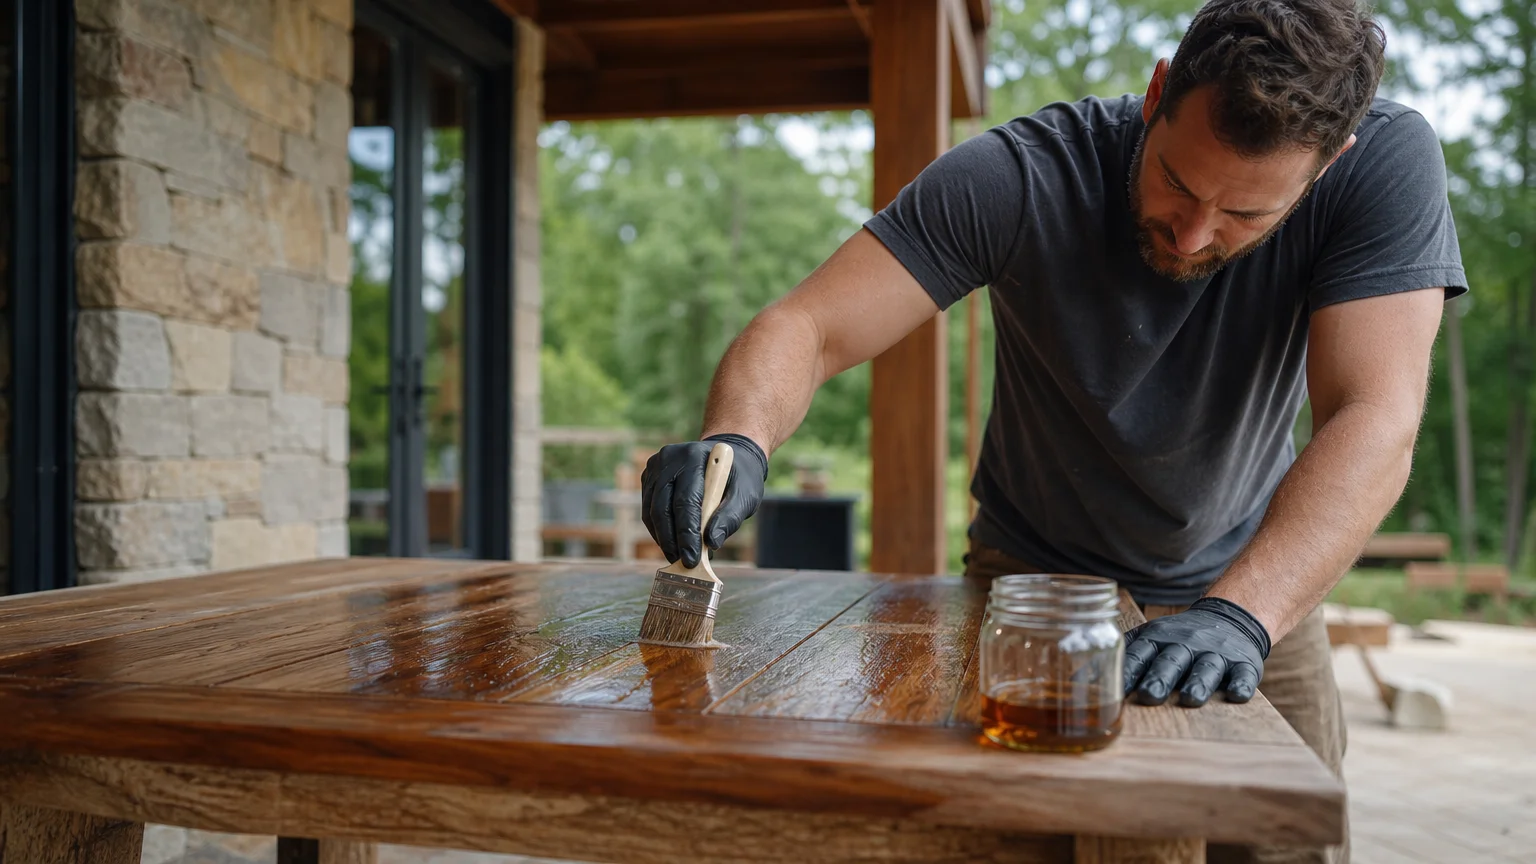
Simultaneously, prepare your wood components by acclimating the lumber to your home interior for at least forty-eight hours prior to cutting. This crucial step prevents the boards from warping or shrinking after installation. Sand your wood progressively, starting with a medium 120-grit paper to remove mill glaze and finishing with a fine 220-grit paper for an exceptionally smooth feel. Vacuum the raw boards thoroughly and wipe them down with mineral spirits to expose the true grain pattern before moving to the installation phase.
Phase Two: Executing the Room Transformations
Applying the white and wood aesthetic across different functional areas requires adapting your approach to suit the specific demands of each space. We observe this adaptability by looking at how nine distinct spaces utilize the pairing to maximize both utility and style.
Transforming Kitchens, Dining Rooms, and Entryways
In the first room—the culinary haven kitchen—stark white shaker cabinets provide a brilliant backdrop for a rich, edge-grain walnut butcher block island. To execute this look, anchor your base cabinets firmly to the floor and use heavy-duty construction adhesive paired with specialized brackets to secure the heavy wood slab from underneath. Treat the raw walnut generously with food-grade mineral oil, allowing the wood to drink in the moisture and deepen its natural hue.
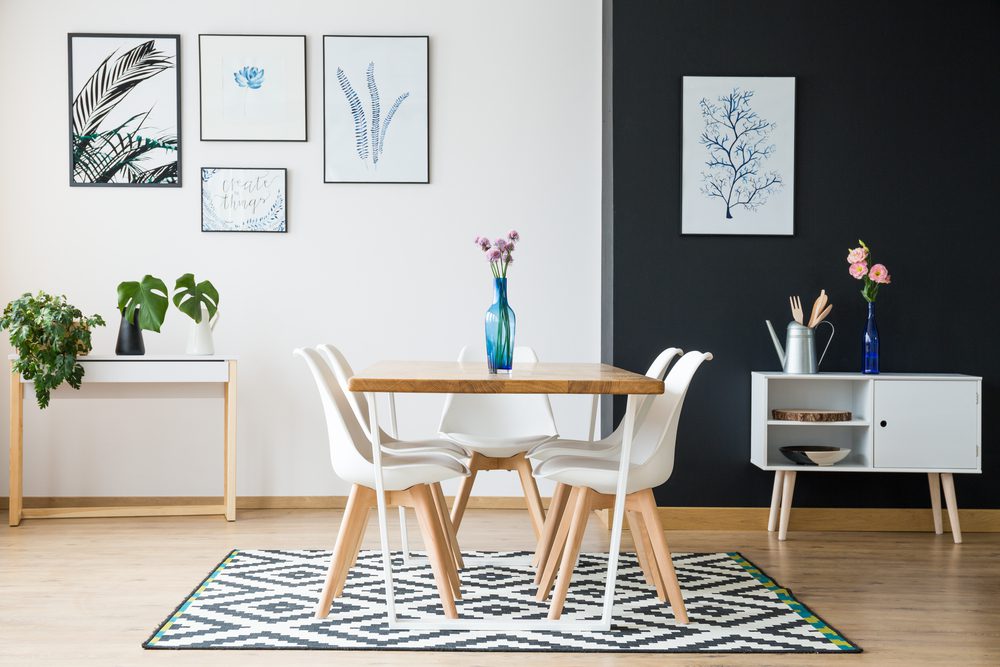
The second room, a formal dining space, utilizes crisp white wainscoting installed on the lower third of the walls to frame a heavily grained, reclaimed oak dining table. Measure your room perimeter carefully, cut your MDF or pine molding with a sharp miter blade, and secure the panels using a brad nailer. Paint the wainscoting in a semi-gloss finish for easy wipe-downs, allowing the matte texture of the rustic table to command the center of the room.
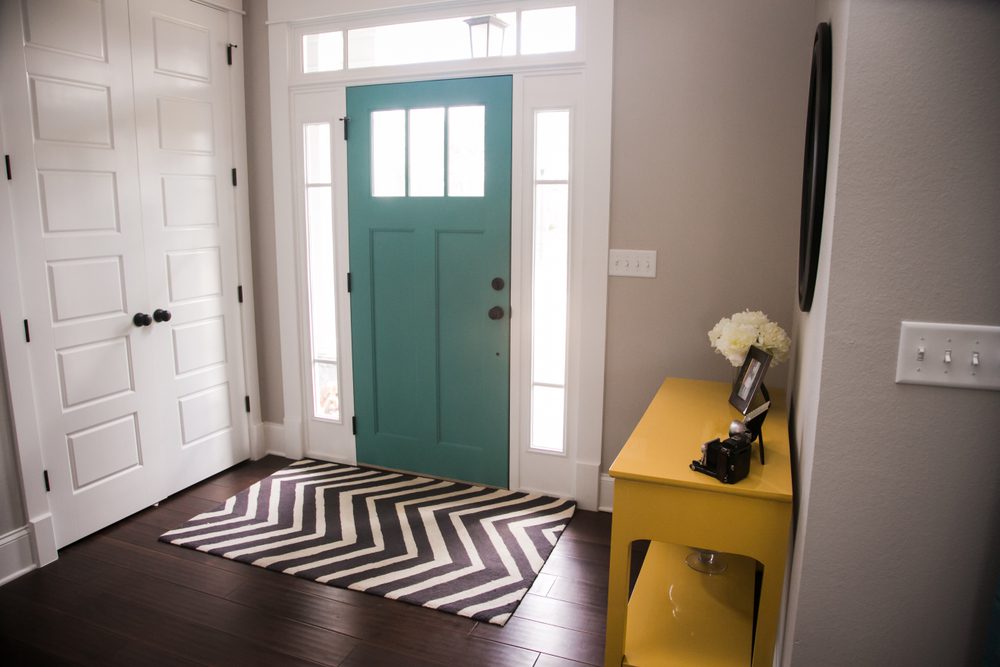
Our third room focuses on the high-traffic entryway. Here, homeowners construct a floor-to-ceiling white mudroom locker system featuring a thick, clear-coated pine bench seat. Build the locker carcasses from sanded plywood, prime them thoroughly, and paint them the same white as your surrounding walls to make the unit look built-in. Secure the pine bench top with pocket hole screws hidden from below, ensuring the seating area withstands the daily impact of heavy boots and dropped bags.
Elevating Living Areas, Sunrooms, and Home Offices
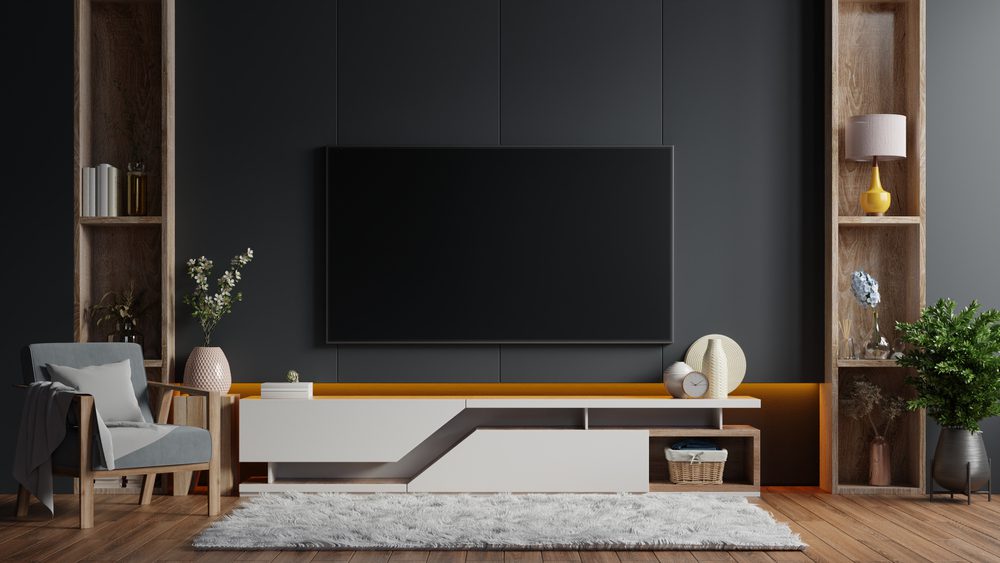
Moving to the fourth room—the architectural living area—you create dramatic vertical tension by installing faux rustic wood beams against a flat, bright white ceiling. Construct hollow beams using lightweight cedar planks glued and brad-nailed together at the edges; this technique mimics solid timber without requiring heavy structural reinforcement. Locate your ceiling joists precisely and secure solid wood mounting blocks to them, then simply slide your hollow beams over the blocks and screw them in place.
The fifth room is a transitional sunroom that pairs painted white brick walls with a spectacular tongue-and-groove cedar ceiling. Clean the masonry vigorously with a wire brush before applying an exterior-grade masonry primer and a durable white elastomeric paint. When installing overhead wood in environments prone to temperature fluctuations, leave a tiny expansion gap at the edges. Proper structural planning here aligns with energy-efficient home design principles, ensuring the painted thermal mass of the brick works effectively with your home climate.
Our sixth room serves as a focused home office, relying on the simplicity of heavy ash wood floating shelves mounted directly onto stark white drywall. The stark contrast eliminates visual clutter and promotes productivity. Drill deep into the wall studs to install heavy-duty concealed steel brackets, then slide your routed ash shelves onto the metal posts. This hardware choice ensures the shelves sit perfectly flush against the crisp wall without sagging under the weight of books and monitors.
Upgrading Bedrooms, Bathrooms, and Guest Quarters
The seventh room brings the pairing into the primary bedroom through a vertical slat accent wall. Paint the main walls a soft, warm alabaster. Purchase pre-milled white oak slats, seal them with a clear water-based polyurethane, and attach them to a dark-painted backer board using construction adhesive and finish nails. The dark gaps between the light oak slats create striking shadows that instantly modernize the room.
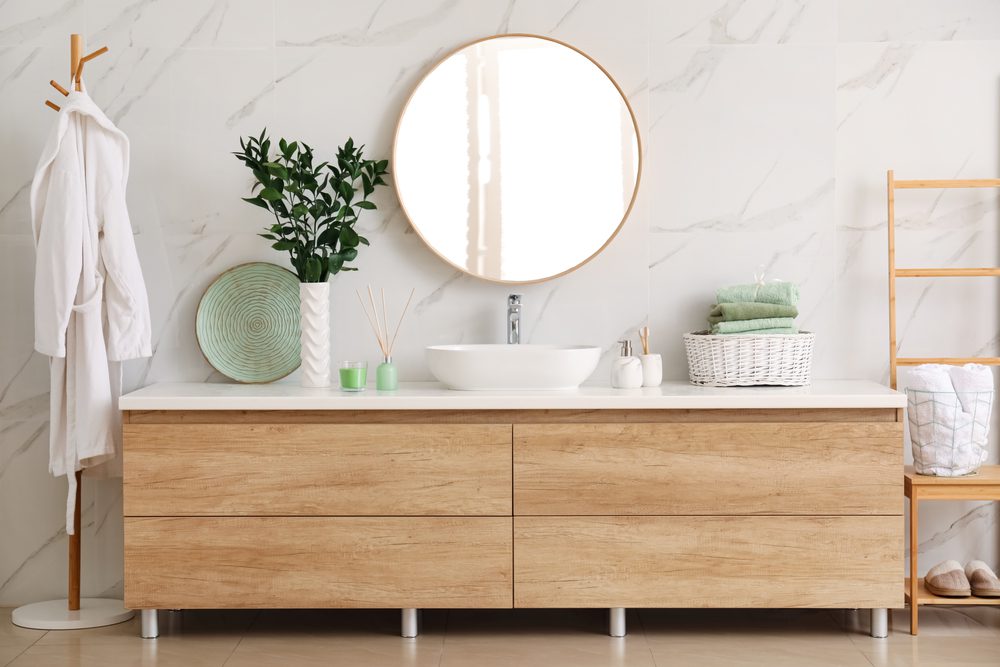
In the eighth room, a spa-inspired bathroom, a floating teak vanity mounts securely against a wall of bright white, heavily glazed subway tile. Waterproofing remains paramount in this wet environment; apply a marine-grade finish to the teak to repel moisture and soap scum. Anchor the vanity securely into blocking behind the tile to support the weight of the basin. For layout guidance, reviewing bathroom vanity styles and ideas helps you determine the correct height and proportion for your fixtures.
Finally, the ninth room showcases welcoming guest quarters by restoring original hardwood floors while wrapping the room in brilliant white baseboards and walls. Rent a drum sander to strip decades of old finish from the floorboards, progressing carefully through the sandpaper grits to avoid gouging the wood. Apply a durable floor finish, and install your tall, white-painted baseboards using a pneumatic nailer. If you have questions about handling older floors, consulting wood finishing guidelines from university extension services provides invaluable scientific advice on wood preservation and sealant compatibility.
Phase Three: Finishing Details and Sealing
The transition between your wood elements and white surfaces determines the overall quality of your project. Gaps, uneven lines, or bleed-through instantly betray an amateur effort. Run a thin bead of high-quality, paintable acrylic latex caulk along every seam where painted trim meets the wall or where your built-ins connect to the floor. Smooth the caulk with a damp finger to create an invisible transition.
Protecting your natural wood surfaces requires selecting the correct topcoat. Oil-based polyurethanes provide exceptional durability but impart a distinct amber hue that deepens over time, which may clash with cool white walls. If you want to preserve the raw, freshly sanded look of lighter woods like ash, maple, or white oak, you must use a water-based polycrylic finish. Apply three thin coats using a synthetic bristle brush, sanding lightly with 320-grit paper between each application to guarantee a flawless, professional texture.
Styling and Personalizing the Finished Space
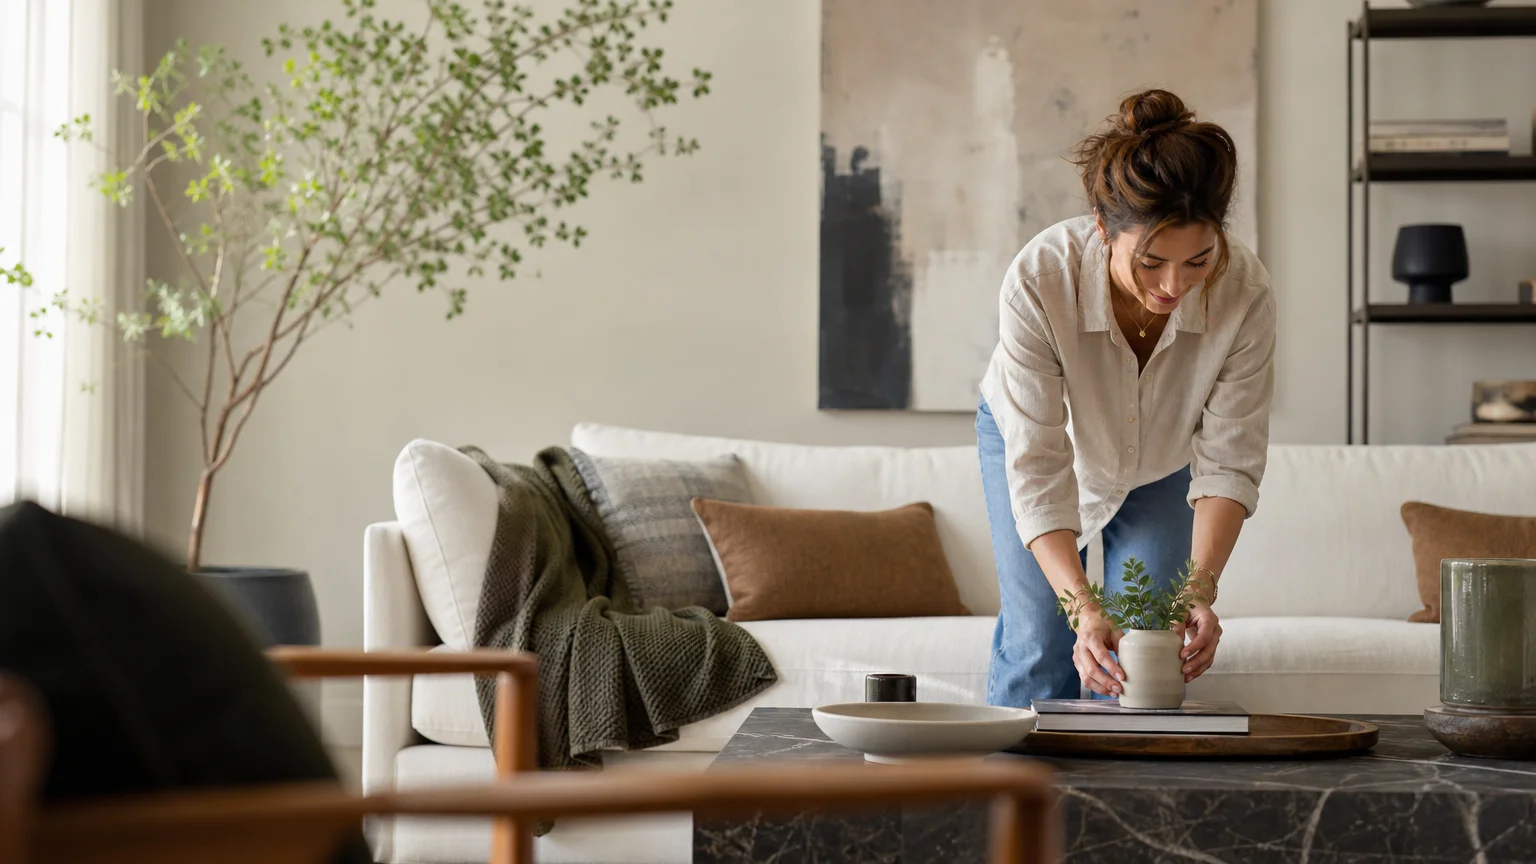
Once the heavy construction and painting conclude, your styling choices bring the room to life. Timeless home style relies on introducing complementary textures that bridge the gap between stark paint and organic grain. Integrate hardware in matte black or unlacquered brass to punctuate the space; black provides a sharp, modern edge, while living brass develops a warm patina that speaks directly to the natural variations in the wood.
Layer textiles aggressively to prevent the high-contrast room from feeling echoey or cold. Drape chunky knit wool throws over leather chairs and place vintage, muted rugs over your hardwood floors. Incorporate heavily textured ceramics or woven rattan baskets on your new wooden shelves to break up the flat planes of white drywall. These subtle styling layers soften the architecture and invite people to sit down and actually use the space.

Troubleshooting and Upkeep for Your New Look
Even meticulous DIYers face challenges when working with this high-contrast pairing. The most common pitfall involves tannin bleed-through, where natural oils from the wood—particularly pine knots or heavy oak grain—seep through your crisp white paint, leaving unsightly yellow or brown stains. Combat this immediately by sealing the offending area with a shellac-based primer before reapplying your white topcoat; standard latex primers simply cannot block heavy tannins.
Wood also responds dramatically to indoor humidity fluctuations. Prevent massive expansion or contraction by maintaining a consistent indoor climate and keeping the wood conditioned. Wipe down your clear-coated wood surfaces monthly with a lightly damp microfiber cloth, avoiding harsh chemical cleaners that strip the finish. If you used raw or oiled wood in a kitchen setting, reapply your butcher block oil every few months when the surface begins looking dull or water stops beading on contact.
Frequently Asked Questions About White and Wood Decor
Can I mix different wood tones in a mostly white room?
You absolutely can, provided you establish a deliberate hierarchy. Select one dominant wood tone for your largest architectural elements—like your flooring or large furniture pieces—and use a secondary, contrasting wood tone for smaller accents like picture frames or floating shelves. Limit yourself to two or three wood species per room, ensuring they share a similar undertone; mixing a cool-toned gray wash with a vibrant, warm cherry often creates visual confusion.
How do I keep my white paint from looking too clinical or sterile?
Clinical-looking rooms usually suffer from poor lighting combined with the wrong paint base. Choose a white paint that features a subtle warm undertone, like a drop of umber or yellow. Next, rely heavily on your lighting fixtures; swap out harsh, blue-tinted daylight bulbs for soft white bulbs in the 2700K to 3000K range. The warmer light bounces off the wood surfaces and washes the white walls in a welcoming, cozy glow.
What type of wood should I use if I am on a strict budget?
High-grade pine serves as an excellent, budget-friendly option for rustic or farmhouse designs, though it requires careful conditioning before staining to prevent blotchiness. For modern, sleek designs, birch or maple veneer plywood remains the ultimate choice. Plywood provides incredible dimensional stability, costs significantly less than solid hardwood, and looks indistinguishable from solid slabs once you apply edge banding to the exposed cuts.
Do I need to seal raw wood if it just sits on the wall as a decorative shelf?
Yes, you must seal all exposed wood. Even if you never touch the shelf, raw wood acts like a sponge, absorbing airborne moisture, cooking oils, and everyday dust. Over time, an unsealed shelf turns gray and dingy, and you cannot easily wipe the dirt out of the open grain. A simple, dead-flat matte clear coat preserves the raw aesthetic while providing an essential protective barrier.
The Final Push to Transform Your Space
Harnessing the interplay between crisp paint and organic grain elevates your home from standard builder-grade to uniquely custom. You possess the tools, the material knowledge, and the design framework necessary to execute these projects flawlessly. Start small this weekend by tackling a simple entryway bench or hanging a single floating shelf. Once you experience that initial transformation, you will feel entirely equipped to carry this timeless, commanding aesthetic into every corner of your home. Grab your measuring tape, select your materials, and begin building the space you deserve.

Leave a Reply