
Transforming your builder-grade backyard into a luxurious retreat does not require a massive landscaping budget or professional contractors. You can create an elegant, resort-like oasis using strategic DIY outdoor upgrades that maximize style and functionality while minimizing costs. Stepping out your back door should feel like entering a private sanctuary, yet many homeowners stare at a plain concrete slab and patchy grass. Instead of settling for a lackluster exterior, you can execute premium-looking patio improvement projects over a few weekends. By focusing on high-impact materials and timeless design principles, you will elevate your outdoor living space into a sophisticated destination that rivals upscale resorts.
Planning Your Outdoor Transformation
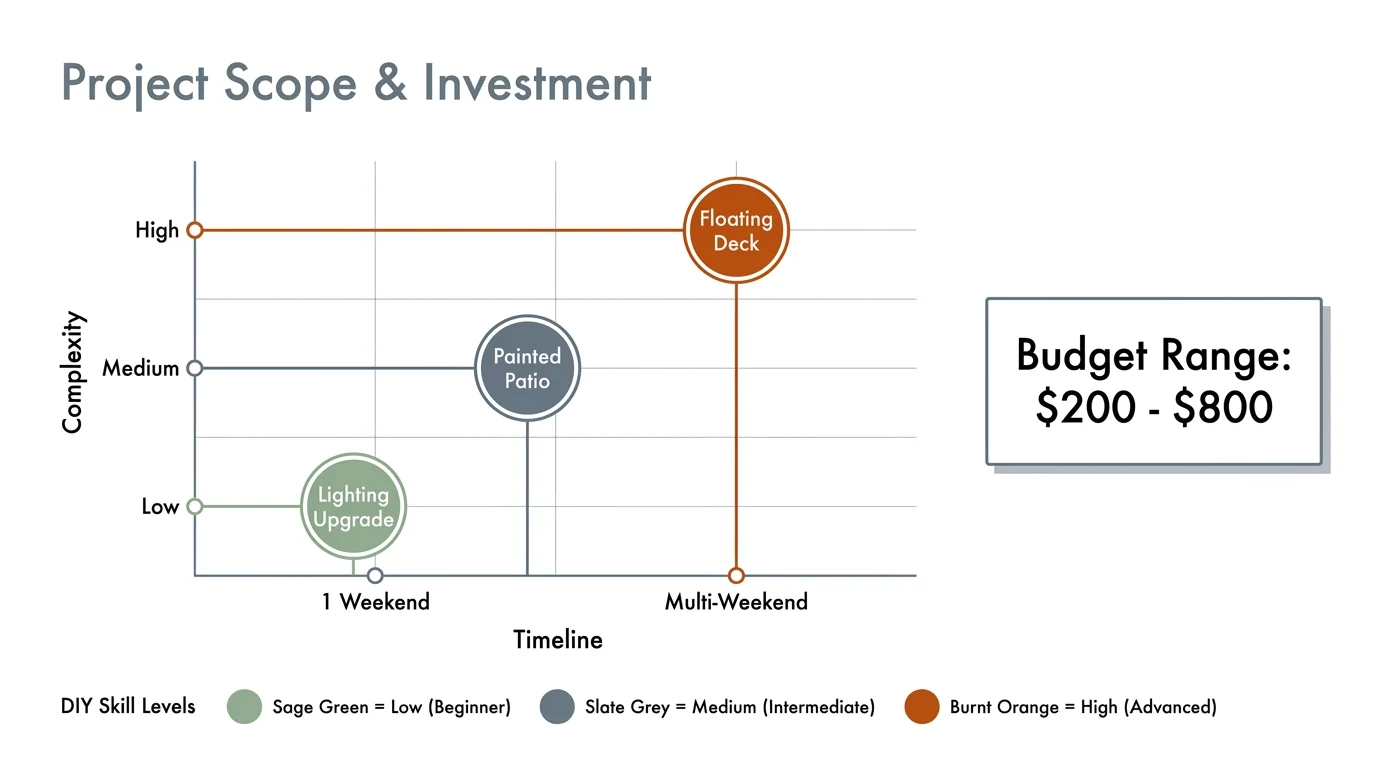
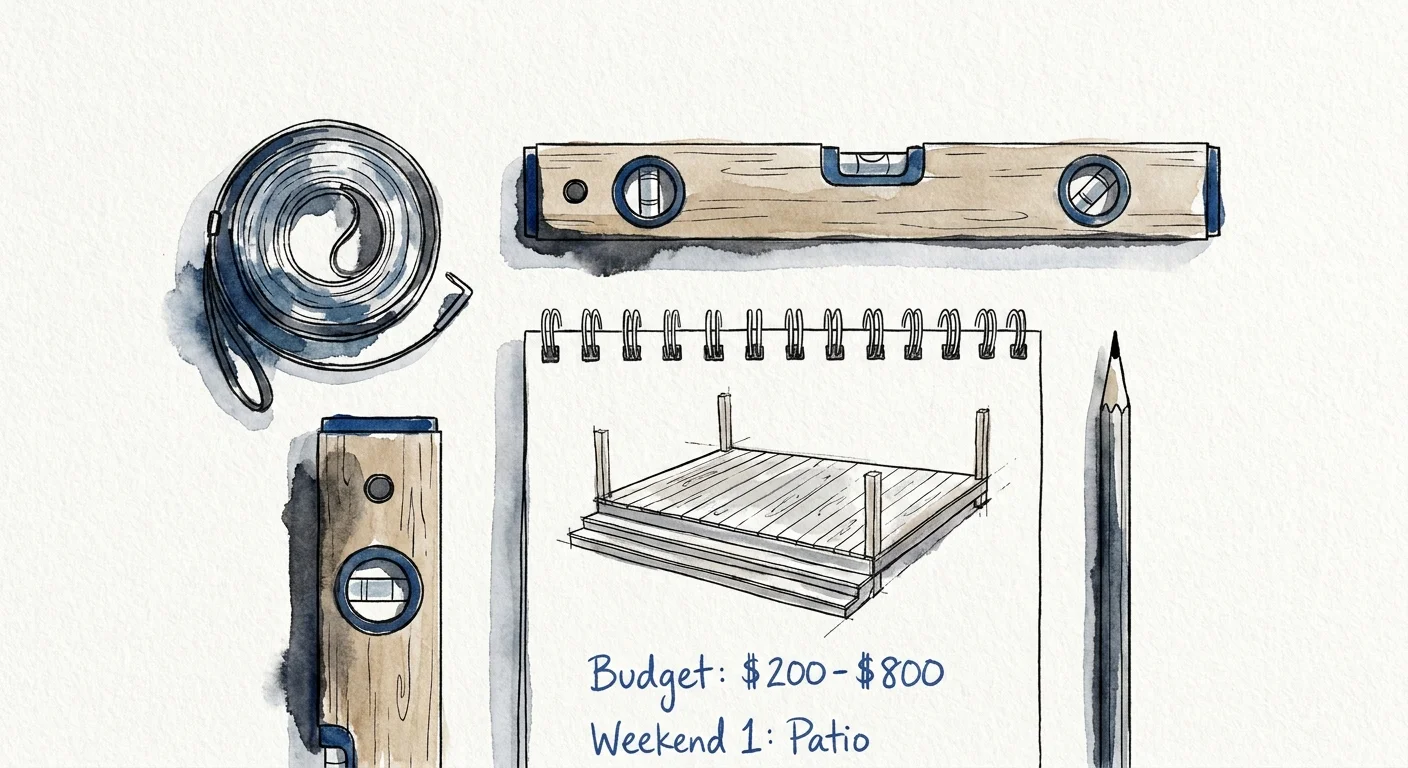
Before you swing a hammer or mix a single bag of concrete, you must define the scope of your backyard makeover ideas. Approaching these projects requires a clear assessment of your budget, timeline, and DIY skill level. Most of these luxury outdoor decor concepts cost between two hundred and eight hundred dollars. While you can tackle a painted faux tile patio or an exterior lighting upgrade in a single weekend, constructing a floating deck demands a much more extensive time commitment. Evaluate your comfort with power tools, as many structural upgrades require precise cuts and secure joinery. Setting a realistic timeline prevents weekend burnout and ensures you maintain the meticulous attention to detail required to achieve that elusive high-end finish.
10 Upgrades to Elevate Your Exterior
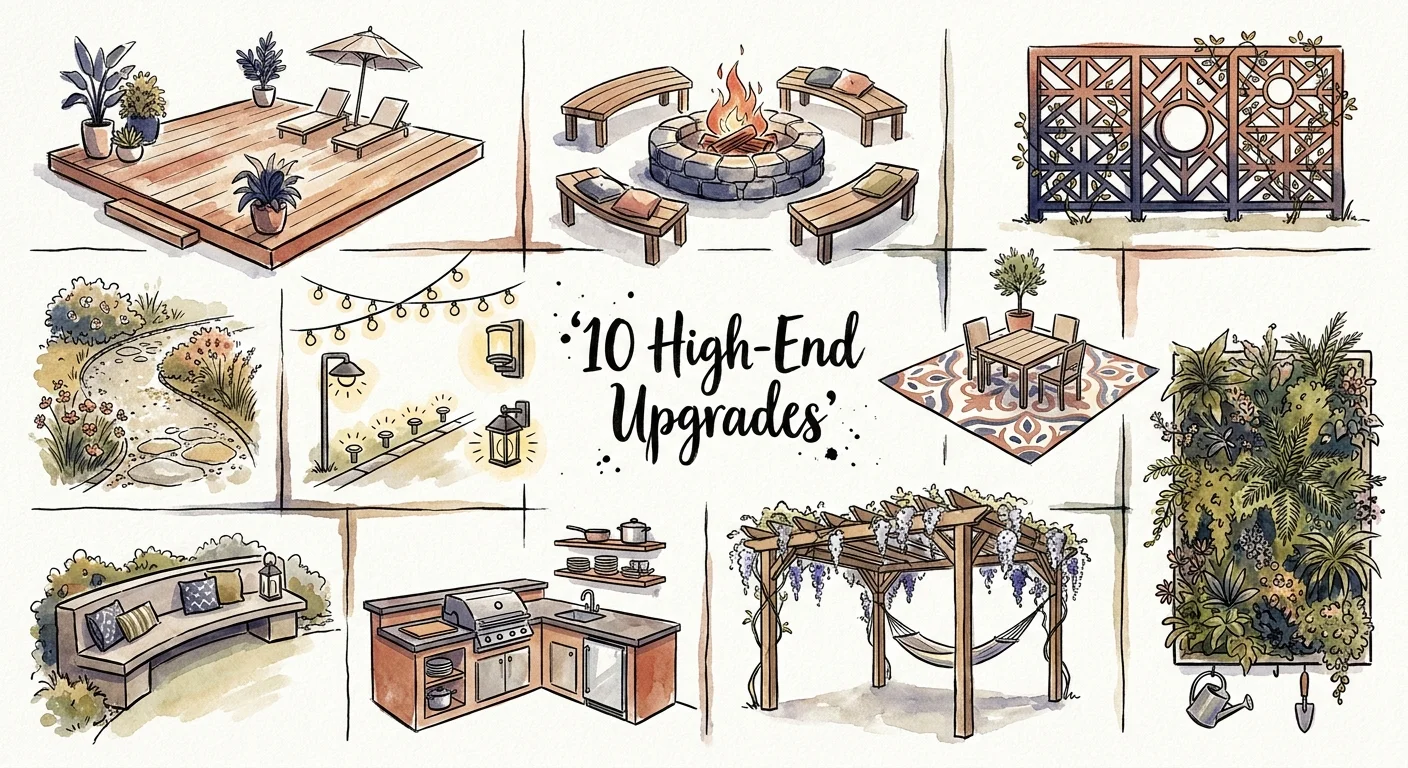
Let us break down ten specific projects that inject immediate sophistication into your exterior footprint. Each project scales easily to fit a modest urban balcony or a sprawling suburban lawn.
1. The Floating Deck
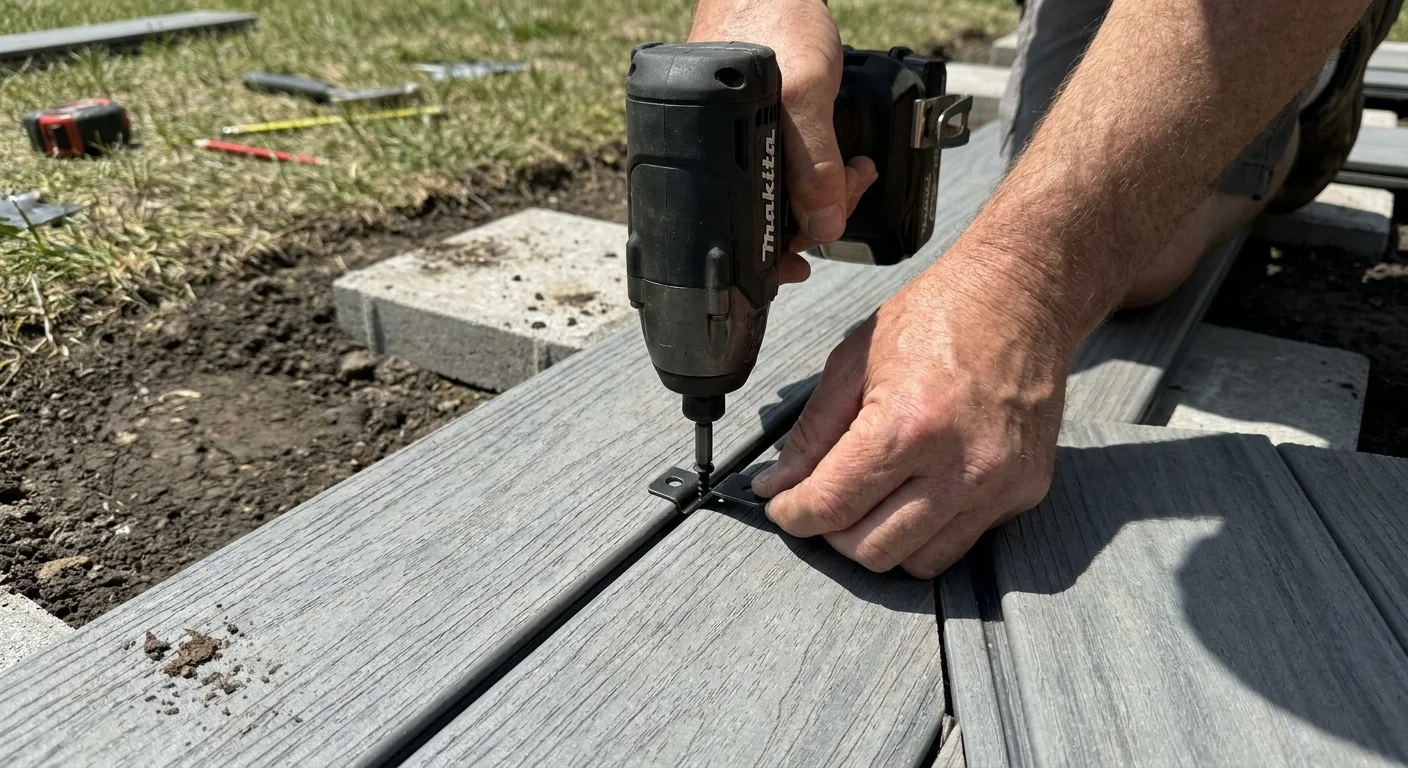
Building a low-level floating deck anchors your yard without the hassle of elevated structures. Lay a foundation of concrete deck blocks directly on compacted soil, eliminating the need to dig deep frost footings. Using composite decking boards instead of standard treated pine elevates the visual appeal. Fasten the boards using hidden deck clips so the surface remains smooth and free of visible screw heads.
2. Custom Fire Pit Lounge
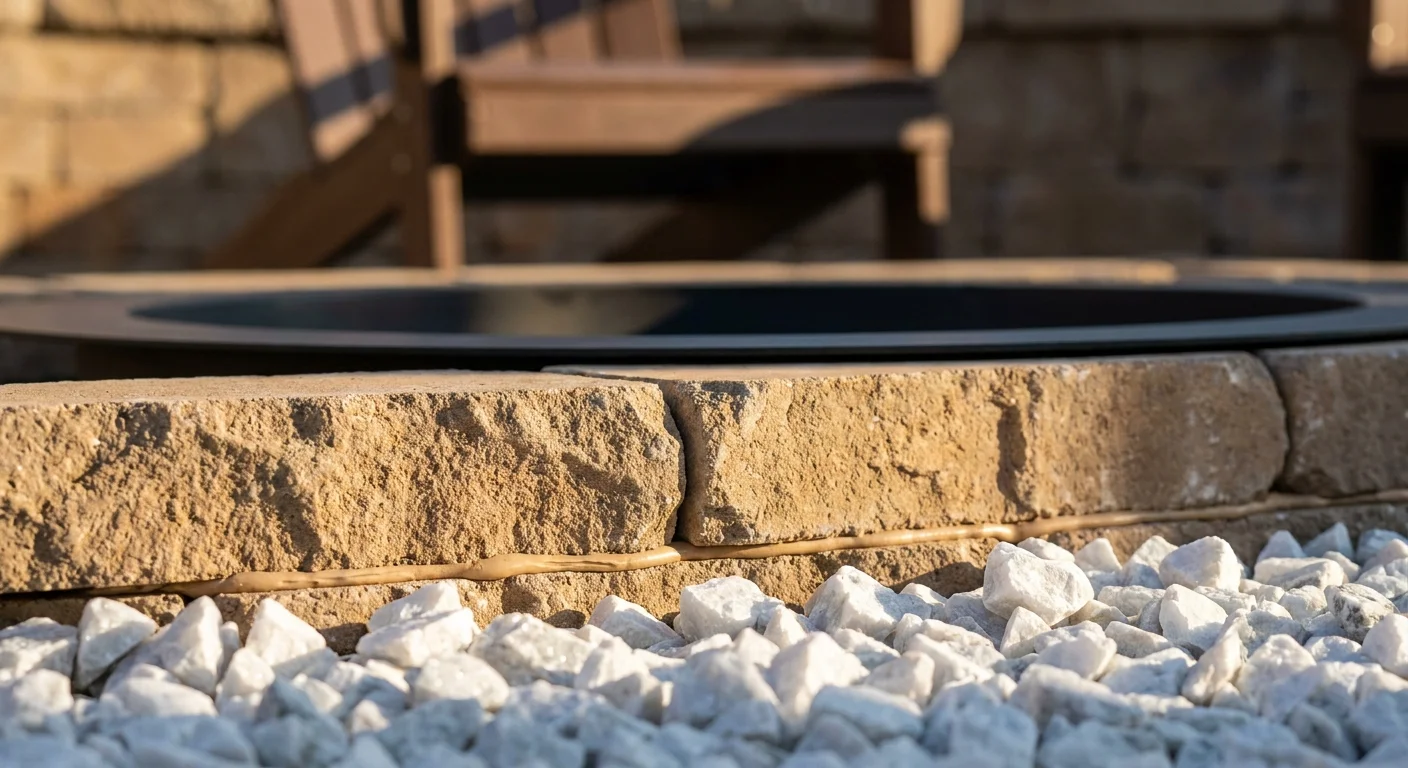
A built-in fire pit creates a natural gathering zone for autumn months. Stack curved retaining wall blocks in a perfect circle, securing them with heavy-duty construction adhesive. Line the interior with a steel fire ring to protect the concrete blocks. Surrounding this fire feature with a thick layer of crushed marble defines the lounge area and introduces a rich textural contrast.
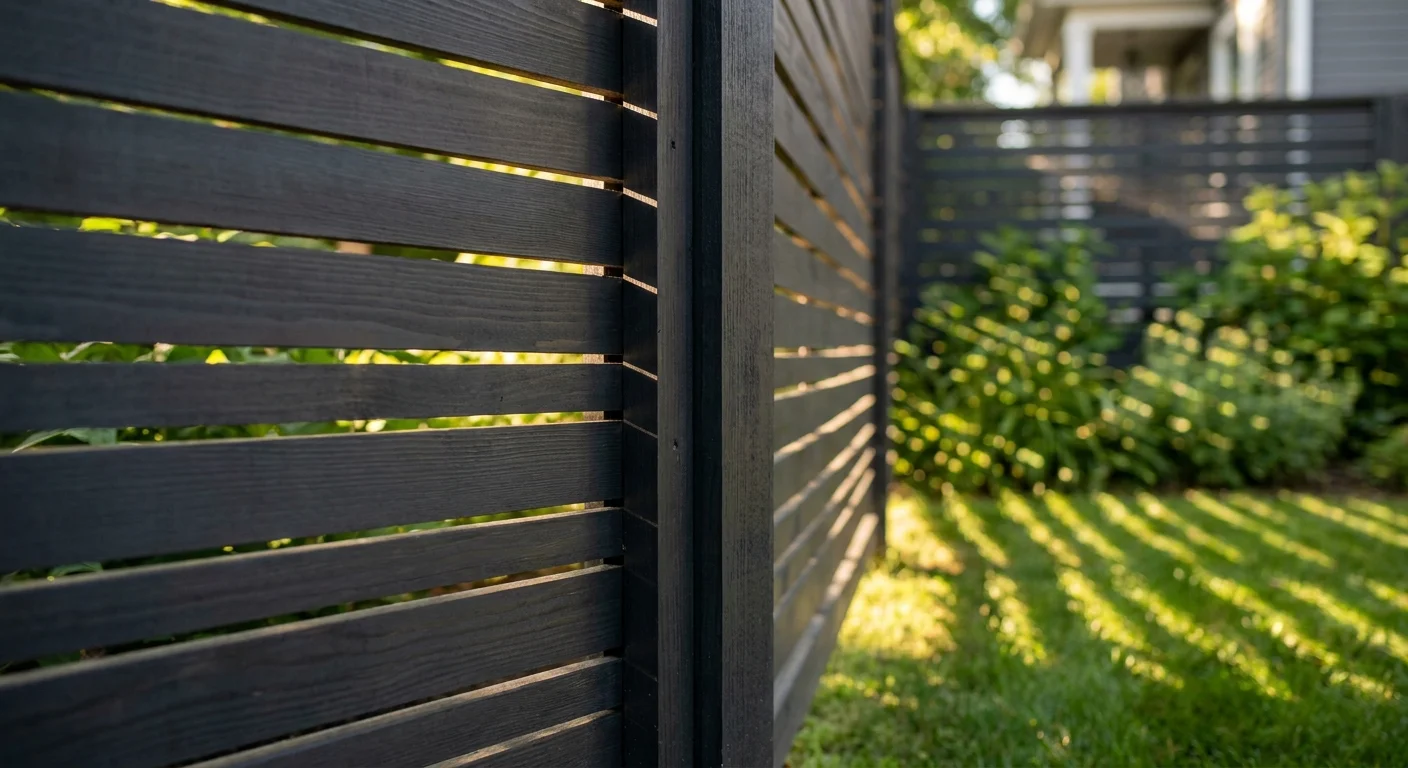
3. Slatted Wood Privacy Screens
Nondescript fences rarely inspire awe, but horizontal slatted wood screens change the entire perimeter dynamic. Install vertical cedar posts and attach horizontal one-by-two timber slats, leaving a half-inch gap between each board for a modern architectural look. This fencing style allows breezes to filter through while blocking sightlines. Applying a dark charcoal penetrating stain enhances the natural wood grain and signals a premium aesthetic.
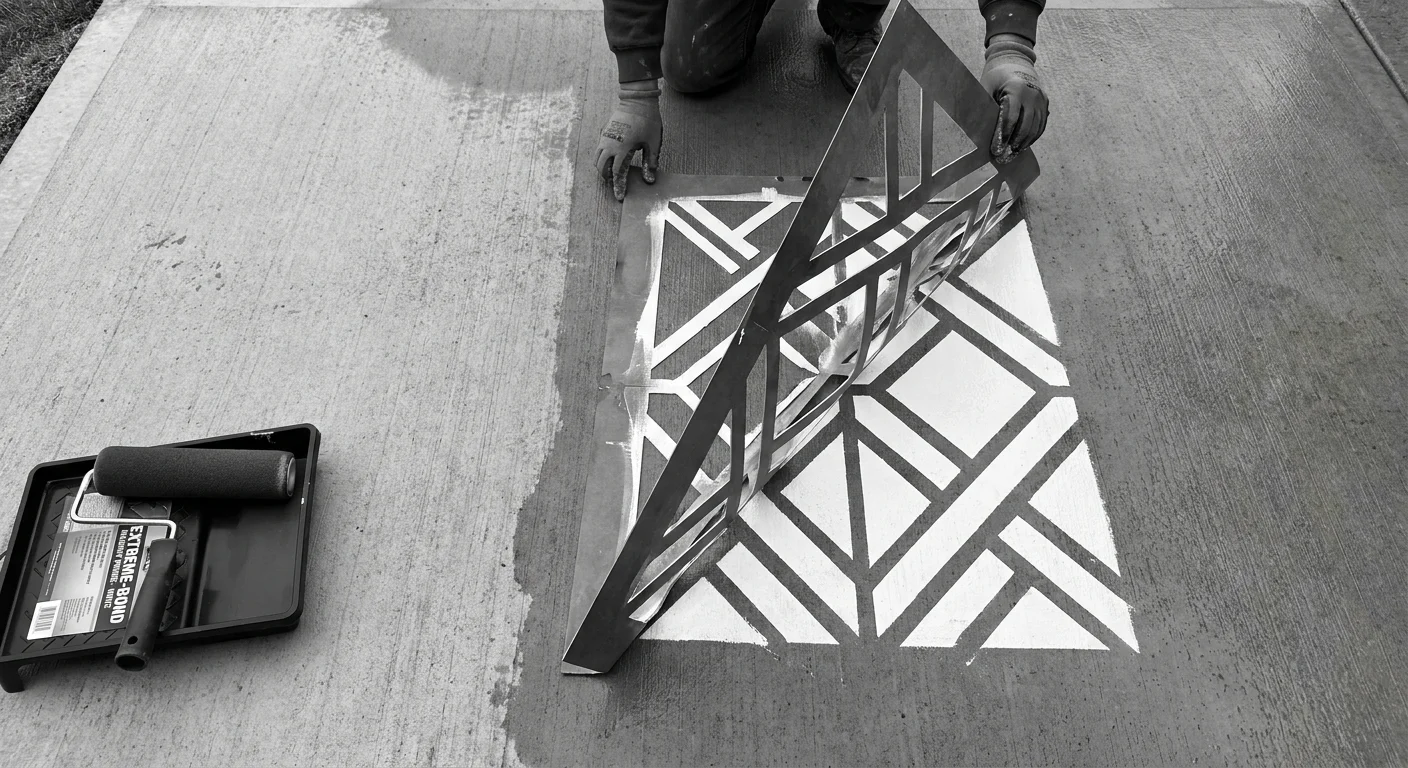
4. Painted Faux Tile Concrete Patio
If your existing concrete slab looks tired, a painted stencil treatment offers the illusion of imported cement tiles. Pressure wash and etch the concrete before applying an extreme-bond masonry primer. Using a large geometric stencil and a dense foam roller, carefully apply a contrasting color to build your pattern. Sealing the surface with a high-gloss polyurethane outdoor sealer protects your hard work.
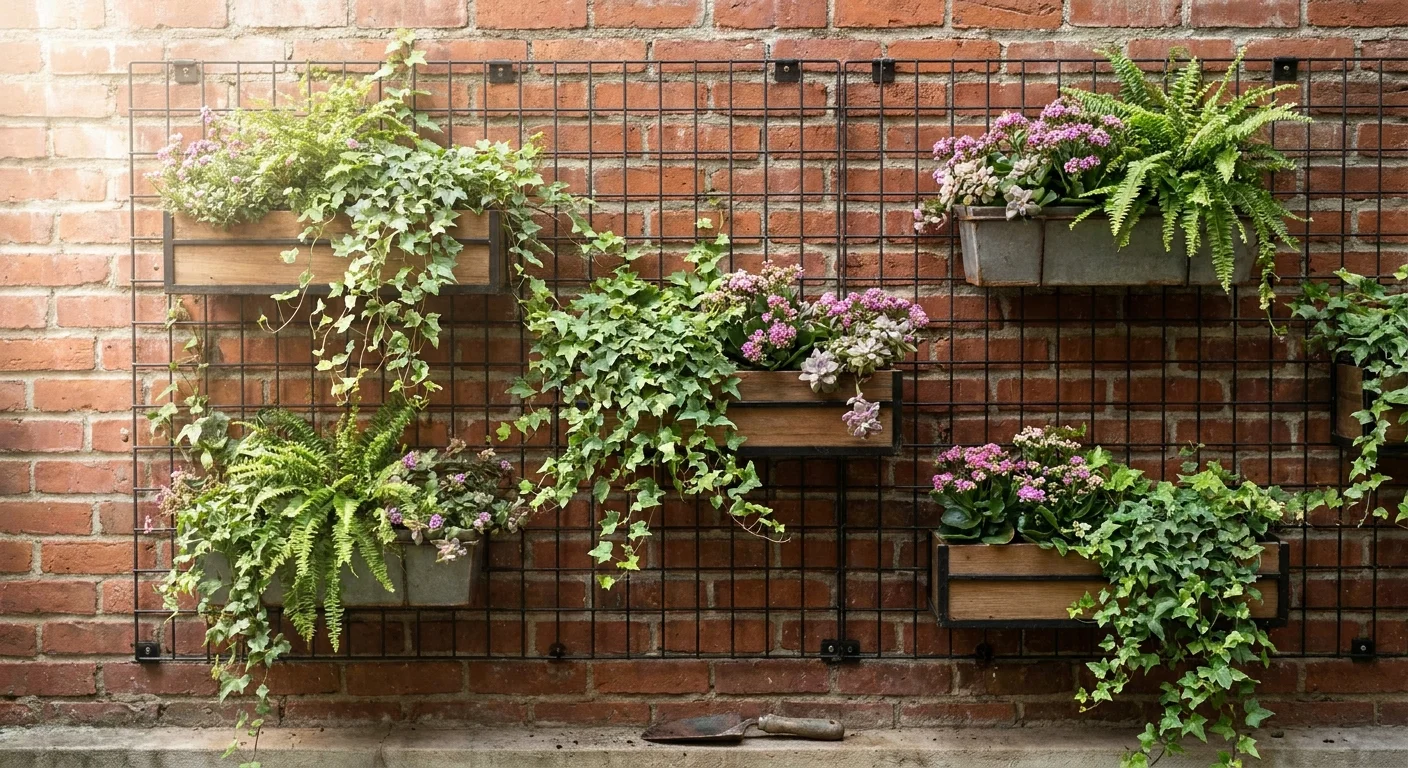
5. Vertical Garden Wall
Maximizing vertical space immediately draws the eye upward and makes small exterior areas feel expansive. Construct a wire mesh grid or repurpose a wooden trellis, mounting it securely to a masonry wall. Hook customized planter boxes onto this grid to layer trailing vines. According to experts at the Wisconsin Horticulture Division of Extension, selecting native trailing plants ensures a robust, low-maintenance landscape.
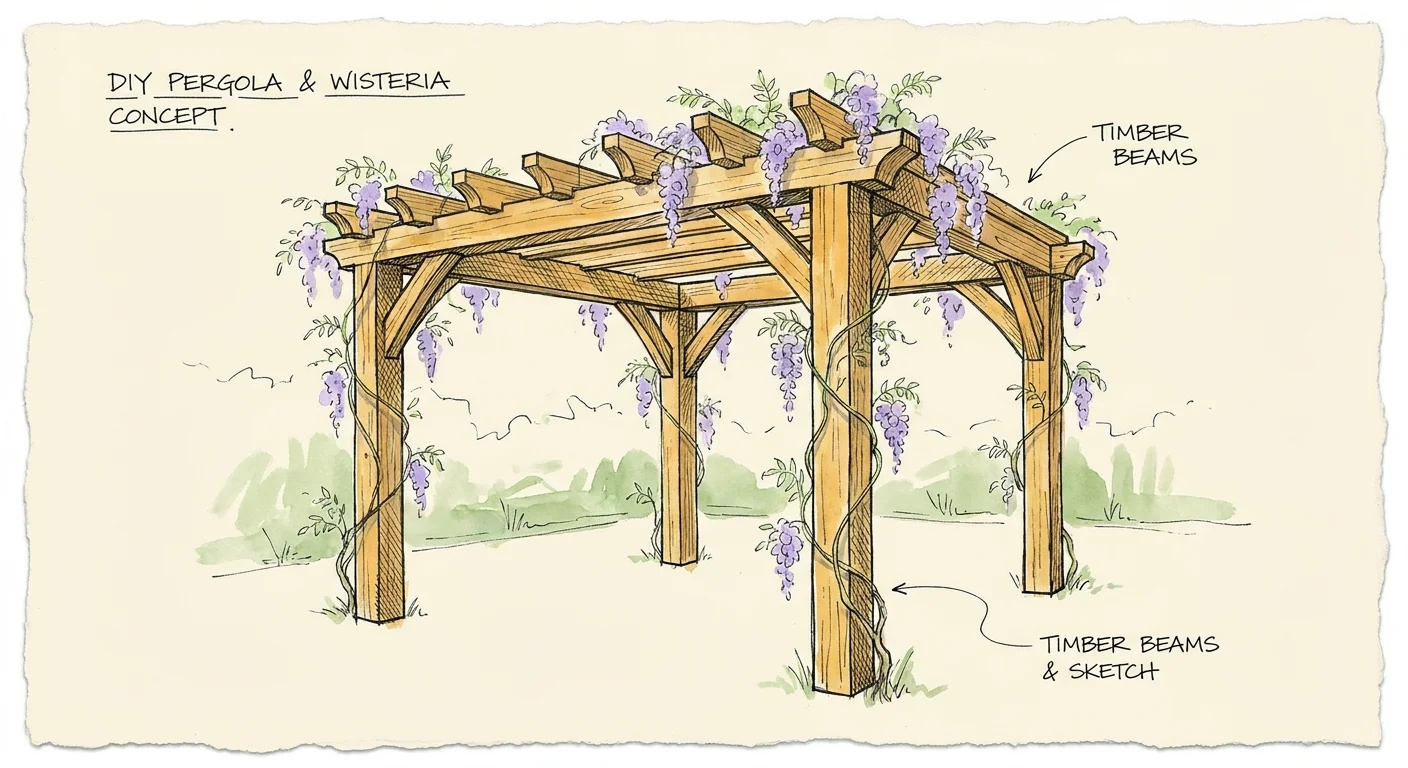
6. DIY Pergola with Climbing Vines
Adding overhead architecture transforms an exposed patio into an intimate outdoor room. Building a cubic pergola using heavy six-by-six posts establishes a bold, structural presence. Use galvanized brackets for assembly, painting them flat black to blend seamlessly with the wood. Training fast-growing climbers like wisteria up the posts provides a living canopy that softens the rigid timber lines and delivers a luxurious shaded retreat.
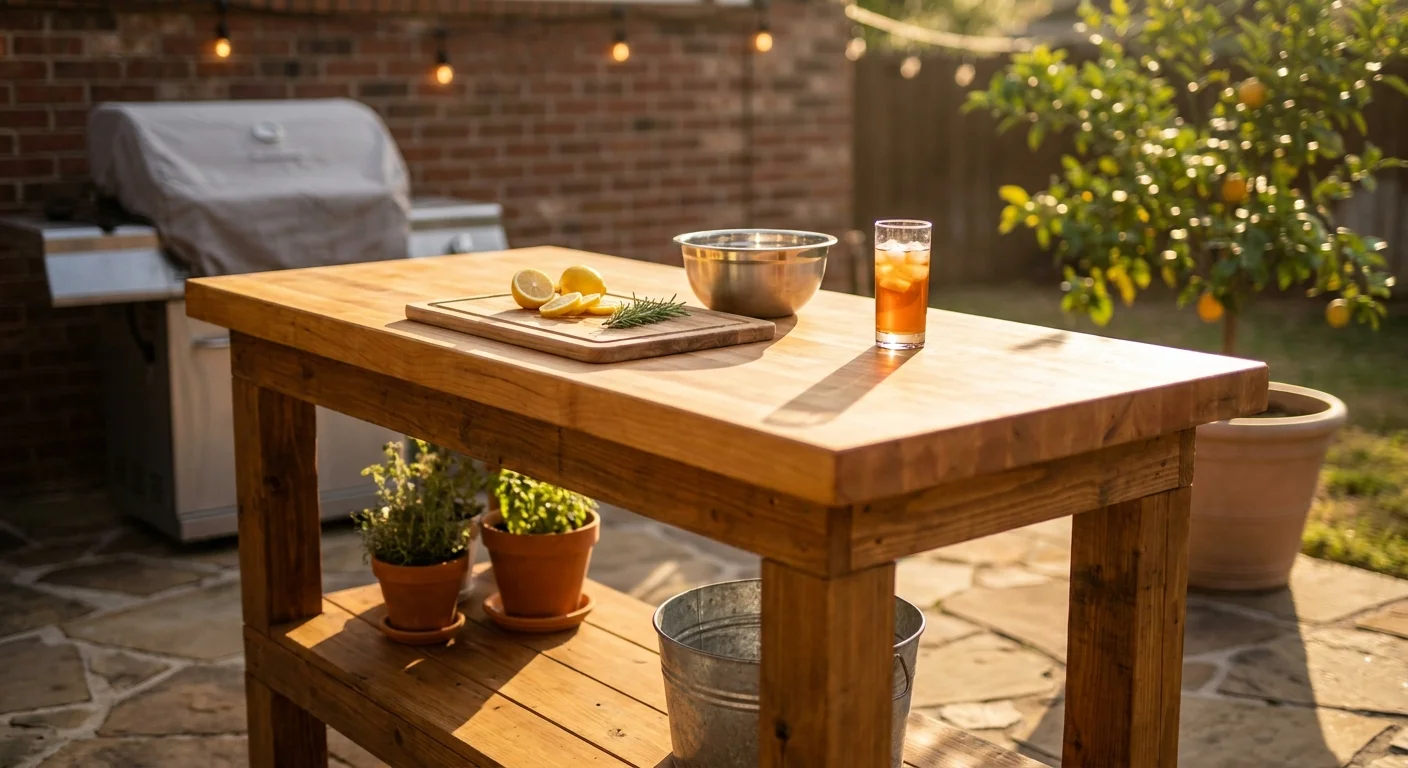
7. Outdoor Kitchen Prep Station
You do not need to spend thousands on a fully plumbed outdoor kitchen. Building a freestanding wooden island topped with an affordable butcher block counter provides a luxurious staging area next to your grill. Incorporating open shelving below allows you to display stylish woven baskets. Adding heavy-duty locking casters to the base gives you the flexibility to reconfigure your layout for larger gatherings.
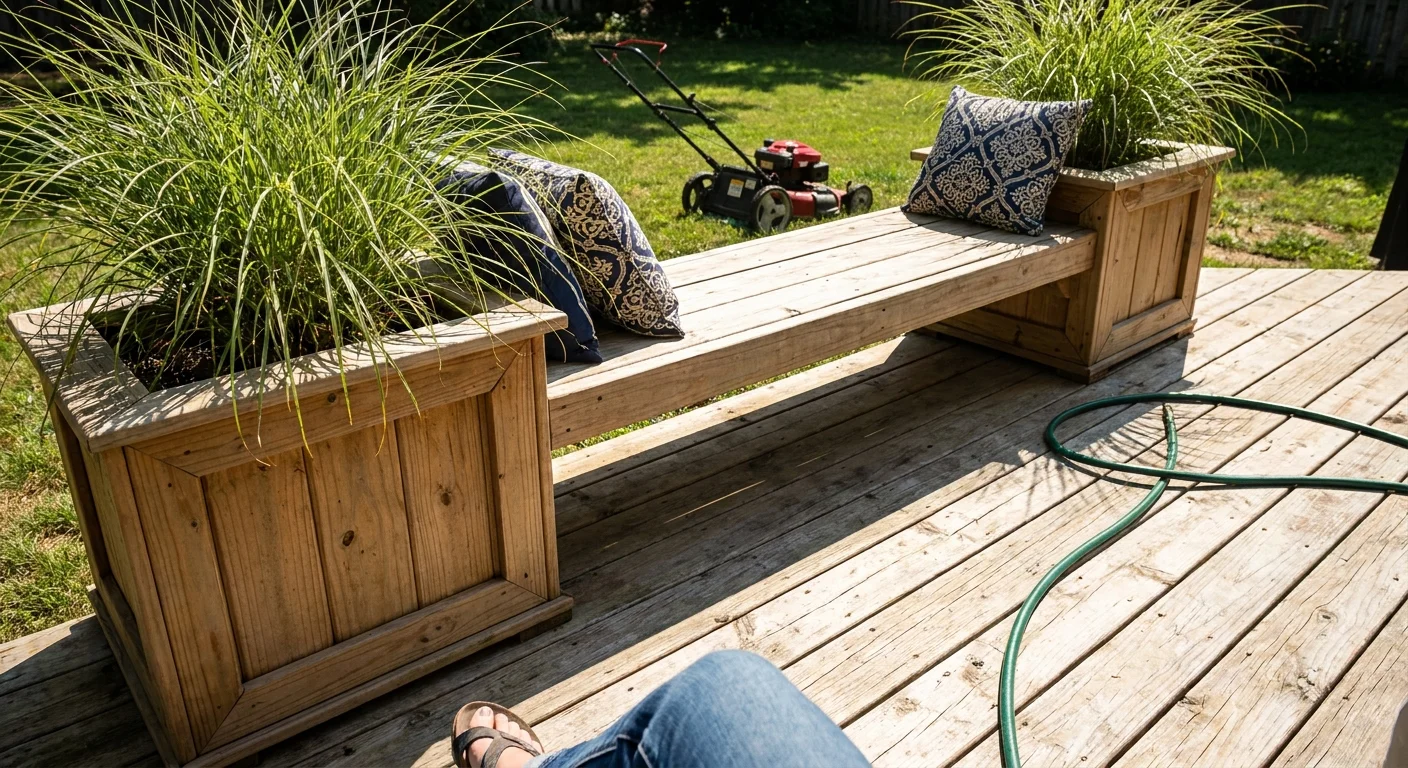
8. Built-in Planter Benches
Combining seating and landscaping into a cohesive unit saves space and delivers a streamlined modern aesthetic. Construct long rectangular wooden benches using framing lumber, anchoring the ends with integrated cedar planter boxes. Filling these boxes with tall ornamental grasses creates a dynamic sense of movement. Finishing the bench seats with marine-grade outdoor cushions elevates comfort and introduces bold textiles into your backyard makeover ideas.
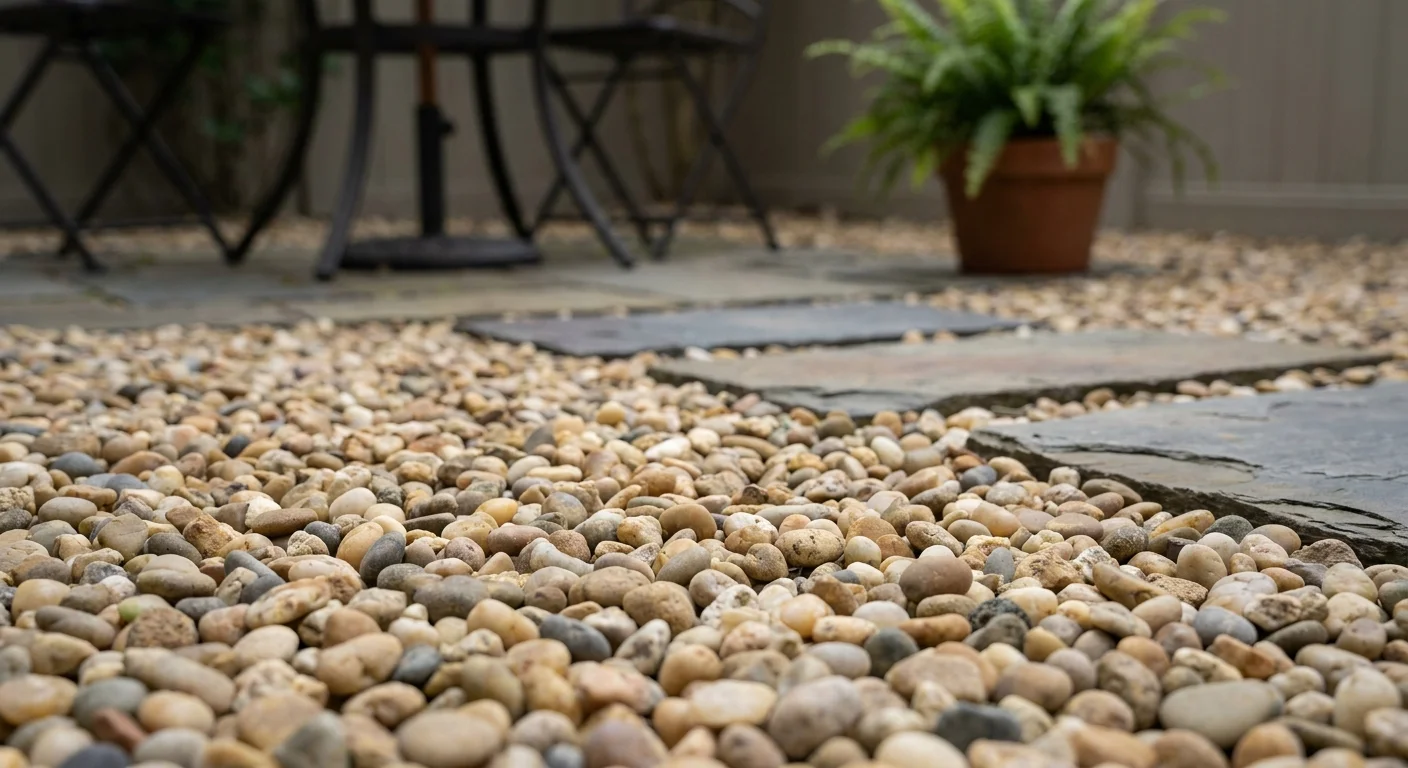
9. Pea Gravel Courtyard
Replacing water-hungry turf with a manicured pea gravel courtyard channels the elegance of a European villa. Excavate a few inches of topsoil, lay down a commercial-grade weed barrier, and install rigid metal edging. Spreading a thick layer of warm-toned pea gravel creates a satisfying crunch underfoot. The Department of Energy notes that substituting grass with permeable hardscaping drastically reduces outdoor water consumption.
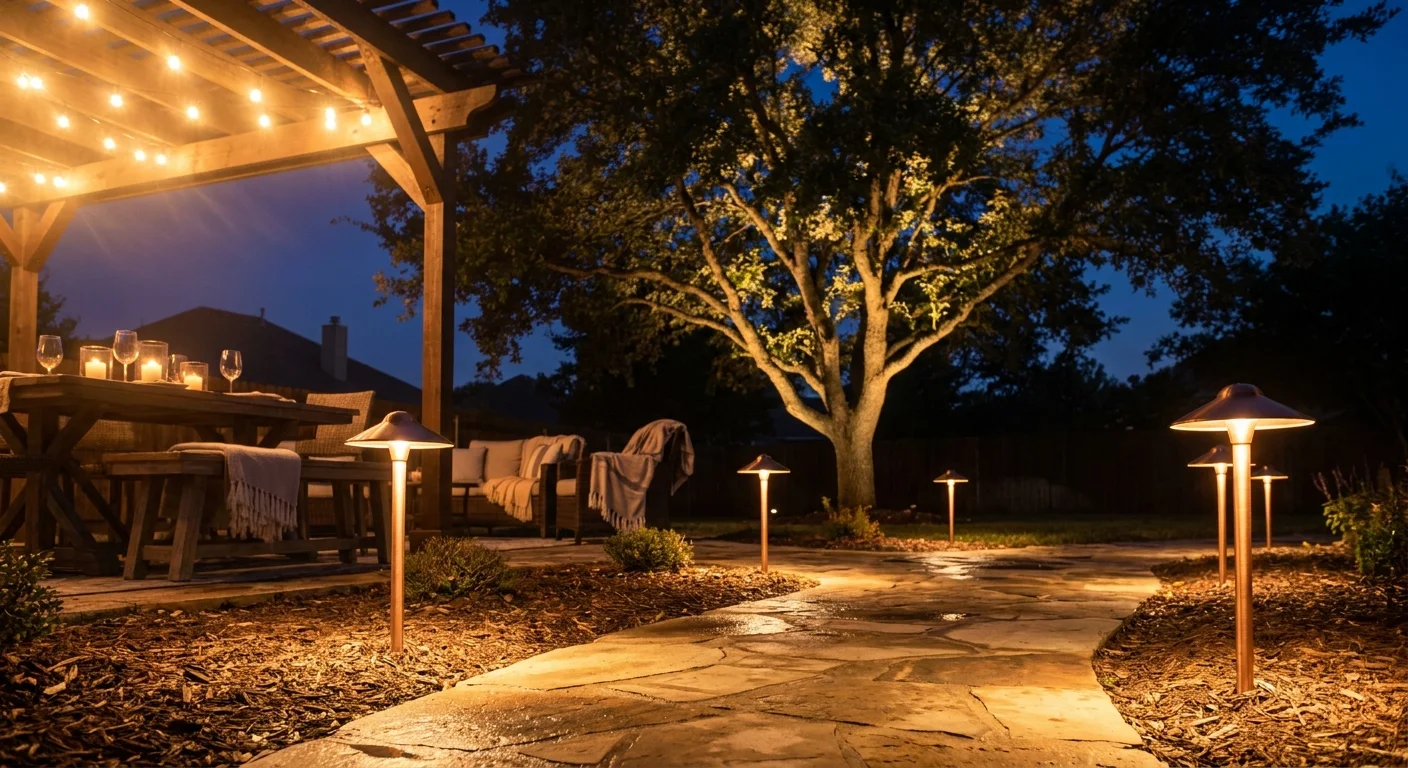
10. Upgraded Exterior Lighting Setup
Lighting acts as the ultimate jewelry for your home exterior; it dictates the mood and highlights your newly constructed focal points. Swapping out standard builder-grade sconces for oversized matte black fixtures instantly updates your facade. Bury low-voltage LED landscape wires along your pathways and position brass uplights at the base of your largest trees to cast a warm, inviting glow over evening dinners.
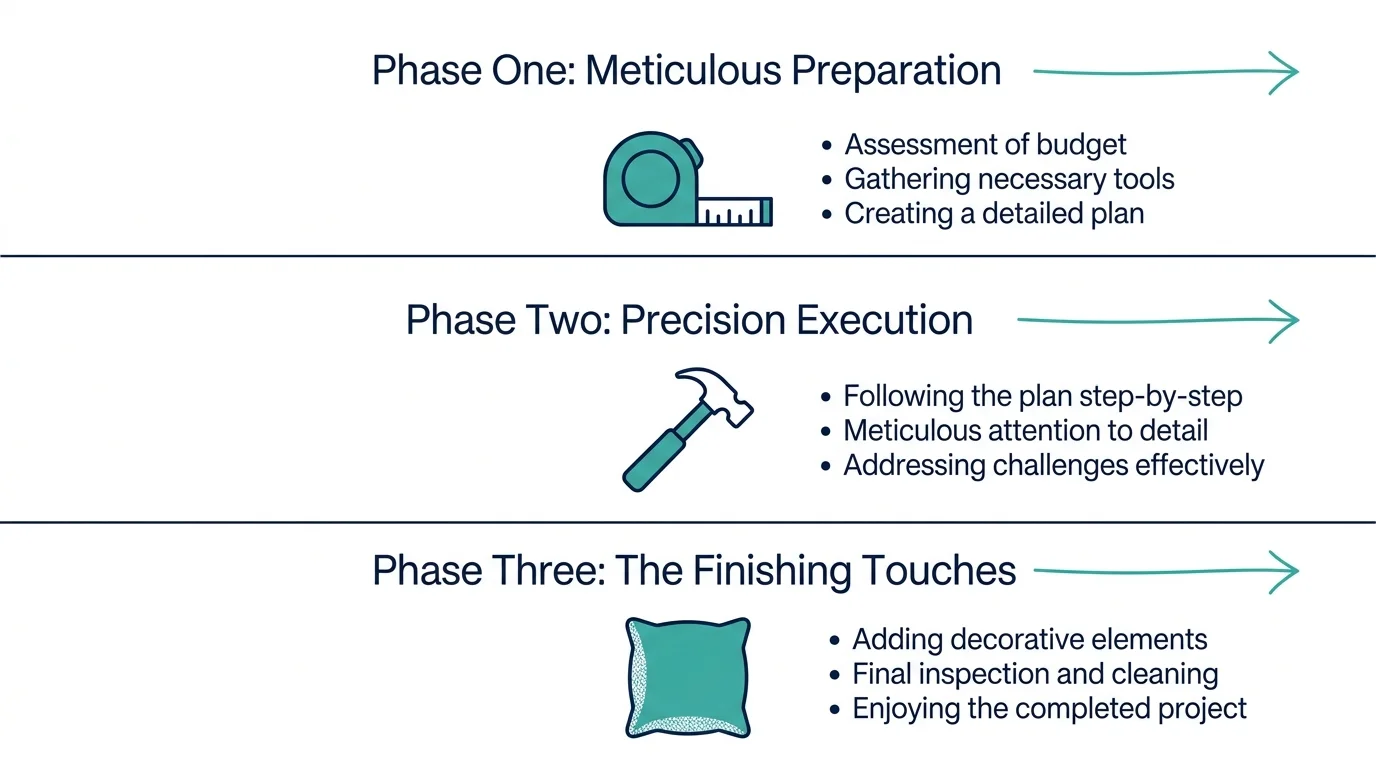
The Step Framework for Flawless Execution
Achieving a truly high-end finish relies on a methodical approach to your project phases. Rushing through the preparation stage guarantees a sloppy result that screams amateur DIY rather than polished luxury.
Phase One: Meticulous Preparation
Your first step involves measuring your space multiple times and sketching a detailed scale plan. When building wooden structures, select the straightest boards available, checking for bowing that could compromise the build. Prepare your site by leveling the ground and creating a dedicated staging area for your materials. Do not skip safety gear; invest in high-quality polycarbonate safety glasses and active noise-canceling ear protection.
Phase Two: Precision Execution
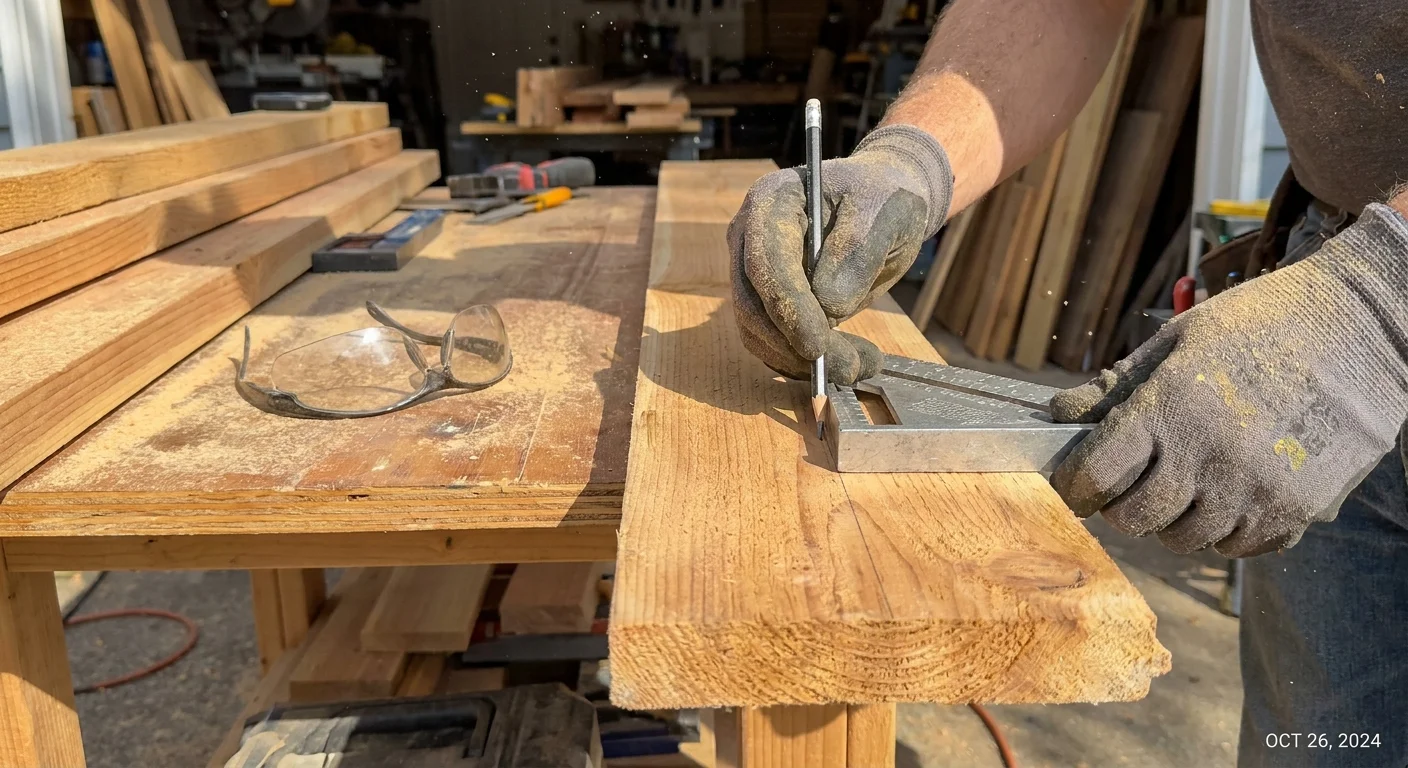
During the building phase, focus entirely on precise cuts and square joints. Using a speed square guarantees that your posts stand perfectly plumb and your surfaces remain flat. Always pre-drill your screw holes when working with hardwoods to prevent splitting, which ruins the clean aesthetic of your project. If you pour concrete for footings, use a mechanical mixer to achieve a smooth blend without dry pockets.

Phase Three: The Finishing Touches
The finishing phase transforms raw construction into luxury outdoor decor. Sand all wooden surfaces meticulously, working your way up to a fine two-hundred-twenty-grit paper. When applying stains, use a high-quality natural bristle brush and wipe away excess pigment with a clean cloth. According to designers featured in Architectural Digest, focusing heavily on these textural details separates a cheap weekend hack from a bespoke architectural feature.

Styling and Personalization Tactics
Once you complete the structural elements of your DIY outdoor upgrades, styling determines how cohesive the final space feels. Treat your patio exactly like an interior living room by layering textures, colors, and functional accessories. Choose a distinct color palette that complements your home’s exterior siding; contrasting stark black hardware against warm natural cedar creates a striking modern look. Introduce softness to rigid wooden structures by rolling out oversized polypropylene outdoor rugs that mimic traditional woven carpets.
You can easily elevate basic patio furniture by layering weather-resistant throw pillows featuring bold geometric patterns. Incorporating varied light sources—such as chunky modern lanterns and sleek tabletop fire bowls—adds immediate depth and warmth to the environment. Strategic placement of oversized terracotta planters filled with lush greenery softens harsh architectural lines.
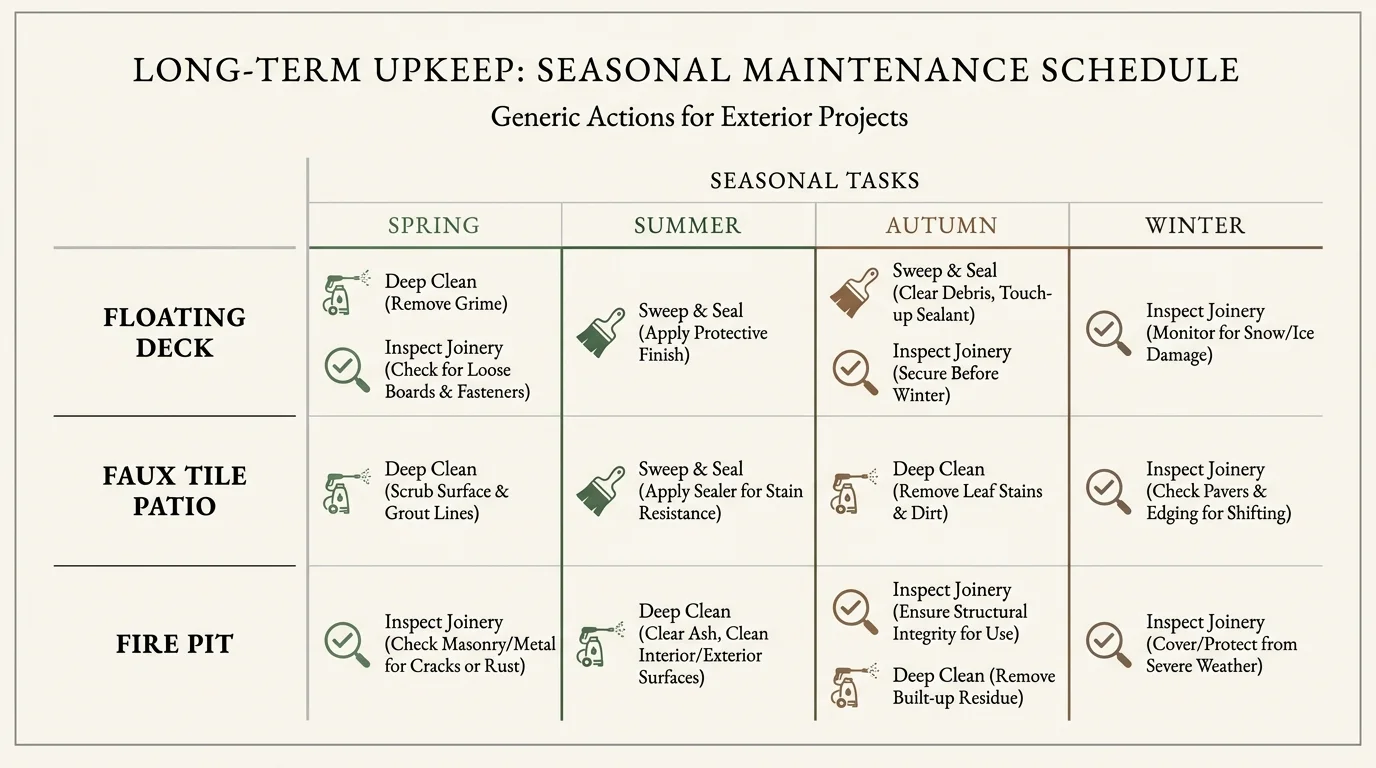
Troubleshooting and Long-Term Upkeep
Even the most meticulously executed outdoor DIY projects require ongoing maintenance to preserve their premium appearance. Wood features exposed to intense ultraviolet rays and heavy rain inevitably fade to a silvery gray if left untreated. Inspect your wooden decks and privacy screens annually, applying a fresh coat of UV-protective sealant or penetrating oil stain every two years to maintain their rich color. If your painted faux tile concrete patio begins to chip, lightly sand the affected area, touch up the stencil pattern, and reapply exterior polyurethane.
Drainage issues often plague ground-level projects like floating decks, leading to accelerated rot. Prevent this by ensuring your yard slopes gently away from your home’s foundation. Periodically check structural integrity by tightening carriage bolts and ensuring pergola posts remain securely anchored to protect your financial investment.
Frequently Asked Questions
Many homeowners encounter similar hurdles when diving into ambitious exterior projects. Addressing these common concerns helps you bypass rookie mistakes and execute your vision with absolute confidence.
What is the best wood to use for outdoor construction?
Cedar and redwood naturally resist rot, decay, and insect damage, making them the premier choices for luxury outdoor decor. While pressure-treated pine costs significantly less, it tends to warp, splinter, and shrink as it dries. If your budget dictates using pressure-treated lumber for hidden framing, clad the visible surfaces in cedar to achieve a premium aesthetic at a reduced price point.
Do I need a permit for these DIY upgrades?
Permit requirements vary depending on your local municipal building codes. Generally, low-level floating decks under thirty inches high and simple landscaping upgrades do not require a permit. However, consult your local building department before erecting tall pergolas or adding electrical wiring for outdoor kitchens to avoid hefty fines. The experts at HGTV recommend pulling permits for anything that alters your property’s footprint or connects to main utility lines.
How can I save money on materials without sacrificing quality?
Reduce your material costs by sourcing overstock pavers from local masonry supply yards. Many independent lumber yards offer discounts on cull lumber—boards with minor imperfections that you can trim away during assembly. Shopping for high-end exterior lighting fixtures at architectural salvage stores yields unique, premium pieces that cost a fraction of retail pricing.
Can I adapt these projects for an apartment balcony?
Renters can easily scale down these concepts to fit restricted outdoor footprints. Instead of a massive floating deck, install interlocking acacia wood deck tiles directly over a concrete balcony floor for an instant, removable upgrade. Vertical garden walls and freestanding planter benches provide maximum visual impact without requiring permanent modifications to the building structure.
Your Next Step
You possess the vision, the step-by-step framework, and the motivation to overhaul your exterior living space. Do not let the scale of a backyard makeover overwhelm you; simply choose the single project that best aligns with your immediate needs. Whether you start by stringing café lights or building a cedar pergola, taking that first actionable step shatters the inertia of a boring backyard. Grab your tape measure and begin crafting the luxurious outdoor sanctuary you deserve to enjoy this season.