Revamping your patio or balcony requires nothing more than a free weekend and creative DIY planter ideas to instantly elevate your outdoor aesthetic. Transforming a bare concrete slab into a lush oasis yields immediate satisfaction while expanding your usable living space. You can easily achieve these stunning results without hiring expensive landscape architects or purchasing overpriced designer containers. By utilizing standard hardware store materials, upcycling vintage finds, and dedicating a few hours of elbow grease, you will breathe new life into your exterior decor. These seven approachable garden DIY crafts combine functionality with distinct personality, empowering you to cultivate vibrant outdoor greenery ideas that reflect your unique design sensibilities.
Planning Your Outdoor Plant Decor Snapshot
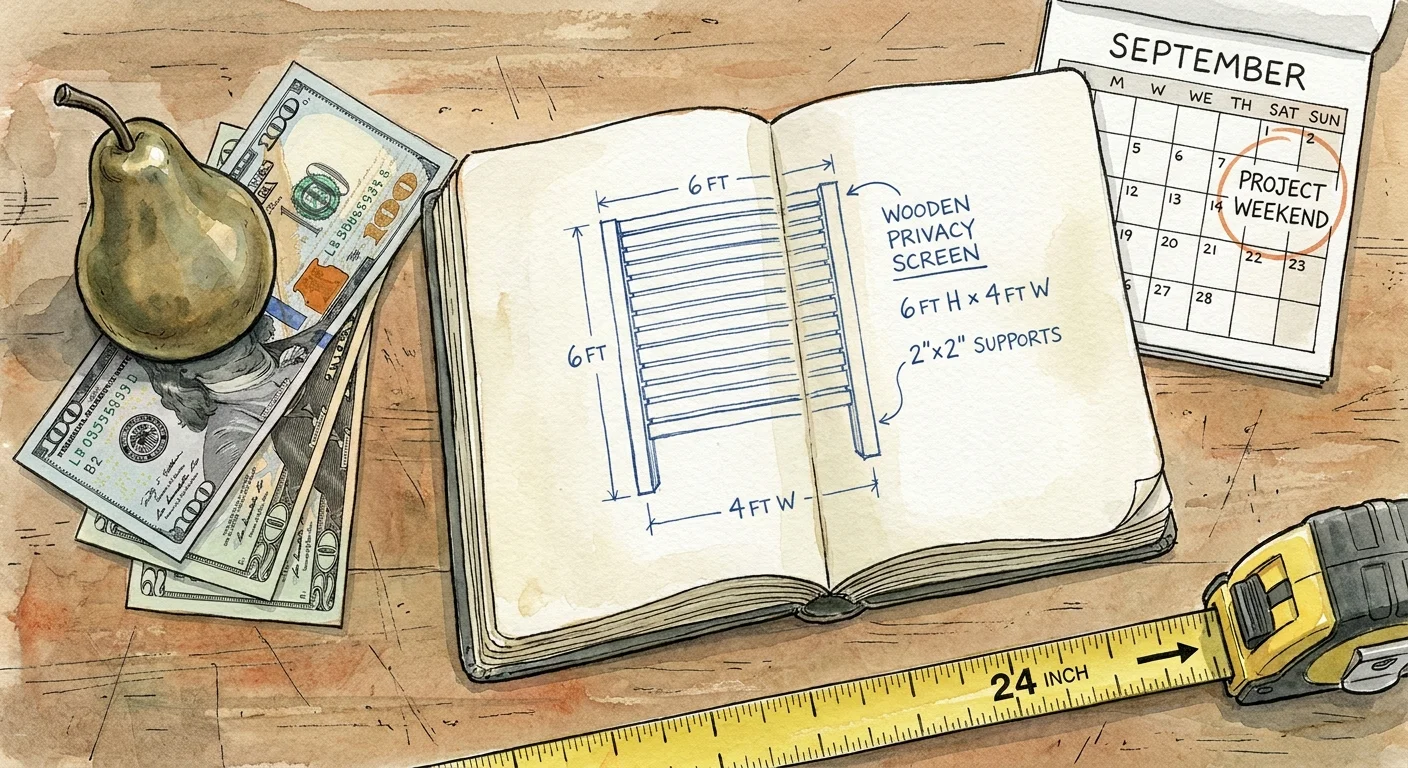
You need to assess your resources before digging into soil and hardware. A successful outdoor plant project requires a realistic alignment of your budget, available time, and current skill level. Most of these projects cost between thirty and one hundred dollars, heavily depending on whether you purchase brand-new dimensional lumber or upcycle materials from a local thrift store. You should allocate at least two to four hours for simpler container crafts, while larger structural builds—such as a wooden privacy screen—demand a full weekend of dedicated labor. Even if you consider yourself a novice, you can confidently tackle these designs using basic hand tools. You do not need advanced carpentry skills or a massive backyard workshop to succeed; a reliable power drill, a pair of tin snips, and a standard tape measure will carry you through nearly every phase of construction.
The Core Step Framework for Garden Crafts
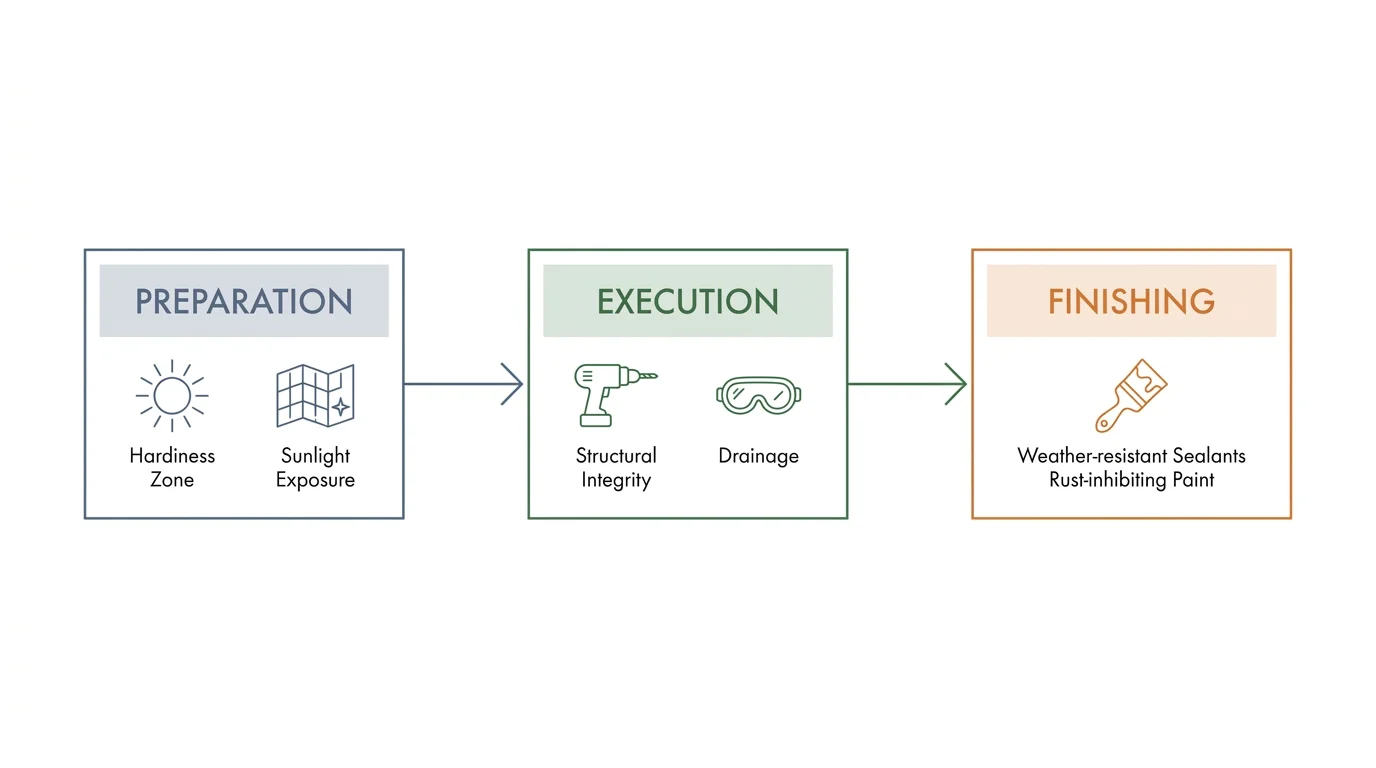
Executing outdoor plant projects successfully requires following a structured workflow. Approaching your builds methodically prevents wasted materials and ensures your botanical displays survive harsh weather conditions.
Preparation and Sourcing
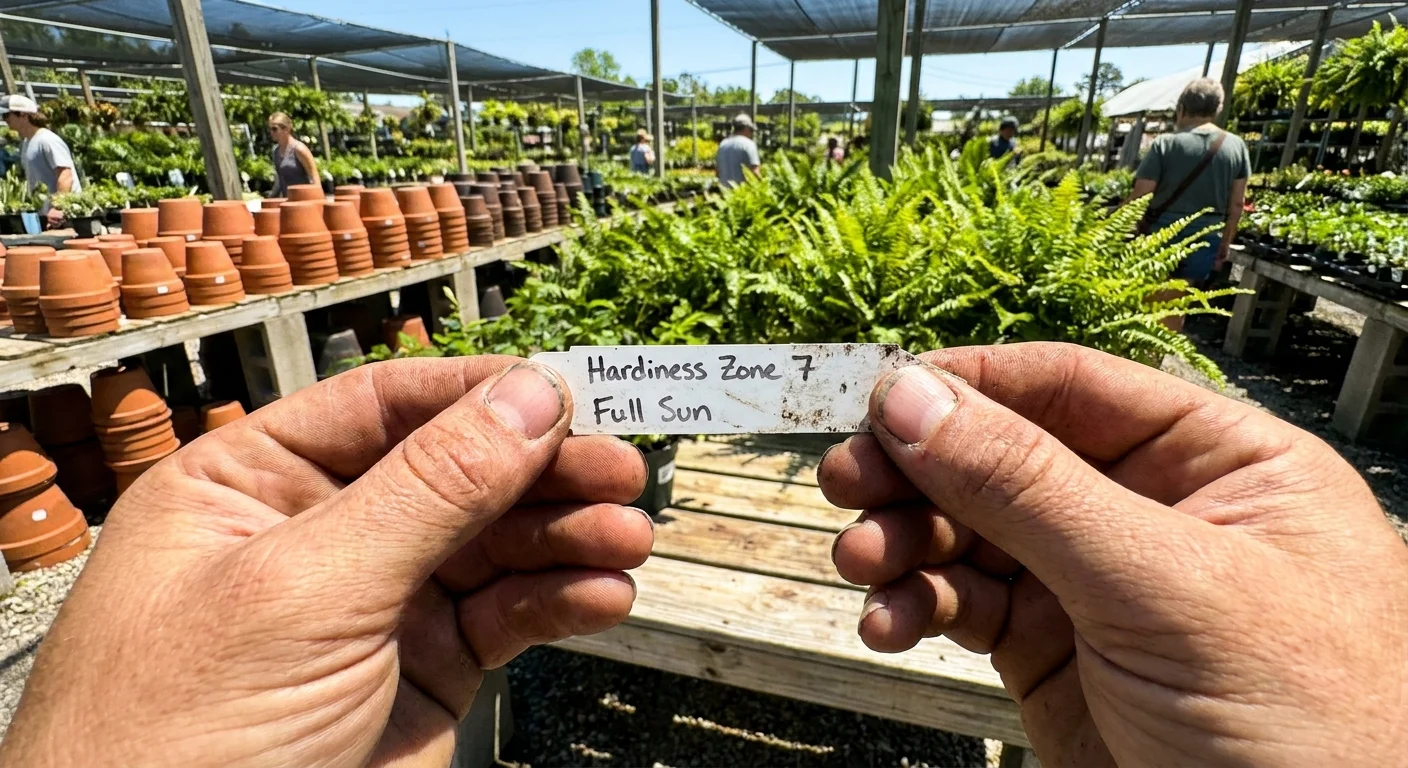
Preparation involves gathering materials, measuring your patio footprint, and selecting the right flora for your specific hardiness zone. You must verify local climate conditions—such as daily sunlight exposure and average rainfall—before purchasing delicate succulents or thirsty ferns. Sketch out your design on paper to visualize the final footprint, ensuring you maintain clear walkways and respect any homeowner association guidelines regarding exterior decorations.
Execution and Building
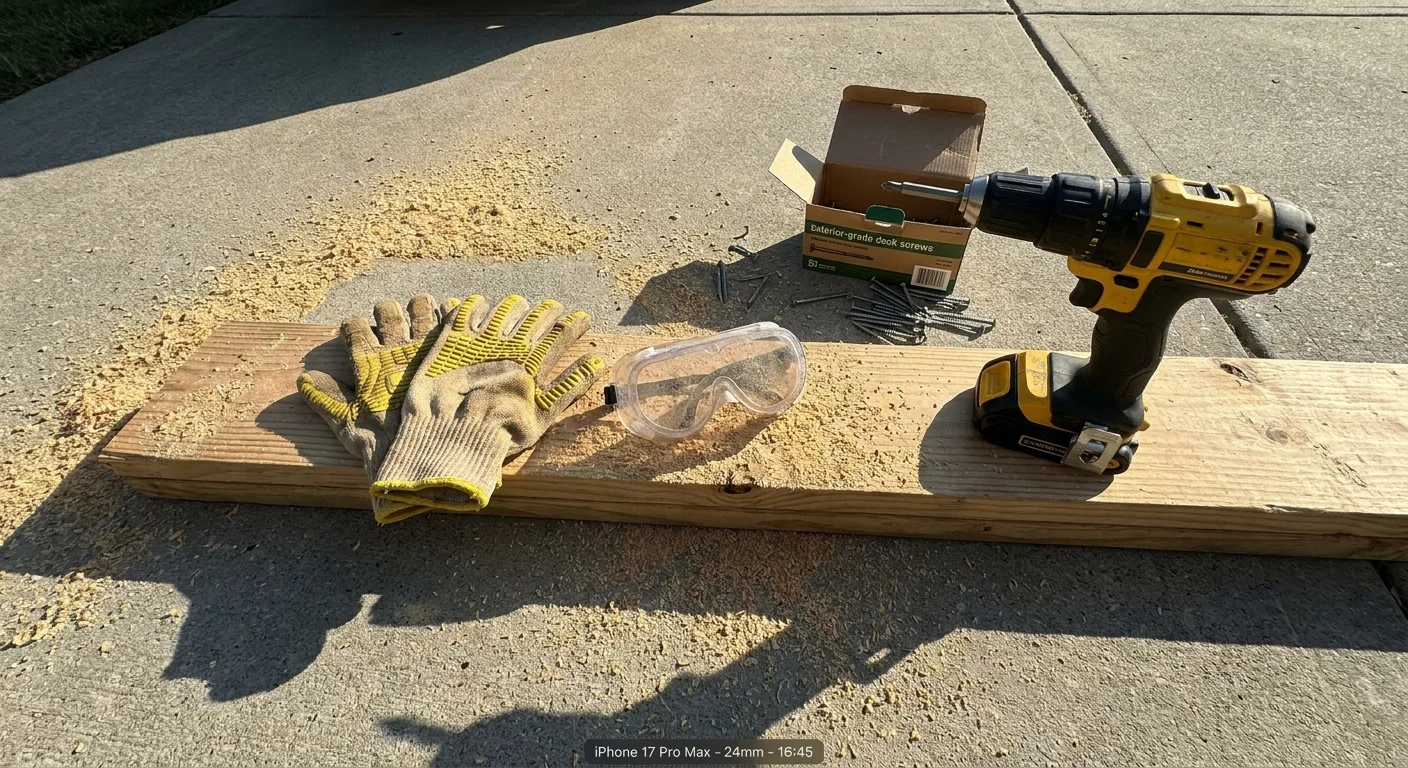
Execution demands a rigorous focus on structural integrity and proper drainage. You will assemble wooden frames using exterior-grade deck screws, drill ample drainage holes in upcycled metal containers, and secure heavy vertical elements to prevent tipping during strong winds. Always wear appropriate safety gear, including protective eyewear and sturdy work gloves, when cutting metal or sanding rough lumber.
Finishing and Weatherproofing
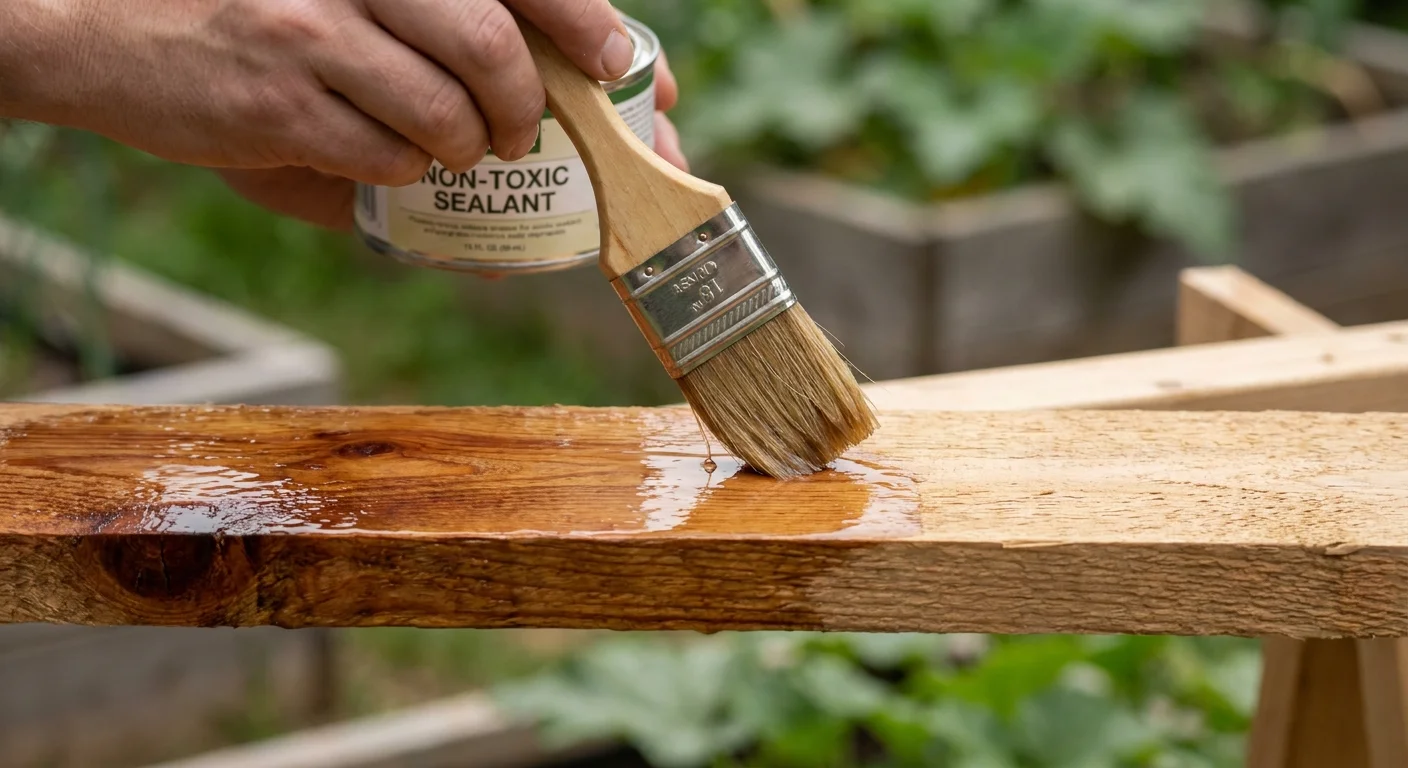
Finishing touches guarantee long-term durability. You should apply non-toxic, weather-resistant sealants to all wooden surfaces and rust-inhibiting spray paints to exposed metals. Proper sealing keeps your hard work looking pristine through brutal summer storms and freezing winter temperatures, while lining the interior of porous planters prevents rapid moisture loss during July heatwaves.
Project 1: Cinder Block Succulent Wall
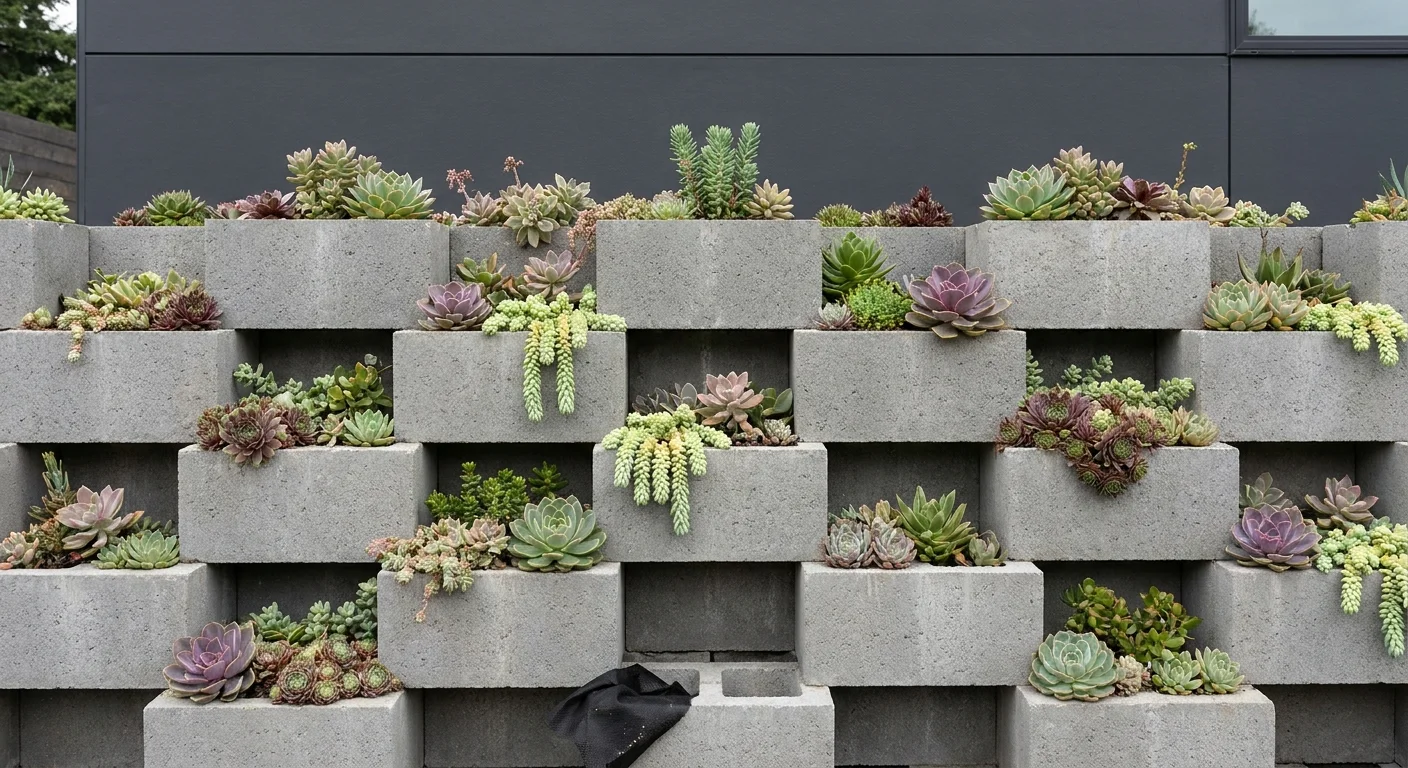
Concrete cinder blocks offer an incredibly durable, industrial-chic foundation for your patio plant decor. You will arrange standard cinder blocks in a staggered, overlapping pattern against a sturdy wall to create a dynamic, multi-level planter system. Secure the blocks together using a high-quality masonry adhesive to prevent accidental shifting or toppling. Once the heavy-duty adhesive fully cures, line the empty block cavities with a permeable landscaping fabric; this essential step keeps the fine soil contained while allowing excess moisture to drain freely onto the ground below. Fill the lined pockets with a fast-draining cactus mix and plant a diverse array of colorful succulents—such as Echeveria, Sedum, and trailing String of Pearls. This drought-tolerant architectural setup requires minimal watering and absorbs ambient radiant heat, making it perfect for sun-drenched, south-facing balconies.
Project 2: Upcycled Colander Hanging Baskets
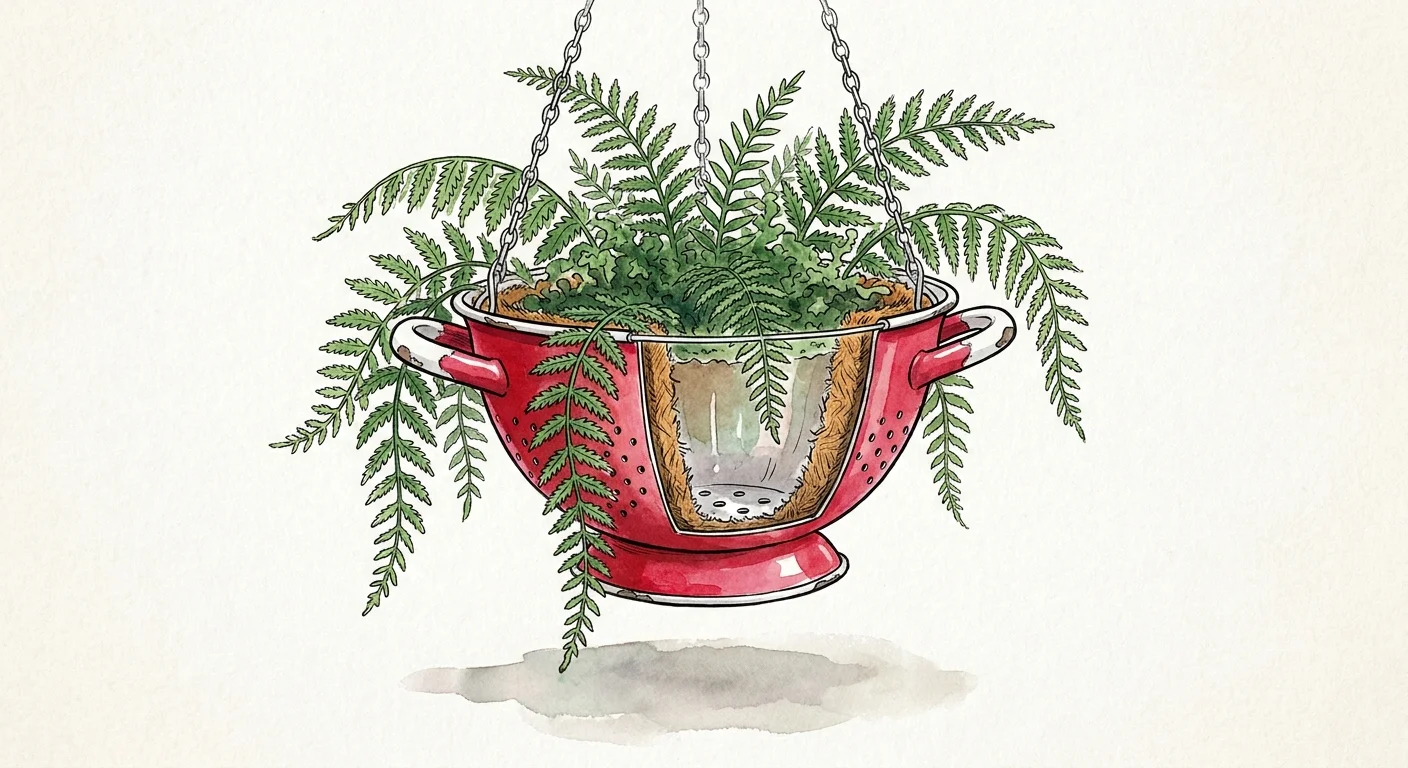
Vintage enamel colanders provide built-in drainage holes and introduce a charming, cottage-core aesthetic to your hanging botanicals. You can source beautifully distressed, brightly colored colanders from flea markets, garage sales, or antique shops for just a few dollars. To transform these kitchen staples into robust hanging baskets, use a titanium drill bit to bore three evenly spaced holes near the reinforced top rim of the metal bowl. Attach heavy-duty weather-resistant chains or strong metal S-hooks through your newly drilled holes, bringing the chains together at a single top carabiner for effortless hanging. Line the interior basin with a thin, flexible layer of sphagnum moss to prevent your soil from washing out through the original straining holes, then pack the bowl with rich potting mix. Trailing plants like English ivy, vibrant sweet potato vines, or cascading petunias look spectacular as they spill wildly over the bright enamel edges.
Project 3: Tiered Terra Cotta Herb Tower
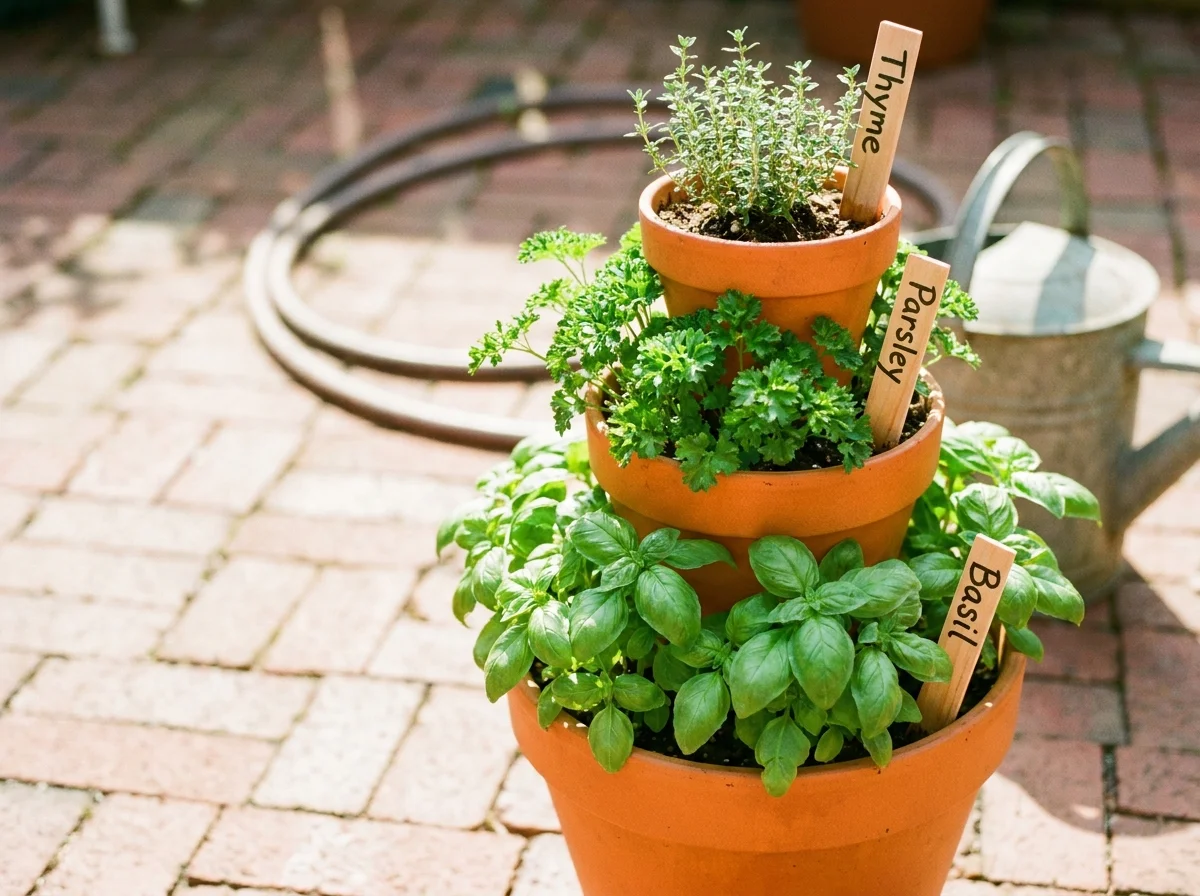
Maximizing vertical space remains a crucial strategy for implementing robust outdoor greenery ideas in tight quarters. You will construct a towering, sculptural herb garden by stacking sequentially smaller terra cotta pots onto a rigid central support rod. Begin by driving a thick piece of metal rebar deeply into the ground, or cement it firmly into a heavy, oversized base pot if you live on a concrete slab. Thread your largest terra cotta pot onto the rebar through its standard bottom drainage hole, fill the basin with a nutrient-dense potting soil, and then thread the next size down, tilting it dramatically to one side. Continue this alternating tilt pattern until you reach the top of the metal spine. Plant fragrant culinary staples such as basil, thyme, rosemary, and oregano in the exposed pockets of rich soil. This tiered structure keeps fresh herbs easily accessible for cooking while serving as a striking focal point.
Project 4: Cedar Privacy Planter Screen
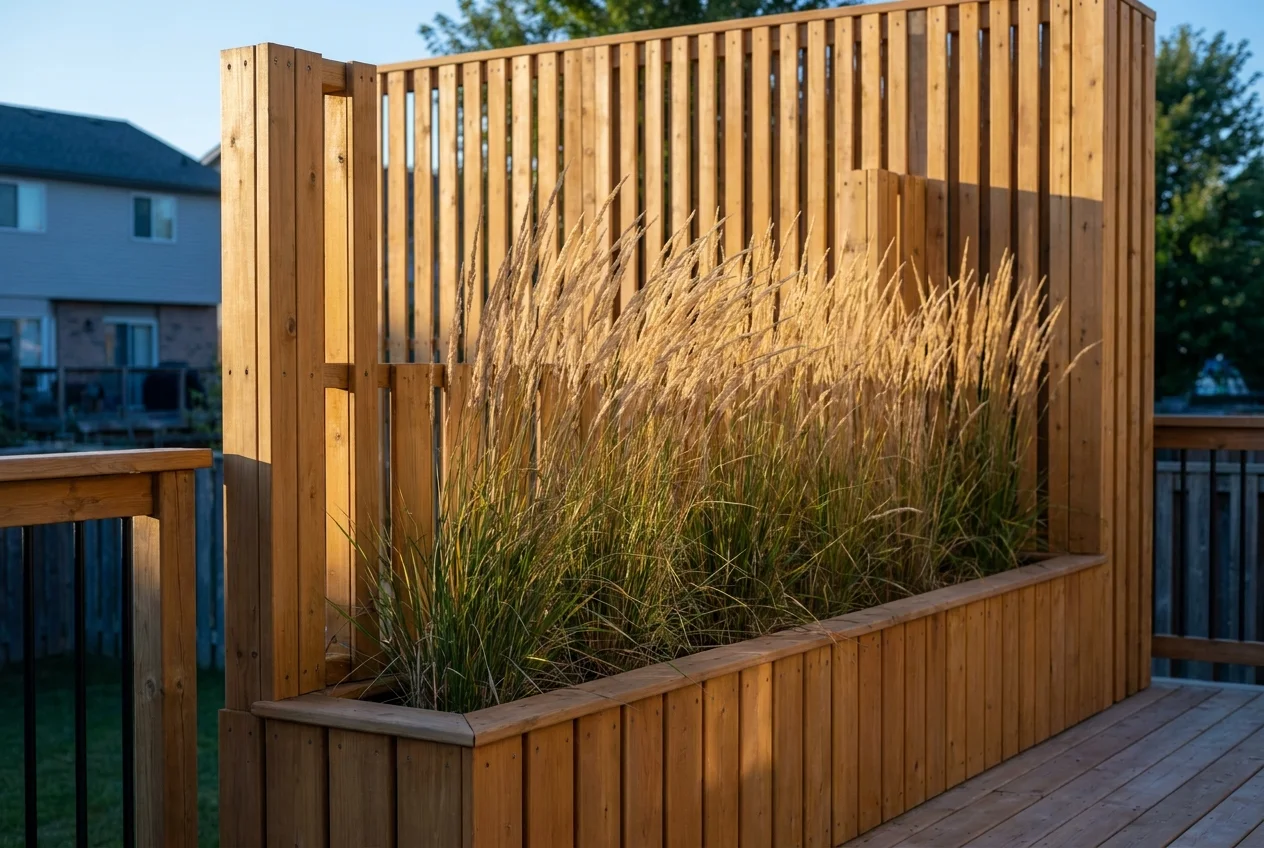
Creating an intimate outdoor sanctuary often requires blocking unsightly views or screening out nosy neighbors. You can build a substantial cedar planter box with an integrated trellis backing to achieve ultimate privacy while simultaneously expanding your gardening footprint. Construct a deep rectangular base box using naturally rot-resistant cedar planks, ensuring you reinforce the interior corners with heavy galvanized steel brackets for maximum longevity. Attach a tall wooden lattice or a sleek horizontal slat screen directly to the back of the planter box, anchoring the uprights deeply into the planter frame to withstand intense wind loads. When selecting your lumber, consult comprehensive architectural resources; you can explore the durability of various wood types to make highly informed purchasing decisions. Fill the deep wooden basin with a premium soil blend and introduce aggressive climbing plants like star jasmine, clematis, or morning glories, which will rapidly scale the trellis and form a breathtaking living green wall.
Project 5: Repurposed Vintage Wheelbarrow Garden
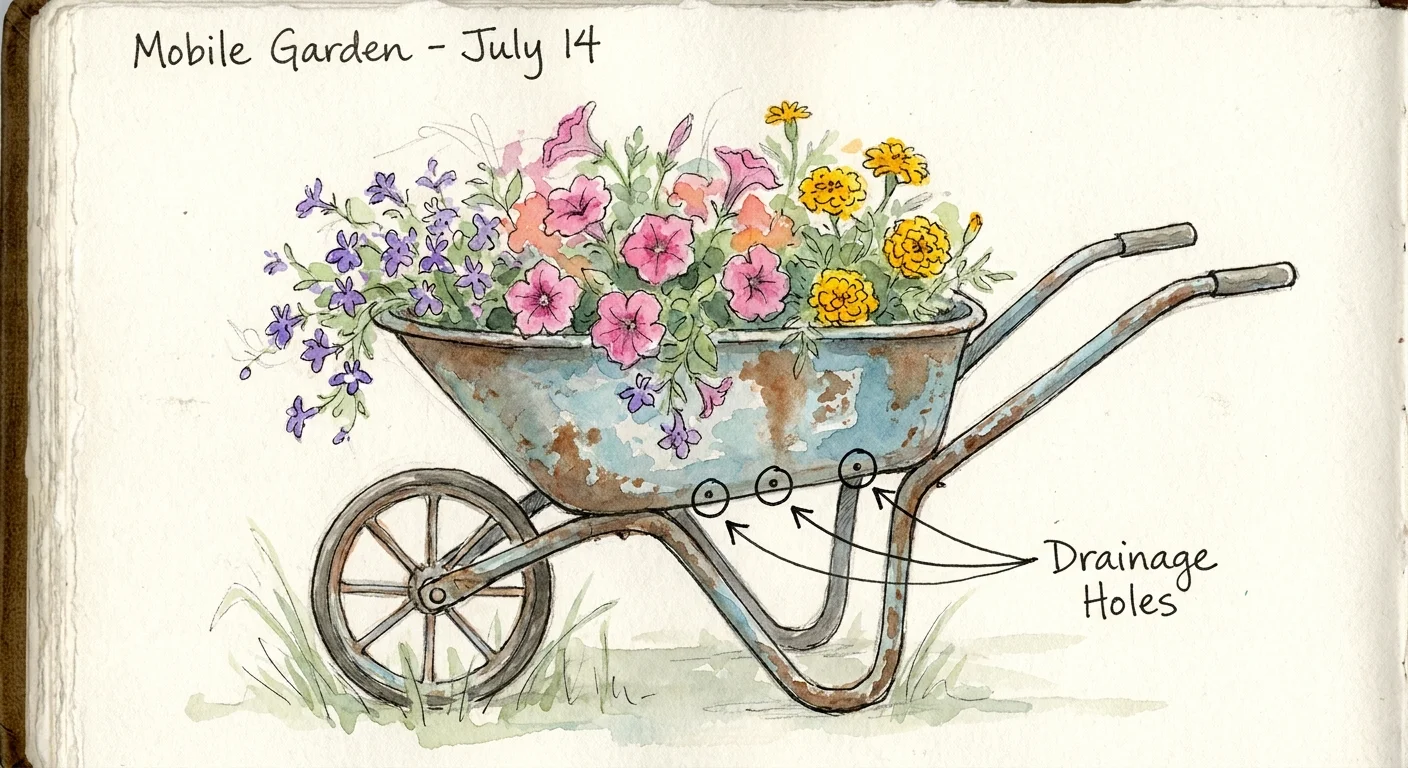
A rusted, retired wheelbarrow instantly transforms into a whimsical, portable garden bed that anchors your yard with nostalgic, rustic charm. You must first address the compromised metal surface by vigorously scrubbing away loose rust flakes with a stiff wire brush, followed by applying a clear, rust-converting primer to halt any further structural corrosion. Since a standard wheelbarrow basin completely lacks natural outlets, use a high-speed metal-boring drill bit to punch several half-inch holes directly across the lowest points of the bed, ensuring critical water runoff. Spread a two-inch layer of coarse gravel across the bottom before pouring in a high-quality organic potting soil to facilitate optimal root health. You can treat this large, shallow vessel as a blank canvas for a lush miniature fairy garden or a densely packed wildflower meadow. Because the wheel functions, you can easily roll the entire floral display into the garage if an unexpected late-spring frost threatens your delicate blooms.
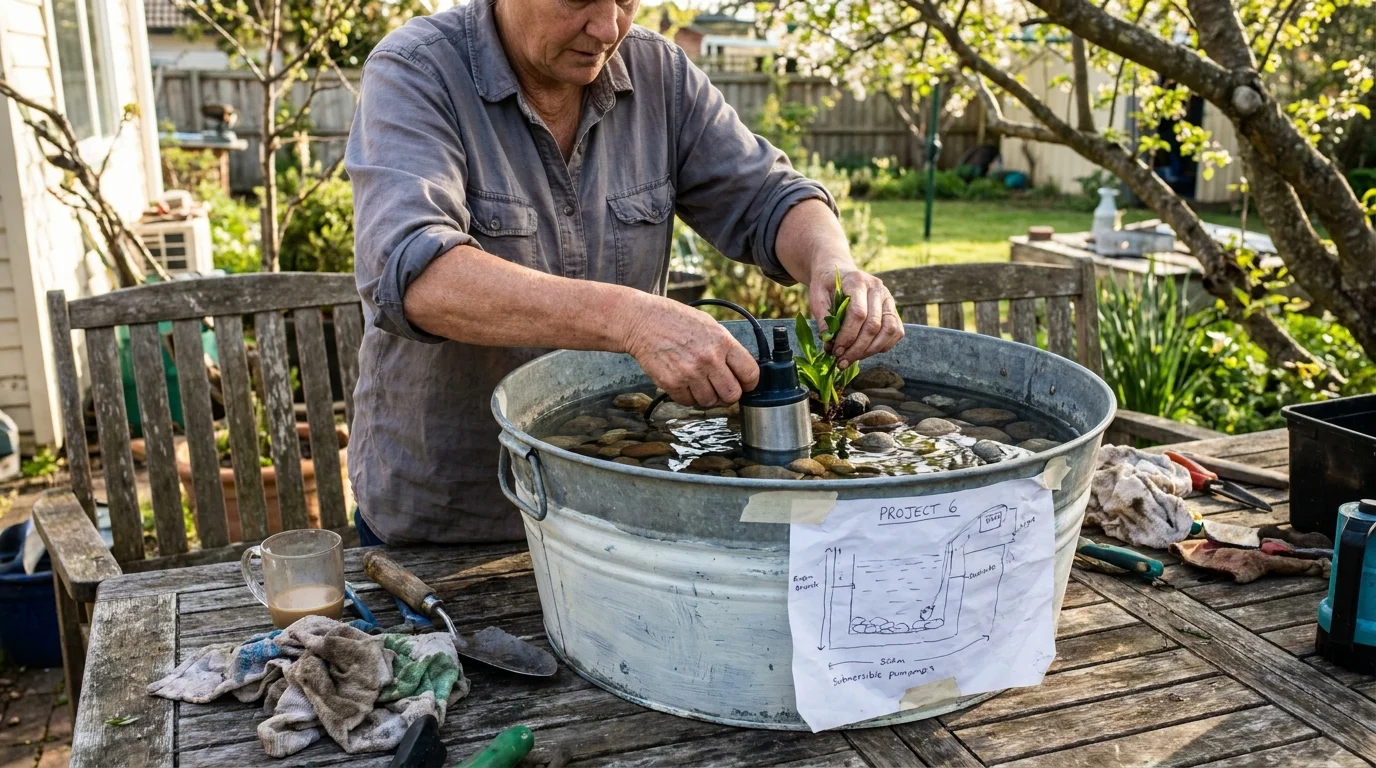
Project 6: Painted Galvanized Tub Water Feature
Integrating aquatic plants into your garden DIY crafts introduces soothing textures, gentle movement, and beneficial wildlife to your yard. You can effortlessly convert a standard galvanized steel stock tank—traditionally used for watering livestock—into a vibrant standalone aquatic ecosystem. Coat the exterior of the corrugated tub with a durable, exterior-grade enamel paint in a bold shade like navy blue or forest green to contrast sharply with the reflective metallic interior. Place the heavy tub in a partially shaded area to prevent aggressive algae blooms, then fill it with fresh tap water and drop in submerged aquatic planters containing elegant water lilies, lotuses, or floating water hyacinths. To ensure your new backyard oasis does not inadvertently become a breeding ground for biting insects, review reliable agricultural guidance on managing mosquitoes in backyard water gardens. Adding safe biological larvicides or installing a small solar-powered fountain keeps the water moving and completely eliminates pest concerns.
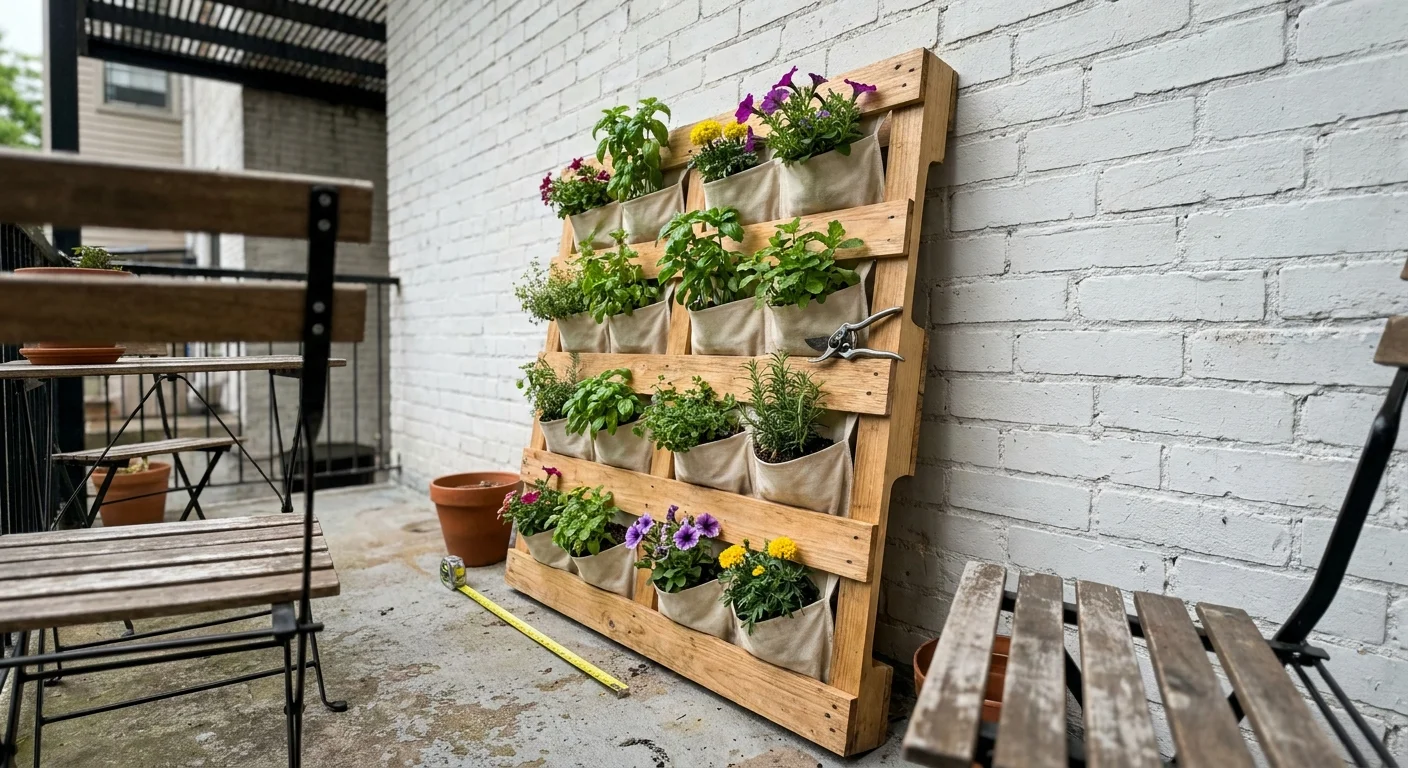
Project 7: Vertical Wood Pallet Planter
Discarded shipping pallets offer an inexpensive, readily available framework for spectacular vertical gardens. You must strictly verify that your chosen pallet features a burned-in “HT” stamp, indicating the wood underwent safe heat treatment rather than dangerous chemical fumigation. Lay the clean pallet flat on its face and use a heavy-duty staple gun to tightly attach a thick landscape fabric to the back and bottom of each horizontal slat, creating deep, sturdy fabric pockets for your soil. Flip the wooden pallet upright and lean it securely against a sturdy fence, bolting it to the structure if you live in a high-wind area. Pack the fabric pockets tightly with a premium moisture-retaining potting mix and wedge tightly clustered plants—such as lush ferns, textured hostas, or vibrantly colored coleus—into the narrow gaps between the wooden boards. For a deeper dive into safe, structurally sound upcycling practices, you can review expert tutorials on building a pallet garden to guarantee your vertical display remains safe and stunning all season.
Styling and Personalizing Your Patio Plant Decor
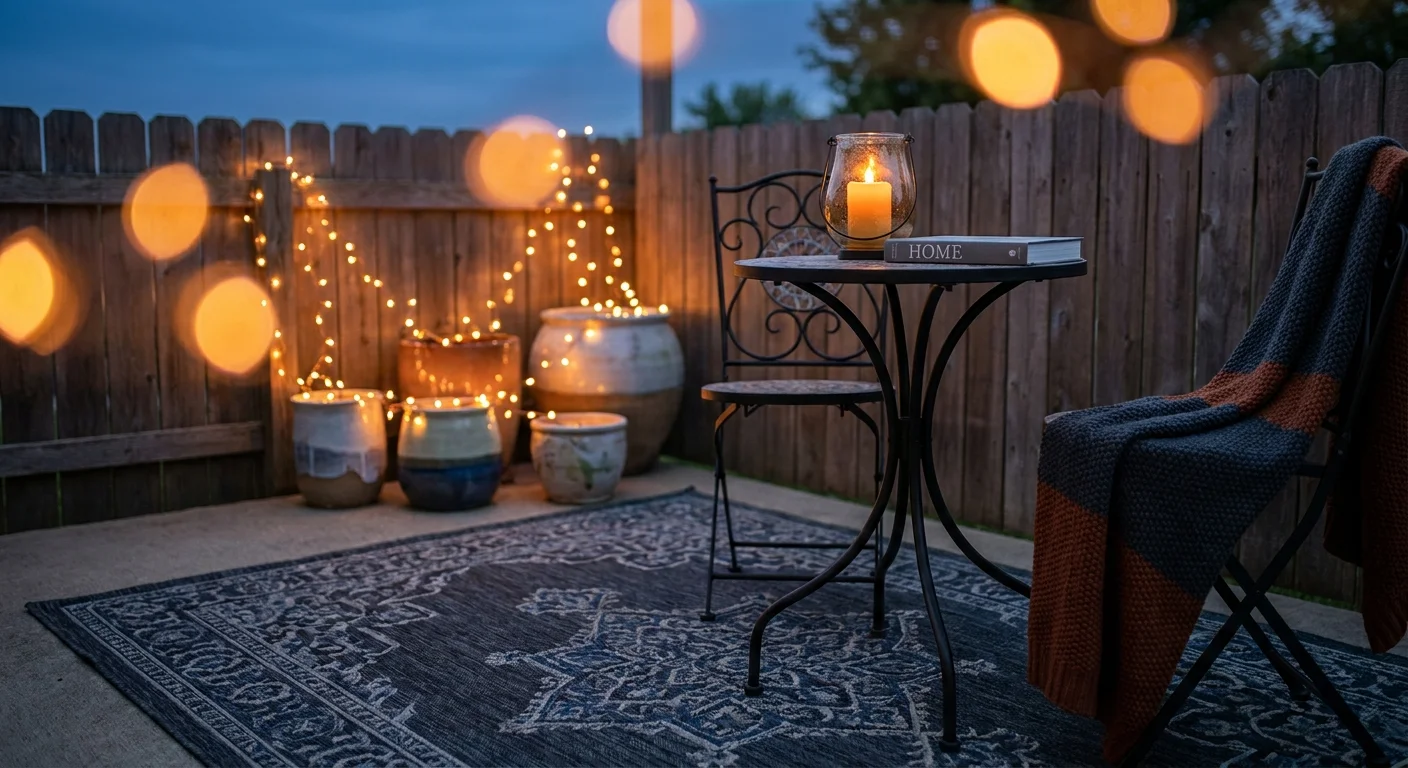
Building the structural elements of your outdoor plant projects marks only the beginning of your patio transformation; styling elevates these basic crafts into professional-tier displays. You should embrace basic color theory when selecting your flowers and painting your containers. Pairing complementary colors—such as planting vibrant purple trailing verbena inside a soft, buttery yellow planter—creates striking visual contrast that draws the eye across your yard. Group your newly built containers in odd numbers, relying on the classic rule of threes to create a natural, asymmetrical balance that feels inherently pleasing. Incorporate a variety of textures by contrasting smooth, glossy ceramic pots against the rough, weathered grain of upcycled wood pallets. Finally, weave subtle solar-powered string lights or strategically aimed LED spotlights through your tiered displays and privacy screens to ensure your lush outdoor greenery ideas remain captivating long after the sun sets.
Troubleshooting and Upkeep for Outdoor Greenery
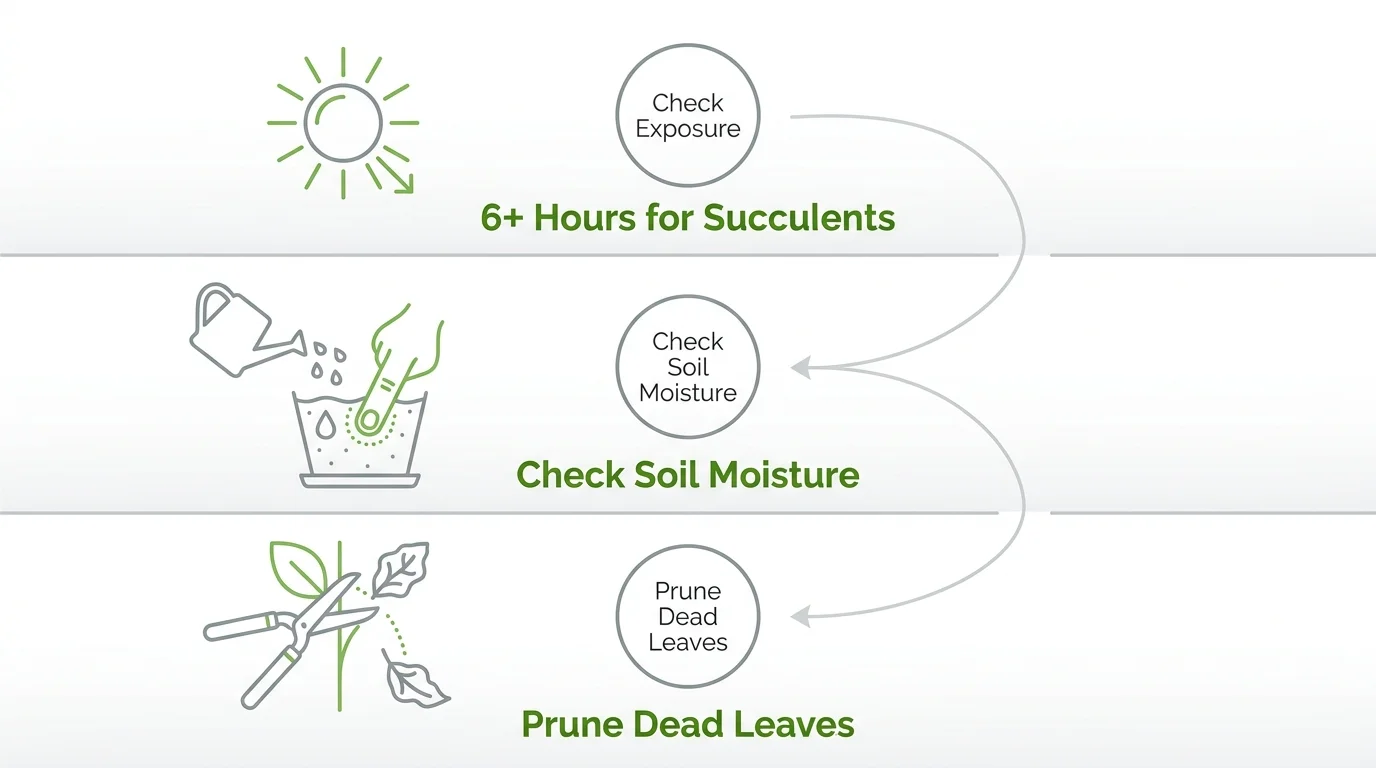
Maintaining the vibrant charm of your newly crafted garden features requires consistent observation and proactive troubleshooting. Poor drainage ranks as the most common culprit behind failing patio plant decor; if you notice your plant leaves turning a sickly pale yellow while the soil feels heavy and waterlogged, you must immediately drill additional drainage holes in your containers to prevent fatal root rot. Conversely, crispy, brown leaf edges indicate severe dehydration, signaling that you need to increase your watering frequency or incorporate moisture-retaining coco coir into your soil mix. Inspect the undersides of your leaves weekly for invasive pests like aphids or spider mites, treating early infestations aggressively with organic Neem oil sprays. You should also consider the broader environmental impact of your layouts; consulting the benefits of strategic landscaping reveals how properly placed tall trellis planters can actually shade your exterior walls and measurably reduce your indoor cooling costs during sweltering summer months. Before winter arrives, drain all water features and move vulnerable terra cotta pots indoors, as frozen, expanding soil will easily shatter your beautiful ceramic crafts.
Frequently Asked Questions
What is the best potting soil mix for container gardens?
You should always use a lightweight, moisture-retentive commercial potting mix rather than dense topsoil or heavy yard dirt when filling your containers. Topsoil easily compacts inside closed vessels, starving delicate root systems of essential oxygen and trapping excess water. Look for high-quality soil blends containing generous amounts of perlite or vermiculite for necessary aeration, combined with peat moss or sustainable coco coir to ensure adequate moisture retention during dry spells.
How can I protect my wooden planters from rotting?
You can dramatically extend the operational lifespan of your wooden containers by lining the interior walls with a thick, heavy-duty plastic sheeting—making absolutely certain to poke several drainage holes through the bottom plastic—and applying a non-toxic marine-grade waterproofer to the exterior boards. Elevating your heavy wooden planters slightly off the ground using hidden brick pavers or rubber pot feet also prevents the bottom wood from absorbing standing puddles on your patio.
Where should I source budget-friendly plants and materials?
You will consistently find incredible deals on hardware and containers at local estate sales, community plant swaps, and municipal recycling centers. Purchasing perennial plants at the very end of the autumn growing season when nurseries drastically slash prices, or opting to start your flowers directly from seeds instead of buying mature greenhouse transplants, keeps your overall project costs exceptionally low.
Can I adapt these projects for a heavily shaded balcony?
You can easily modify any of these structural planter builds for low-light environments by simply swapping out sun-loving flora for shade-tolerant botanical varieties. Select vibrant caladiums, creeping Jenny, and diverse fern species for your displays; this ensures your balcony thrives despite the lack of direct sun. Remember to significantly dial back your overall watering frequency, since heavily shaded soil retains moisture much longer than soil exposed to baking afternoon sunlight.
Bring Your Outdoor Space to Life Today
Taking command of your exterior spaces rewards you with a personalized retreat that visiting guests will admire and you will cherish daily. You possess all the practical knowledge and capability needed to tackle these straightforward builds, transforming ordinary hardware store supplies into remarkable backyard focal points. Pick the specific project that best fits your upcoming weekend schedule, gather your essential tools, and begin crafting a stunning outdoor sanctuary that thrives beautifully year after year.