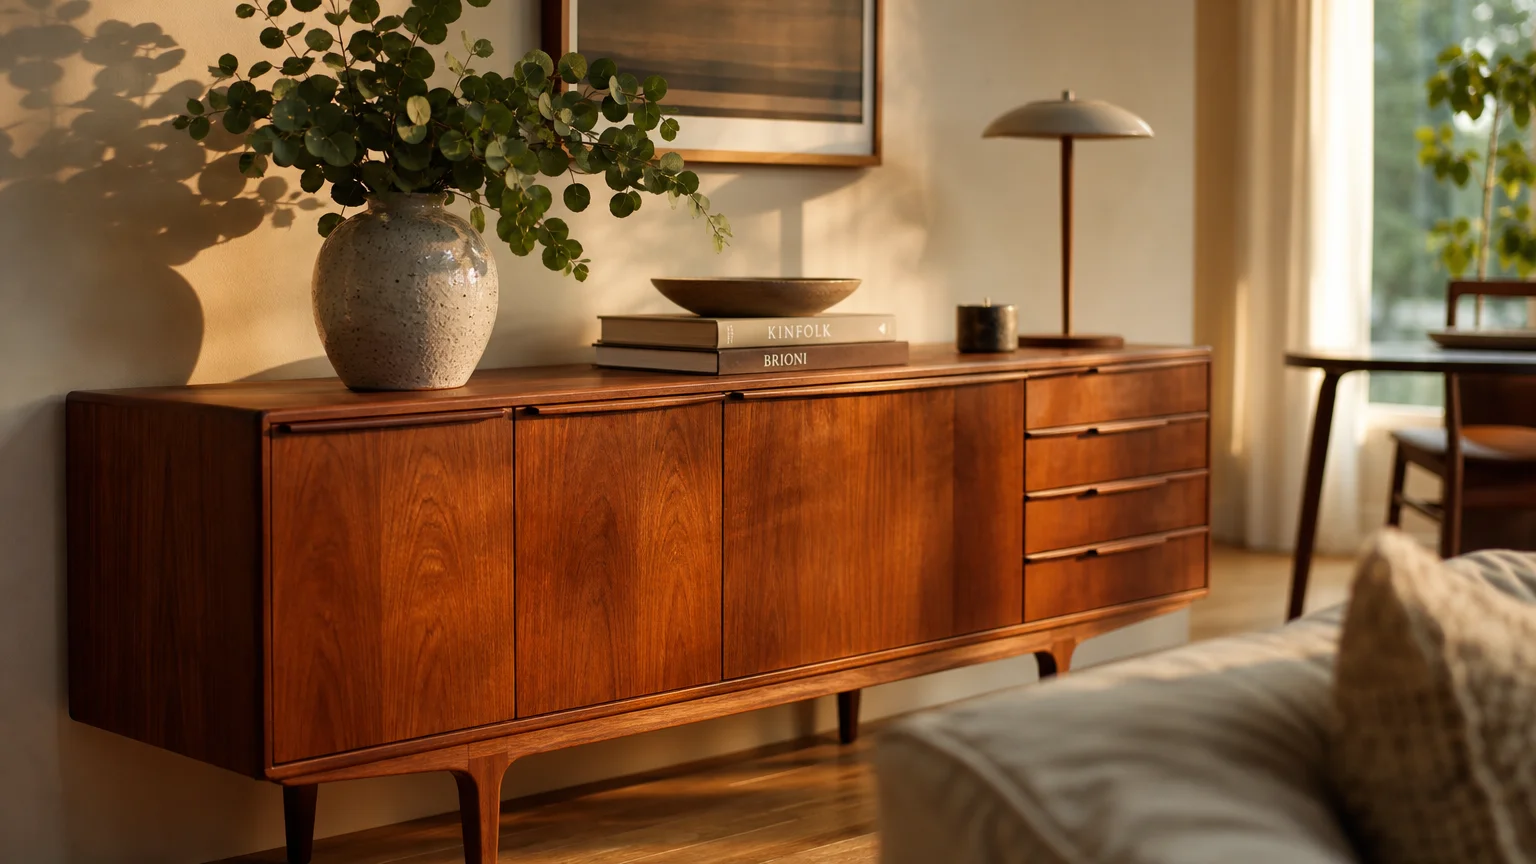
Discovering a fresh gouge across your prized mahogany dining table feels devastating, but you possess the power to restore that flawless finish today. Wood furniture repair requires minimal investment and transforms worn-out heirlooms into showroom-quality pieces without the expense of professional refinishing. Everyday household items alongside simple hardware supplies offer highly effective solutions to remove wood scratches permanently. Whether your piece suffers from shallow surface scuffs caused by sliding keys or deeper grooves from an energetic pet, matching the right treatment to the damage type guarantees a seamless repair. Explore proven techniques that erase unsightly blemishes and rejuvenate the natural beauty of your cherished wooden furnishings.
Project Planning Snapshot
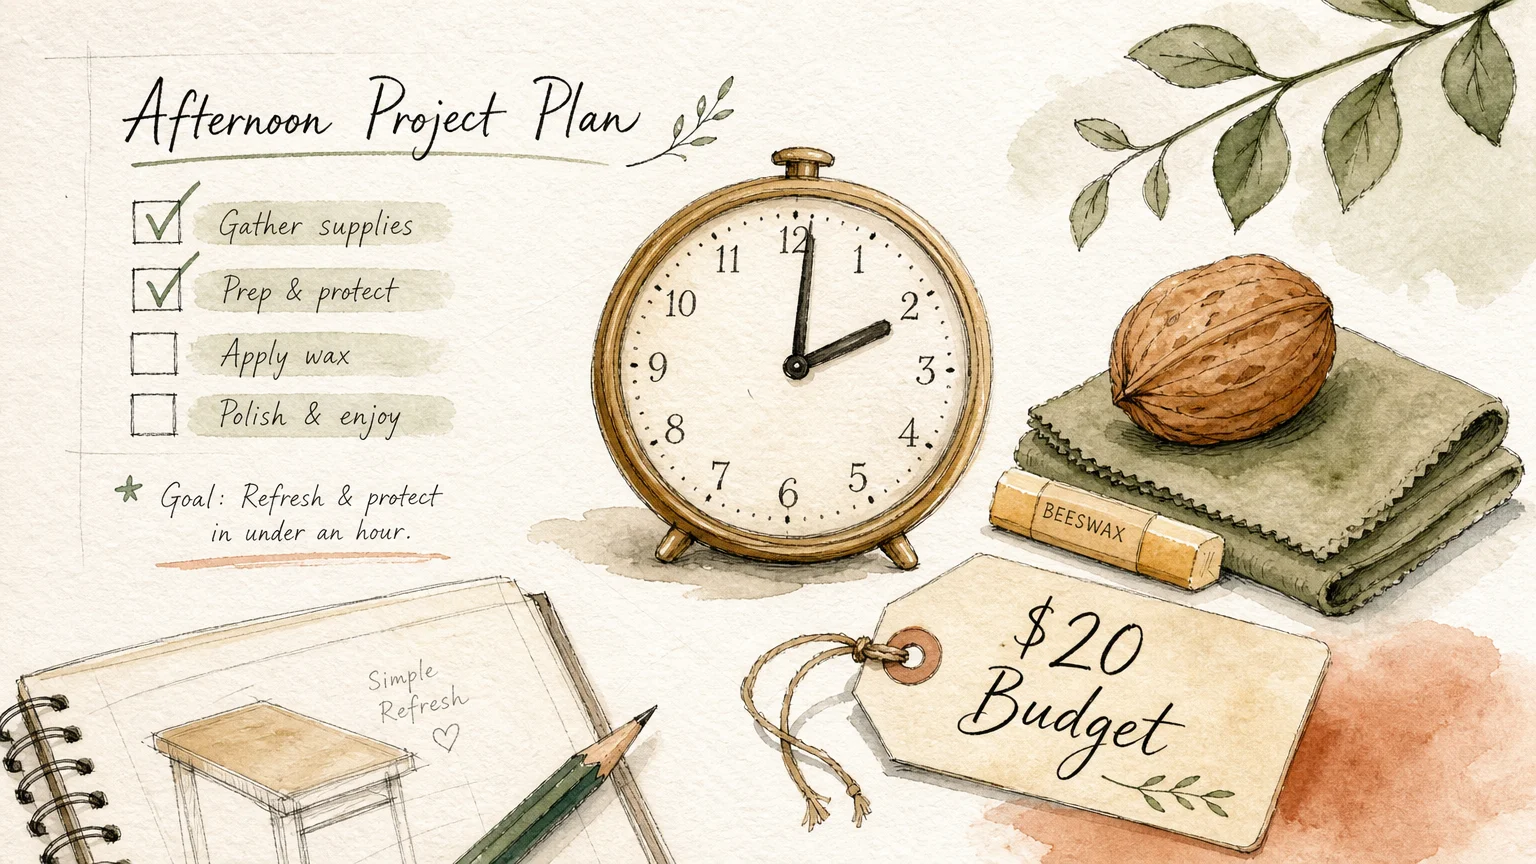
You might assume that restoring scratched wooden furniture requires a sizable budget and days of labor, but you can actually tackle most surface damage in a single afternoon for under twenty dollars. Most of the techniques detailed below utilize materials you likely already keep stocked in your pantry or utility closet. If you need to purchase specialized wax sticks or tinted wood fillers, your budget remains impressively low. You need absolutely zero previous woodworking experience to achieve flawless results with these methods. A complete beginner can confidently blend minor scuffs in minutes, while deeper structural gouges might require a few hours of patience to allow chemical fillers to set and liquid stains to dry properly. Assessing your damage accurately allows you to plan your afternoon timeline with precision and confidence.
The Step-by-Step Restoration Framework
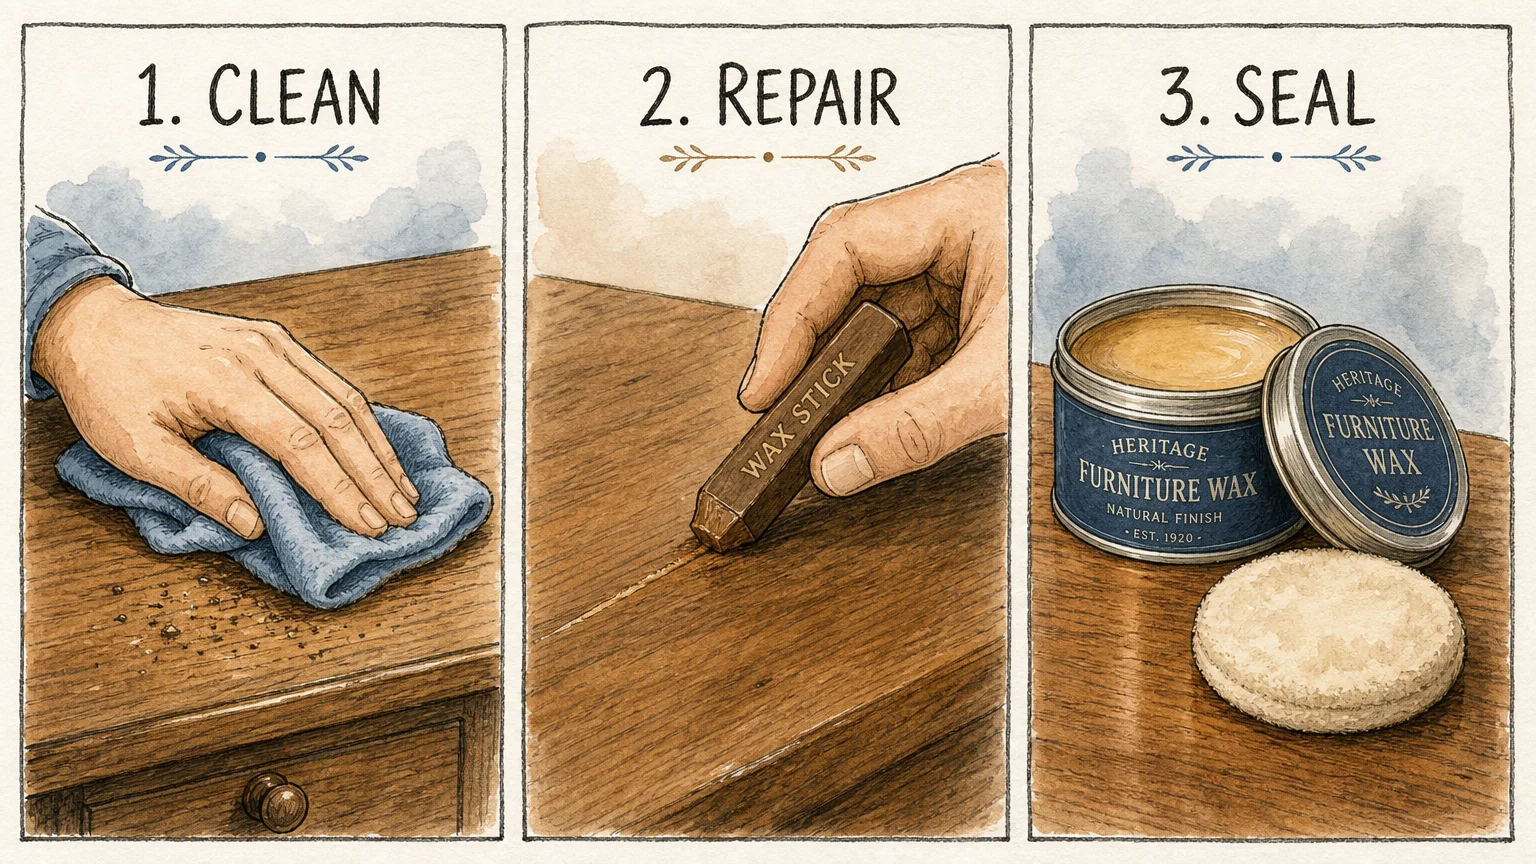
Before you rub any natural oils, melted waxes, or pigmented stains into your beloved sideboard, you must establish a perfectly clean baseline. Proper preparation guarantees that your chosen repair method binds effectively to the actual wood rather than sitting uselessly on top of lingering dust or old furniture polish. Wipe the affected area thoroughly using a soft microfiber cloth lightly dampened with a mild dish soap solution. Once you remove the surface grime, dry the wood completely. You can review detailed surface preparation techniques through the Architectural Digest wood care guides, which emphasize gentle cleaning protocols that protect delicate antique finishes.
Moving into the execution phase requires a highly delicate touch; you should always start with the least abrasive or least pigmented option and layer your restorative treatments gradually. It proves significantly easier to add more color to a faded scratch than to strip away excess dark stain from a light oak veneer. Take your time during application, massaging your chosen materials firmly into the grain.
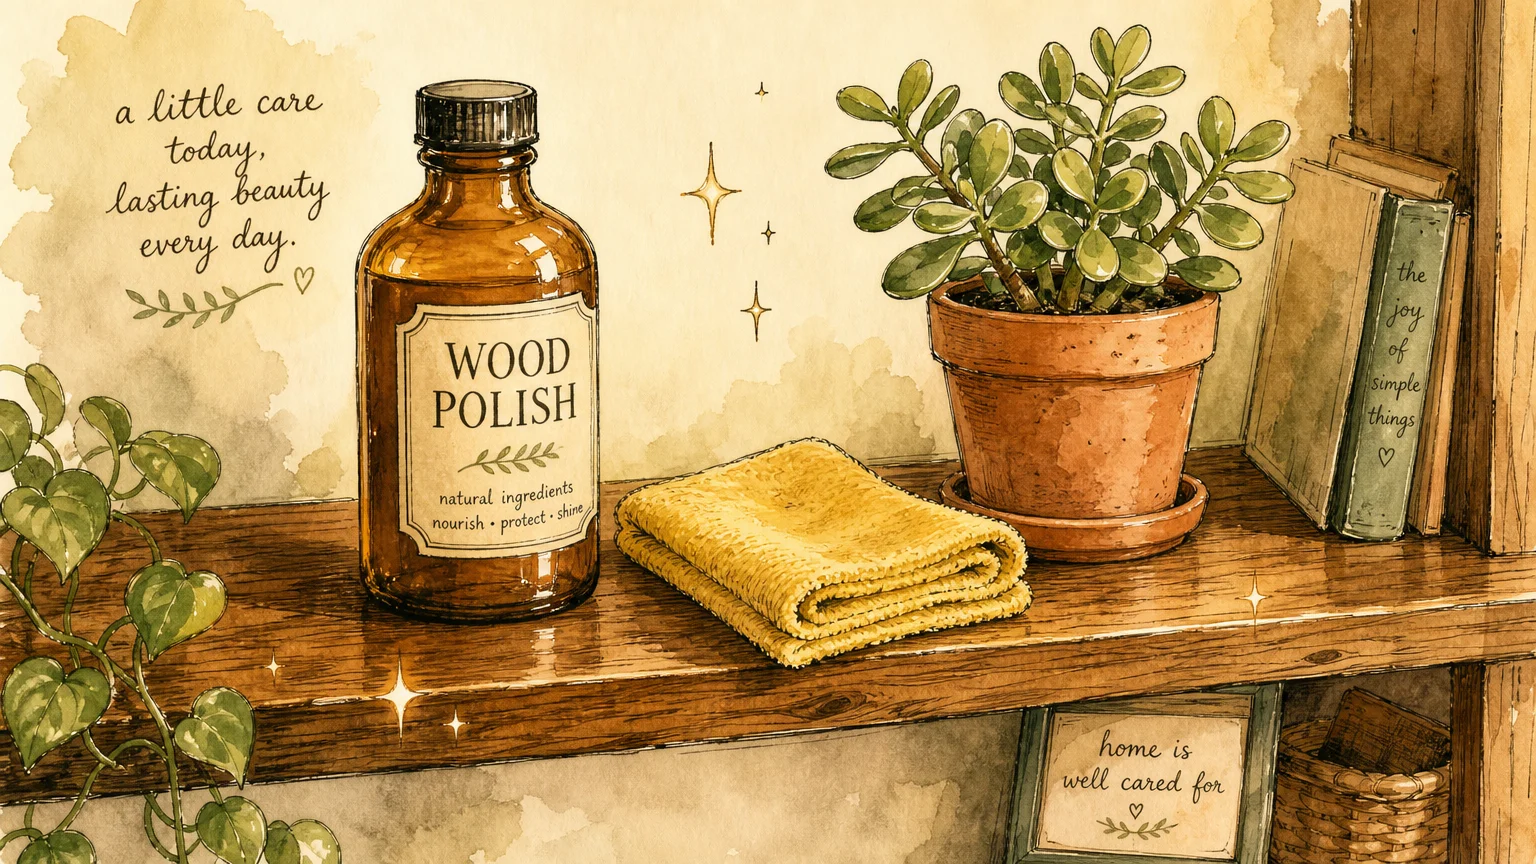
Finally, you must seal your hard work during the critical finishing phase. Applying a high-quality furniture paste wax or a clear protective polish over the fully cured repair locks in the fresh color, evens out the overall sheen, and provides a durable physical barrier against future domestic mishaps.
10 Proven Techniques to Remove Wood Scratches
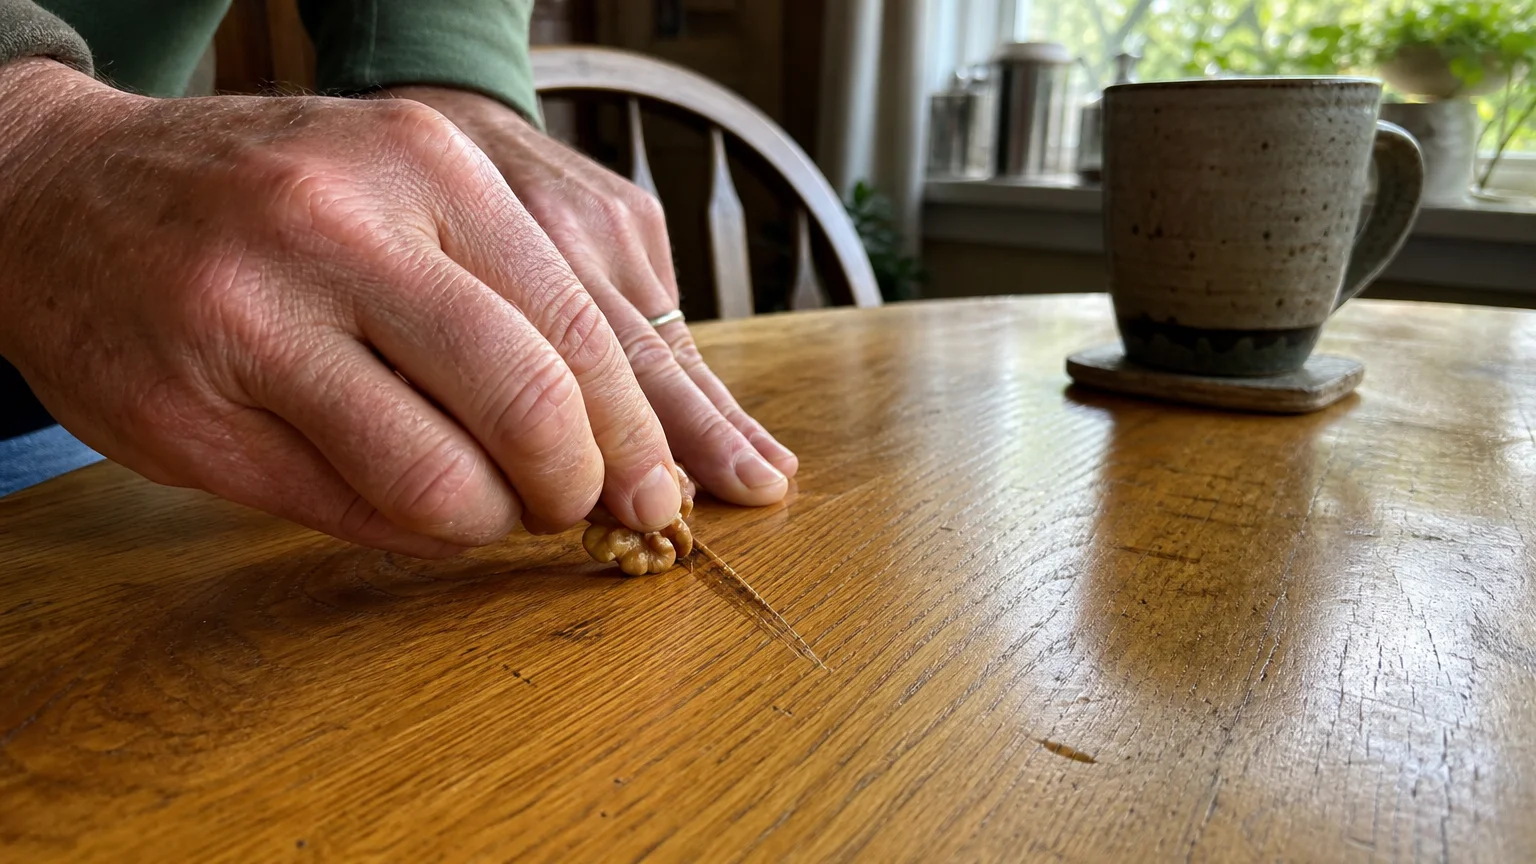
1. The Classic Walnut Rub
When you encounter superficial scuffs on medium-toned woods, the classic walnut rub provides an almost magical erasure. Raw walnuts contain abundant natural oils and soft, pliable flesh that perfectly mimics the density of most common furniture woods. You simply crack open a fresh, unsalted walnut and rub the exposed meat diagonally across the scratch. The friction from your motion gently warms the nut oils, encouraging them to seep directly into the damaged wood grain. As the rich oils penetrate, they naturally darken the exposed wood fibers to match the surrounding finish while the soft nut meal physically fills the microscopic indentation. Once you treat the affected area, buff it vigorously with a clean cotton cloth to reveal a remarkably smooth, restored surface.
2. Brewed Black Tea for Color Matching
Brewed black tea serves as an exceptional color-matching agent for fixing wooden surfaces, relying entirely on the natural tannins found naturally in the tea leaves. You can manipulate the darkness of the tea simply by controlling the precise steeping time; a quick three-minute steep yields a golden amber perfect for light oak, while leaving the bag in hot water for an hour creates an inky brown ideal for deep mahogany. Dip a common cotton swab into your customized tea stain and carefully paint the liquid directly into the scratch. The porous wood instantly absorbs the dark tannins, bringing the raw gouge into perfect harmony with the surrounding color. Allow the spot to dry completely before assessing the match, and apply subsequent coats if you require a richer hue.
3. Iodine Application for Dark Woods
Homeowners tackling damage on extremely dark, warm-toned pieces like antique cherry or deep mahogany often find an unlikely ally inside their medicine cabinet. Standard medical iodine acts as a potent, highly penetrating wood stain that masks deep, obvious scratches with remarkable efficiency. Because iodine carries a distinct reddish-brown undertone, it perfectly replicates the rich patinas associated with expensive, aged hardwood furnishings. To apply this treatment safely, dab a precision detail brush or a cotton swab into the iodine and carefully trace the exact line of the scratch. You must keep a damp rag nearby to immediately wipe away any excess liquid that bleeds onto the pristine clear coat, ensuring the dark pigment only settles into the raw, exposed wood fibers.
4. The Olive Oil and Vinegar Polish
If your dining table suffers from a sprawling network of shallow micro-scratches caused by sliding dinner plates or scattered mail, a homemade emulsion of white vinegar and standard olive oil provides comprehensive relief. The acetic acid present in the white vinegar acts as a mild solvent, gently softening the jagged damaged edges of the clear coat, while the heavy olive oil penetrates the wood to hydrate and swell the crushed fibers. Mix equal parts of both liquids in a small bowl, dip a soft microfiber cloth into the solution, and massage it firmly into the tabletop using sweeping circular motions. This specific DIY furniture repair technique leaves behind a gorgeous, hydrated sheen that camouflages widespread, shallow scuffs and deeply conditions the entire piece of furniture simultaneously.
5. Blending with Coffee Grounds
For espresso-stained furniture or black-brown modern pieces, ordinary coffee grounds deliver a quick, highly pigmented fix that requires zero harsh chemical application. The coarse texture of the grounds mixed with the intense natural dyes of the roasted beans makes this method exceptionally effective for filling and darkening noticeable gouges. Take a small spoonful of used, slightly damp coffee grounds and press them firmly into the scratch using the tip of your finger or a specialized wooden detailing stick. Let the tightly packed grounds sit undisturbed for at least fifteen minutes, allowing the dark coffee oils to fully transfer their rich color into the porous raw wood beneath. Sweep away the excess loose grounds with a dry bristle brush to reveal a beautifully disguised and expertly blended imperfection.
6. Filling Gouges with Wax Crayons
When you need to physically level out a deep gouge that actively catches your fingernail, standard wax coloring crayons offer a durable, structural solution. By selecting a crayon that closely matches your specific furniture finish, you instantly create a customized, color-matched wood filler. You will need to gently melt the tip of the crayon over the scratch using a long-handled lighter or a dedicated heat gun set to a very low temperature. Allow the hot, liquid wax to drip directly into the cavity until it slightly overfills the hole. Once the wax cools and hardens completely, take a rigid plastic card and scrape it flat across the surface to level the wax perfectly flush with your surrounding wood finish. You can study similar physical leveling strategies through comprehensive HGTV restoration tutorials that guide ambitious beginners through structural surface leveling.
7. Buffing with Pumice and Mineral Oil
Sometimes a scratch looks terrifyingly bright white but has not actually penetrated down to the raw wood grain at all. These superficial clear coat scratches require a highly delicate process of abrasion to smooth out the jagged edges of the polyurethane or lacquer finish. Creating a thick paste from powdered pumice stone and mineral oil gives you an incredibly fine rubbing compound. Apply this abrasive paste over the white scratch and use a soft cloth to polish the area gently. The microscopic grit of the pumice essentially sands down the sharp edges of the clear coat scratch until it becomes completely invisible to the naked eye, while the mineral oil provides vital lubrication to prevent you from accidentally burning or dulling the surrounding healthy finish.
8. Applying Commercial Scratch Covers
For those who prefer a reliable liquid, store-bought solution, commercial scratch covers present an incredibly fast option for busy homeowners. These specialized liquids contain powerful, fast-acting dyes mixed with penetrating oils designed specifically to seek out raw wood and completely ignore sealed finishes. You simply pour a small amount of the scratch cover onto a designated shop rag and wipe it generously over the entire affected surface of the furniture. The liquid formula instantly dives into every microscopic crevice and gaping scratch, depositing a rich, permanent color that perfectly disguises the physical damage. After letting the product sit for a few minutes, you wipe the table vigorously with a clean towel to remove the excess oil, leaving behind a beautifully uniform, rejuvenated wooden surface.
9. The Iron and Damp Cloth Steam Method
Dents combined with scratches present a unique restoration challenge because the wood fibers have been violently crushed downward beneath the surface level. You can actually force these compressed fibers to expand and rise back to their original position using the awesome power of targeted steam. Place a clean, thoroughly damp cotton washcloth directly over the crushed scratch. Press a hot clothing iron against the wet cloth for brief, five-second intervals, constantly checking your progress to ensure you do not inadvertently melt the surrounding topcoat. The intense burst of hot steam shoots directly through the clear coat and forces the raw wood cells to swell rapidly. Detailed university extension furniture care guidelines highlight exactly how manipulating internal wood moisture effectively reverses physical compression damage without ever touching harsh chemicals.
10. Professional Grade Wood Filler and Stain
When a piece of furniture sustains catastrophic gouging that rips entirely through thick layers of veneer, natural household remedies simply cannot bridge the massive structural gap. You must utilize professional-grade, stainable wood filler to actively reconstruct the missing structure of the table or dresser. Press the putty-like filler deeply into the gouge using a metal putty knife, ensuring you leave no hidden air pockets beneath the surface. Once the compound cures into a rock-hard state, sand it meticulously with fine-grit sandpaper until it feels perfectly seamless against the surrounding wood. Finally, apply a high-quality wood stain over the sanded filler to blend your structural repair directly into the visual aesthetic of the piece, permanently rescuing severely damaged furniture from the local landfill.
Styling and Personalization After Restoration
Once you successfully remove wood scratches, you gain the perfect opportunity to rethink exactly how your furniture interacts with your broader room design. Decorating a newly repaired console table or vintage dresser involves significantly more than simply putting your old lamps back in their exact original place. Consider adding highly textured linen runners or strategically placed oversized coffee table books that proudly highlight the restored finish while offering practical, stylish protection against everyday wear and tear. If your targeted repair leaves a very slight variation in the wood tone, you can cleverly disguise this unique character mark by intentionally altering your room lighting. Changing out harsh, cool-toned lightbulbs for warmer ambient fixtures casts a soft, forgiving glow over the entire wood grain, making subtle imperfections vanish entirely.
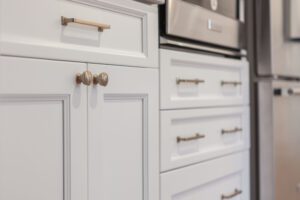
Upgrading the functional hardware on your piece also reliably distracts the eye and dramatically elevates the overall aesthetic impact of the room. Swapping out standard, dated wooden knobs for heavy brushed brass or modern matte black pulls brings a sharp, contemporary edge to traditional pieces. This minor investment ensures your hard work feels fully customized to your current style preferences and completely revitalizes the entire space.
Troubleshooting and Ongoing Upkeep
Maintaining your flawless finish requires a consistently proactive approach to your everyday home environment. Scratches most often occur because the wood has dangerously dried out over time, leaving the protective clear coat incredibly brittle and highly susceptible to flaking under any physical pressure. Protecting your indoor climate serves as the ultimate defensive strategy for long-term wood preservation. Extreme fluctuations in household humidity cause natural wood fibers to expand and contract dramatically, which can literally pop out hardened wood fillers or crack your newly polished surfaces. Implementing localized humidity control, as recommended by the Department of Energy indoor air quality guidelines, keeps your wooden furniture structurally stable year-round.
You should also routinely check the protective felt pads located on the bottoms of your decorative objects, heavy ceramic lamps, and daily electronics. These essential protective barriers wear down rapidly over time and secretly accumulate abrasive dust particles that quietly carve brutal micro-scratches into your pristine tabletops. Replacing these inexpensive felt guards annually and keeping your beloved pieces completely out of direct, baking sunlight prevents the severe dulling and fading that make physical damage so painfully obvious in the first place.
Frequently Asked Questions
What is the best way to determine if a scratch resides in the clear coat or the wood itself?
You can easily diagnose the true depth of the surface damage using a simple drop of tap water or standard mineral spirits. Gently dab a very small amount of the liquid directly onto the center of the scratch. If the white or cloudy mark instantly disappears while wet, the damage sits purely in the protective clear topcoat, and you can usually buff it out using a mild abrasive polish. If the liquid sinks in and heavily highlights a much lighter or darker raw fiber texture, the gouge has penetrated the finish and reached the actual wood beneath, meaning you will definitely need to utilize pigmented fillers, potent teas, or liquid stains to restore the original appearance.
Can I mix different household ingredients if the exact color match is slightly off?
You absolutely can, and custom chemical blending often produces the most seamless, professional repair results imaginable. For instance, if instant coffee grounds create a dark shade that appears far too cool or ashy for your warm cherry wood piece, you can safely mix a few drops of medical iodine directly into the damp grounds to introduce a necessary reddish tint. Always test your custom concoctions on a completely hidden area of the furniture, such as the back interior leg or the dark underside of a dining table leaf. This vital testing phase absolutely prevents accidental staining that contrasts harshly with the surrounding prominent finish.
How long do these do-it-yourself scratch repairs typically last before requiring a touch-up?
The overall longevity of your repair directly correlates to the specific method you select and the sheer amount of daily traffic the furniture endures. Treatments involving natural oils, like the classic walnut method or the olive oil and vinegar polish, tend to evaporate or wear off gradually during your regular weekly dusting routines; you should realistically expect to reapply these gentle fixes every few months. Conversely, using melted wax crayons, specialized hard wood fillers, or highly penetrating chemical stains provides a durable, permanent structural solution that physically bonds with the piece and generally lasts for the entire functional lifetime of the furniture.
Will restoring a heavily damaged vintage piece decrease its overall antique value?
True museum-quality antiques generally retain their absolute highest financial value when left completely undisturbed, even with severe scratches and deep dents, as serious collectors highly prize the original, authentic historical patina. However, for the vast majority of vintage, mid-century, or family heirloom pieces utilized constantly in daily family life, performing careful, non-destructive DIY furniture repair dramatically improves both the immediate aesthetic appeal and the functional resale value. By utilizing gentle, reversible methods like natural oils or soft wax fillers, you successfully protect the vital historical integrity of the antique while making it genuinely gorgeous enough to display prominently in your home.
Reclaiming Your Space and Decor
Every single scratch on your wooden furniture tells a unique story, but you hold the creative power to edit that physical narrative whenever you choose. You no longer need to hide beautiful hardwood tabletops under bulky, dated tablecloths or relegate slightly scuffed vintage dressers to the dark corners of the guest bedroom. By aggressively utilizing these straightforward, budget-friendly restoration techniques, you definitively reclaim control over your home decor and significantly extend the functional lifespan of your absolute favorite pieces. Gather a few basic supplies from your kitchen pantry or local hardware store, set aside a quiet hour this weekend, and watch closely as your worn furnishings transform brilliantly back into the stunning, rich focal points they were always meant to be.