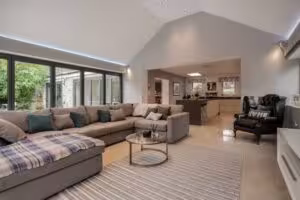
Transitioning into your golden years means transforming your living space into a restorative sanctuary where stress melts away at the front door. You can completely reshape the mood of your retirement home simply by selecting the right interior paint colors, turning chaotic rooms into peaceful retreats. Whether you plan to refresh a single bedroom or overhaul the entire house, focusing on soothing hues reduces visual fatigue and promotes deep relaxation. A thoughtful color palette serves as the foundation for a tranquil environment tailored perfectly to your evolving lifestyle. By choosing soft greens, warm neutrals, or muted blues, you will create a supportive backdrop that enhances daily well-being while honoring your personal design aesthetic.
Planning Your Painting Project: Budget, Timeline, and Skill Level
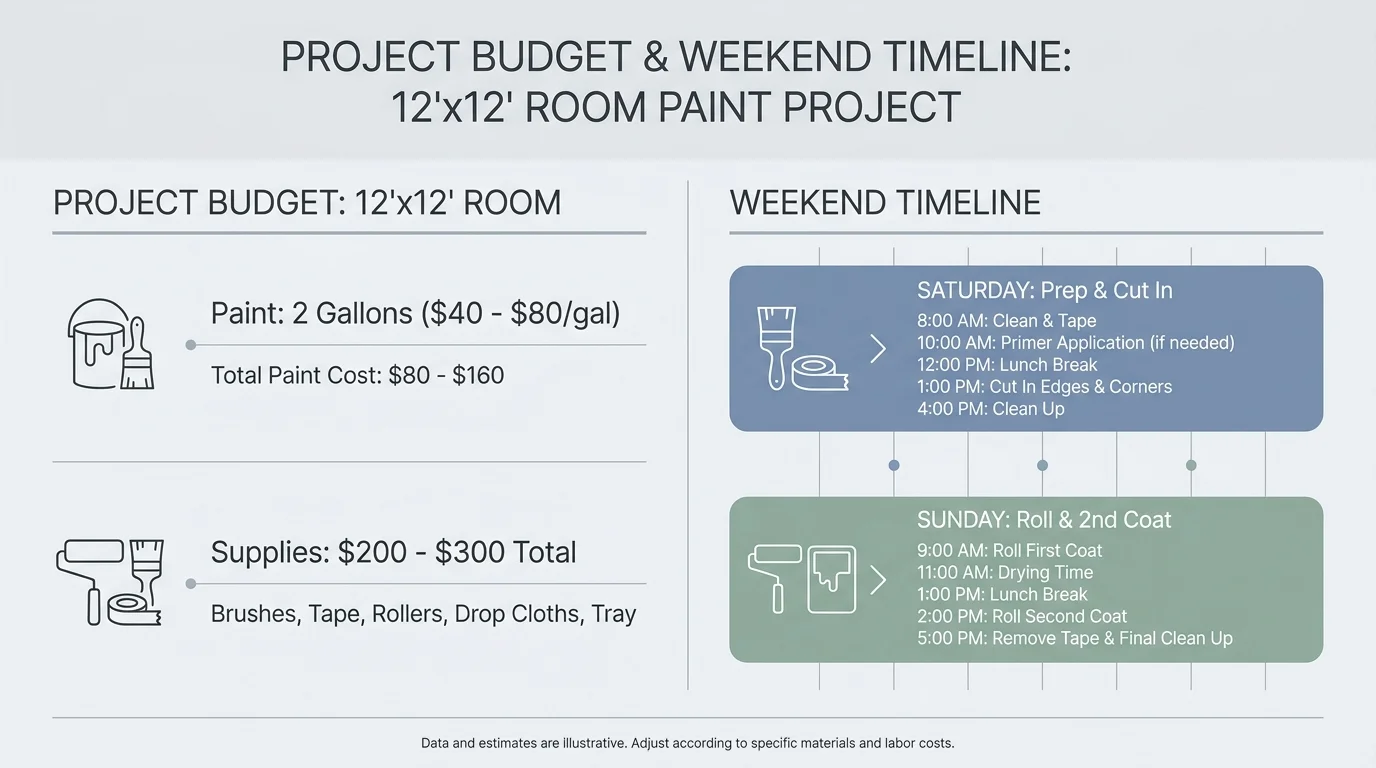
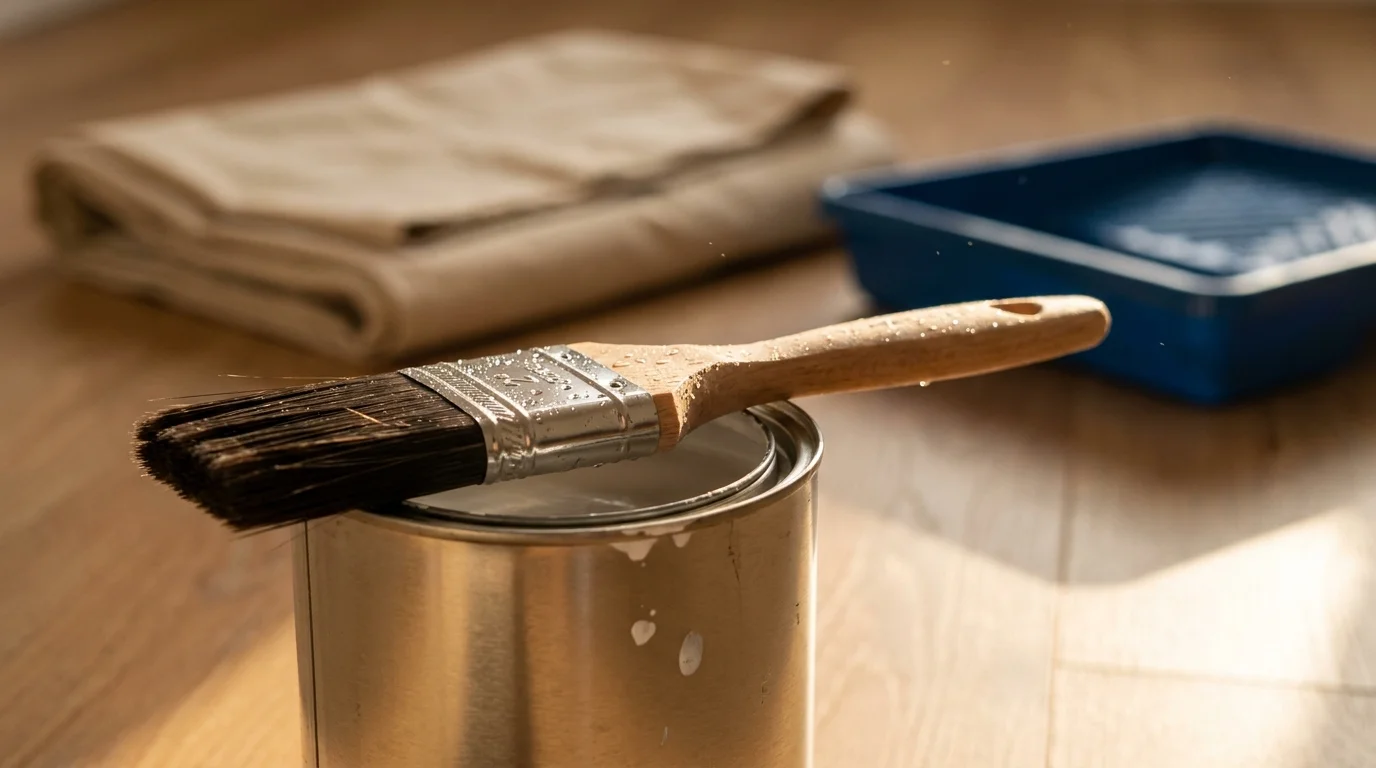
Evaluate your resources carefully before cracking open a single can of paint. A standard twelve-by-twelve-foot room requires about two gallons of paint, which typically costs between forty and eighty dollars per gallon depending on the brand and specific finish. When you factor in high-quality angled brushes, painter’s tape, canvas drop cloths, and sturdy rollers, you should budget roughly two hundred to three hundred dollars per room. You can realistically complete a single room over a standard weekend; dedicate your Saturday to thorough preparation and cutting in, reserving Sunday for rolling the main walls and applying a necessary second coat.
Painting remains one of the most accessible home decor projects for any skill level, though physical stamina certainly plays a major role in your success. If you experience mobility limitations or find reaching overhead painful, consider hiring a local professional for ceilings or high stairwells while you tackle the easily reachable living areas. Taking the time to map out your timeline prevents mid-project burnout and ensures a polished, professional result that will look great for years.
Phase One: Preparing Your Canvas for a Flawless Finish
Proper preparation dictates the final quality of your interior design endeavor; skipping this crucial phase guarantees visible flaws that will disrupt the tranquility of your calming sanctuary. Start by emptying the room as much as possible, pushing heavy furniture to the center and covering it completely with heavy-duty canvas drop cloths. Plastic sheeting often poses a dangerous slipping hazard on hard floors, so canvas provides a safer, more durable alternative that absorbs accidental spills.
Next, wash your walls with a mild degreaser or a simple mixture of warm water and dish soap. Over the years, walls accumulate invisible layers of dust, cooking oils, and fingerprints that prevent fresh paint from adhering properly. Once the surfaces dry completely, inspect the drywall under bright lighting for nail holes, dents, or stress cracks. Fill these imperfections with a lightweight spackling compound, smoothing it flush with a flexible putty knife. Allow the compound to cure until it turns stark white—a built-in color indicator found in many modern products—before sanding it lightly with a fine-grit sponge. Your goal is to feather the edges until they blend seamlessly into the surrounding wall texture.
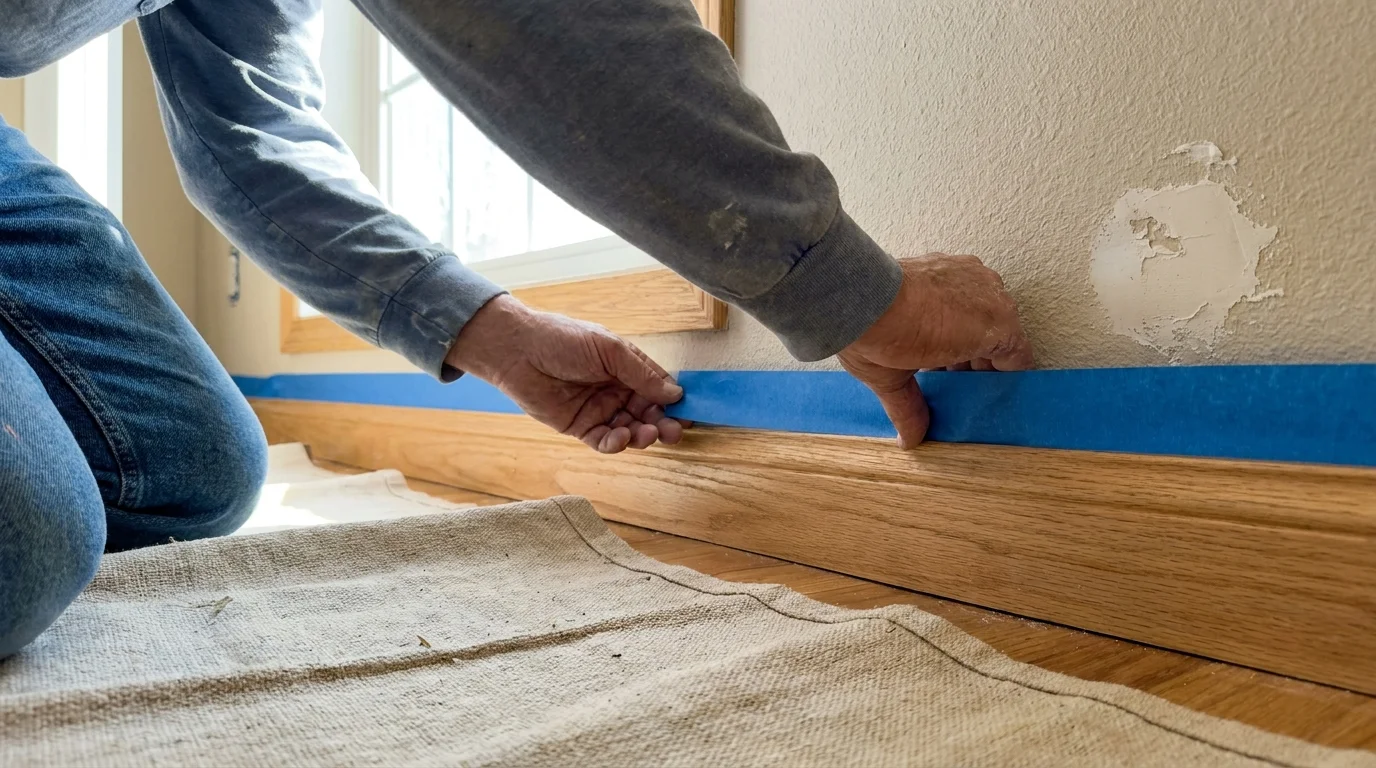
Apply a high-quality painter’s tape along the baseboards, window casings, and ceiling lines, pressing the edges down firmly with a putty knife to prevent the paint from bleeding underneath. If your walls currently feature a dark or glossy hue, applying a dedicated interior primer will save you considerable time and money by drastically reducing the number of topcoats required. Taking cues from architectural design professionals who emphasize meticulous prep work, you must view this stage as the critical foundation of your entire project.
Phase Two: Applying Calming Colors with Expert Precision
With your room primed and protected, you are finally ready to introduce the paint colors that will define your retirement home. Open your paint cans and stir the contents thoroughly with a wooden stick, scraping the bottom to distribute any settled pigments. Pour a manageable amount of paint into a handheld cut-in cup, which significantly reduces wrist fatigue compared to lugging a heavy gallon can up and down a stepladder.
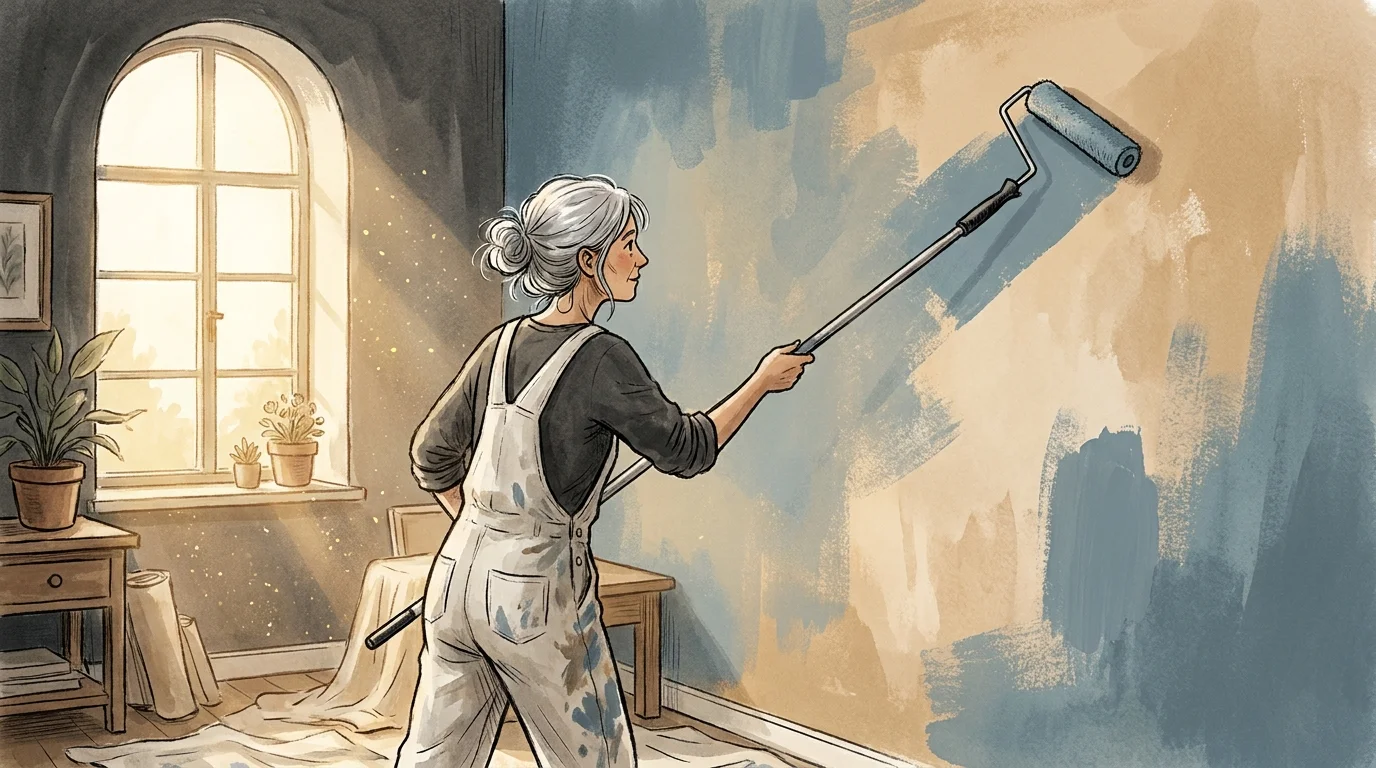
Using a two-and-a-half-inch angled sash brush, carefully outline the perimeter of the room—a technique known in the painting trade as cutting in. Work in manageable three-foot sections, maintaining a wet edge to ensure the brush strokes blend seamlessly into the rolled areas later. Once you establish your precise borders, transition to a standard nine-inch roller equipped with a three-eighths-inch nap cover; this specific nap size offers the ideal texture for smooth interior drywall without leaving heavy stipple marks. Load your roller evenly in the paint tray, avoiding an overloaded, dripping sponge.
Apply the paint to the walls using an overlapping W-pattern; this method distributes the material evenly across the surface and prevents unsightly vertical streaks from forming as the paint dries. Always work from the top of the wall down to the floor, catching any stray drips before they have a chance to tack up. For a truly durable and rich finish, plan to apply two full coats of paint, allowing the first coat to dry completely according to the manufacturer’s exact specifications. High-quality acrylic latex paints usually require two to four hours of drying time between applications. Keep a damp microfiber rag tucked in your back pocket to immediately wipe away any accidental smudges on adjacent trim.
Phase Three: Finishing Touches and Thorough Cleanup
The final phase requires immense patience, as the excitement of seeing your new calming colors often tempts DIYers to rush the cleanup process. Remove the painter’s tape while the second coat of paint remains slightly tacky. Pulling the tape back at a sharp forty-five-degree angle slices cleanly through the wet paint film, leaving a razor-sharp line against your trim and ceilings. If you wait until the paint cures completely, the tape might pull jagged chunks of your fresh color right off the wall.
Next, tackle your tools. Wash your brushes and rollers immediately in warm, soapy water until the water runs crystal clear. Using a wire brush comb helps dislodge stubborn pigment trapped near the metal ferrule of the brush, drastically extending the life of your equipment. Allow your freshly painted walls to cure undisturbed for at least twenty-four hours before moving your heavy furniture back into place or hanging any framed artwork. This critical curing window prevents accidental scuffs on a surface that appears dry but remains soft underneath. Finally, gently sweep or vacuum your floors to capture any stray dust generated during the preparation phase, revealing a pristine, deeply relaxing environment.
Styling and Personalizing Your Peaceful Retreat
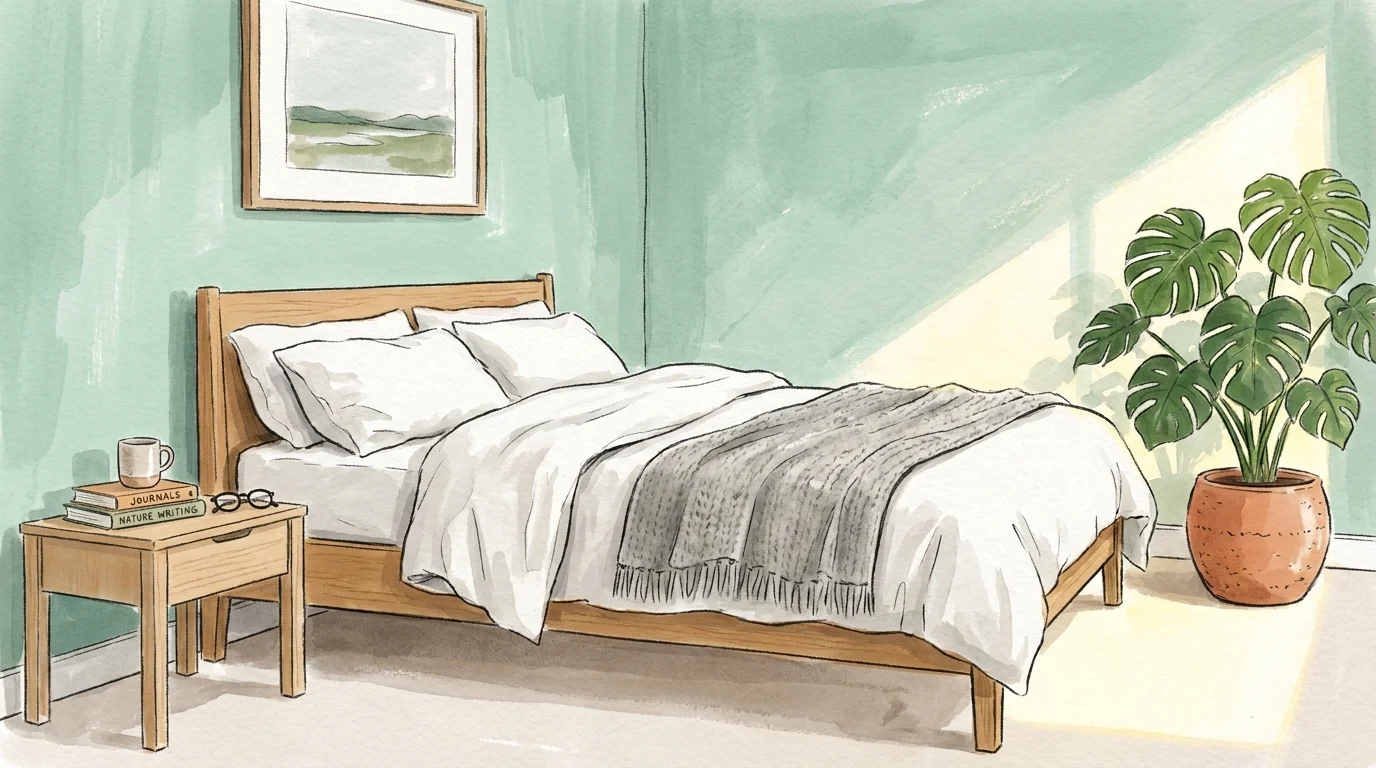
Selecting the ideal paint colors for a retirement home involves blending aesthetic preferences with proven color psychology to foster genuine tranquility. Soft blues, muted greens, and warm, earthy neutrals consistently rank as the best choices for cultivating a restful atmosphere. Consider enveloping your primary bedroom in a gentle dusty blue; this specific hue mimics the calming expanse of a clear daytime sky and has been scientifically shown to lower heart rates and encourage deeper sleep cycles.
For living areas where you entertain family guests or read by a sunny window, a sage or olive green seamlessly bridges the gap between your indoor spaces and the natural world outside. Green physically relieves eye strain and promotes a profound sense of renewal, making it an exceptional backdrop for rooms filled with lush houseplants, woven textiles, and natural wood furniture. If you prefer a more minimalist approach, look toward warm taupes and creamy off-whites rather than stark, hospital-grade whites. Warm neutrals reflect natural light beautifully without feeling sterile, providing a cozy, inviting canvas that allows your cherished artwork, family photographs, and heirloom furniture to command attention in the space.
You can effortlessly elevate these foundational colors by introducing subtle textural contrasts throughout the room. Pair your freshly painted matte walls with heavy velvet drapery, woven jute rugs, and chunky knit throw blankets. The dynamic interplay between the smooth architectural surfaces and tactile fabrics adds visual depth without introducing chaotic patterns that might disrupt the serene mood. When coordinating your trim and ceiling colors, consider painting the baseboards and crown molding a soft cream rather than a brilliant, blinding white. This subtle shift softens the architectural transitions and creates a cohesive, enveloping warmth. According to interior design experts who study the impact of color on mood, maintaining a continuous flow of analogous colors from room to room prevents jarring visual interruptions, allowing you to glide through your home in a state of continuous comfort.
Troubleshooting Common Pitfalls and Maintaining Your Walls
Even the most meticulous painters encounter occasional setbacks, but you can easily resolve these issues with the right approach and a calm mindset. One of the most common frustrations is flashing, a phenomenon where certain areas of the freshly painted wall appear noticeably shinier or duller than the rest. Flashing typically occurs when you skip the primer over patched drywall or when you fail to maintain a wet edge during your roller application. To fix this uneven sheen, simply apply a dedicated primer over the affected dull spots, allow it to dry completely, and roll another full, even coat of your topcoat over the entire wall to unify the finish.
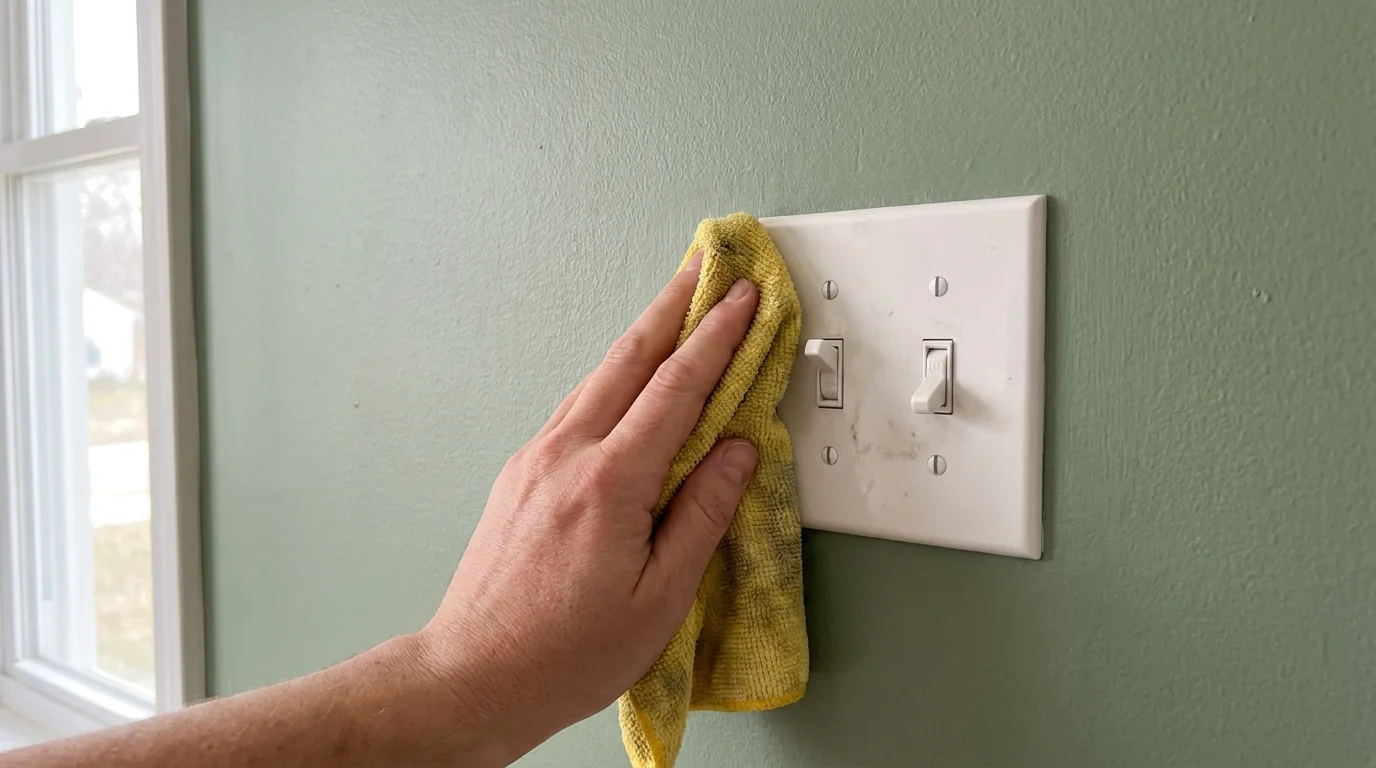
Once your calming retreat is complete, maintaining the pristine condition of your walls guarantees lasting tranquility without requiring constant touch-ups. Opt for an eggshell or satin finish in high-traffic areas like entry hallways and primary living rooms. These particular sheens offer a subtle, velvety glow while providing a durable surface that withstands routine cleaning. When accidental scuffs or fingerprints appear near light switches, avoid scrubbing the paint with abrasive sponges or harsh chemical cleaners. Instead, gently wipe the blemish with a soft, damp microfiber cloth and a single drop of mild dish soap.
If you live in a particularly humid climate or are painting a primary bathroom, you must remain vigilant about moisture control. Proper daily ventilation prevents peeling paint and dangerous mildew growth. You can explore guidance from building scientists on proper home ventilation strategies to protect your hard work and indoor air quality. Always keep a small, airtight mason jar filled with leftover paint stored in a climate-controlled interior closet for future touch-ups, ensuring you always have an exact color match on hand for minor wall repairs down the road.
Frequently Asked Questions About Painting Retirement Homes
What is the most durable paint finish for a senior living space?
Eggshell and satin finishes strike the absolute perfect balance between aesthetic appeal and practical durability for most interior walls. An eggshell finish conceals minor drywall imperfections while offering enough washability to handle everyday wear and tear. Satin finishes provide slightly more gloss and physical resilience, making them ideal for moisture-prone bathrooms or busy kitchens where you might need to wipe down walls more frequently. Flat paints, while beautiful for hiding architectural flaws, absorb stains rapidly and are notoriously difficult to clean without burnishing the surface.
How can I make a small, dark room feel more spacious and inviting?
Transforming a cramped, dark room requires a highly strategic approach to color and light reflection. Select light-reflecting neutrals, pale blues, or soft greens with high light reflectance values. Paints with a light reflectance value above sixty effectively bounce natural and artificial light back into the room, instantly making the walls feel further apart. Additionally, painting your ceiling a shade lighter than your walls draws the eye upward, creating a convincing illusion of height. Maximize this expansive effect by keeping your window treatments sheer and placing large mirrors opposite your primary light sources.
Are low-VOC paints necessary for older adults?
Volatile organic compounds are harsh chemicals found in traditional paints that release harmful gases as they dry, causing headaches, dizziness, and severe respiratory irritation. Older adults, especially those with preexisting respiratory conditions or chemical sensitivities, should absolutely prioritize zero-VOC or low-VOC paint formulations. Modern zero-VOC paints deliver exceptional coverage, durability, and rich color retention without the noxious odors, allowing you to occupy your freshly painted retirement home the very same day. Always verify emission standards against environmental air quality resources before purchasing your materials.
What tools do I need if I have arthritis or limited hand strength?
Painting can quickly fatigue your hands and wrists, but incorporating ergonomic tools significantly reduces the physical strain of the project. Invest in angled brushes with thick, rubberized handles that require far less grip strength to maneuver accurately along trim. Lightweight, adjustable fiberglass extension poles allow you to roll walls from a highly comfortable standing position, eliminating the need to constantly bend over a floor paint tray or balance precariously on a stepladder. Furthermore, using a rigid paint tray equipped with a disposable plastic liner makes the cleanup process effortless, saving your precious energy.
Transform Your Home Into a Personal Sanctuary Today
Refreshing your living environment with carefully chosen paint colors offers a profoundly rewarding way to celebrate this exciting new chapter of your life. You hold the creative power to dictate the exact mood and energy of your home, turning ordinary rooms into extraordinary havens of peace and comfort. By prioritizing proper wall preparation, investing in high-quality materials, and trusting your instincts regarding calming greens, blues, and warm neutrals, you guarantee a stunning result that will bring you joy for years to come. Gather your favorite color swatches, map out your weekend project timeline, and embrace the hands-on creative process. Your perfect retirement retreat is just a few coats of paint away, ready to support your daily lifestyle with an enduring, tranquil beauty.